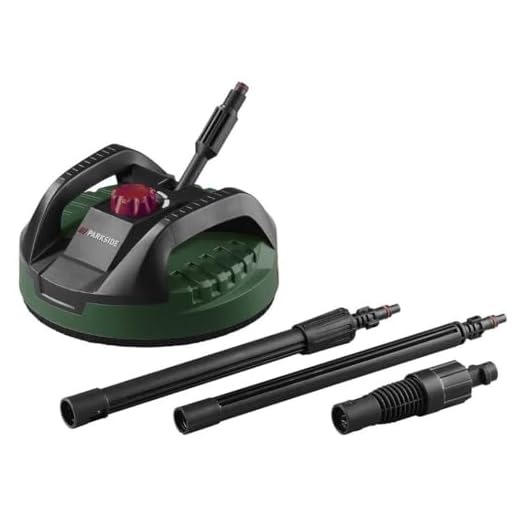


The foundation of a seamless setup lies in first reviewing the manual thoroughly. Familiarise yourself with each component listed, ensuring you have all parts at hand before beginning. Clear an open workspace to avoid any chaos during assembly.
Next, take the main body of the machine and gently attach the wheels. Align them properly to ensure stability, as they will support the unit throughout its operation. Make sure to insert the retaining pins firmly until you hear a click; this guarantees that the wheels are securely fastened.
Now, proceed to connect the spray lance. It should slot into place with a satisfying click. Be cautious not to force it; if it resists, double-check the alignment. Following that, you’ll need to attach the high-pressure hose. Ensure that the end is twisted onto the main unit securely; a loose connection can lead to leaks and performance issues.
Lastly, don’t forget to fit the detergent bottle. This should clip in effortlessly; if it feels loose, revisit the position to avoid any spills. After completing these steps, you’re ready to fill the water tank and start using your cleaner efficiently.
Assembly Instructions for the K4 Model
To begin, connect the high-pressure hose to the machine’s pump outlet. Twist clockwise until secure. Ensure a firm fit to prevent leaks during operation.
Next, attach the spray lance to the end of the high-pressure hose. Align the slot on the lance with the fittings and push it in until you hear a click. This indicates it is properly locked in place.
For the nozzles, select the appropriate one for your task. Insert it into the spray lance; it should slide in easily. Ensure it is firmly seated to avoid any accidental dislodgment while in use.
Connect the garden hose to the water inlet of the unit. Check that the connection is tight to prevent any operational inconsistencies. It’s best to use a hose with an appropriate diameter for optimal water flow.
Now, plug the power cord into a grounded electrical outlet. Inspect the cord for any signs of wear before connecting it. Safety is paramount; ensure your work area is clear of any obstacles.
Fill the detergent tank if you plan to use cleaning agents. Open the tank lid and pour in the recommended detergent. Close the lid securely to avoid spills during operation.
Finally, read the user manual thoroughly before first use. Familiarise yourself with the controls and safety features, ensuring a smooth operation. Following these steps closely will prepare your unit for effective performance.
Unboxing the Karcher K4 Components
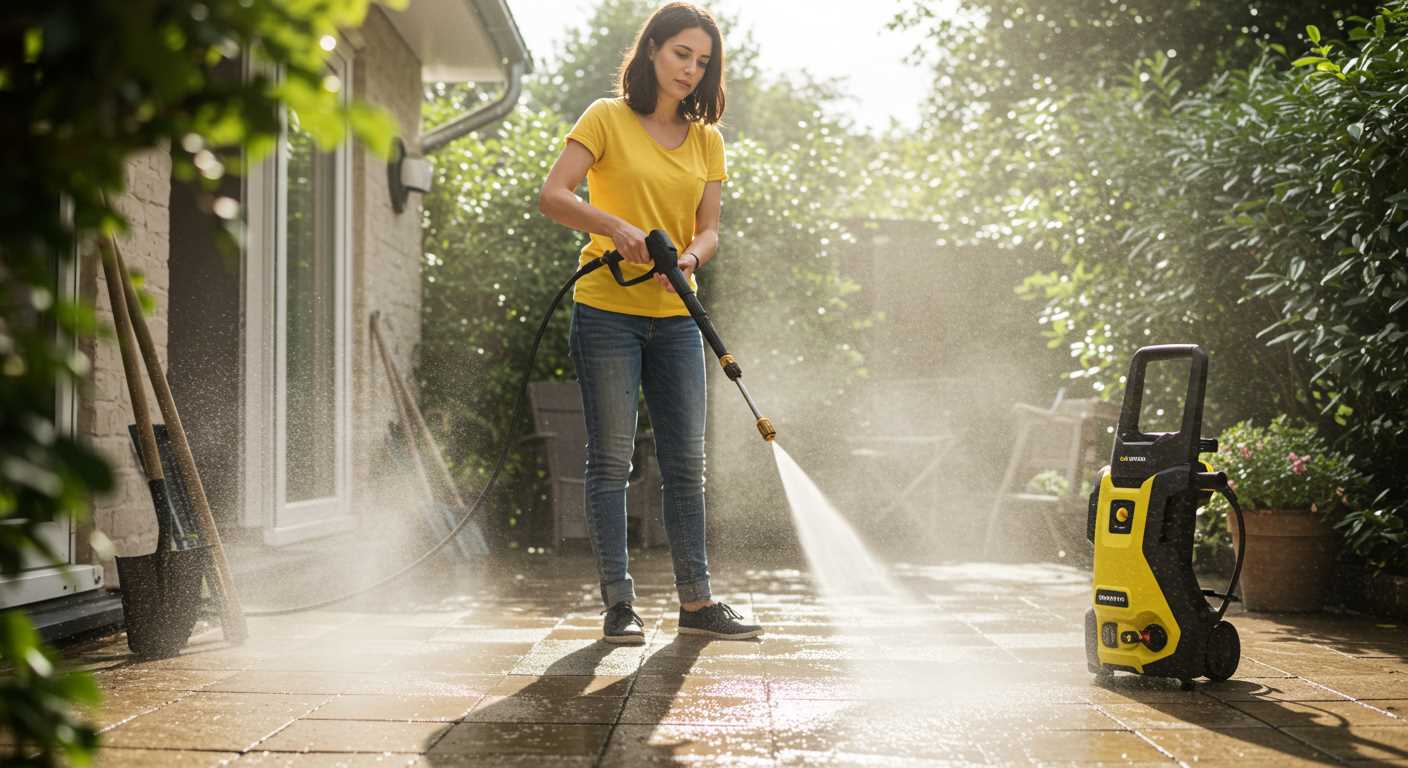
Open the box carefully to avoid damaging any parts. Inside, you’ll find several components crucial for your new device’s functionality.
- Main Unit: The core of the system, this is where the motor and pump are housed.
- Wand: The extendable wand allows for adjustable nozzle positioning, crucial for different tasks.
- Nozzles: Look for various spray options, including a rotating nozzle for tough grime and a detergent nozzle for applying cleaning solutions.
- High-Pressure Hose: This durable hose connects the wand to the main unit, providing necessary pressure for cleaning.
- Detergent Tank: Integrated or as a separate component, this tank can hold cleaning solutions for enhanced performance.
- Wheels: Check for robust wheels that allow easy mobility across various surfaces.
- Manual: A comprehensive guide that outlines operational procedures and safety precautions.
Ensure all components are accounted for as you unpack. Familiarising yourself with each part will streamline the setup process later.
Identifying Tools Required for Assembly
To effectively put together your new cleaning unit, gather these essential items beforehand:
Basic Tool Set
You will need a flathead screwdriver and a Phillips screwdriver. These tools assist in securing various components together, ensuring a stable and functional end product.
Additional Accessories
A pair of pliers may be useful for tightening connections that require a firmer grip. Additionally, a pair of scissors can come in handy for cutting through packaging materials with ease.
Before starting, ensure you have a clean workspace so you can easily locate your tools and parts. This approach simplifies the assembly and reduces the risk of misplacing any small components.
Having these tools ready will streamline the process, allowing you to focus on putting everything together without unnecessary interruptions.
Assembling the Handle of the Pressure Cleaning Device
Begin with the handle section, ensuring you have all components ready. Locate the two main parts of the handle: the upper and lower sections. Align the pieces carefully, ensuring the notches and slots fit together seamlessly.
Insert the screws provided into the designated holes on both sections. A Phillips screwdriver will simplify this process. Tighten until secure, but avoid excessive force to prevent damage to the plastic material.
Next, attach the trigger gun to the handle’s front. Slide it into position, and ensure it clicks firmly. This is critical for stable operation during use. Double-check the alignment of all connections to guarantee they are well-integrated.
Connect the electrical cord to the handle’s dedicated space. Secure any loose wires using the clips provided, keeping them tidy and out of the way for safety.
Once all elements are firmly in place, conduct a final inspection. Ensure that all connections are tight and visually inspect for any misalignments. This inspection will save time and enhance the longevity of your equipment.
Connecting the Hose and Spray Gun
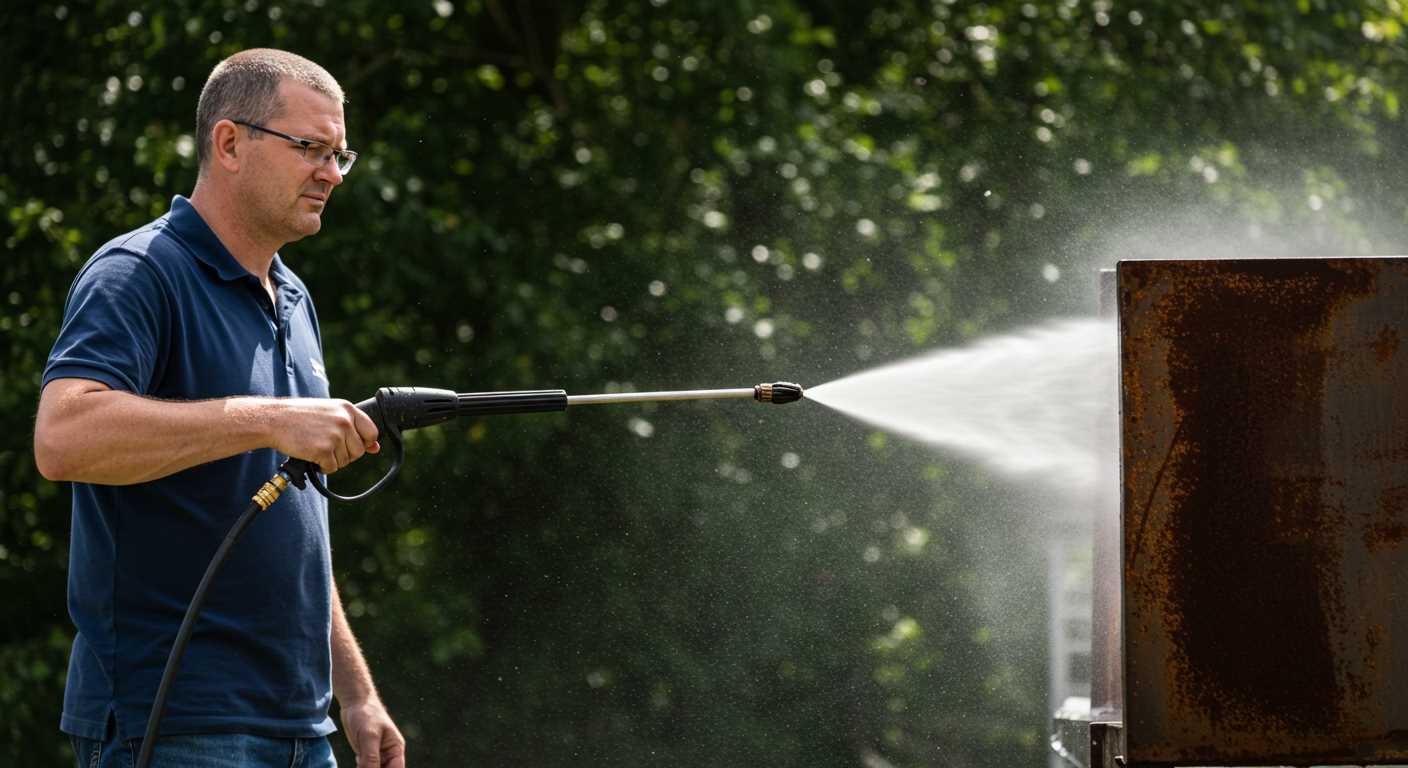
To connect the hose to the spray gun, first locate the quick-connect fitting on the end of the hose. Ensure that the O-ring is intact for a proper seal. Align the fitting with the connection point on the spray gun. Push the fitting into place until you hear a click, indicating a secure connection.
Securing the Hose

After connecting, it’s crucial to check the hose for any twists or kinks, as these can affect performance. Make sure the hose is extended fully without obstructions. This ensures consistent water flow during operation.
Connecting the Spray Gun to the Unit
Next, attach the spray gun to the unit itself. Similar to the hose, locate the quick-connect fitting on the spray gun and the corresponding point on the machine. Push firmly and confirm a tidy connection by listening for the click.
Once everything is attached, it’s wise to turn on the water supply to check for leaks at the connection points. If you see any dripping, disconnect and recheck the alignment of the fittings before trying again. Following these steps will assure a seamless performance for your cleaning tasks.
Attaching the High-Pressure Nozzle
To secure the high-pressure nozzle, first, ensure the spray gun is disconnected from the power source. Take the chosen nozzle from the accessories kit; it usually features a quick-connect mechanism for easy installation.
Align the nozzle with the front end of the sprayer. Push the nozzle onto the spray gun’s extension pipe until you hear a click. This sound indicates that the connection is complete and secure.
Give the nozzle a gentle tug to confirm it’s firmly attached. If everything is in place, you can now change the nozzle settings according to your cleaning task by rotating the nozzle for the desired spray pattern.
Always check for any leaks or misalignments before operation. Ensuring the nozzle is properly fitted will enhance the effectiveness of your cleaning session.
Setting Up the Detergent Tank
Locate the detergent container, which is typically situated on the back or side of the unit. Remove the cap by turning it counterclockwise and set it aside. Fill the tank with a suitable cleaning solution–ensure it’s compatible with your model. Be cautious not to exceed the maximum fill line indicated inside the tank.
After filling, securely fasten the cap back onto the tank by turning it clockwise until it’s snug. Inspect for any leaks around the cap to confirm a tight seal. Position the pressure cleaner on a flat surface to prevent any spillage during operation.
Adjust the detergent dial, usually located on the front panel, to the desired concentration level. Start with a lower setting to test the effectiveness of the solution before increasing it, if necessary. This approach helps to prevent excessive sudsing and ensures optimal cleaning results.
| Task | Details |
|---|---|
| Fill Tank | Use compatible cleaning solution, avoiding overfill. |
| Cap Secure | Ensure no leaks; check seal integrity after closing. |
| Adjust Dial | Start low, increase as needed for efficiency. |
Once these steps are completed, you’re ready for effective cleaning. Verify the settings and ensure everything is tightly secured before proceeding with usage.
Ensuring Proper Electrical Connections
Connect the power supply cable securely to the machine. Ensure that the plug fits snugly into a grounded outlet, suitable for the device’s voltage requirements.
Check the power cord for any visible wear or damage. If any imperfections are present, replace the cord before attempting to use the machine.
Inspect the outlet to confirm that it is functioning and capable of handling the load. Use a different outlet or a multimeter to verify that electrical supply is consistent.
It’s crucial to avoid using extension cords. If an extension is necessary, select one that is rated for high wattage and features heavy-duty insulation. Long lengths can cause voltage drops and reduce performance.
Always operate the unit on a dry surface to minimise the risk of electric shock. Make certain that no water is present near the electrical connections during operation.
Unplug the device after use to prevent accidental activation and further protect the electrical components from potential damage during storage.
Regularly test the circuit breaker to ensure it trips properly, protecting the equipment from overloads. A resettable fuse can also be a useful addition to safeguard the connection.
Conducting a Final Safety Check Before Use
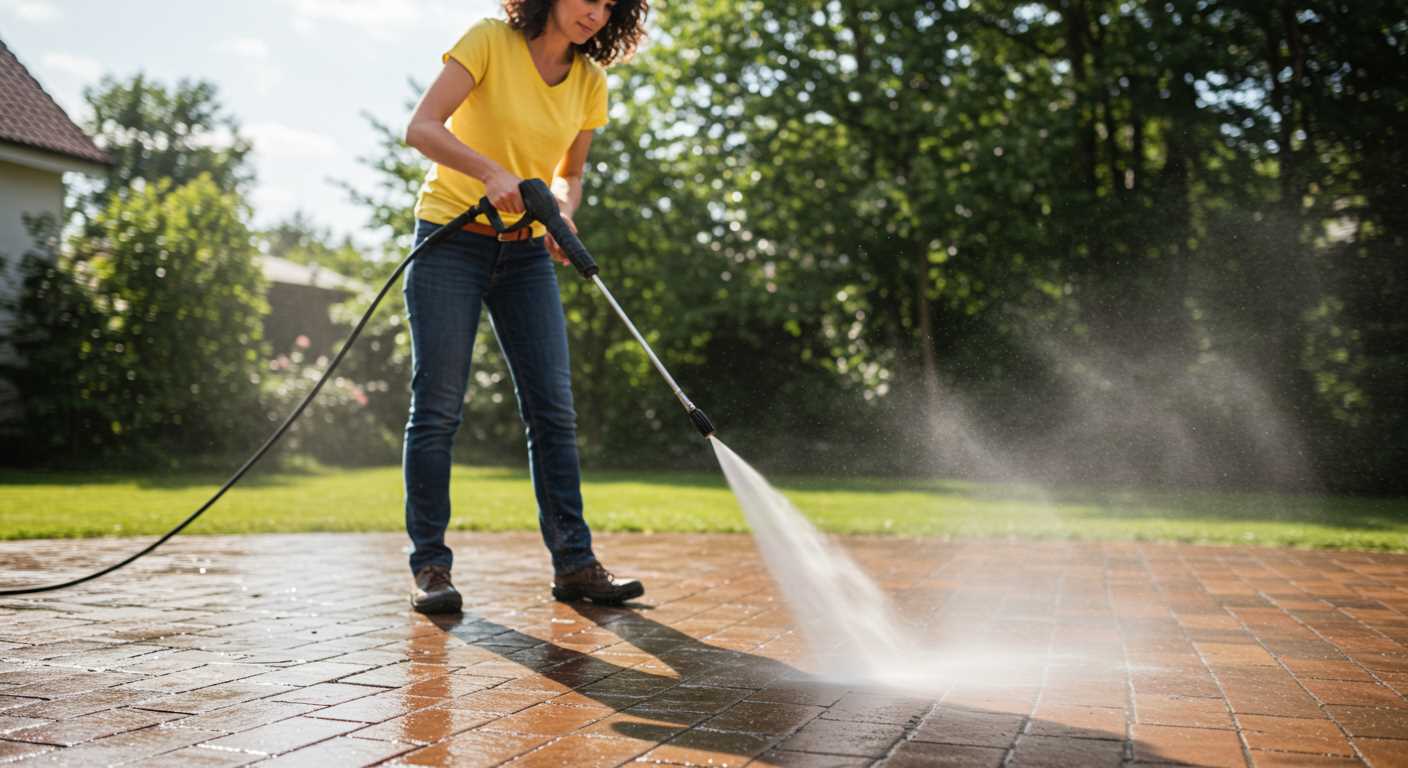
Ensure all components are securely fastened. Give the connections between the hose, spray gun, and nozzle a slight tug to confirm they are firmly attached without any risk of detachment during operation.
Visually inspect the high-pressure hose for any signs of wear, cracks, or bulges. Any damage found indicates the need for replacement before proceeding.
Check the detergent container and ensure it is correctly seated. Leaks can occur if it is not properly connected.
Electrical Safety
Verify the power cable is free from damage. Make sure it is fully uncoiled to avoid overheating and that the connection to the electrical outlet is secure. Only use grounded outlets to eliminate risks of electric shock.
Water Supply Check
If using a tap, confirm that it is fully opened to provide adequate water flow. Avoid starting the device without a sufficient water supply, as this can lead to pump damage.
| Safety Aspect | Action Required |
|---|---|
| Connections Integrity | Ensure all parts are securely connected. |
| Hose Condition | Inspect for damage or wear. |
| Electrical Safety | Check power cable and outlet connection. |
| Water Supply | Verify tap is fully opened. |
After completing these checks, you can safely operate the equipment, ensuring optimal performance while minimising risks. Always adhere to the manufacturer’s guidelines for best practices during use.


