


Attach the handle to the main body with a clockwise twist until secure; this is the foundation of your user experience and ensures comfort during extended use.
Next, connect the trigger mechanism. Slide it into place until you hear a click, indicating that it has properly locked in. This step is crucial for safety and functionality–an improperly attached trigger can lead to malfunctions.
Once the trigger is secure, you’ll want to connect the nozzle assembly. Choose the desired nozzle for your task, being aware that different nozzles cater to various cleaning applications. Firmly insert the nozzle into the designated slot and twist it to lock it in position.
Finally, ensure that all connections are tight and inspect for any leaks. A quick test of the trigger system will confirm that everything operates smoothly. Following these steps will prepare your cleaning device for optimal performance, making your cleaning tasks more manageable.
Assembling a High-Pressure Cleaning Nozzle
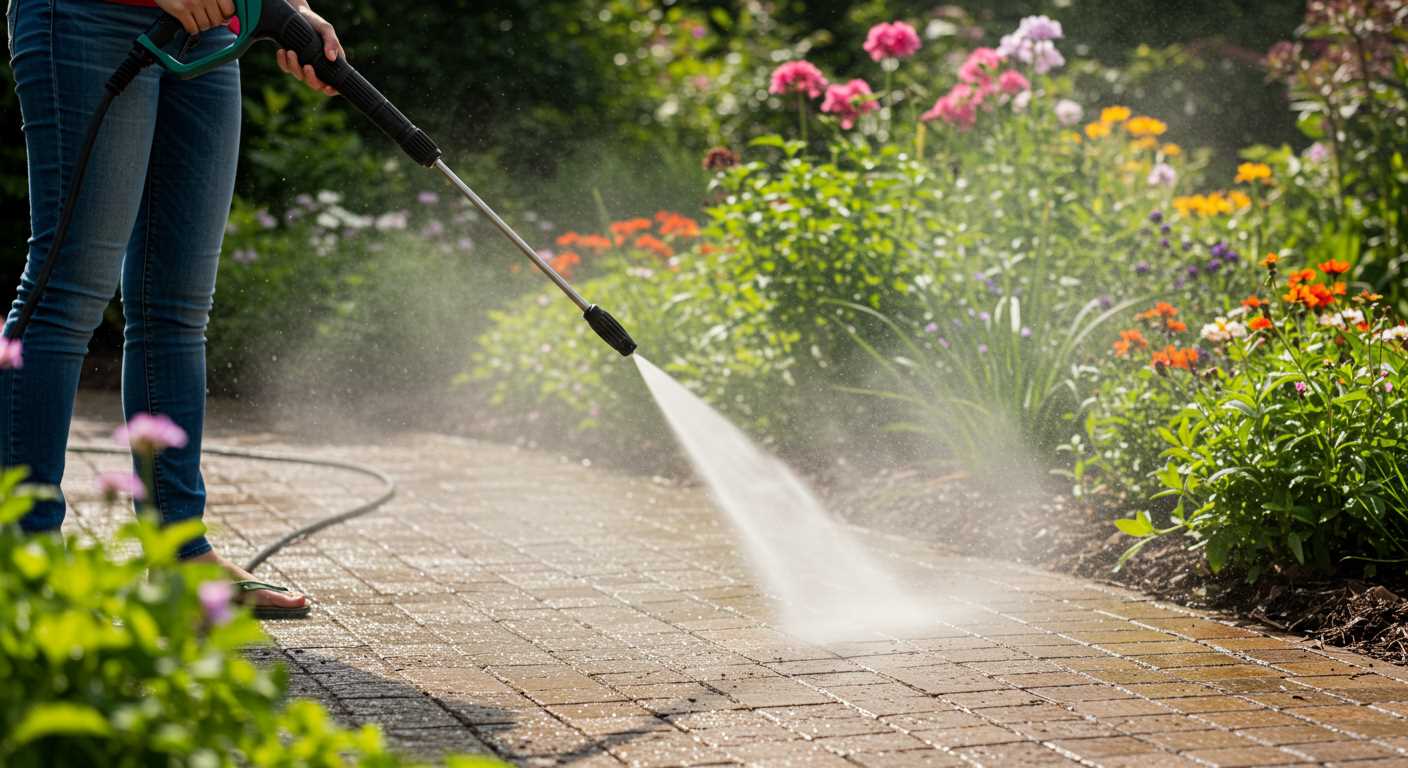
Begin with the handle, ensuring the trigger is properly aligned for smooth operation. Insert the nozzle attachment by pushing it firmly until you hear a click, indicating a secure fit.
Next, connect the safety lock mechanism; this step is crucial for preventing accidental discharge. Slide it into the designated slot until it is locked in place. Check for any wobble in the handle to confirm it’s tightly secured.
Attach the lance extension by aligning the slots and twisting it clockwise until it’s firmly in position. This will maximise your reach for various cleaning tasks.
Proceed to connect the high-pressure hose. Insert one end into the handle’s designated entry point and ensure a snug fit by twisting it clockwise. For the other end, connect it to the unit, ensuring that it locks into place to prevent leaks.
Finally, inspect all connections for tightness and security. A thorough check ensures the tool operates efficiently during your cleaning tasks, cutting down on downtime due to leaks or malfunctions.
Gather Necessary Tools and Components
Begin by procuring a compatible nozzle suitable for your model. Each design has specific nozzle attachments that influence performance and cleaning capability. Ensure that you select the correct size and type.
A wrenches set will be invaluable for securing connections. Choose an adjustable wrench for flexibility in handling various nuts and bolts sizes. If applicable, a screwdriver set may also be required for certain components that need assembly.
Required Components
Check for all necessary parts: the main handle, body casing, and trigger mechanism. Inspect whether hoses are provided and if they match the specifications needed for optimal functioning. O-rings and seals should be intact to prevent leaks.
Safety Gear

Do not overlook safety equipment: gloves and safety glasses are vital to protect against potential splashes and debris. Wearing non-slip footwear will provide additional protection during operation.
Connect the Trigger Mechanism to the Gun Body
Align the trigger mechanism with the designated slot on the gun body, ensuring that the latch engages properly. Once aligned, press down firmly until you hear a distinct click, indicating a secure connection.
Check for any misalignment by attempting to move the trigger slightly; if it feels wobbly, disconnect and re-seat the mechanism. This step is vital for ensuring a smooth operation and preventing any accidental discharges.
Next, locate the securing screws that come with the kit. Using an appropriate screwdriver, tighten these screws evenly. Avoid over-tightening, as this may strip the plastic or metal, leading to future complications.
After securing, test the trigger movement multiple times to confirm it returns to its original position smoothly. Any issues might require re-evaluation of the connection. This ensures reliability during usage, preventing unexpected failures while operating the equipment.
Attach the High-Pressure Hose Properly
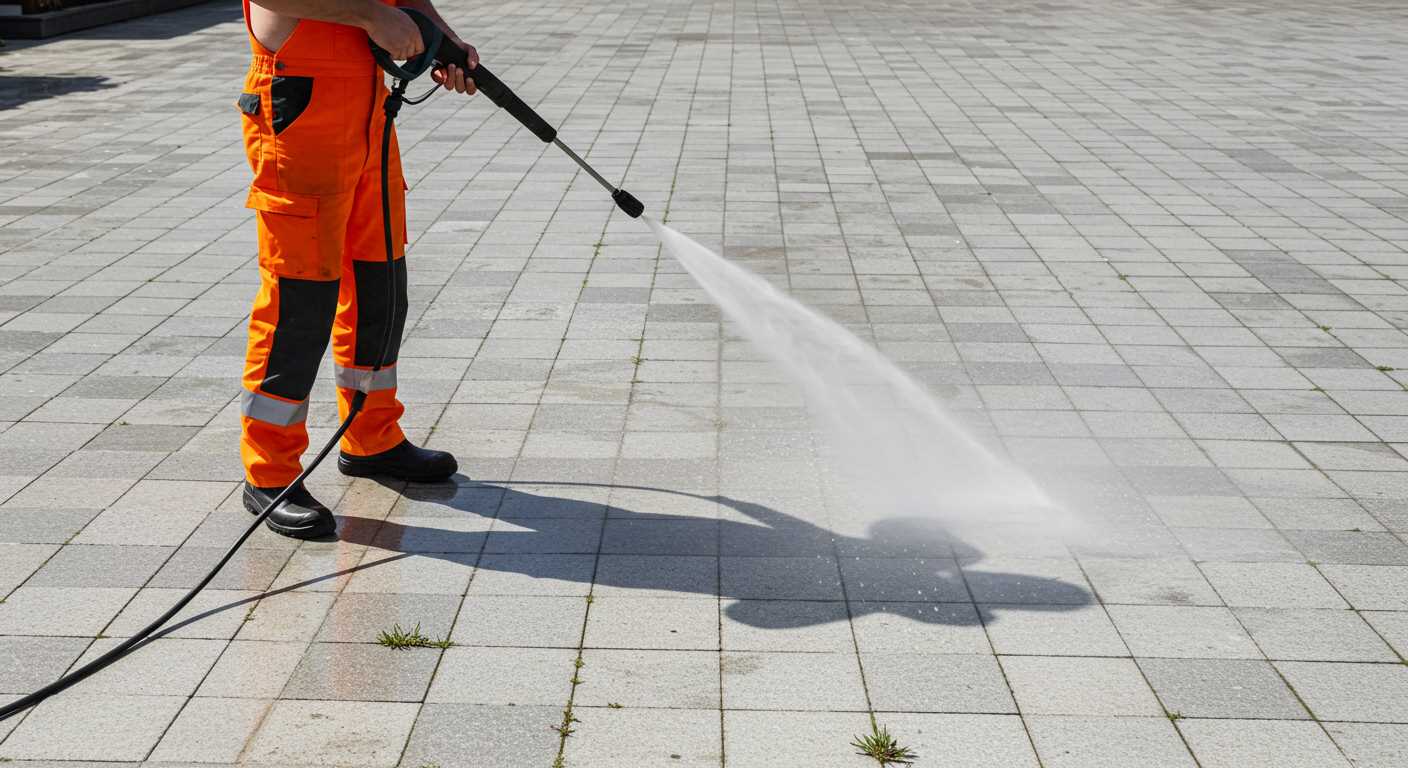
Align the high-pressure hose with the connector on the handle, ensuring a secure fit. Rotate the hose clockwise until it’s tightly seated. Be cautious not to overtighten, as this can damage the threads.
Steps to Ensure a Tight Connection
1. Inspect the O-ring: Check the O-ring on the end of the hose for any signs of wear or damage before attaching. A damaged O-ring can cause leaks.
2. Clean the threads: Make sure the threads on both the hose and the connector are clean to avoid any obstructions that could prevent a tight seal.
3. Hand-tighten: After aligning the hose, hand-tighten first before using any tools to ensure it’s not cross-threaded.
Common Mistakes to Avoid

| Mistake | Consequence |
|---|---|
| Ignoring O-ring condition | Risk of leakage during use |
| Over-torquing the connection | Potential damage to fittings |
| Using tools without hand-tightening | Increased chance of cross-threading |
Once attached, ensure that there are no visible gaps between the hose and the connector. Conduct a quick pressure test by turning on the water flow to check for leaks. A proper connection will ensure a smooth and safe operation.
Install the Nozzle and Adjustments
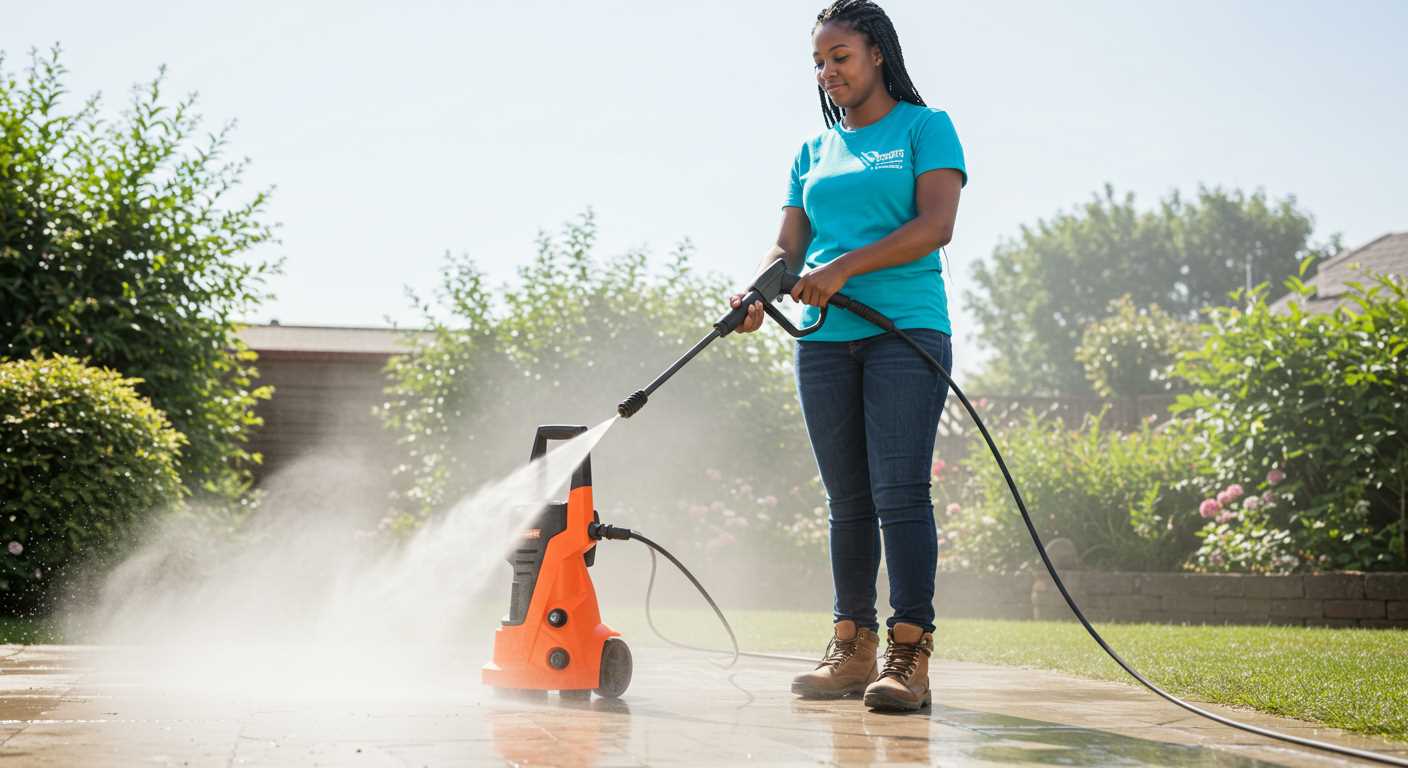
Attach the nozzle by aligning it with the fitting at the end of the lance. Push firmly until you hear a click, indicating it is securely locked in place. Ensure the nozzle is appropriate for your specific tasks, as different nozzles distribute the flow differently.
Types of Nozzles
- 0-degree nozzle: Provides a concentrated jet for tough stains.
- 15-degree nozzle: Good for heavy-duty cleaning without damaging surfaces.
- 25-degree nozzle: Ideal for general washing and rinsing.
- 40-degree nozzle: Perfect for delicate surfaces, such as cars.
Once the nozzle is attached, adjust the angle if your model allows it. For flat surfaces, keep the nozzle parallel for an even wash. For vertical cleaning, tilt the nozzle slightly to prevent water from pooling.
Adjusting the Spray Pattern
Many nozzles feature a dial to adjust the spray pattern. Rotate it to switch between different degrees of spray depending on the task at hand. A tighter spray is suitable for scrubbing surfaces, while a wider spray is useful for rinsing.
Test the adjustments by briefly activating the unit to ensure the desired spray pattern is achieved and make any necessary recalibrations. Remember to hold the lance securely and maintain a safe distance from the surface being cleaned to prevent damage.
Secure the Safety Lock and Release Valve
Ensure the safety lock is engaged before proceeding. This prevents accidental discharge during handling. Locate the lock mechanism on the handle and confirm it is firmly in place.
Next, work with the release valve. This component is crucial for safely releasing any residual pressure in the system. Follow these steps:
- Identify the release valve, often situated near the base of the trigger.
- With the unit powered off, press the release valve to ensure it functions correctly.
- Listen for any air escaping, which indicates that the pressure has been successfully released.
After securing the safety features, double-check both the lock and valve for any signs of wear or damage. Replace them if necessary to guarantee proper operation and safety during use.
Re-confirm these components prior to each use. This practice not only extends the lifespan of your equipment but also enhances your safety while operating high-pressure cleaning tools.
Test the Assembly for Leaks and Performance
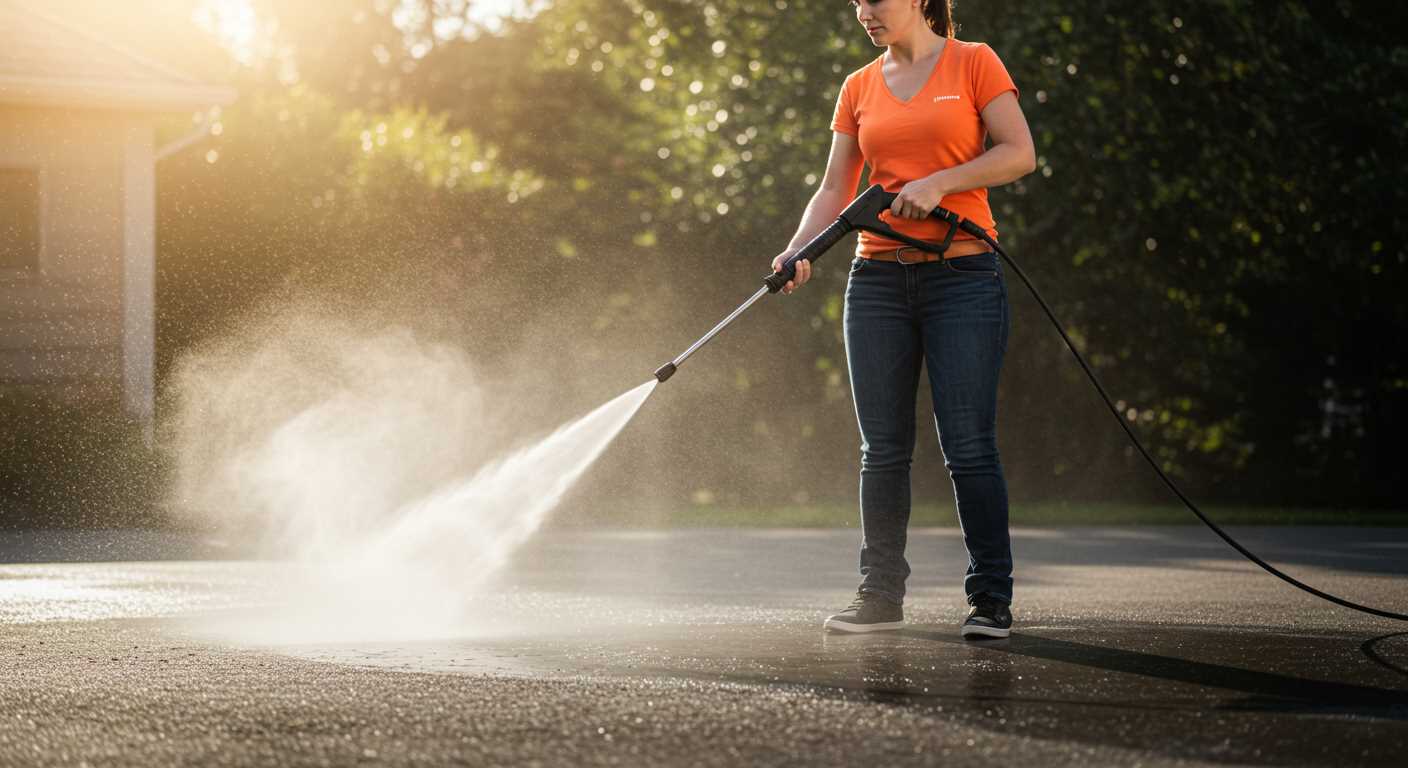
To ensure a secure installation, I recommend conducting a thorough leak test after putting together the components. Begin by connecting the unit to a water source and turning it on. Check all junctions, especially where hoses meet and connections are made. Look for any signs of dripping or moisture accumulation. If any leaks are detected, tighten the fittings appropriately until the issue is resolved.
Pressure Check
Once confirmatory checks for leaks are complete, proceed to evaluate the performance. Stand at a safe distance and trigger the mechanism. Observe the flow of water; it should be consistent and powerful. Any irregularities, such as sputtering or weak output, might indicate blockages or issues in the nozzle or hose. Adjust the nozzle settings to gauge different spray patterns and inspect for effective operation.
Final Adjustments
If performance issues persist, loosen the connections slightly, inspect for debris, and re-tighten to establish a proper seal. Always ensure the safety lock is engaged during these tests to prevent accidental activation. Regular maintenance checks will enhance longevity and ensure optimal functionality in the long run.


