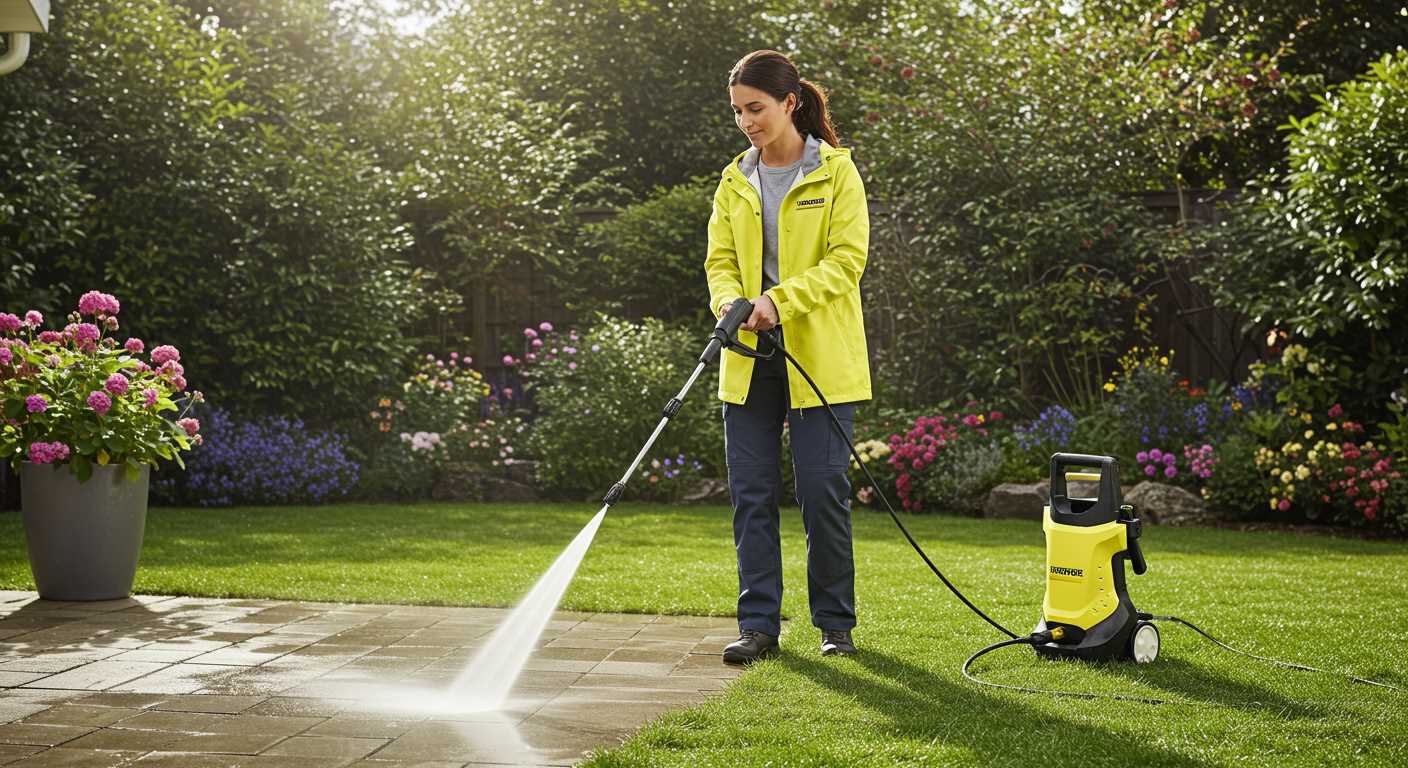


To achieve optimal results when using a foaming attachment with your cleaning equipment, ensure you begin with the right connector. First, check that the nozzle on your foaming tool is compatible with the outlet of your unit; the majority feature standardised fittings, making integration straightforward.
Next, securely fasten the sprayer to the equipment. Most models utilise a simple twist-lock mechanism or clip, which should allow for a snug fit without any leaks. If you encounter resistance, double-check for any obstructions or misalignments that might prevent a proper seal.
Adjust the settings on your machine to the appropriate pressure level recommended for foam applications. Typically, a lower pressure enhances foaming performance and ensures thorough coverage without damaging delicate surfaces. Always refer to your equipment’s manual for specific guidelines tailored to your model.
Finally, mix your chosen detergent according to the instructions, ensuring the right dilution ratio to maximise cleaning efficiency. With your sprayer securely attached and settings adjusted, you can efficiently tackle grime and dirt with ease, achieving a professional finish at home.
Attaching Cleaning Dispenser to High-Pressure Cleaner
Ensure that the equipment is powered off. This avoids any accidental discharge of water or cleaning solution while handling the components.
Your next step is to replace the nozzle on the water outlet of the high-pressure cleaner. Locate the quick-connect fitting commonly found on the end of the sprayer wand. Confirm that the connector from the dispensing unit matches this fitting, ensuring compatibility.
- Remove the existing nozzle by pressing the release tab and pulling it straight out.
- Insert the adaptor of the dispensing unit into the water outlet until it clicks into place.
- Check the connection for any loose fittings.
Next, proceed to attach the cleaning fluid reservoir. Most dispensers come with a screw cap that fits onto the reservoir; ensure it’s tightly sealed to prevent leaks during operation.
Testing the Setup
With everything connected, it’s time to test the assembly. Turn on the high-pressure cleaner without engaging the spray function. Observe for any leaks at the seams and ensure that the dispensing unit remains secure. Activate the system briefly to verify the proper flow of the cleaning solution.
- Switch on the power supply.
- Engage the unit and initiate the flow of water.
- Look out for foam or suds being generated, indicating that the system is functioning as intended.
If you notice any inconsistencies or issues during your testing phase, double-check each connection point and seal. Regular maintenance includes ensuring that the components are clean and free from any debris, which could impair functionality.
Selecting the Right Foam Cannon for Your Pressure Cleaning Setup
To choose the right spray attachment, consider compatibility with your cleaning unit’s pressure rating. Look for models that operate effectively within your machine’s PSI range, typically between 1300 to 3000 PSI. Units too powerful may damage the accessory.
Next, concentrate on the nozzle size. A nozzle that matches your pressure equipment ensures proper distribution of cleaning solution. Standard sizes like 1.1, 1.25, or 1.5 mm are common–select one that aligns with your intended projects.
Check the construction materials of the device. High-quality models often utilise durable plastics or metals that resist wear and tear. This is particularly beneficial for regular use, reducing the likelihood of leaks or breakage over time.
Evaluate the adjustable features. A unit with a variable spray pattern or dilution control allows for versatility in applications, from heavy-duty washing to delicate cleaning tasks. This adaptability can enhance your cleaning experience significantly.
Finally, consider the capacity of the solution reservoir. A larger tank enables prolonged use without frequent refills, making it ideal for extensive cleaning jobs. Ensure it’s easily refillable for added convenience.
Identifying Connector Types Compatible with Your Equipment
Start by examining the inlet and outlet connections of your cleaning apparatus. Most brands use standardised fittings, making it easier to find compatible accessories. Look for a quick-connect coupler, typically featuring either a female or male fitting. Common sizes include 1/4-inch, 3/8-inch, or 1/2-inch threads.
Common Connector Types
Two prevalent styles are the M22 and 3/8-inch quick disconnect. M22 connectors have a threaded design, generally used with consumer-grade machines. In contrast, professional-grade models often utilise a 3/8-inch quick disconnect system, characterised by an easy-release mechanism. Verify your unit’s specifications in the user manual to ensure proper matching.
Understanding Compatibility
Mixing incompatible connectors can lead to leaks or damage, so always review manufacturer guidelines. If you’re unsure, consult with a knowledgeable retailer or check online resources where detailed compatibility charts are provided. Observing these guidelines maximises performance and extends the lifespan of both your nozzle and the equipment.
Preparing Your Equipment for Foam Applicator Connection

Before securing the cleaning accessory, ensure that your machine is powered down, disconnected from any electrical source, and depressurised. This eliminates potential hazards and ensures a smooth setup process.
Inspecting the Equipment

Examine the main unit for any damage, particularly on the connectors. Look for wear or debris that may impede a secure connection. Clean the inlet and outlet ports with a soft brush or cloth to ensure optimal performance.
Setting Up the Cleaning Solution
Prior to connecting, prepare the cleaning solution according to the manufacturer’s instructions. Use the recommended detergent for best results, diluting if necessary. Pour the mixture into the designated container of the applicator, ensuring not to surpass the maximum fill line to prevent spillage during operation.
Attaching the Foam Cannon to the Pressure Wand

To securely fasten the foam cannon to your cleaning tool’s wand, follow these precise steps:
- Ensure the equipment is powered off and disconnected from any power source or water supply.
- Locate the quick-connect or screw fitting at the end of the wand. Most models feature a threaded or click-on mechanism.
- If your cannon has a different connector type, you may need an adapter. Verify compatibility with your setup prior to proceeding.
- Align the foam cannon’s connection port with the wand fitting. If using a screw type, rotate clockwise until snug, ensuring a tight seal to prevent leaks.
- If it is a quick-connect mechanism, push the cannon onto the wand until you hear a click. Pull gently to confirm it is secure.
- After attachment, check all connections for stability and ensure no parts are loose.
Final Steps Before Use
Once the cannon is affixed, fill it with your chosen cleaning solution and reconnect the water supply. Perform a brief test of the equipment at a low setting to verify the cannon is functioning correctly.
Regularly inspect the connections for wear to maintain optimal performance and achieve desired cleaning results.
Testing for Proper Seal and Functionality
Before utilising new attachments, it’s vital to ensure a strong seal and optimal operation. Begin by connecting the accessory to the wand, tightening it until secure. Inspect for any visible gaps between the connections; even a slight opening can lead to inefficient performance.
Next, initiate water flow without activating the motor. Watch for leaks around the junctions. A steady stream without drips indicates a suitable seal. If you observe any water escaping, disconnect and re-tighten the components. Sometimes, using a washer or O-ring might be necessary for a complete seal.
Operational Test
Once leak-free, proceed to perform an operational check. Engage the motor and observe the output. Pay attention to the consistency and coverage pattern of the generated foam. An even spray suggests the attachment is functioning correctly, while erratic dispersal or weak output implies a potential issue.
Performance Analysis

Evaluate the foam density. High-quality mixtures should produce a thick, clinging foam beneficial for cleaning. If the foam appears watery or fails to adhere to surfaces, consider adjusting the mixture ratio or switch to a different cleaning agent suited for the surface in question.
| Issue | Potential Cause | Solution |
|---|---|---|
| Leaks at connection | Loose fitting or damaged seal | Re-tighten or replace seal |
| Poor foam production | Incorrect mixture or low pressure | Adjust ratio or increase pressure |
| Uneven spray pattern | Clogged nozzle or incorrect attachment | Clean or replace nozzle |
Conducting these tests after installation not only verifies performance but also extends the lifespan of your equipment. Should any issues arise during testing, addressing them promptly will enhance functionality and efficiency in your cleaning tasks.
Adjusting Foam Density for Optimal Cleaning

To achieve the best results during cleaning, adjusting the consistency of the cleaning solution is crucial. Start with a base mixture that typically contains a blend of water and detergent. For lighter tasks like washing a car, a dilution ratio of approximately 1:10 (one part detergent to ten parts water) works effectively. This generates a thinner foam that can easily lift dirt without leaving residues.
Increasing Foam Thickness for Heavy-Duty Cleaning

For more challenging jobs, such as cleaning patio furniture or driveways, a thicker solution is necessary. Adjust the ratio to around 1:5. This thicker application clings better to surfaces, allowing time for the chemical action of the cleaner to break down stubborn grime. Remember to test a small area first to ensure compatibility with the surface material.
Fine-Tuning for Specific Surfaces
Different surfaces may require tailored mixtures. For delicate paint finishes, opt for a softer foam to avoid damage. Conversely, hard surfaces, like concrete, can handle more aggressive mixtures. Additionally, experiment with various cleaning agents that may perform better with specific densities. Regular trials will help determine the perfect formulation for your particular cleaning tasks.
Maintenance Tips for Your Foam Applicator and High-Pressure Cleaning Device
Regular cleaning after each use of your applicator prevents residue build-up. Rinse the unit with clean water, ensuring all cleaning agents are flushed out. This simple step can significantly extend its lifespan.
Inspect all connections regularly. Look for any signs of wear or damage. Replacing worn seals or fittings promptly can prevent leaks and maintain optimal performance.
Store equipment in a dry location away from extreme temperatures. This prevents deterioration of plastic components and protects the integrity of hoses and connectors.
Occasionally disassemble the applicator to check internal components for clogs or dirt accumulation. A thorough cleaning can enhance the dispensing capability and ensure consistent application.
If you notice reduced performance, consider replacing the nozzle with one that fits your cleaning requirements. Different nozzles can provide varying spray patterns and pressure levels, allowing customization according to the task at hand.
Use only compatible detergents. Mixing different chemicals can lead to damaging reactions and compromise equipment function. Always refer to the manufacturer’s guidelines for recommended cleaning solutions.
For optimal results, set the correct pressure on your cleaning device based on the surface being treated. Adjustments prevent damage to delicate areas while providing maximum cleaning efficacy for tougher surfaces.
Lastly, keep an organised maintenance log. Tracking usage and upkeep schedules helps in pinpointing when parts need replacing or servicing, further enhancing the longevity and reliability of your tools.


