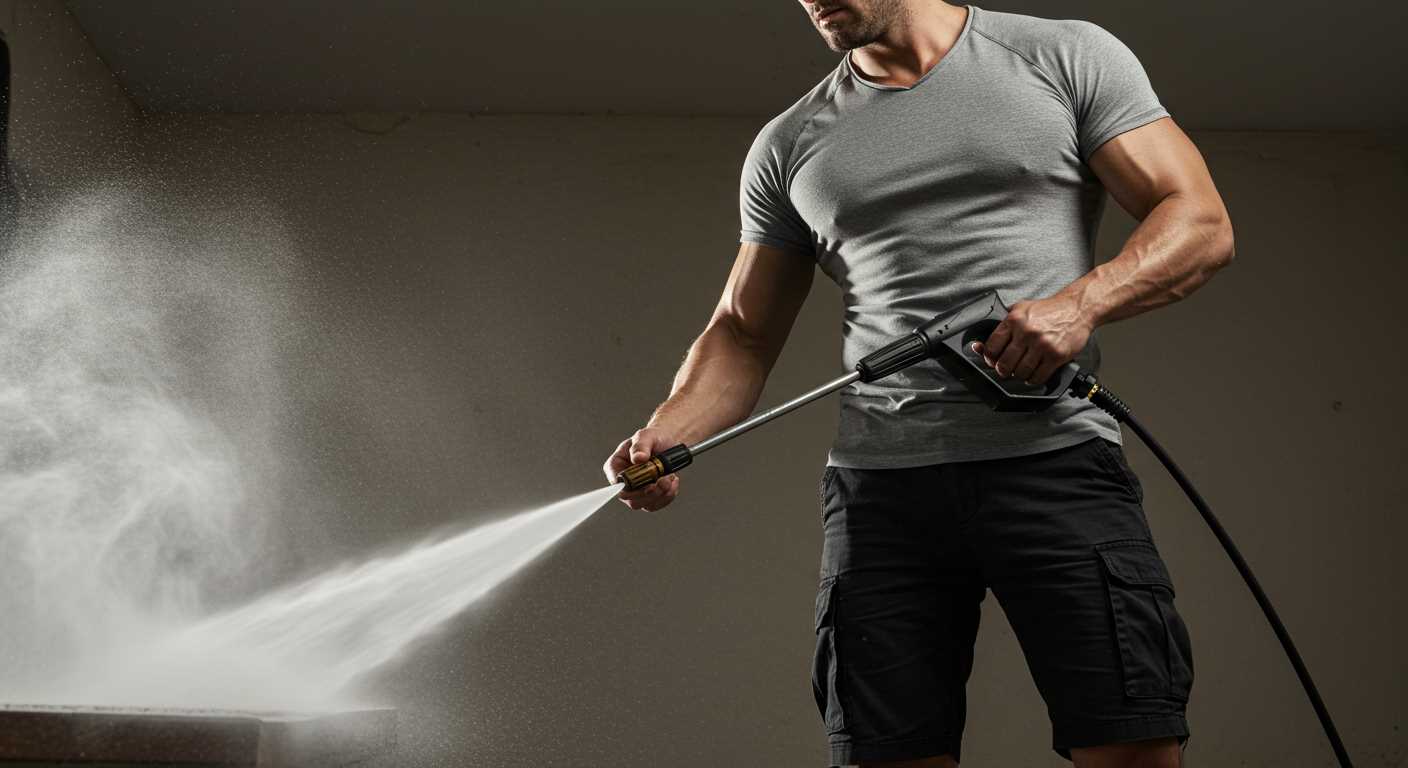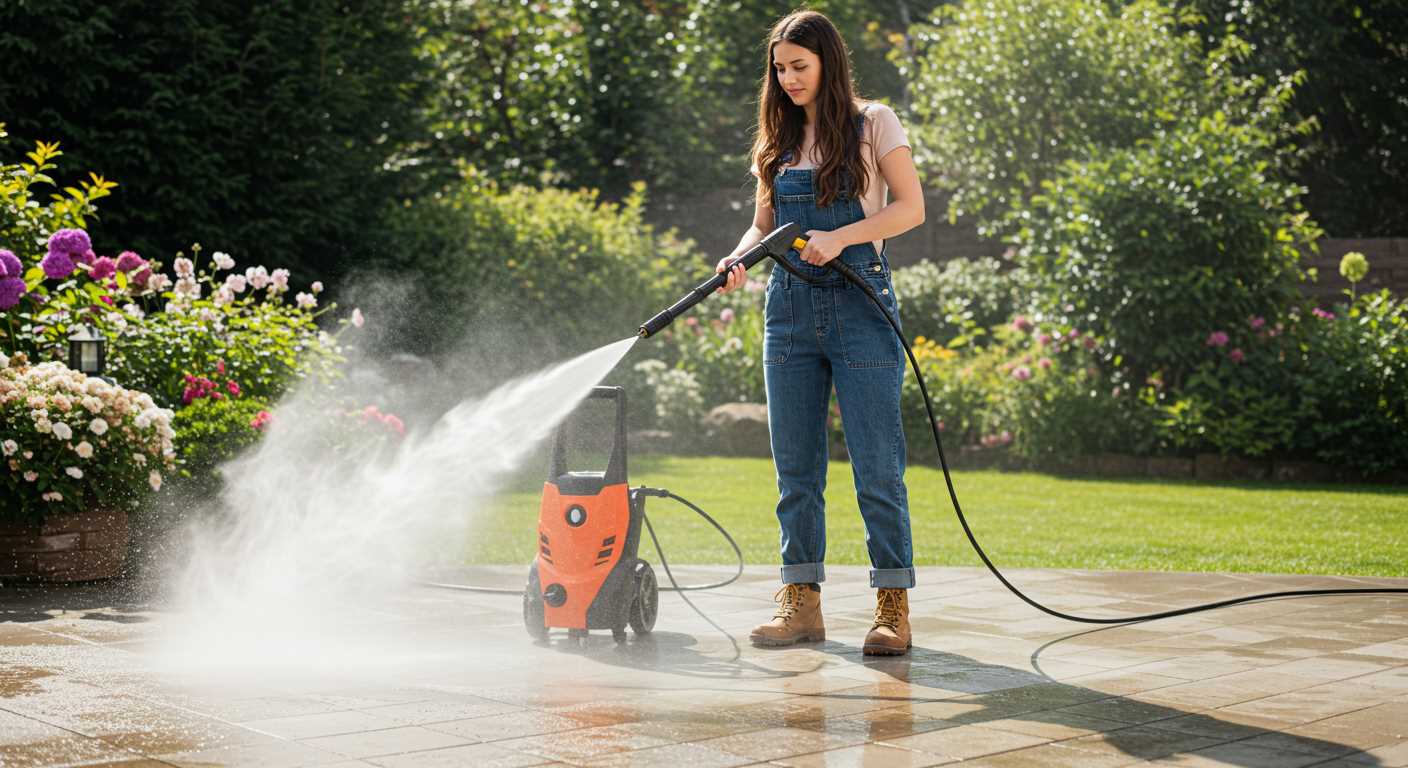


First, ensure your device is disconnected from the power source. This is a safety measure that can’t be overlooked. Next, locate the nozzle fitting on your unit, which is generally at the end of the lance. Most models will feature a quick-connect system, designed for easy and efficient exchanges of accessories.
Once you’ve identified the correct connection type, align the sprayer accordingly. Depending on the specific brand, you may need to slide or push to lock it into place. Listen for a click or feel for a secure fit, confirming it is properly secured before proceeding.
After fastening the sprayer, attach the appropriate detergent reservoir, ensuring it’s filled with suitable cleaning solution. Keep in mind that not all substances are compatible with every model, so consult your manufacturer’s guidelines. Repeat this process for any additional attachments if you’re aiming for varied cleaning techniques.
Finally, reconnect your equipment to the power supply, and check for any leaks or disconnects before turning on the device. Test your setup on a small area first to ensure everything is functioning correctly. With this method, you’ll be ready to achieve optimal cleaning results.
Attaching the Accessory to Equipped Unit
Begin by ensuring that your unit is turned off and unplugged for safety. Locate the quick-connect fitting on the end of the accessory. If present, remove any existing nozzle or attachment that may be in place. Carefully align the quick-connect with the outlet on your device, ensuring a snug fit without forcing it.
Once aligned, push the accessory firmly into the outlet until you hear a click, indicating it is securely locked in position. It’s crucial to check that it is tightly fastened to prevent any leakage during operation. If necessary, consult your user manual for specific instructions related to your model, as some units may have unique connection methods.
After securing the connection, proceed to connect the water supply hose to the appropriate inlet on your machine, ensuring all seals are intact to avoid any drips. Before turning the unit back on, inspect all connections visually for stability.
Next, power on your machine and test the functionality of the accessory. Adjust the mix ratio according to your cleaning solution requirements, if applicable, and begin your cleaning task. Regular maintenance of connections will ensure optimal performance and longevity.
Choosing the Right Foam Lance for Your Pressure Washer
Selecting an appropriate attachment for your cleaning device requires attention to compatibility and performance. Begin with the inlet connector; it must match your machine’s specifications. Common sizes include 1/4 inch and 1/2 inch. Measure your existing nozzle or refer to the manufacturer’s guide to ensure a precise fit.
Compatibility with Nozzle Pressure
The cleaning instrument’s pressure rating significantly affects how well the accessory works. Confirm that the foam sprayer is rated for the same water pressure output as your system. Using a product designed for lower pressures may not produce satisfactory results, while something rated for significantly higher pressures could lead to damage.
Option for Adjustable Settings
Opt for a model featuring adjustable settings for the foam thickness. This versatility allows for tailored application depending on the surface you’re cleaning and the type of detergent used. A wider nozzle range enhances effectiveness, providing better coverage and cleaning performance on various surfaces, from cars to patios.
Preparing Your Equipment for Connection
Ensure the equipment is off before starting the process. Follow these steps carefully for optimal results.
1. Gather Necessary Tools
- Wrench or pliers for securing connections.
- Cleaning cloths for removing any debris from connectors.
- Safety goggles to protect your eyes from unexpected spray.
2. Inspect the Equipment

Examine the connectors on both the appliance and the attachment. Look for wear, cracks, or any signs of damage. A thorough check will help maintain performance.
3. Prepare the Hoses
- Remove any existing attachments from the hose.
- Flush the hose with water to eliminate any impurities or residues.
- Check for kinks or blockages to ensure fluid flow is unobstructed.
4. Set Up the Cleaning Solution
Mix the appropriate cleaning solution according to the manufacturer’s instructions. Use a clean container for dilution to avoid contamination.
5. Securely Connect the Hose
Fasten the hose to the cleaning tool according to the specifications. Ensure it’s tight enough to prevent leaks, but avoid over-tightening as it can cause damage.
6. Test the Setup
Before starting a full cleaning session, briefly turn on the equipment to check for leaks and ensure everything is functioning correctly.
Connecting the Foam Lance to the Pressure Washer Hose

Ensure compatibility between the nozzle and the cleaning equipment. Look for a quick-connect fitting that matches the diameter of your hose. If necessary, adaptors can bridge gaps between various sizes.
Begin by detaching the standard nozzle from the end of the hose. This process typically requires just a slight twist or pull, depending on the model you’re using. After removing it, clean the connection point to ensure a tight fit without any debris obstructing the joint.
Next, align the connector of the cleaning device with the hose, ensuring that the rubber O-ring is the right size and in good condition. Slide the lance onto the hose until you hear a click or feel a secure fit. If your equipment features a locking mechanism, be sure to engage it. This prevents any accidental disconnections during operation.
Testing the Connection
Once secured, it’s wise to test the entire assembly. Activate the equipment on a low setting to check for leaks. If water seeps from the joint, disconnect and re-evaluate the alignment. A proper seal is critical to effective washing.
Maintenance Tips
Regularly inspect the fittings for wear and tear. Over time, rubber components can degrade, leading to inefficiencies. Replace any damaged parts promptly to maintain optimal performance and extend the lifespan of your tools.
Adjusting the Foam Lance Settings for Optimal Performance
To achieve the best results while washing vehicles or surfaces, it’s crucial to fine-tune the settings of the cleaning solution dispenser. Start by determining the desired thickness of the suds. A thicker consistency generally provides better cling and cleaning power, especially for stubborn dirt. For lighter soils, a thinner mix may suffice.
Adjust the dilution ratio by experimenting with the settings on the canister. A ratio around 1:10 (cleaning solution to water) usually produces a rich foam, while a higher water-to-solution ratio can be used for lighter applications. Always adhere to the manufacturer’s recommendations for specific cleaning agents, as this can significantly affect results.
Next, the nozzle configuration is important. Different spray patterns can enhance cleaning efficiency. For instance, use a wider spray for larger areas needing gentle treatment and a narrower jet for targeted cleaning in confined spots. Standard nozzles typically indicate these settings with colour codes, so ensure you’re using the correct one for your task.
Keep an eye on the pressure settings of the washing device. Lower settings often enhance foam application, preventing the solution from being washed away too quickly. I recommend starting with low pressure and gradually increasing it until optimal performance is reached.
| Setting | Recommended Ratios | Tip |
|---|---|---|
| Thick Foam | 1:10 | Use for heavy soil |
| Thin Foam | 1:20 | Use for light dirt |
| Nozzle Type | Narrow/Wide | Narrow for focused cleaning |
| Pressure | Low to Medium | Prevent quick wash-off of the solution |
Monitoring the application while adjusting can guide you toward the perfect balance. Testing different settings under various conditions helps develop a personal preference based on specific cleaning needs. With practice, it’s straightforward to refine the approach for optimal outcomes.
Testing the Connection and Foam Output
After setting everything up, it’s crucial to verify the integrity of the connection and evaluate the foam output. Start by turning on the water supply and then the cleaning unit. Listen for any unusual sounds indicating a potential issue with the connection.
Next, check for leaks at the junction points. A consistent flow should be evident, free from drips. If you notice any escaping liquid, ensure the fittings are tightened appropriately and the seals are intact.
Adjust the nozzle settings carefully. Begin with a wider spray pattern to observe the distribution of the cleaning solution. Gradually narrow the spray until you achieve a good balance between coverage and intensity. Ensure the output is rich and thick, as this leads to improved cleansing results.
If the foam appears too thin or watery, you may need to modify the dilution ratio of the cleaning solution. Increase the concentration until the desired consistency is met. It’s worth testing on various surfaces to find the effective application method.
Once satisfied with the output, proceed to test the effectiveness on a small section of the intended cleaning area. This will allow you to assess both the performance of the system and your cleaning solution’s effectiveness before tackling larger jobs.
Maintaining Your Foam Lance for Longevity

Regular cleaning is paramount. After each use, empty the container and rinse with clean water to remove residues from chemicals and thickening agents. This practice prevents clogs and maintains optimal function.
Inspect the nozzle and connectors frequently for wear and tear. Replace any damaged parts immediately to ensure a consistent spray pattern and pressure. A worn nozzle can lead to uneven cleaning results.
Store in a dry environment, avoiding extreme temperatures and direct sunlight. This helps prevent degradation of plastic components and seals, extending the lifespan of the device.
When not in use for extended periods, consider disassembling the components to clean and store them separately. This reduces stress on the seals and prolongs their effectiveness.
If you notice any decrease in performance, apply a light lubricant to moving parts, ensuring they operate smoothly. Avoid using harsh chemicals that may damage the material.
Lastly, keep a log of maintenance activities, noting any replacements or repairs. This record can help track the condition and service history, guiding future care routines.
FAQ:
What tools do I need to attach a foam lance to my pressure washer?
To attach a foam lance to your pressure washer, you will typically need the foam lance itself, which is designed to work with your specific model, and an appropriate pressure washer nozzle, usually a quick-connect type. Some foam lances may require an adapter, so check compatibility with your pressure washer’s fittings. Additionally, having a bucket and appropriate car wash soap will help you test the setup once it’s connected.
Can I use my foam lance with any pressure washer model?
Not all foam lances are compatible with every pressure washer model. It’s crucial to check the specifications of both the foam lance and your pressure washer. Most foam lances are designed to fit pressure washers that have the same connection size and type. If your pressure washer has a unique fitting, you might need an adapter. Always consult the product manuals or manufacturer’s website for compatibility details.
What are the steps to properly attach a foam lance to my pressure washer?
To properly attach a foam lance to your pressure washer, follow these steps: First, ensure your pressure washer is unplugged and has no water supply connected. Next, identify the hose connection point on your pressure washer and remove any existing nozzle if necessary. Then, take the foam lance and connect it to the pressure washer’s outlet, ensuring it clicks into place securely. After that, fill the foam lance’s container with the appropriate soap solution, then connect the water supply and plug in your pressure washer. Finally, turn on the water and pressure washer, adjusting the foam lance for the desired foam output. Always check for leaks and ensure a tight fit before starting your cleaning task.


