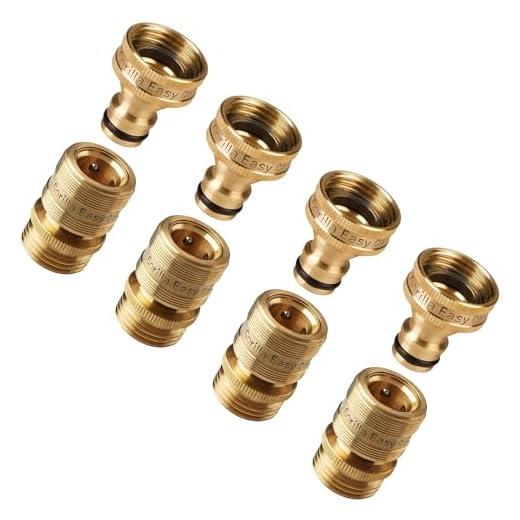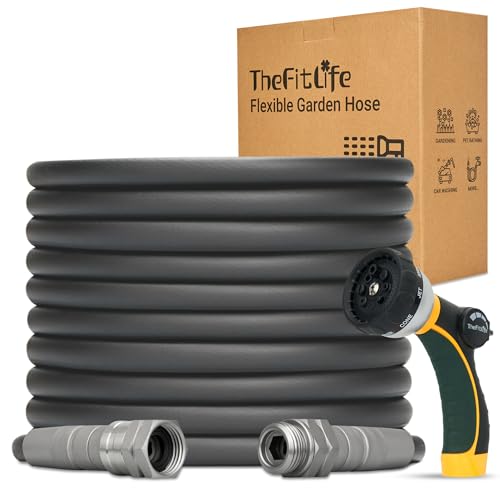


Begin with ensuring the correct fittings are on hand; I recommend a standard ½ inch hose fitting that matches the supplied connector on your cleaner. This is crucial for avoiding leaks and maintaining optimal function during use.
Next, check your water source. It should deliver a steady flow without any interruptions, as inadequate water supply can lead to performance issues. Ensure the tap is fully open before making connections. Secure the hose tightly onto the connector, ensuring a snug fit to prevent any disconnections while in operation.
Once your apparatus is linked, it’s vital to check for any leaks at the connections. Turn on the water flow and inspect carefully. If you notice any dripping, you may need to tighten the fittings further or replace any damaged washers. This step will ensure a clean and efficient experience during your cleaning tasks.
Finally, always disconnect the hose after use to prevent wear and tear on the fittings. This practice not only extends the life of your equipment but ensures that everything is ready for your next cleaning endeavour.
Steps for Connecting Water Supply to Your Cleaning Equipment
First, ensure your unit is turned off and unplugged from the electrical source. Identify the inlet for the water connection on your machine; it is usually located at the rear or side, marked clearly.
Follow these steps:
- Gather the necessary components: a compatible water supply line and any required fittings specific to your device.
- Check the end of the water line for damage or debris. Clean or replace it if necessary for a secure seal.
- Align the connection point with the inlet on your device, ensuring threads or fittings match perfectly.
- Twist or push the line into place, depending on the design. If threads are involved, turn clockwise to tighten.
- Secure the connection by hand, avoiding excessive force to prevent damage to fittings.
After establishing a connection, verify the integrity:
- Turn on the water supply slowly to check for leaks.
- Inspect the area around the connection; if any water appears, adjust as needed until a tight seal is achieved.
Once confirmed that there are no leaks, switch on the power and observe the functioning. If issues arise, disconnect and reassess all links.
Understanding the Karcher Pressure Washer Hose Connections
Familiarising yourself with the connection types is crucial for seamless use. The latest models typically feature a quick-connect system, simplifying the process. When securing the flexible tubing, ensure that it clicks into place, indicating a secure fit. Check that the locking mechanism functions properly; this prevents leaks during operation.
Pay attention to the connector size, which may vary between different models. Most commonly, you will encounter 1/4-inch or 3/8-inch fittings. Carrying compatible adaptors can be beneficial if you work with multiple units. Regular inspections of the connectors for wear and tear can prolong the life of your components; if you notice damage, replace them immediately to avoid performance issues.
The inlet section usually accommodates a garden water supply. Make sure to tighten this part securely; a loose fitting can lead to insufficient water flow, impacting cleaning efficacy. I recommend always using a filter to prevent debris from entering the system, which can clog the internal components and hamper performance.
For maximum efficiency during attachment, orient the connections properly. Align the parts to avoid cross-threading, which can cause irreparable damage. If you face resistance, check for obstructions or misalignment rather than forcing the components together.
Finally, understanding the basic maintenance of connection points is key. Clean the threads periodically and apply a little silicone grease to keep them in optimal condition. This simple routine can significantly enhance longevity and reliability during use.
Choosing the Right Hose Pipe for Your Karcher Model
Opt for a compatible length and diameter to ensure efficient operation. For instance, a 6-12 metre length typically offers a balance between mobility and pressure maintenance, while a diameter of 6-10 mm suits most models effectively.
Material selection plays a pivotal role. Polyurethane and rubber are top choices, given their flexibility and resistance to kinks. Additionally, ensure that any attachments or fittings are made from durable materials, ideally brass or high-grade plastic, to prevent wear and leaks during use.
Observe the pressure rating of your chosen tubing carefully. It should surpass the maximum output of your unit for safety and performance. Most Karcher devices function well within a range of 100-150 bar; therefore, selecting a product that can handle at least 200 bar will provide extra assurance.
Inspect compatibility features too. Certain models have unique connection mechanisms. Verify that the chosen product aligns with the specified fittings of your equipment. If unsure, consult the manufacturer’s manual or website for guidance.
Consider the intended cleaning tasks as well. If utilising chemicals or detergents, ensure compatibility with those substances to prevent degradation of the material over time. Always refer to chemical specifications provided by the manufacturer.
Lastly, invest in a reputable brand. While numerous options exist, proven manufacturers often provide better warranties and customer support. This ensures peace of mind knowing you have selected a reliable product suited for ongoing use.
Steps to Prepare Your Equipment for Coupling
Ensure that the machine is powered off and unplugged from the electric source. This step will prevent any accidental activation during the setup process.
Inspect the connections on the unit for any debris or damage. Cleaning the inlet allows for a proper fit and prevents leaks.
Check the sealing ring on the connector. A worn or damaged ring can lead to water leakage when the system is in use; replace it if necessary.
Gather all necessary tools and components close to the workspace. Having everything within reach speeds up the process and helps avoid interruptions.
Filling the Water Supply
Ensure a steady water supply is connected to the machine before coupling. Open the water source fully to allow the system to prime properly.
Turn on the water flow and check for leaks in the connection points. It’s crucial to confirm that everything is sealed before powering on the equipment.
Preparation Check
Review the owner’s manual for any specific instructions related to your model. Each variant may have unique requirements or features.
Finally, double-check all connections and seals. A thorough check will guarantee that your unit is fully prepped for operation, allowing for maximum efficiency during use.
Method for Securing the Hose Pipe to the Pressure Washer
Using the right connectors is essential for achieving a reliable fit. Begin by checking the quick-release coupling on your equipment. It’s designed for ease of use, allowing for a smooth connection without the need for additional tools.
Follow these key steps:
- Ensure the connecting points are clean and free from debris. This prevents leaks or blockages.
- Align the connector of your flexible tube with the corresponding inlet on your cleaning unit.
- Firmly push the connector into the inlet until you hear a click. This indicates it is securely locked in place.
- Gently tug on the connection to confirm it is secure and not prone to dislodging during operation.
If your model features a threaded connection, use a wrench to secure it tightly. Avoid over-tightening, which could cause damage.
Regular inspections are advisable. Check the connection for signs of wear or damage that could affect performance. If any issues arise, promptly replace the components to maintain efficiency.
Remember to store your hoses properly after use. This helps avoid kinks or bends that can affect future attachments.
Checking for Leaks and Ensuring Proper Fit
Ensure a reliable connection before use. Inspect the fittings at both ends for any signs of wear or damage. A tight seal is essential; any gaps can lead to leaks and reduced performance.
Visual Inspection
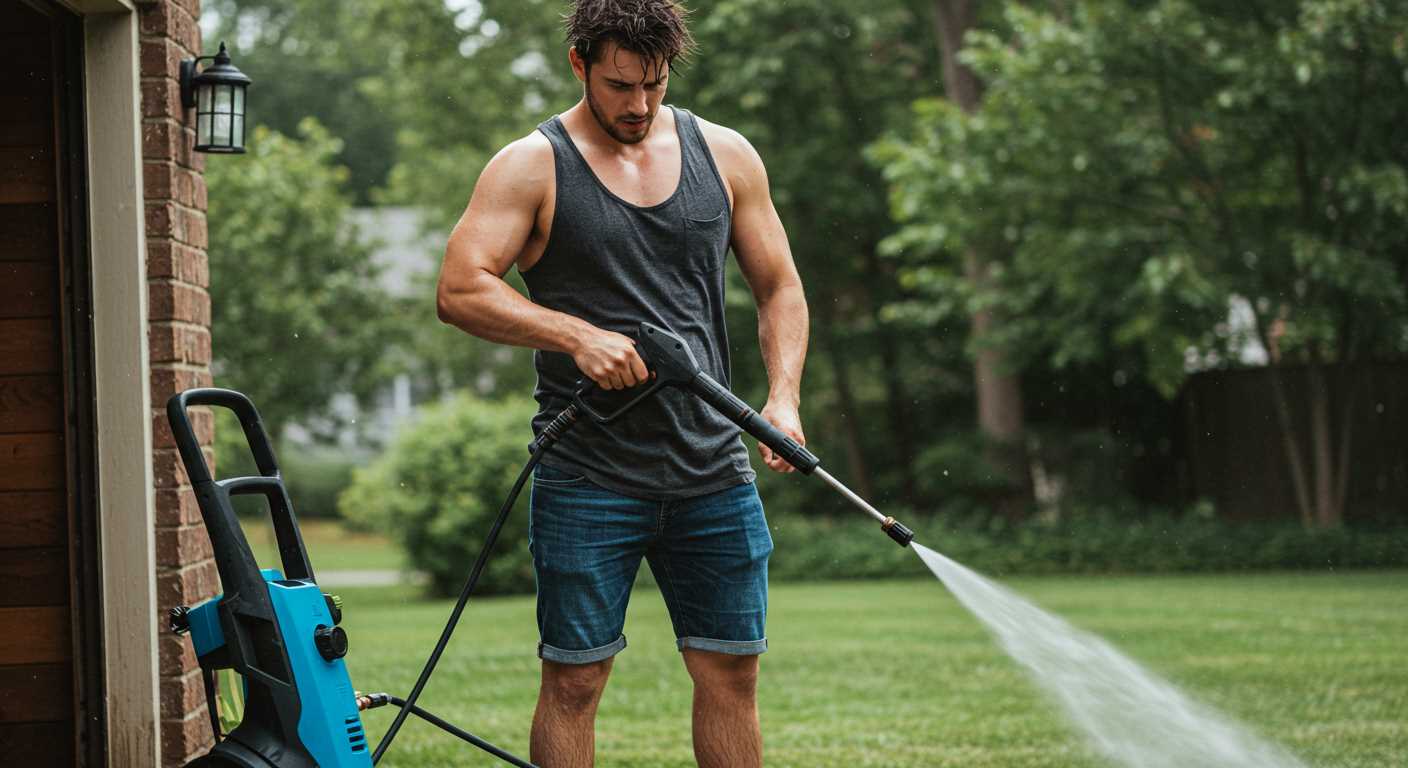
Examine all components visually. Look for cracks, fraying, or other damages on connectors or seals. Replace damaged parts to guarantee optimal functionality.
Testing for Leaks
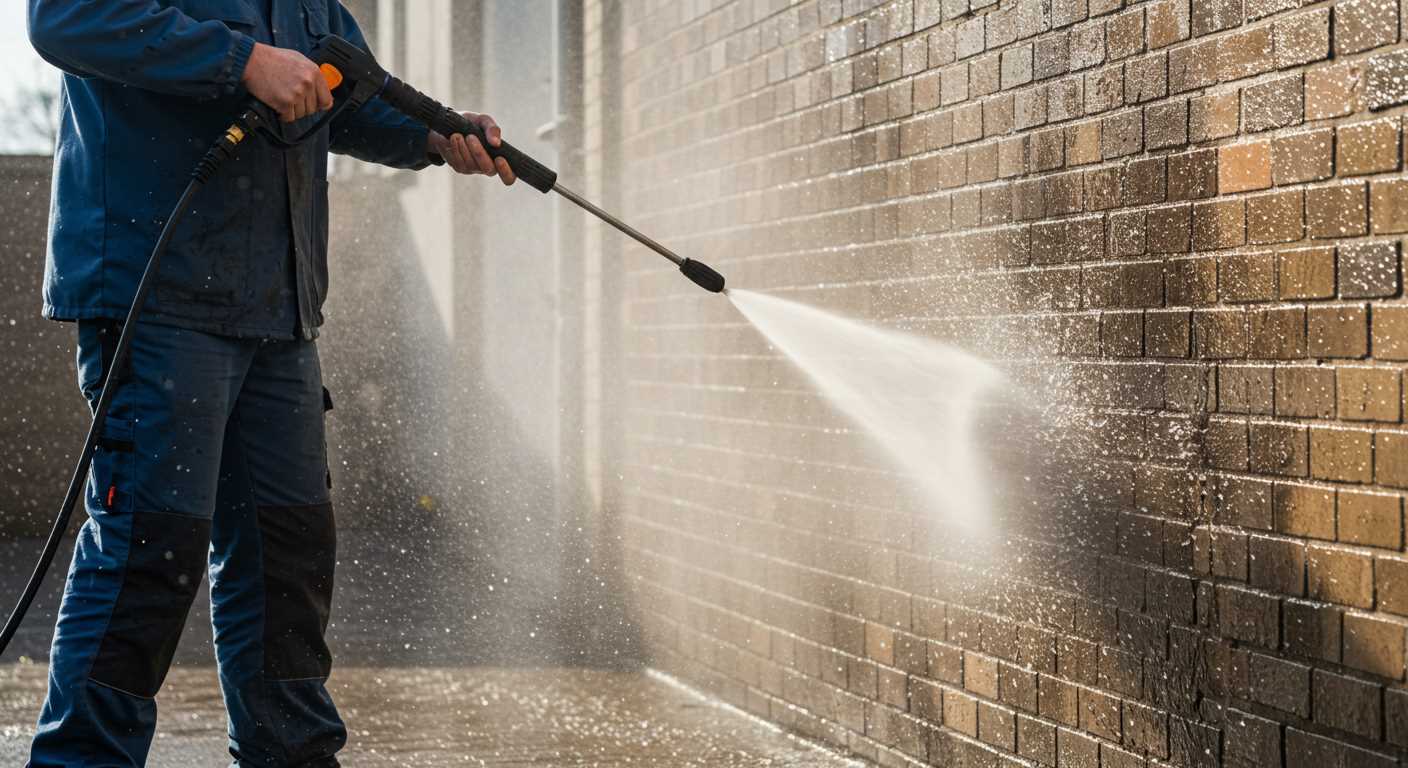
Once you’ve secured the components, conduct a simple test to identify leaks. With the equipment powered on, observe areas around the fittings. Running your fingers along the connection points can help detect any moisture. If you notice any leaks, address them immediately to prevent water loss and ensure proper operation.
| Inspection Area | Signs of Damage | Recommended Action |
|---|---|---|
| Connection Fittings | Cracks, wear | Replace fittings |
| Seals and Gaskets | Fraying, deformation | Change seals |
| Hoses | Leaks, bulges | Inspect and replace as needed |
Following these steps not only maximises the equipment’s efficiency but also extends its lifespan. Regular checks can prevent unexpected breakdowns and ensure steady performance during cleaning tasks.
Tips for Maintaining Your Karcher Pressure Washer Hose Setup
Regularly inspect your attachment for signs of wear. Look for cracks or bubbles that can indicate weaknesses. Replace any damaged sections immediately to prevent leaks and maintain performance.
Store Properly
Always wind your tubing carefully after use, avoiding tight bends that can lead to kinks. Use a reel or holder to keep it organised and off the ground, minimising exposure to the elements.
Clean Connections
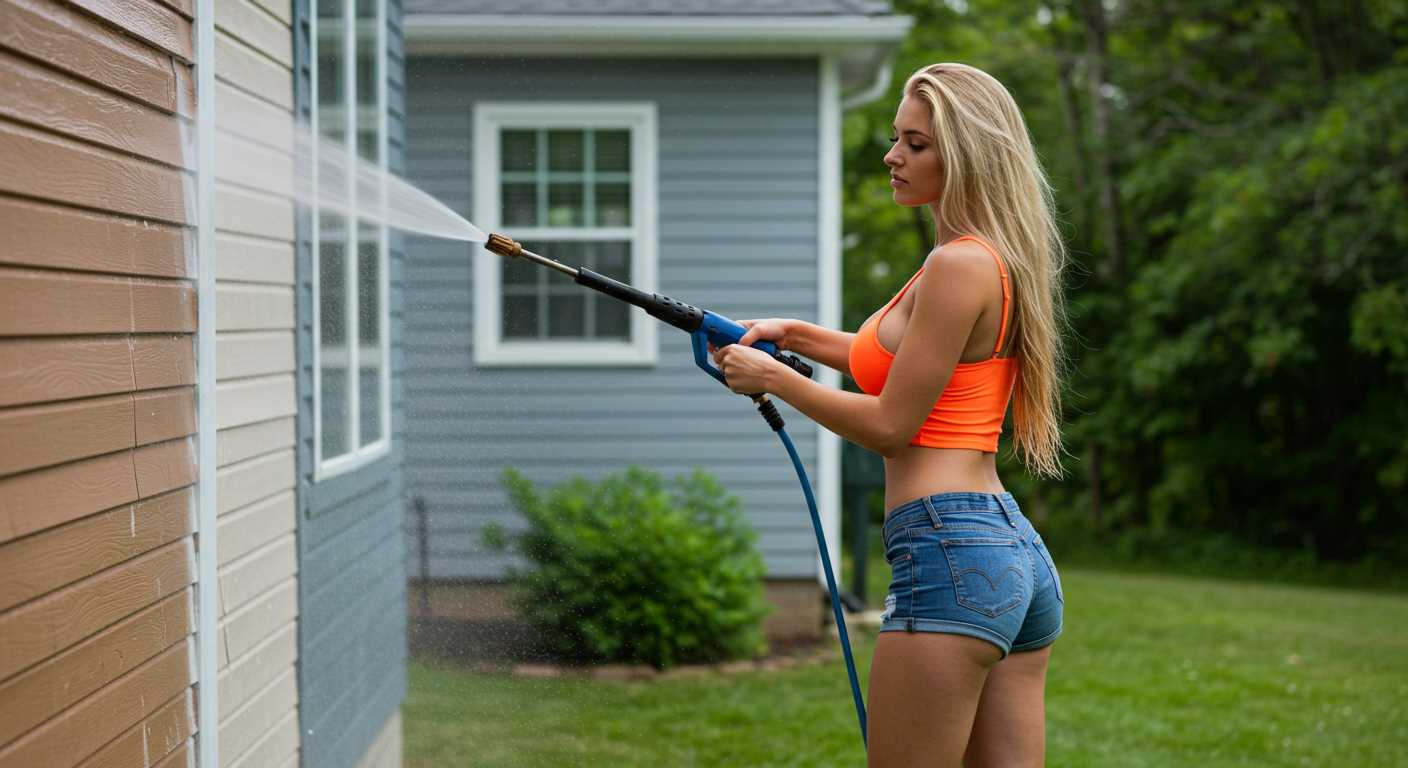
Periodically clean the fittings to remove dirt and debris. This simple action can ensure a tight seal, avoiding air leaks which affect your equipment’s efficiency. Use a damp cloth and, if necessary, a brush to thoroughly clean them without causing damage.
Consider using thread seal tape to enhance the connection and prevent leaks, offering an additional layer of security. Apply it sparingly and ensure it’s properly positioned to avoid interfering with the fitting’s operation.
During usage, listen for any unusual noises that may signal air entering the system. If detected, check all connections immediately to prevent operational issues. Regular maintenance not only extends the lifespan of the equipment but also improves cleaning performance.


