

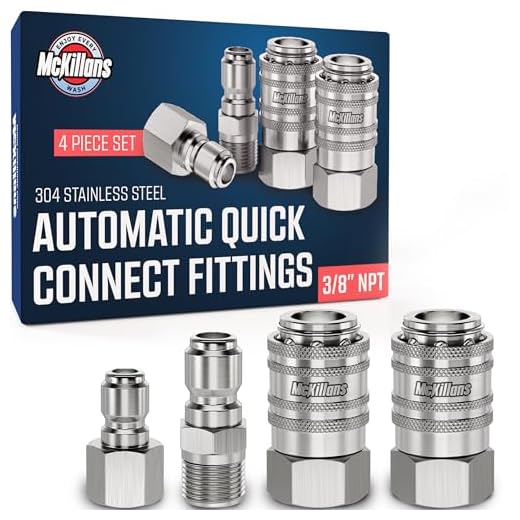
To ensure consistent performance during operation, I recommend first selecting a check valve with the appropriate pressure rating for your device. This ensures durability and prevents backflow, allowing the system to maintain optimal pressure levels.
Begin by gathering essential tools: a wrench, Teflon tape, and the correct fittings that match both your check valve and the machine’s inlet. It’s vital to turn off and disconnect the equipment before starting the installation process to avoid any accidents.
After preparing the space, wrap Teflon tape around the threads of the valve to ensure a watertight seal. Carefully screw the valve onto the inlet fitting, taking care not to overtighten, which could cause damage. Finally, perform a visual check for leaks after reconnecting the equipment and turning it back on.
How to Connect Check Valve to Your High-Pressure Cleaning Unit
To ensure a secure fit, I recommend using Teflon tape on the threaded connections. This creates a tight seal and prevents leaks. Begin by turning off the unit and releasing any accumulated pressure. Locate the inlet and outlet ports on your cleaning device.
Next, align the valve you have chosen with the inlet port. Carefully tighten it using your hands first to ensure proper alignment. Use a wrench to secure the connection, but avoid overtightening, as this could damage the threads. Make sure the valve is oriented correctly to allow fluid to flow in the desired direction.
After securing the valve, reconnect any hoses to the outlet port. As you tighten these connections, ensure they are firmly in place without forcing them. It’s good practice to check for any leaks by running the unit at a low pressure initially. Monitor the connections closely, as this can help you identify any issues before operating at full capacity.
Once everything is connected and leak-free, proceed to test the functionality of your cleaning device. If everything operates smoothly, you’ve successfully integrated the check mechanism into your system.
Choosing the Right Non Return Valve for Your Pressure Washer
Consider materials that suit your machine’s operational demands. Brass and stainless steel are excellent choices for durability and resistance to corrosion. Plastic alternatives may reduce initial costs but can compromise longevity, especially under high pressure.
Pay attention to fitting sizes. Ensure compatibility with your system–standard measurements are 1/4″, 3/8″, or 1/2″. Incorrect sizing may lead to leaks or inefficiency.
Flow Rate and Pressure Ratings
Check the flow rate specifications; the chosen component should match or exceed your water output requirements. Additionally, verify the pressure rating; an insufficiently rated device can fail under operational strain, causing damage.
Ease of Maintenance
Selecting a model that allows easy access for cleaning or replacement is advisable. Consider those with removable components or a design that facilitates maintenance without extensive disassembly of your machine.
Gathering Necessary Tools and Materials for Installation
Prior to commencing installation, ensure you have the following tools and materials ready:
1. Required Tools:
- Adjustable Wrench: This will help you securely tighten fittings without damaging them.
- Screwdriver Set: A variety of screwdrivers ensures compatibility with various components.
- Pipe Wrench: Beneficial for gripping and turning larger connections.
- PTFE Tape: Useful for sealing threaded connections and preventing leaks.
- Utility Knife: For cutting any necessary materials, such as hoses.
2. Necessary Materials:
- Replacement Component: Ensure that the new unit is suitable for your equipment.
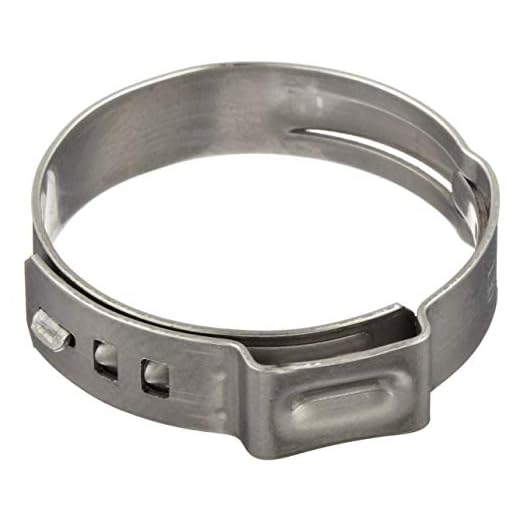
- Hose Clamps: These assist in securing hoses and preventing any disconnections.
- Sealing Compound: Consider using a suitable adhesive or sealant for a watertight fit.
Check all items for compatibility with your specific model before starting the process. It may be wise to consult the manufacturer’s guide for additional recommendations specific to your equipment.
Preparing the Machine for Non-Return Mechanism Installation
Ensure the unit is powered down and disconnected from the electrical supply to prevent any accidental activation during installation. Prior to commencing the installation process, inspect the existing hoses and connectors for wear or damage; replace any compromised components to maintain system integrity.
Drain any remaining water from the system by opening the trigger gun, allowing the liquid to flow completely out. This step reduces pressure and avoids spills during the fitting procedure. Check the attachment point designated for the one-way device carefully; it should be clean and devoid of any debris or contaminants to ensure a secure fit.
Before proceeding, it’s advisable to review the manufacturer’s manual, which often contains essential specifications and compatibility notes. Familiarise yourself with the layout of the parts involved. Having an understanding of where the new item will be placed assists in a smoother installation process.
Gather all necessary fittings and adapters. Ensure that you possess the correct sizing to guarantee a snug fit, preventing leaks post-installation. If applicable, place Teflon tape on the threads of the connections to enhance sealing and reduce the chance of leaks.
In environments with varying water temperatures, consider the temperature rating of the accessories. This forethought can prevent failure and extend the lifespan of the fittings. Lastly, keep a clean workspace by having cloths and a small container nearby to collect any drips or spills, helping maintain order throughout the project.
| Step | Description |
|---|---|
| Power Down | Disconnect from electrical supply. |
| Inspect Components | Check hoses and connectors for damage. |
| Drain Water | Open trigger gun to remove water. |
| Review Manual | Understand compatibility and specifications. |
| Gather Tools | Collect necessary fittings and adapters. |
| Check Temperature Ratings | Ensure accessories can handle varying temperatures. |
Removing Old Components Before Installing the Non Return Valve
Before introducing a new component to your cleaning device, it’s critical to remove outdated parts effectively. Begin by turning off the unit and disconnecting it from the power source to ensure safety throughout the process.
Next, inspect the existing assembly where the new fitting will be placed. Use the appropriate tools, such as a wrench or pliers, to loosen and remove old fittings. It’s important to be gentle to avoid damaging the surrounding connections. If corrosion is present, applying a rust penetrant can aid in loosening stubborn components.
Once freed, inspect the old components for any wear or damage. This assessment will guide you on whether to replace just the valves or consider additional fittings. Keeping any worn parts will only lead to future complications in performance.
After extraction, clean the mounting area thoroughly. Any debris or leftover sealant can impede the installation of the new unit, so a clean surface is paramount. If necessary, use a wire brush or cloth to ensure optimal contact for seals.
Final checks involve ensuring all previous lubricant or sealant residue is removed. A clean, dry surface will facilitate a secure fit for the new component and prevent leaks. Once these steps are completed, you’re ready to proceed with fitting the new assembly.
Step-by-Step Installation of the Non Return Valve
Begin with the assembly of all required components, ensuring you have access to the valve kit and relevant fittings. This is crucial to streamline the installation.
1. Secure the Working Area
Before diving into the setup, clear your workspace. Ensure the area is well-lit and free of clutter to enhance safety and efficiency.
2. Position the Equipment
Place the cleaner on a stable surface, avoiding any inclination that may cause spilling or instability during the installation process.
3. Prepare the Components
- Identify the inlet and outlet ends of the assembly. Each fitting should be examined for compatibility.
- Use lubricant on the threads of the fittings for a secure and leak-free connection.
4. Install the Assembly
Align the designated fittings with the valve, ensuring a snug fit. Apply a wrench to tighten the connections. Avoid overtightening, which can lead to damage.
5. Test the Assembly
- After securing the fittings, reconnect the hoses and water supply.
- Switch on the system and observe for leaks around the newly installed component.
6. Final Inspection
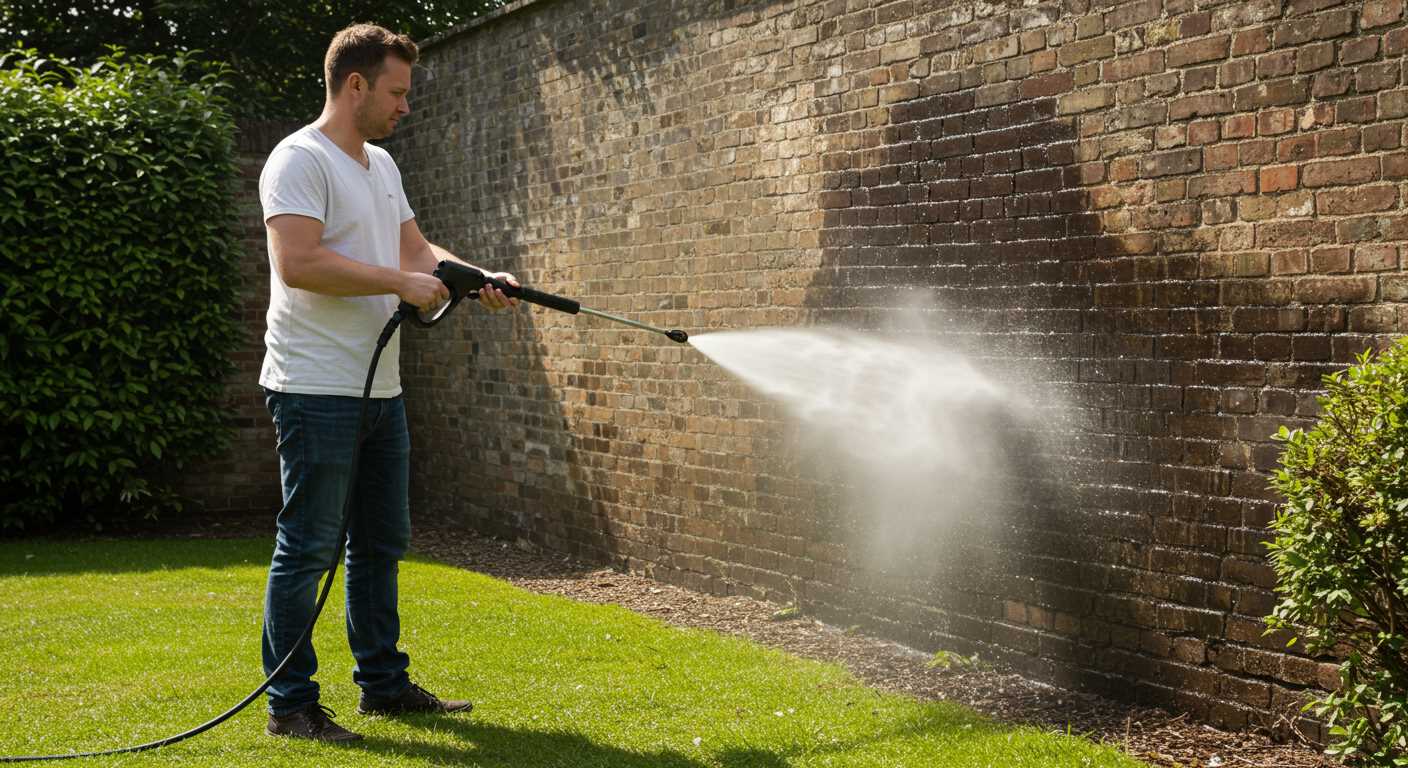
Once functional, conduct a thorough inspection of all connections and components to ensure everything is operating smoothly. If necessary, make slight adjustments to improve performance.
Testing for Leaks After Installation
Before using your equipment, it’s crucial to perform a thorough leak test. Begin by reattaching the water supply and turning on the main water source. Observe all connection points where the device interfaces with hoses and fittings. Watch for any signs of dripping or moisture accumulation.
Pressure Test Procedure
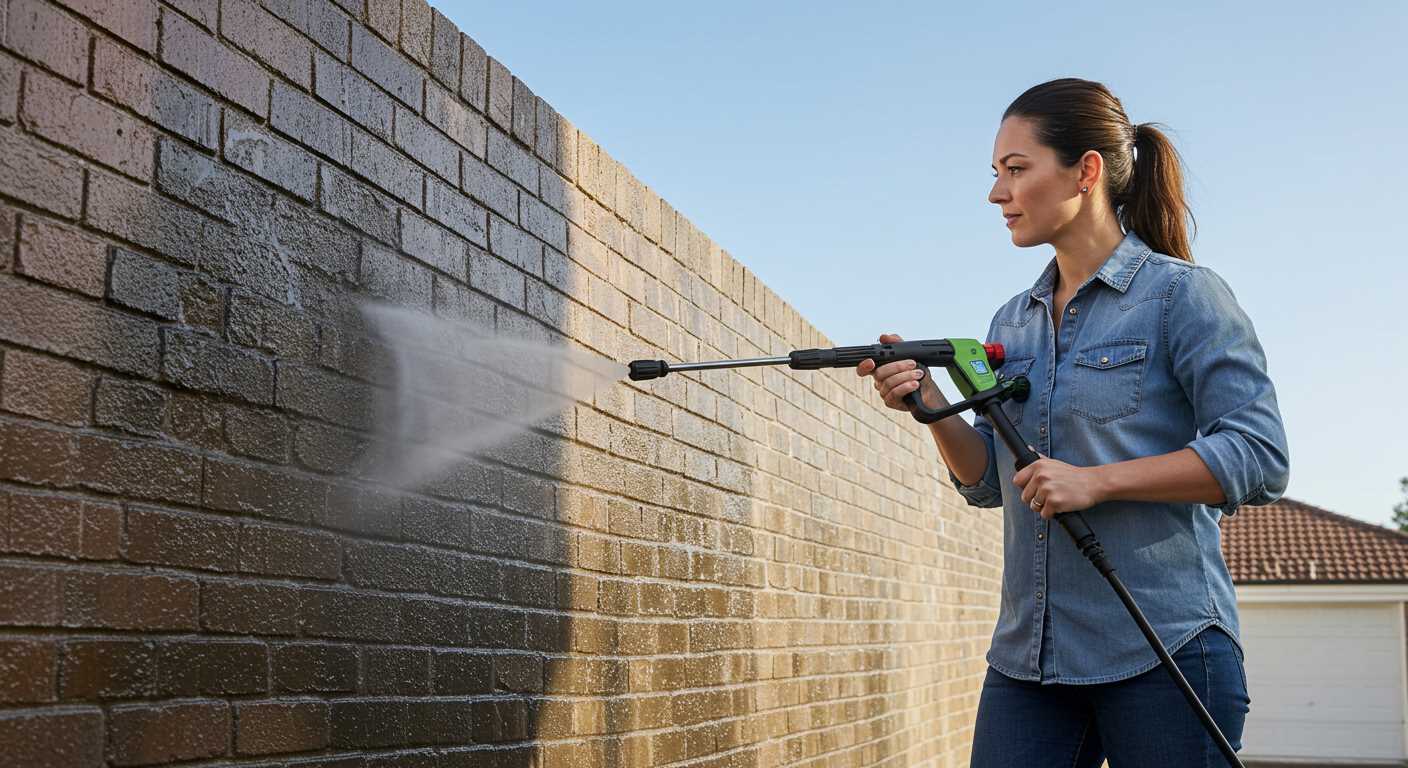
Next, switch on the system to create pressure. While active, inspect the joints again. Listen for hissing sounds that may indicate air escaping. Apply a soapy water solution to these areas; bubbles will form where there’s a breach. Pay close attention to threaded connections, as they are often the most vulnerable spots.
Finalising Checks
Once the tests identify no leaks, shut the system off and dry all areas inspected. It’s wise to repeat this test after a few uses as materials might settle or shift. Regular inspections will ensure longevity and optimal performance of your equipment.
Maintenance Tips for the Check Valve in High-Pressure Cleaners
Inspect the assembly periodically for any signs of wear or build-up. Regular cleaning and maintenance of the component ensures optimal functionality and prolongs its lifespan.
Routine Inspection
- Check for leaks around the connections. Tighten any loose fittings.
- Inspect the diaphragm and seals for any cracks or degradation. Replace immediately if damaged.
- Look for any blockages that could impair flow; clear any debris that may have accumulated.
Cleaning Procedures
Use a soft brush and mild cleaning solution to remove debris from the exterior and any reachable internal parts. Avoid harsh chemicals that could cause damage. Rinse well and allow to dry before reassembling.
Flush the assembly with clean water after every use, especially if soap or detergent is involved. This helps prevent residue buildup that can lead to malfunctions.
Replacement Schedule
Monitor usage closely. If the equipment undergoes heavy use, consider a more frequent replacement schedule for the assembly to prevent unexpected failures during operation.
Record-Keeping
- Maintain a log of inspections and maintenance performed.
- Note any replacements made along with the date, which assists in managing ongoing upkeep.
By establishing a consistent maintenance routine, I’ve found that functionality remains optimal, ensuring reliable performance during cleaning tasks.
FAQ:
What tools do I need to attach a non-return valve to my pressure washer?
To attach a non-return valve to your pressure washer, you will need a few essential tools. Firstly, gather a wrench or pliers for securing and loosening fittings. A screwdriver may be required if there are screws to remove. It is also advisable to have some pipe thread sealant or Teflon tape ready to ensure leak-proof connections. Finally, make sure to have a clean cloth on hand for any mess or spills during the installation.
How do I locate the best spot for the non-return valve on my pressure washer?
The ideal position for a non-return valve depends on your specific pressure washer model. Generally, it should be placed between the pump outlet and the hose connection, ensuring it can manage backflow effectively. Check your user manual for any diagrams or recommendations regarding attachment points. If unsure, consulting a technician can help confirm the best location for optimal functioning.
Can I attach a non-return valve myself, or should I hire a professional?
Attaching a non-return valve can be a straightforward DIY task if you are comfortable working with tools and have a basic understanding of plumbing. Detailed instructions in your pressure washer’s manual can guide you through the process. However, if you lack experience or confidence, hiring a professional is a sensible option. They can ensure that the valve is installed correctly and can troubleshoot any issues that may arise.
What should I do if my pressure washer starts leaking after installing the non-return valve?
If you notice leaks after installing a non-return valve, first turn off the pressure washer and release any pressure built up within the system. Then, check all connections where the valve has been installed. Tighten the fittings and ensure that pipe thread sealant or Teflon tape has been applied where necessary. If the leak persists, inspect the non-return valve itself for damage or improper fitting, as it might need replacement or readjustment.
How does a non-return valve improve the performance of my pressure washer?
A non-return valve plays a significant role in enhancing the pressure washer’s performance by preventing backflow of water into the pump. This helps maintain consistent water pressure while using the machine and protects the pump from potential damage. By ensuring that water flows in one direction only, the valve contributes to the longevity and efficiency of the pressure washer, making it more reliable in various cleaning tasks.


