


Begin by ensuring both your cleaning device and the cleaning accessory are powered off. Locate the connecting end of the accessory, which usually features a locking mechanism designed for secure fitting. This step is critical to avoid any unintended disconnections during use.
Align the accessory with the connection port on the device. Many attachments come equipped with directional guides, making alignment straightforward. Firmly push the accessory into place until you hear a click, indicating that it is properly secured. If your model includes a safety latch, engage it to provide added security during operation.
As you proceed, check for any visible gaps between the tool and the device. A snug fit prevents any potential water leakage, ensuring optimal performance. Finally, give the accessory a gentle tug to confirm that it is firmly attached before activating the device for use.
Correct Method for Securing the Cleaning Tool
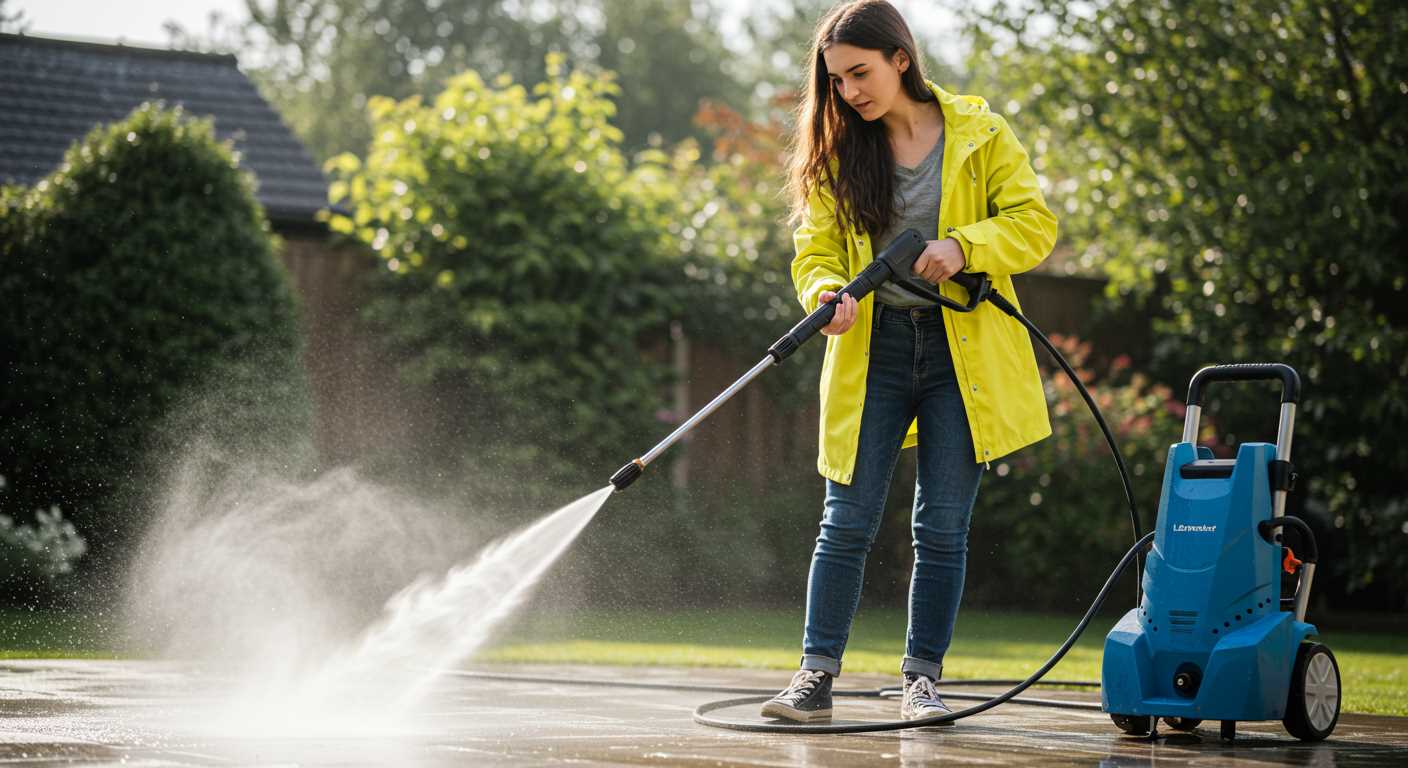
Ensure the unit is powered off before you begin. Identify the locking mechanism at the end of the lance; it could be a simple twist lock or a push-and-click design, depending on the make and model. For models with a twist mechanism, grasp the nozzle and rotate it counterclockwise to release it. On the contrary, for models with a push-and-click system, press the release button firmly while pulling the nozzle straight out.
Once the old accessory is removed, take the new one and align it with the opening on the lance. If it features a twist lock, insert the nozzle and rotate it clockwise until you feel a snug fit. For the push-and-click variety, insert it into the opening until you hear an audible click, indicating it’s securely in place. Avoid forcing the attachment, as this could lead to damage.
After securing the tool, give it a gentle tug to verify its stability. Finally, restore power to the unit and test the new attachment under low pressure before proceeding to full operation, ensuring everything is functioning correctly.
Identifying the Correct Wand for Your Pressure Washer
Choosing the appropriate tool for your cleaning device is essential. Ensure compatibility with your specific model before proceeding. Here’s how to determine the right option:
- Consult the Manual: Start with your equipment’s manual. It typically contains a list of compatible accessories, including the right attachments.
- Examine the Fitting: Check the diameter and connection style of your current nozzle. Most units use a quick connect system, but some may rely on threaded fittings.
- Consider Spray Patterns: Different attachments offer various spray patterns, which affect cleaning performance. Look for options such as rotary nozzles for tough stains or fan nozzles for broader coverage.
- Assess Material Durability: Opt for nozzles made of high-quality materials like brass or stainless steel for extended lifespan and resistance to wear.
- Verify Pressure Rating: Ensure the selected accessory can handle your unit’s output in PSI (pounds per square inch). Exceeding the rated pressure may lead to damage.
Taking these steps equips you with the necessary knowledge to select the correct attachment, optimising your cleaning experience and ensuring efficiency.
Gathering Necessary Tools for Attachment

Before beginning the connection process, ensure you have the following items on hand:
- Compatible nozzle suitable for your particular machine.
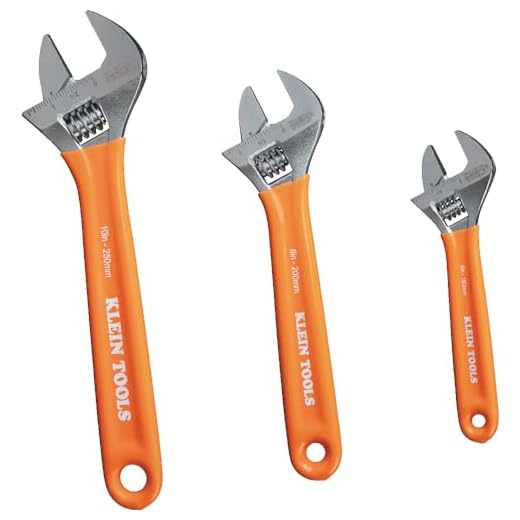
- Adjustable wrench for securing any fittings.
- Pliers to grip and tighten connections if necessary.
- Safety goggles to protect your eyes from debris.
- Gloves to maintain grip and prevent injury during the setup.
Additional Items to Consider
- Lubricant for threads can help ease the process and provide a secure fit.
- Rag or cloth for cleaning any dirt or debris from the connection points.
Checking that all these items are ready will simplify the process and enhance safety while working with your equipment.
Locating the Wand Connection Point on the Pressure Washer
First, identify the spot where the lance connects to your cleaning unit. Typically, this connection is situated near the front of the device, often at the end of the pressure hose or directly on the machine’s handle. Look for a threaded port or a quick release mechanism; these are common design features for securing lances.
Next, check the user manual for your specific model. This document usually contains diagrams and detailed instructions that illustrate the exact location and method to engage the lance. Familiarising yourself with this guide can prevent confusion during the process.
Observe the orientation of the connection port. Ensure that the opening aligns with the shape of the lance connector. Some models have a locking feature that needs to be pressed or twisted while inserting the lance, so be attentive to these details to guarantee a secure fit.
If you’re unable to locate the connection point, inspect the unit for any covers or protective caps that may need removal. These are sometimes in place to prevent debris from entering the port during storage.
In cases of doubt, consulting the manufacturer’s support line can offer direct assistance, especially if your model has unique requirements. This step is beneficial for those new to using these devices, ensuring you start with confidence.
Aligning the Wand with the Connection Socket
Position the lance so that it directly faces the connection port on the machine. Look for any alignment markers or grooves that may indicate the correct orientation. Holding the lance at a slight angle makes it easier to insert into the socket without forcing it.
As you introduce the lance into the socket, maintain a firm grip and gently push until you hear a click, indicating it is securely locked in place. Avoid applying excessive force, as this can damage both the lance and the pressure equipment.
Double-check the alignment by trying to rotate the lance slightly. If it moves freely, it is correctly secured; if it feels stuck or misaligned, withdraw the lance and repeat the insertion process carefully. This ensures optimal performance and prevents any operational issues during use.
Securing the Wand in Place to Prevent Disconnection
Ensure the locking mechanism is firmly engaged after sliding the nozzle into the connector. Many devices feature a pin or latch system designed to provide a secure fit. When you push the nozzle into the base, listen for an audible click; this confirms that it is locked correctly.
Inspect the connection for any debris or corrosion. Any foreign material can compromise the grip, leading to accidental disconnections during operation. Use a clean cloth to wipe the areas around the socket and the nozzle before inserting it.
Consider using additional tools like a wrench or pliers to tighten any screws or bolts that secure the connector, if applicable. This ensures all components are snug and will withstand pressure from the water flow.
If presented with adjustable models, verify the settings are appropriately configured for your intended task. A loose fit may increase the chances of the wand becoming disengaged.
For further assurance, examine the safety features included in your cleaning device. Some units come with safety locks that prevent accidental release, adding another layer of protection against disconnection.
Regularly check the wand and its connections before and after each use. This habit helps identify any wear and tear that might risk the integrity of the connection, enabling you to address issues promptly before they lead to operational problems.
Testing the Attachment for Stability and Performance
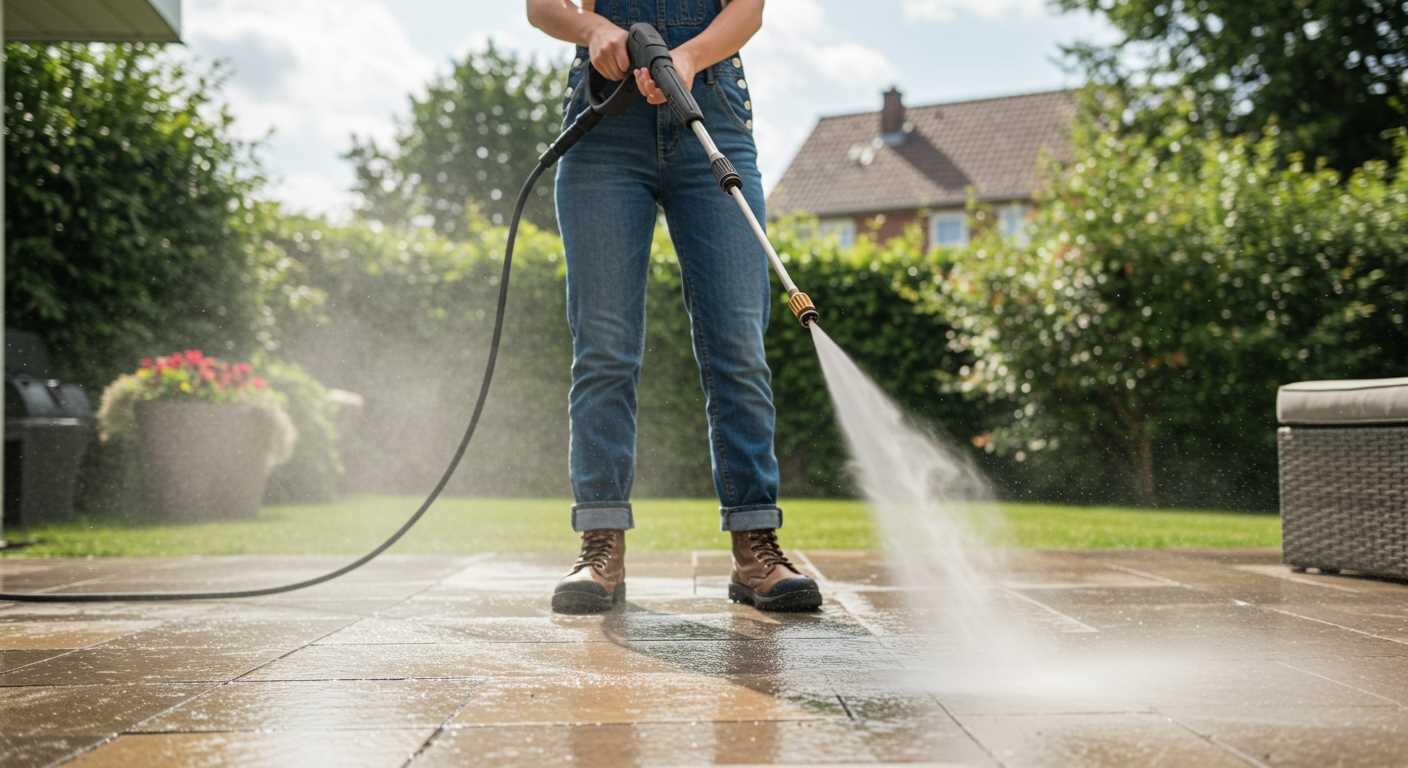
Before using your cleaning equipment, ensuring a stable and effective connection is paramount. After securing the component, gently pull on it to confirm that it remains firmly in place. If there is any movement, the lock may not be fully engaged, indicating a need for re-examination.
Pressure Test
Next, turn on the unit to verify performance under operational conditions. Watch for any leaks or instability while in use. If water escapes from the joint, this points to a poor fit or seal, necessitating further adjustments or re-securing the equipment.
Performance Evaluation
During testing, observe the water stream. A consistent and powerful jet signifies that the attachment is functioning correctly. If the stream appears weak or erratic, check for blockages or ensure that fittings are clean and free of debris. Proper function here ensures that the task at hand will be completed efficiently.
Engaging in these checks not only guarantees safety but also prolongs the lifespan of your tools and enhances your cleaning experience. Always prioritise these steps before embarking on any cleaning project.
Maintaining the Wand Connection for Future Use
Regular upkeep of the connection between your cleaning accessory and the main device ensures seamless performance over time. After each usage, I recommend inspecting the connection point for any signs of wear or debris. Cleaning the socket and attachment area with a damp cloth prevents buildup that can hinder a snug fit and create leaks.
Storing and Protecting the Connection
Avoid unnecessary strain on the attachment by storing the equipment properly. Use a dedicated space where the components won’t be jostled against other items. Employ protective covers or storage bags designed specifically for these tools to keep them safe from dust and physical damage, thereby ensuring they remain in optimal condition.
Checking Seals and O-Rings
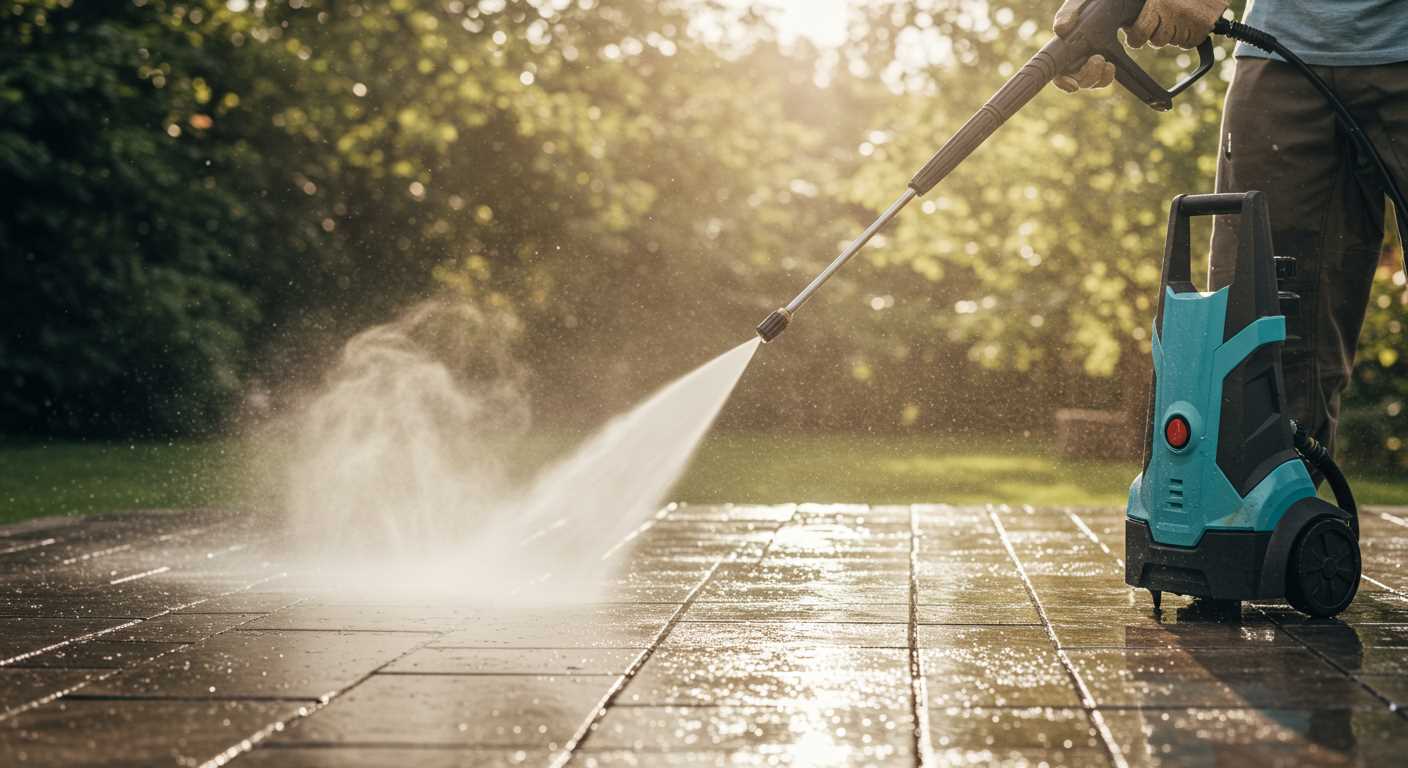
Inspecting any seals or O-rings is crucial. Over time, these components can degrade and lead to performance issues. I suggest replacing them at the first signs of wear. Keeping spare seals on hand can save time during setups.
| Maintenance Task | Frequency | Notes |
|---|---|---|
| Clean connection area | After each use | Use a damp cloth, avoid harsh chemicals |
| Inspect seals | Monthly | Replace if damaged or worn |
| Store properly | Always | Avoid separation from main unit |
| Check for debris | Before each use | Ensures a tight fit |
By following these tips, you’ll enhance the longevity and reliability of your cleaning accessories, allowing for smoother operations whenever you need to engage them.


