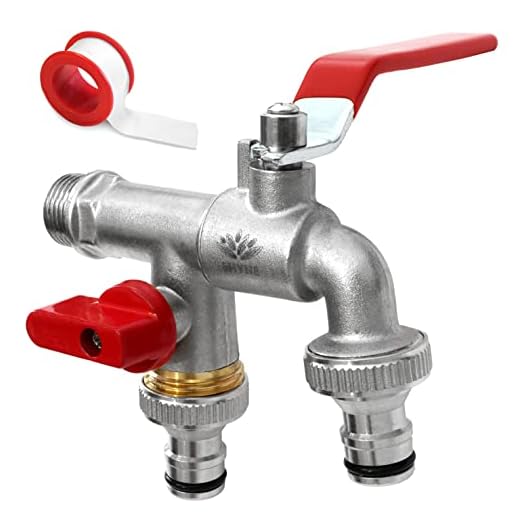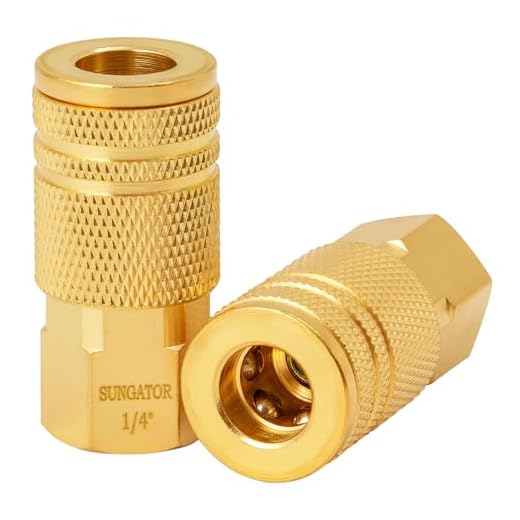
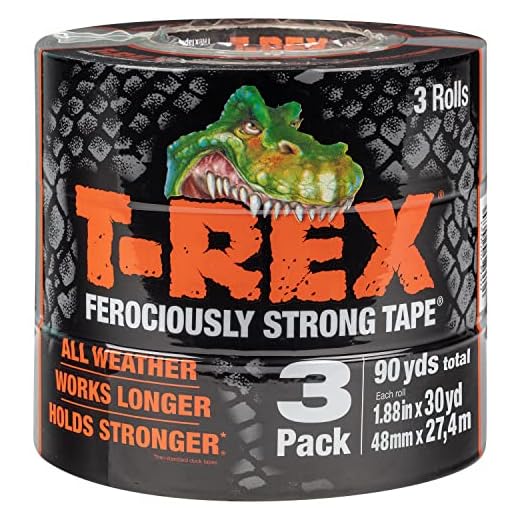
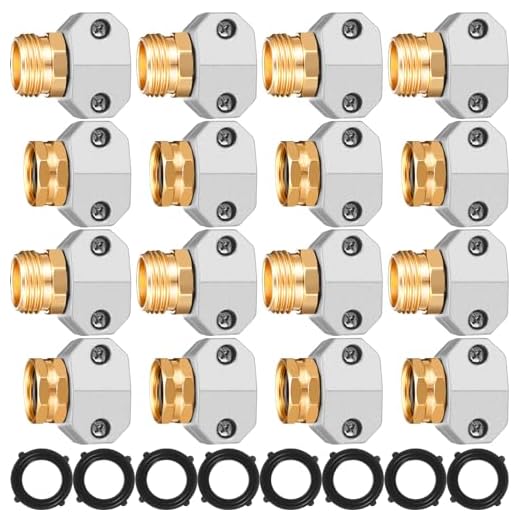

Start by checking the connection points of your cleaning appliance. Ensure that both ends of the flexible tube are securely fastened to the machine and the nozzle to eliminate potential leaks. Frequent checks can prevent serious issues down the line.
Utilise high-quality connectors that resist wear and tear. Materials such as reinforced rubber or heavy-duty plastic are particularly effective in maintaining integrity while under pressure. Replace standard fittings with these upgraded options to enhance longevity.
Regular maintenance is crucial. Clean the fittings and inspect the tubing for any signs of damage, such as cracks or wear. A proactive approach can catch small issues before they escalate, saving both time and money.
If you notice any impending damage, reinforce the affected area. Consider using hose protectors or wrapping the vulnerable spots to offer extra cushioning. This precaution pays off in the form of increased durability.
Lastly, always store your equipment properly. Avoid hanging the tubing in a way that could create stress or pressure points. Instead, lay it flat or use a reel to keep it coiled without kinks.
Identifying Common Causes of Hose Splits
Regular inspection of your cleaning equipment’s tubing is crucial. The most frequent reasons for damage include extreme temperatures, improper storage, and wear and tear from dragging across surfaces.
| Cause | Description | Prevention Tips |
|---|---|---|
| Extreme Temperatures | Both hot and cold conditions can weaken materials, leading to cracks. | Avoid exposing the tubing to direct sunlight or storing it in unheated areas. |
| Improper Storage | Coiling the tubing too tightly can create stress points. | Store it in loose loops and avoid kinks or heavy weights on top. |
| Surface Drag | Friction from dragging along rough surfaces causes abrasion. | Use protective covers or elevate the tubing during use. |
| Chemical Exposure | Certain cleaning agents can degrade hose materials. | Rinse tubing thoroughly after use and keep chemicals stored separately. |
Regular maintenance checks can help identify early signs of trouble. Look for discolouration, bulges, or leaks. Replace any defective sections immediately to maintain performance and safety.
Tools and materials needed for repairs
For a successful repair, gather the following items:
- Utility knife – Essential for making precise cuts on the affected area of the tubing.
- Hose clamps – Useful for securing connections tight after making a joint or using a repair fitting.
- Repair tape – Select a durable, waterproof tape specifically for hose repairs; this ensures a tight seal.
- Replacement fittings – Have various sizes on hand to match the diameter of your flexible tubing.
- Pipe sealant – A sturdy adhesive helps to bond fittings and tubes effectively.
Additionally, keep the following tools nearby:
- Adjustable wrench – Handy for tightening or loosening hose fittings.
- Scissors – Suitable for cutting repair tape or trimming the hose as needed.
- Ruler or measuring tape – Helps in measuring the exact length of tubing to replace.
- Pliers – Useful for gripping and twisting during the repair process.
- Safety gloves – Protect hands from cuts or abrasions during the repair.
Having these items ready significantly streamlines the repair process and contributes to a more reliable outcome.
Step-by-step guide to patching a split hose
Begin by turning off the water supply to prevent any leaks during repair. Disconnect the flexible tubing from the machine and find the damaged area by running your fingers along the length to locate the fracture.
Prepare the surface
Once identified, clean the area around the rupture thoroughly. A cloth and some soapy water work well to remove any dirt or grime. Ensure the area is dry before continuing.
Application of the patch
For a simple fix, you may use a hose repair kit featuring a rubber patch and adhesive. Cut the patch to an appropriate size that overlaps the tear by at least one inch on all sides. Apply the adhesive per the manufacturer’s instructions and position the patch over the rupture firmly, pressing it down to ensure a tight seal.
If you do not have a repair kit, an alternative is to use duct tape. Wrap the tape tightly around the damaged section, ensuring it covers enough area on both sides of the break. This method is less durable but can serve as an immediate fix.
Allow the adhesive or tape to cure as per instructions, then reconnect the flexible tubing to the unit. Turn on the water supply gradually and check for any leaks. If all is sound, your rejuvenated conduit should function as intended.
Regularly inspect your conduit for damage to prolong its lifespan and maintain performance. Taking preventive measures can save time and resources in the long run.
Using hose repair fittings for a durable solution
For a long-lasting fix, I recommend utilising hose repair fittings designed specifically for this purpose. These fittings create a robust connection and significantly enhance the lifespan of the repaired section. Choose high-quality materials, preferring brass or reinforced plastic, to ensure durability under various conditions.
When applying these fittings, measure the damaged area precisely to select the correct size. A snug fit is crucial to prevent leaks. Start by trimming the compromised section of your flexible tube neatly, ensuring it’s straight for proper alignment with the fitting.
Insert the cut ends into the repair fitting and secure them firmly. Use a hose clamp at each end for added reinforcement. Tightening these clamps enough to hold the fitting in place without damaging the material is essential. Regularly inspect these repairs, as the vibration and pressure during operation can sometimes loosen fittings over time.
Maintenance after installation is equally important. Clean the fittings periodically to remove debris and prevent corrosion. This small step can greatly extend the life of your repairs and maintain optimal performance during use.
Preventive measures to avoid future splits
Regular inspection of your cleaning apparatus is imperative. Check connections and fittings for signs of wear, ensuring they’re tight and free of debris. Replace worn-out seals promptly.
Use a suitable storage method. Hang your cleaning lines off the ground in a shaded area to avoid exposure to harmful UV rays. Avoid kinks and sharp bends during storage, as these can weaken the material over time.
Incorporate protective sleeves or covers. These accessories can absorb impacts and shield the outer layer from abrasions, significantly reducing the likelihood of damage.
Always follow the manufacturer’s pressure rating limits. Exceeding these specifications increases stress on the material, leading to premature failure.
Be mindful while operating. Avoid dragging your equipment across rough surfaces and refrain from stepping on the lines, as this puts additional strain on joints and connections.
Inspecting the Entire Length of the Hose for Weaknesses
Thorough examination is key. Start at one end, checking for signs of wear, kinks or abrasions that could weaken the material. Run your fingers along the entire length while observing visually for any discoloration or irregularities that might indicate potential failure points.
Pay special attention to areas near fittings and connectors as these are common stress points. Ensure there are no signs of leaks or moisture, which can suggest a developing issue. Flexibility in these sections should be maintained without excessive stiffness or cracks.
Use a flashlight in dim conditions to spot any hidden problems. Assess both the exterior and interior if possible, considering inserting a small, flexible tool to feel for obstructions or damage. This method allows you to identify hidden concerns that may not be apparent externally.
If any suspicious areas are found, take images for documentation. This can help in planning your maintenance approach. Taking note of these points assists in applying long-term solutions, as well as understanding if further professional help might be necessary.
Regular checks can prevent minor issues from turning into major complications. Make this inspection part of your routine to prolong the lifespan of your cleaning equipment.
Proper Storage Techniques for Your Hose
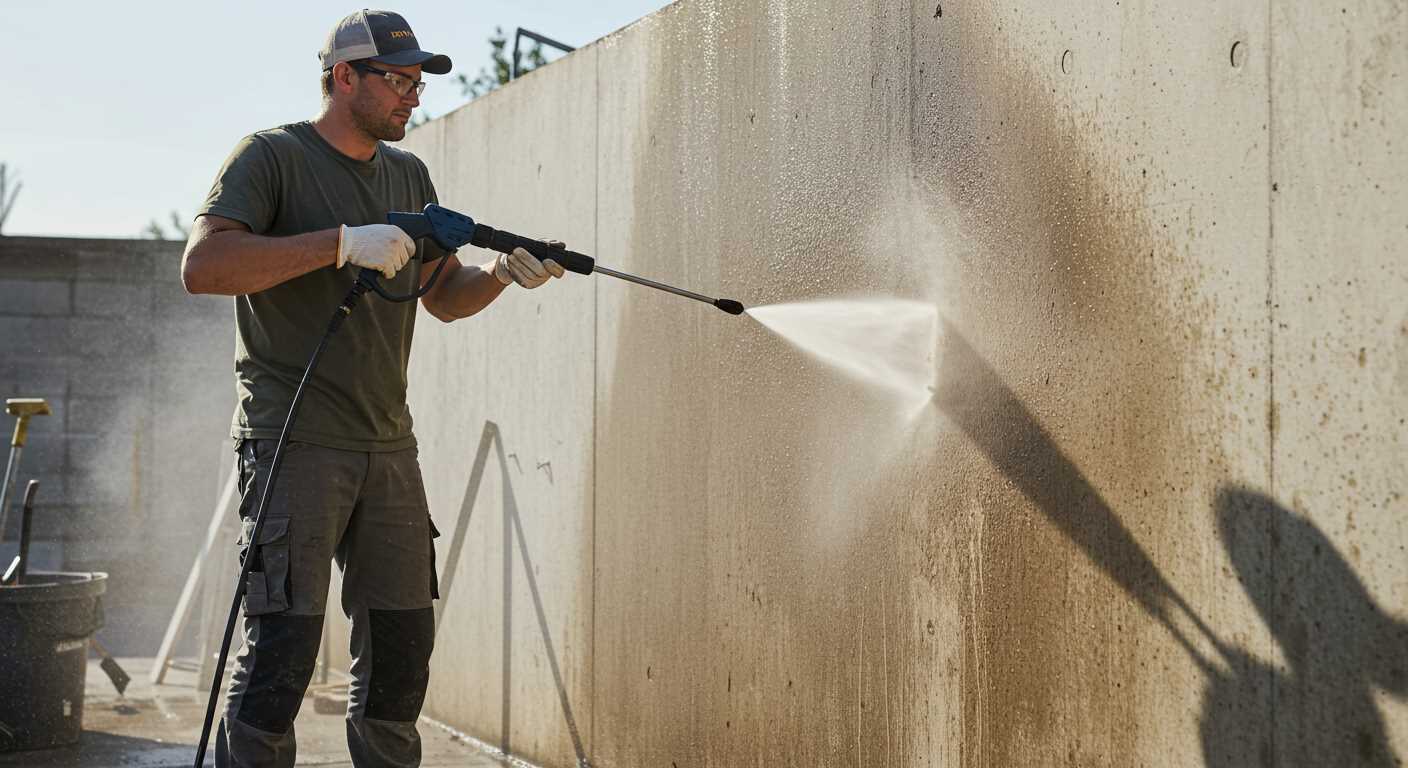
After using your cleaning equipment, it’s vital to store the tubing correctly to extend its lifespan. Coiling it properly prevents kinks and damage.
- Always coil the length in a circular motion rather than overlapping, which can create weak points.
- Use a hose reel or holder to keep the tubing neatly stored and prevent tangling.
Avoid storing it in areas with extreme temperatures, as heat can degrade materials over time. Instead, keep it in a cool, dry location.
Make sure the connection points to the machine are clean and dry to prevent moisture from corroding the fittings.
Maintenance and Inspections

- Periodically check the stored length for any signs of wear or damage.
- Ensure all fittings are secure and free from debris before and after storage.
Regular maintenance saves time and money, allowing your tools to function properly whenever needed.
When to Replace Your Pressure Cleaning Equipment’s Hose Entirely
Switching out the entire length of your cleaning equipment’s line becomes necessary when there are multiple damages spread along its length, excessive wear, or a history of recurring issues despite attempts at repairing. If you notice cracks, kinks, or significant damage in addition to existing patches, it’s time to opt for a replacement.
Signs Indicating a Complete Replacement
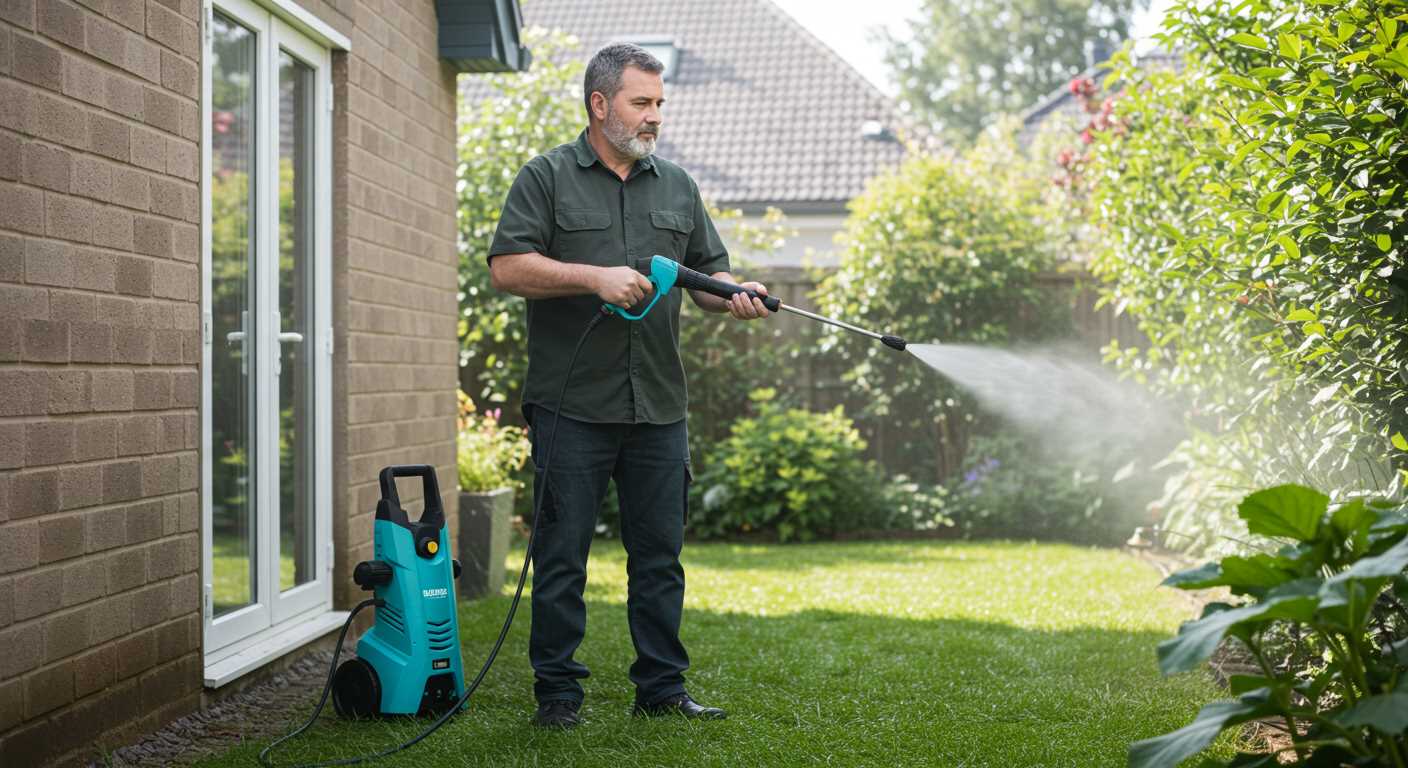
First, if you observe substantial leaks that cannot be sufficiently repaired, full removal is advisable. A hose exceeding five years of frequent use may show wear that compromises integrity. Inspect for bulging areas or persistent loss of pressure that can’t be rectified through usual repair methods.
Benefits of New Replacement
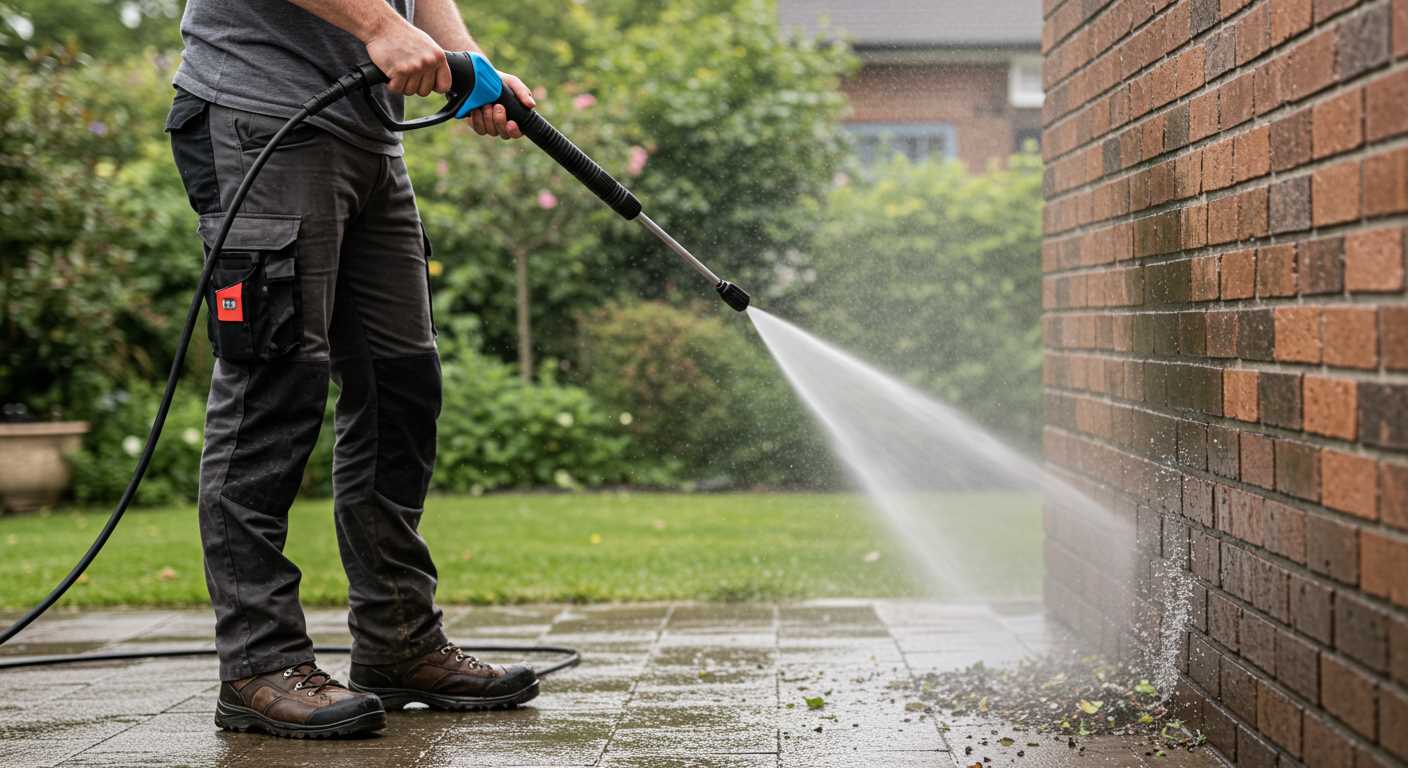
Investing in a new line enhances safety and ensures optimum functionality. Fresh hoses typically provide better durability against wear and heat, making them a more reliable choice for varied applications. Additionally, modern materials often resist flex fatigue and cracking, offering longevity over older models.
Keep a close eye on performance; ignoring signs of deterioration could lead to further damage or accidents during use. Prioritising reliability is essential, as even minor issues can lead to larger complications over time.


