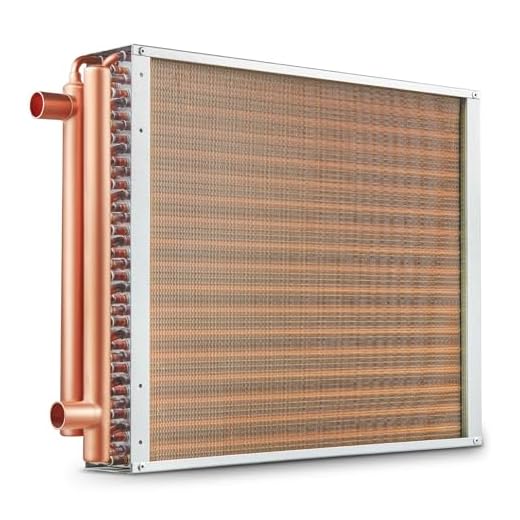
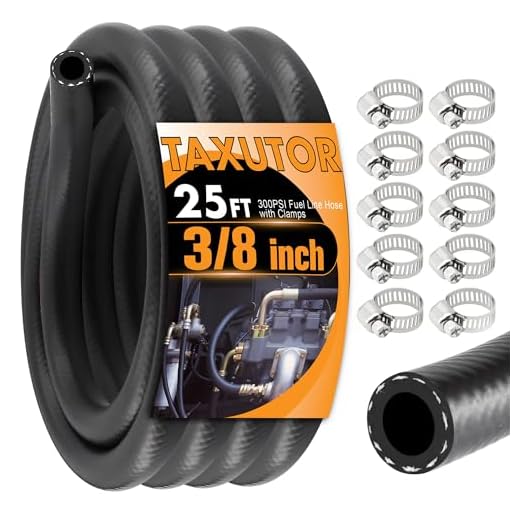
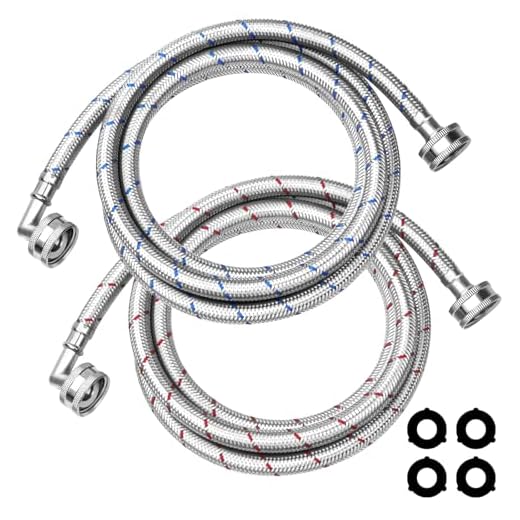
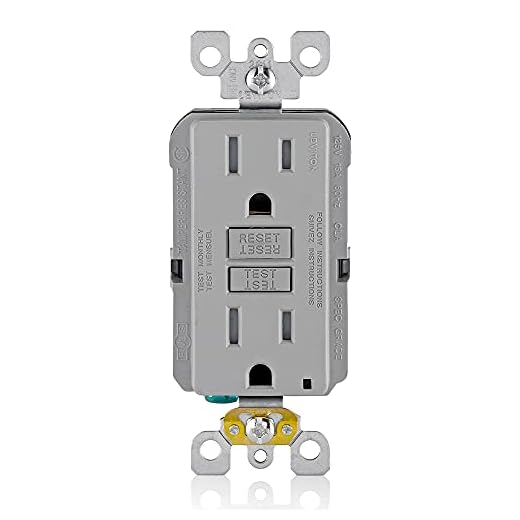
The best method to achieve optimal results with a high-temperature cleaning device is selecting the right components for your assembly. Begin with a reliable heater that can efficiently elevate the temperature of your liquid; propane or natural gas options are ideal for substantial heating capabilities. Consider units capable of reaching upwards of 150°C for superior performance on stubborn stains.
A robust motor is crucial; select an electric or gasoline engine with ample horsepower to maintain high pressure while the fluid is heated. Look for models that produce at least 2000 psi to ensure effective cleaning without excessive effort. Additionally, a high-quality pump is essential for consistent operation, preferably a triplex pump that provides durability and reliability during intensive tasks.
Incorporate quality hoses and connectors that can withstand elevated temperatures and pressures. Reinforced, flexible hoses will enhance manoeuvrability while minimising the risk of rupturing. Pay attention to the nozzle types; interchangeable nozzles will allow you to select the optimal spray pattern for various jobs, from delicate surfaces to heavy-duty cleaning.
Make sure your assembly includes an effective water filtration system to prevent debris from entering the pump and damaging internal components. Assembling all of these components carefully will lead to a durable and efficient cleaning apparatus tailored to tackle a variety of cleaning challenges, ensuring exceptional results every time.
Crafting Your Own High-Temperature Cleaning Device
Your first step involves selecting a suitable heat source. A powerful propane or natural gas burner will provide the necessary heat. Ensure it can reach at least 140°C for effective cleaning. Look for units with adjustable flame outputs to manage temperature efficiently.
The next critical component is the pump. Opt for a triplex plunger pump rated for high pressure. This type ensures durability and reliability during prolonged use. A pump capable of handling around 2000 PSI is typically sufficient for most residential and commercial applications.
Maintaining Optimal Flow Rates
Equally important to the heat source and pump is the flow rate, which should be between 2 to 4 GPM for best results. A compatible unloader valve is necessary to regulate pressure and prevent blowback. Incorporate a robust inlet filter to protect the system from contaminants that could cause damage.
Effective Insulation and Connections
Insulate all hot water lines adequately to minimise heat loss. High-temperature hoses are crucial; choose those rated for at least 90°C. Ensure all connections are leak-proof and secure to prevent safety hazards. Regular checks on every component will increase longevity and performance.
Choosing the Right Components for Your Pressure Cleaning System
Focus first on the motor. It should deliver sufficient horsepower to generate the desired pressure output. A good range to consider is between 3 to 5 horsepower for most applications. Electric motors are quieter and suitable for home use, while gas engines provide more power for commercial tasks.
Essential Elements
- High-Pressure Pump: Opt for a triplex plunger pump. This type is more durable and efficient compared to axial pumps, and it can handle higher temperatures.
- Heating System: A coil-style heater is preferred for producing steam. Ensure it’s rated for your pump’s flow rate to maintain optimal performance.
- Hoses: Invest in high-pressure hoses made of reinforced materials. Aim for a minimum of 3000 PSI rating, with a length suitable for your reach without sacrificing pressure.
- Gun and Nozzles: Select an adjustable spray gun for versatility. Include a variety of nozzle sizes to tackle different tasks, such as a 0°, 15°, 25°, and 40° nozzle.
- Frame and Wheels: A robust frame enhances stability. Ensure the wheels are large and durable for mobility, especially if you’ll be moving over rough terrain.
Compatibility and Quality
Every component must be compatible. Pay attention to the flow rate and pressure ratings of each part to avoid operational inefficiencies. Quality is paramount; investing in reputable brands can save costs on repairs and replacements over time.
Incorporating these guidelines will ensure a powerful, reliable cleaning setup. Prioritise performance over price, as the right components will significantly boost your efficiency in cleaning tasks.
Assembling the Heating System
Begin with a reliable heat exchanger as the cornerstone component. I recommend a coil-style heat exchanger, allowing for rapid heating of the liquid as it passes through. Use stainless steel or high-quality copper to ensure durability and resistance to corrosive elements present in cleaning agents.
Integrating a Burner
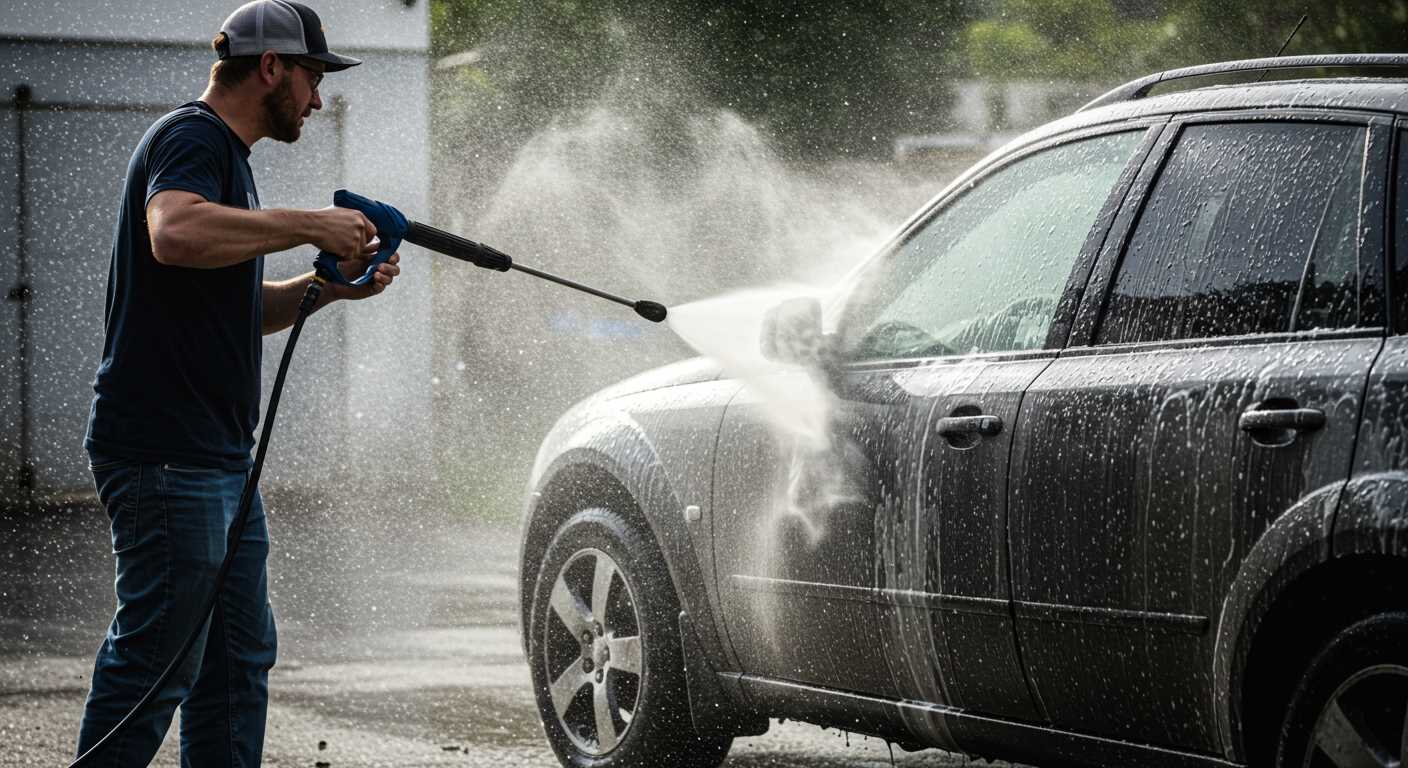
Opt for a diesel or natural gas burner, depending on the availability of fuel and your personal preference. Ensure the burner has an adjustable flame to control temperature settings. Make sure to connect the burner to the heating coil with high-temperature rated pipes to prevent heat loss.
Temperature Regulation
Incorporate a thermostat to monitor and adjust the temperature effectively. A digital or mechanical thermostat can aid in maintaining the desired heat level. Ensure all electrical connections are waterproof and insulated to prevent short circuits under damp conditions.
Finally, assemble all components securely, paying attention to the flow direction marked on each part. Test the system for leaks and functionality before regular use to achieve optimal performance. This ensures a reliable and effective cleaning experience.
Installing the Pump and Motor Assembly
Securely attach the pump assembly to the frame using appropriate mounting brackets. Ensure that the pump is level and properly aligned with the motor to facilitate optimal performance. Tighten all fasteners securely to prevent any vibrations during operation.
Connecting the Motor
Affix the motor to the frame, ensuring that it aligns with the pump’s input shaft. Use a flexible coupling to connect the motor and pump shafts, allowing for some misalignment without damaging components. Check that the coupling can withstand the power output of your motor.
Wiring the Motor
- Refer to the motor’s wiring diagram for accurate connections.
- Connect the power leads to the motor, ensuring that the polarity is correct.
- Incorporate a circuit breaker within the electrical system for safety measures.
- Double-check all connections for firmness and correct positioning.
Once the motor is connected, check the alignment of the coupled shafts by rotating the motor by hand. There should be no binding or resistance; a smooth rotation is vital for longevity. After confirming proper alignment and rotation, insulate and secure all wiring to prevent exposure or damage, using heat-resistant material if necessary.
Final Checks
Before proceeding to testing, verify all connections. Inspect the pump for any signs of leakage or wear at the inlet and outlet. Make sure that all hoses leading to and from the pump are securely fastened and in good condition. This final inspection is essential to prevent operational failures during use.
Once you finish the assembly, it’s wise to manually rotate the pump to ensure everything is functioning smoothly before applying power. This preventative measure can help catch any potential issues before full operation.
Connecting Water Inlet and Outlet Hoses
Ensure the inlet hose is securely attached to the appropriate fitting on the pump. Use a high-quality hose that can withstand pressure and the heat generated during operation. A reinforced hose, usually made from rubber or PVC, is advisable to prevent leaks and kinks that can impede flow.
Installation of Inlet Hose
Begin by fitting the inlet hose to the designated port. It’s critical to tighten the connection well, using a hose clamp if necessary, to prevent any water leakage. Ensure that the hose filters (if included) are clear and free from debris to maintain optimal flow. Position the hose to avoid sharp bends that may restrict water entry.
Connecting the Outlet Hose
The outlet hose requires similar attention. Select a hose that matches the specifications for pressure, typically a reinforced type. Connect it firmly to the pump’s outlet using the designated fittings. Verify that the hose is securely attached to avoid disconnections during use. It’s recommended to conduct a test run to check for any leaks at both connection points. Ensure the outlet is directed away from the operational area to avoid accidents.
Finally, consider adding quick-connect fittings to simplify attaching and detaching hoses. This feature allows for efficient setup and breakdown, enhancing the overall usability of the equipment.
Integrating Safety Features and Controls
Incorporating reliable safety mechanisms is paramount to ensure the secure operation of your device. Start with a thermal relief valve; this component prevents overheating by releasing excess pressure when temperatures exceed safe limits. It’s vital to select a valve rated appropriately for your system’s specifications.
Control Features to Consider
Automated shutdown systems enhance safety by cutting off power when detecting anomalies. Employ pressure-sensitive switches that disengage the motor if the pressure exceeds predefined thresholds. These afford protection against equipment failure and potential hazards.
Additionally, a robust safety lock on the trigger can prevent unintended activation. This feature is especially crucial when the equipment is in storage or during downtime. Ensure a quality latch mechanism to withstand repeated use.
Operational Safeguards
Installation of ground fault circuit interrupters (GFCI) is vital in environments exposed to moisture. These devices automatically trip the circuit in the event of a fault, minimising the risk of electric shock. Always verify that the chosen GFCI complies with local electrical codes.
| Safety Feature | Function | Recommendations |
|---|---|---|
| Thermal Relief Valve | Releases pressure to prevent overheating | Choose a valve rated for your pressure specifications |
| Automatic Shutdown System | Stops motor on pressure anomalies | Integrate a reliable pressure-sensitive switch |
| Safety Trigger Lock | Prevents accidental activation | Select durable latching mechanisms |
| Ground Fault Circuit Interrupter | Shuts off power to prevent electric shock | Ensure compliance with local safety codes |
Each of these elements contributes significantly to the operational safety of the equipment. Focusing on reliable features and controls will ensure a safer experience during use, protecting both the operator and the equipment itself.
Testing the System for Leaks and Performance
Before starting any cleaning task, it is imperative to thoroughly examine the assembly for leaks and overall functionality. First, fill the system with water and pressurise it to check for any signs of leakage at connections, hoses, and seals. A simple visual inspection is often not enough; listen for hissing sounds that may indicate escaping fluid.
Leak Inspection
To conduct a focused leak test, apply soapy water to all joints and fittings. Bubbles will form at any points where air is escaping, revealing leaks that require immediate attention. Tighten connections ands seals if necessary. Pay particular attention to the area around the pump, as well as any valves used in the setup.
Performance Evaluation
Once leak issues are addressed, turn on the motor and let the system run for a few minutes. Monitor the pressure gauge to ensure it reaches the expected operational levels. Observe the temperature of the output fluid; it should meet your design specifications. Variations from these parameters can indicate malfunctions or areas for improvement.
After the initial testing phase, conduct various cleaning trials on different surfaces. This will provide a practical understanding of performance. Adjust settings and components as necessary to achieve optimal results during routine usage.
Maintaining Your High-Temperature Cleaning System
To ensure optimal functionality, I recommend regularly checking the fuel system. Inspect for leaks in hoses and connections, using soapy water to identify bubbles that indicate problematic areas. Tighten any loose fittings or replace damaged components immediately.
Routine Maintenance Checks
Every few weeks, evaluate the nozzle conditions. Worn or clogged nozzles can significantly impede performance. Cleaning them with a small wire or replacing them if damaged will maintain high flow rates and pressure.
Storage Best Practices
During off-seasons, properly drain the heating system and the pump. Leaving any liquid inside can lead to freezing or corrosion. Store the unit in a dry, temperature-stable area, ensuring it’s covered to prevent dust and dirt accumulation.
It’s wise to run a diluted cleaning solution through the system every few months. This helps prevent scale buildup within the heating apparatus, prolonging its lifespan.
Regularly lubricate moving parts as specified by the manufacturer. This simple action can decrease friction and reduce wear, ensuring the equipment operates smoothly.
Always consult the manufacturer’s manual for specific maintenance intervals for filters and other components. Adhering to these guidelines will help maintain performance and extend the life of your equipment.


