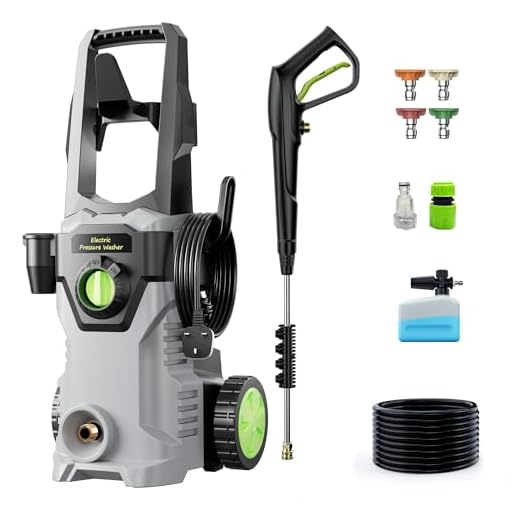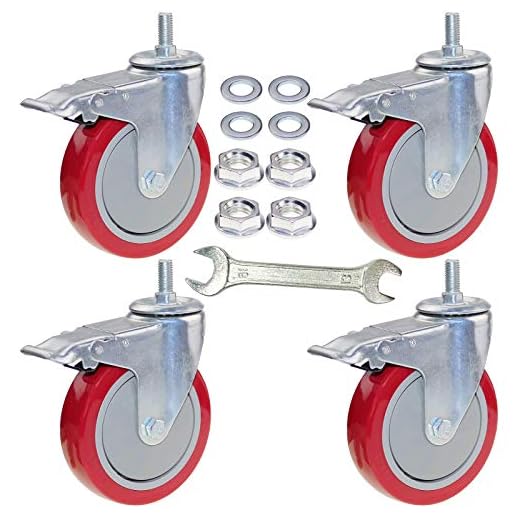


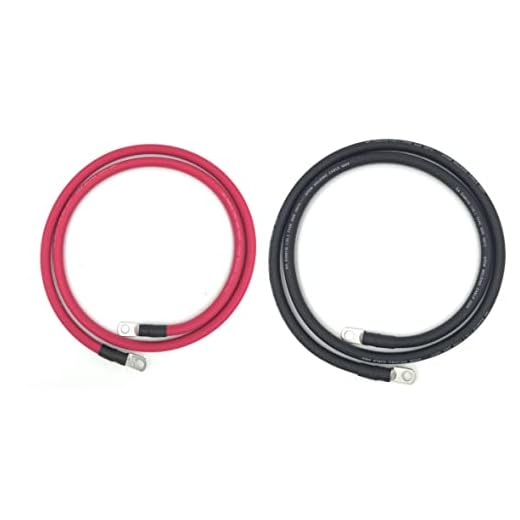
The foundation of an efficient cleaning unit lies in selecting the right components. A robust motor, ideally with at least 2.5 to 4 horsepower, provides the required power for clearing stubborn grime. Opt for an electric option if noise is a concern; otherwise, gasoline engines offer more portability without being tethered to a power source.
Next, the pump should be a triplex or axial pump. These types deliver consistent pressure and flow, ensuring a thorough clean. Look for a minimum flow rate of 2.5 gallons per minute combined with 2,000 to 3,000 psi to tackle diverse cleaning tasks, from vehicles to driveways.
Investing in a durable hose is equally crucial. A 50 to 100-foot heavy-duty kink-resistant hose enhances mobility and reduces downtime due to pressure loss. For versatility, include interchangeable nozzles. These allow for adjustments based on the cleaning surface, from delicate car paint to rugged concrete.
Finally, consider the frame. A sturdy yet lightweight design, perhaps with wheels for easy transport, is essential. Protecting the unit from dust and debris during transport will extend its lifespan, making maintenance less frequent and improving reliability.
Selecting the Right Pressure Washer Pump
Choose between an axial or triplex pump for optimal performance. Axial pumps are typically found in residential units and offer simplicity and lower cost, while triplex pumps are ideal for commercial applications, providing durability and greater efficiency at higher pressures.
Flow Rate and Pressure
Evaluate the flow rate, typically measured in litres per minute (LPM), and pressure, denoted in bar or PSI. A higher flow rate paired with a suitable pressure ensures quicker cleaning. For general use, aim for at least 8-10 LPM and 2000-3000 PSI, striking a balance between cleaning power and efficiency.
Durability and Maintenance
Select a pump constructed from high-quality materials such as brass or ceramic components. Regular maintenance, including proper lubrication and seasonal checks, prolongs the life of the unit. Refer to the manufacturer’s guidelines for specific maintenance recommendations to keep the equipment in top condition.
Consider the noise level of the pump; quieter models are preferable for residential use to avoid disturbing neighbours. If mobility is a factor, weigh the pump’s weight against its capabilities, ensuring ease of transport without sacrificing power.
Investing time in research and understanding the specific requirements of your cleaning tasks will lead to the right decision regarding the pump, improving overall satisfaction with your cleaning solutions.
Choosing an Appropriate Water Source for Mobility
Utilise a portable tank with a minimum capacity of 50 litres for convenience and independence. This allows movement between sites without reliance on available mains supply.
Consider a gravity-fed system, if it suits your needs. Elevate the tank to maximise water flow through gravity, which may reduce pump strain and improve performance.
Evaluate the weight and dimensions of your water container. Opting for materials like polyethylene ensures durability and reduces overall weight, enhancing transportability.
Include a filtration system in your design. It prevents debris from entering the pump, thereby prolonging its lifespan and simplifying maintenance. A high-quality inline filter can avert clogs and pressure fluctuations.
If using a hose directly from an external source, ensure it is at least 3/4 inch in diameter to accommodate adequate water flow. Reduced pressure can originate from narrower hoses.
Monitor local regulations regarding water usage, particularly in drought-prone areas. Compliance with laws avoids penalties and promotes responsible usage.
Finally, always consider a dual-source option. Being able to switch between a tank and a mains supply increases flexibility, providing peace of mind for various scenarios. Prepare for contingencies that may arise in diverse working environments.
Designing the Frame for Durability and Portability
The frame should combine robust construction with lightweight materials. Selecting aluminium tubing or high-strength steel ensures resilience without excessive weight. Aluminium is particularly advantageous due to its corrosion resistance and ease of handling.
Dimensions play a critical role; aim for a compact design that facilitates transport. A frame height of no more than 1 metre prevents tipping, while a width of around 60 cm provides stability. Ensure the total weight is manageable, ideally under 30 kg, enabling effortless movement.
Wheels must be chosen carefully. Opt for pneumatic tyres over plastic stock; they deliver superior traction and a smoother ride over uneven surfaces. A diameter of at least 25 cm promotes easier navigation over obstacles.
Incorporating a folding element within the frame can enhance portability. A collapsible design allows for efficient storage and transport, minimising the space required. Use quick-release pins for ease of assembly.
| Material | Weight (per metre) | Resilience |
|---|---|---|
| Aluminium | 2.7 kg | High |
| High-strength Steel | 7.8 kg | Very High |
| Plastic | 1.2 kg | Low |
Welding joints provide stronger connections than bolts, reducing potential failure points. However, where disassembly is necessary, choose high-grade bolts that withstand vibrations yet are easy to remove.
Finally, a powder-coated finish enhances durability while providing a sleek appearance. It’s resistant to scratches and fading, extending the operational life of the structure.
Integrating a power supply for off-grid operation
Choosing a suitable energy source is key for independent functionality. I recommend utilising a robust solar power system paired with a battery bank capable of storing enough energy for extended use. Aim for at least 200 watts of solar panels to ensure sufficient output even in less-than-ideal weather conditions.
Battery Selection
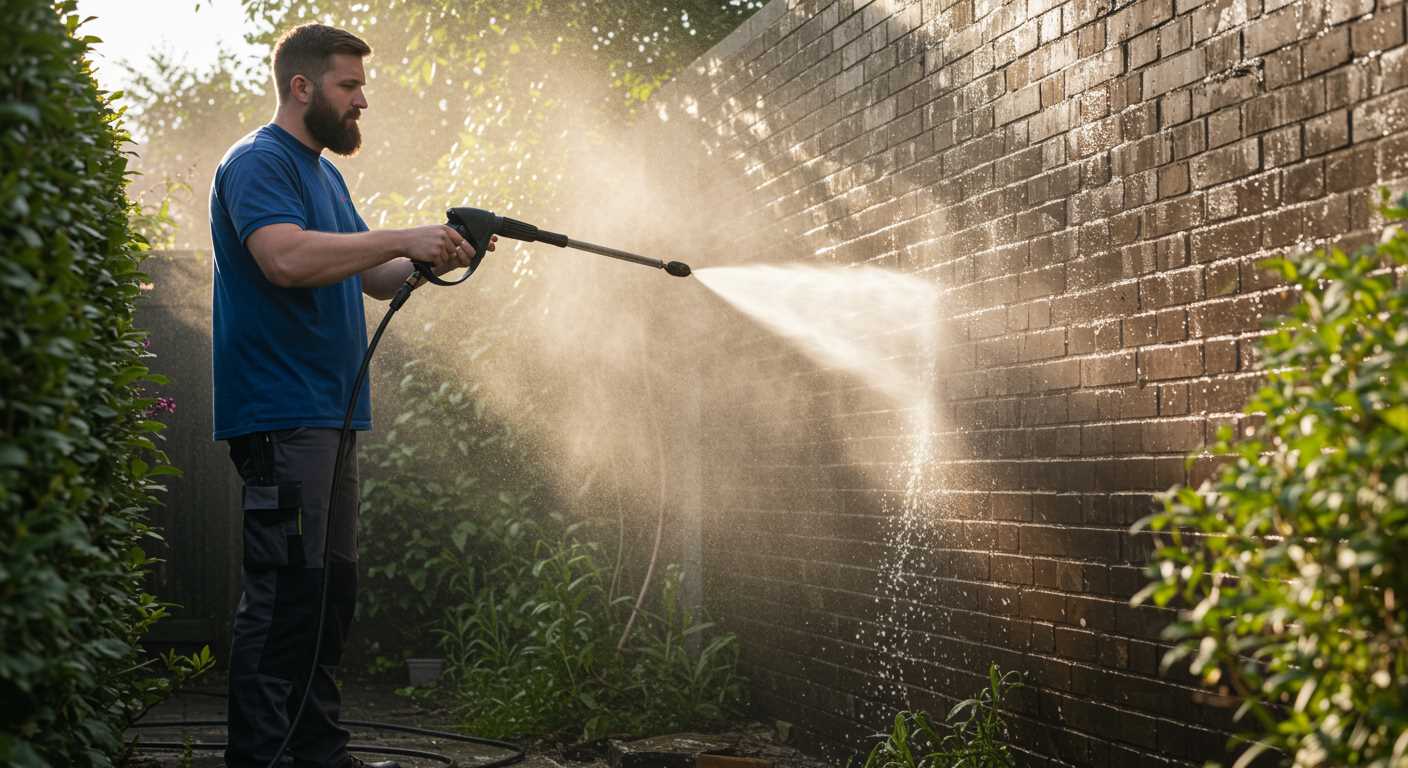
Select deep-cycle batteries, designed for repeated discharges without damage. Lithium-ion options offer lightweight efficiency and longer lifespans compared to traditional lead-acid types. A bank with a total capacity of around 100Ah should provide enough power for your equipment over several hours.
Inverter Requirements

Include a pure sine wave inverter to convert DC power from the batteries to AC power for your tools. Ensure the inverter has a rating of at least 1,500 watts to handle the starting surge of high-demand devices. Additionally, integrate an appropriate charge controller to manage the energy flow from the solar panels to the batteries, preventing overcharging and system failures.
These components combined will deliver reliable energy autonomy, allowing use wherever necessary without reliance on traditional grids.
Installing the Spray Nozzle and Hose Assembly

Begin with selecting a compatible nozzle that meets your cleaning requirements. For effective pressure management, ensure the nozzle size matches the output of your pump. A smaller or larger opening can lead to inefficiency or damage. Screw the nozzle firmly into the wand assembly to prevent leaks and ensure optimal function.
Next, attach the high-pressure hose to the pump outlet. Use a suitable connector that can withstand the water pressure without bursting. Tightening a hose clamp is advised to create a secure fit. Regularly check all connections for leaks if the unit has been in use for an extended period.
Position the spray wand at an angle comfortable for operation. You can add a quick-connect fitting if you prefer tool-free swapping of nozzles during cleaning tasks. This feature will save time and effort, especially when switching between applications.
Make sure to route the hose to avoid kinks and pinching during operation. Use cable ties or hose guides to keep everything organized. Proper alignment can prevent wear on the hose, extending its lifespan and ensuring consistent water flow during use.
Finally, conduct a pre-use test to verify that everything operates smoothly. Turn on the water supply and briefly engage the pump while checking for leaks and assessing the spray pattern. Adjust the nozzle as necessary to achieve desired spray precision.
Incorporating Storage for Cleaning Products and Tools
Modular compartments provide the best solution for organizing cleaning supplies. I recommend using durable, weather-resistant materials to ensure longevity. Bins or trays can be arranged within the frame for easy access and stability during transportation.
Design Recommendations
- Use high-density polyethylene or polypropylene for containers; these are lightweight yet sturdy.
- Incorporate a designated area for safety equipment, such as gloves and goggles, ensuring they are readily available.
- Opt for clear containers to quickly identify contents without opening each one.
- Integrate secured compartments for chemicals to prevent spills and leaks that could damage other components.
Tool Organization
- Install hooks or brackets on adjustable shelves; this allows for easy storage of hoses, brushes, and other accessories.
- Label each compartment to streamline the retrieval process, reducing time spent searching for items.
- Consider magnetic strips for small metal tools; this keeps them visible and accessible during tasks.
For efficiency, arrange frequently used items at the top or front of the storage unit. Implementing these organizational tactics will enhance overall productivity and ensure a seamless cleaning experience, making every task more manageable.
Ensuring mobility with proper wheel and axle selection
Select wheels with a diameter of at least 10 inches. Larger wheels improve manoeuvrability over rough terrain, while smaller ones can hinder movement on uneven surfaces. Pneumatic tyres are preferable due to better traction and shock absorption, enhancing stability during operation.
Choose high-quality axles capable of supporting the total weight, including the motor, water tank, and any additional equipment. A robust axle prevents bending or breaking under load, ensuring longevity of the construction.
Position the axle close to the centre of gravity for improved balance. This reduces the risk of toppling when navigating inclines or declines, making it easier to transport across varied landscapes.
Consider using swivel casters for the front wheels. These wheels provide enhanced control, allowing for tight turns and easier navigation in confined spaces. Rear wheels should be fixed, providing stability during operation.
Ensure that the axle is mounted securely, using bolts or welding depending on the frame material. Loose fittings can lead to structural failure, compromising both safety and efficiency.
Regularly inspect and maintain wheels and axles, checking for wear and tear or any signs of damage. Prompt replacement of worn parts will prevent breakdowns during use, keeping the unit operational and efficient.
Testing the System for Performance and Leaks
Before deploying your cleaning setup, comprehensive testing for both performance and leaks is crucial. Start by connecting the water source and powering the unit. Observe the pressure levels at the gauge. Ideally, the pressure should align with the pump’s specifications.
To detect leaks, conduct a thorough visual inspection along all connections and fittings. Pay special attention to:
- Hoses: Check for cracks or abrasions.
- Couplings: Ensure they’re properly tightened and free from debris.
- Spray nozzle: Confirm a tight fit with no water seeping from the edges.
Conduct a flow test by running the equipment for 15-20 minutes. Monitor for any irregular drops in pressure, which may indicate internal leaks. If pressure fluctuates, it’s essential to investigate potential issues with the pump or any connections.
Timing your tests is also beneficial. Document pressure levels and flow rates, comparing them against the intended specifications. For optimal performance, ensure:
- The pump operates continuously without overheating.
- Water flow remains steady without interruptions.
- There’s adequate power supply voltage.
If you identify any leaks, isolate the problem area. Apply appropriate sealants for minor issues or replace compromised components as necessary. It’s advisable to repeat these tests after any modifications to ensure reliability in various environments.
After confirming that the unit operates as expected, execute a test on different surfaces and materials, assessing cleaning effectiveness. Adjust nozzle types as needed to achieve the desired results, remembering that the right angle and distance will significantly impact cleaning efficiency.


