

For those looking to craft a powerful cleaning device, it is essential to gather the right components. Start with a high-performance motor, ideally rated between 1.5 to 2.5 kW to deliver ample pressure. A reliable pump, capable of withstanding at least 100 bar, will ensure effective performance while maintaining consistency during usage. Look for brass or ceramic components in pumps for durability and longevity.
A sturdy frame is another necessity; use steel or high-quality plastic to ensure stability. Incorporate large wheels for mobility, making it easier to transport across various surfaces. Don’t underestimate the importance of hoses; opt for reinforced, kink-resistant hoses that can handle high pressure and prevent leaks. A trigger gun and nozzle of varying spray patterns can significantly enhance your cleaning capabilities, allowing you to tackle different surfaces and dirt types efficiently.
Power supply requirements must be addressed; ensure your device is compatible with typical household circuits. Consider an electrical cord of adequate length to avoid requiring extensions while working on larger areas. Safety features, such as thermal overload protection, are crucial to prevent overheating and prolong the life of your creation. Following these guidelines will enable you to craft a robust and effective cleaning apparatus that meets your needs and stands the test of time.
Selecting the Right Motor and Pump Combination
Choose a motor with at least 1.5 kW for residential tasks. For lighter domestic use, a 1.3 kW motor can suffice, but it may struggle under heavy loads. Motors above 2.5 kW are better suited for intensive cleaning or commercial applications.
Assessing Motor Types
Opt for universal or induction motors. Universal motors provide high RPM, making them more efficient for smaller tasks. Induction motors are robust, quieter, and have a longer operational lifespan, ideal for prolonged usage.
Pump Specifications
A thermally protected pump is vital to prevent overheating during extended tasks. Consider a pump that offers a flow rate between 6 to 9 litres per minute. For increased power, select a pump with a maximum pressure rating of around 150 to 180 bar. This setup ensures optimal cleaning without risking damage to surfaces.
| Motor Type | Power (kW) | Ideal Use |
|---|---|---|
| Universal | 1.3 – 2.5 | Light to Medium Duty |
| Induction | 1.5 – 3.0 | Medium to Heavy Duty |
Matching the right power source with the appropriate pump enables effective cleaning performance while prolonging equipment lifespan. Prioritise noise level, ease of use, and maintenance when finalising your choices.
Understanding the electrical requirements and safety measures
Ensure that your system operates on a dedicated circuit that can accommodate the specified voltage and current. For most setups, a 120V or 240V source is standard, but verify your motor’s requirements before proceeding.
Utilise an appropriately rated circuit breaker. For motors of up to 15A, a standard 15A breaker will suffice. However, for more powerful motors, consider 20A breakers to prevent tripping during operation.
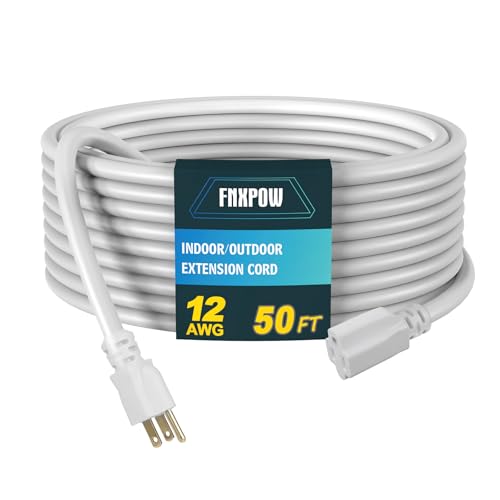
Utilise heavy-duty extension cords with a minimum 12-gauge wire for distances exceeding 25 feet from the power source. This minimises voltage drop and prevents overheating.
Grounding is non-negotiable. Ensure all electrical connections are grounded to reduce the risk of electric shock. Employ ground-fault circuit interrupter (GFCI) outlets to add an extra layer of protection.
Prior to using the apparatus, inspect all electrical components for wear or damage. Look for frayed wires, loose connections, or signs of corrosion, which can all pose safety threats.
Maintain optimal airflow around the motor. Overheating can shorten its lifespan and lead to failure. Ensure the machine rests on a stable surface, away from pools of water or other hazards.
In case of any electrical malfunctions, turn off the power immediately. Never attempt to repair electrical components while the system is connected to the outlet, as this could lead to severe injuries.
Familiarise yourself with the user manual of each component. Manufacturers often provide specific safety guidelines and usage instructions that are crucial for safe operation and maintenance.
Gathering Necessary Tools and Materials for Assembly
To create your own high-pressure cleaner, it’s essential to assemble the right tools and components. Here’s a comprehensive list to get you started.
Required Tools
- Screwdriver set – both flathead and Phillips
- Wrench set – adjustable and fixed sizes
- Pliers – needle-nose and regular
- Cable cutters or wire strippers
- Drill with bits (for creating holes if necessary)
- Measuring tape – to ensure precise dimensions
- Safety goggles – to protect your eyes during assembly
- Gloves – to shield your hands while handling materials
Materials Needed

- High-performance motor – suitable for the required power
- Pump – specifically designed for water pressure applications
- Hoses – durable and capable of withstanding high pressure
- Connectors – various fittings to link hoses and components
- Frame – sturdy enough to support the entire assembly
- Water inlet filter – to prevent debris from entering the system
- Electrical components – including wires and connectors for safe setup
- Seals and gaskets – to prevent leaks at joints
Ensure all the materials meet the specifications for optimal performance. With these tools and components at hand, you’ll be well-equipped for assembly.
Constructing the Frame and Housing for Durability
Utilising high-quality materials such as stainless steel or thick, durable plastic is paramount. These materials resist rust and corrosion, ensuring a long life for your equipment. Reinforcing the frame with cross supports can further enhance stability, especially under pressure. Use bolts instead of screws for joining components; they resist loosening over time.
Securing Electrical Components
Consider enclosures for the motor and pump, protecting them from water and debris. A well-fitted housing not only prevents damage but also reduces noise during operation. Ensure access panels are easily removable for maintenance yet secure enough to withstand pressure fluctuations.
Aesthetic and Functional Design
Incorporate ergonomic handles and wheels into the design for easy mobility. The frame width should balance stability and manoeuvrability. Consider an aesthetic finish that matches your preferences while ensuring all materials are rated for outdoor use. A well-designed holder for the high-pressure hose will keep the unit neat and prevent wear on the hose.
Installing the Water Inlet and High-Pressure Outlet Correctly
Position the water inlet and high-pressure outlet in locations that minimise bends and kinks in the hoses. This ensures optimal flow and reduces wear on connectors. Securely attach the inlet to the pump, ensuring all gaskets are in place to prevent leaks. Use Teflon tape on threaded connections for a tighter, waterproof seal.
When installing the high-pressure outlet, ensure it lines up correctly with your cleaning attachment. This alignment prevents undue stress on the hose. Tighten the connection without over-torquing, which could damage threads or O-rings.
Install a filter on the water inlet to catch debris before it reaches the pump. This prolongs the life of internal components. Regularly clean or replace the filter to maintain optimal performance.
After completing installations, conduct a leak test by connecting the water source and activating the system briefly. This checks for any moisture at connections, indicating potential leaks. Address any issues immediately to maintain functionality.
Finally, ensure that the hoses used for both the inlet and outlet are of the correct diameter and length to avoid flow restrictions. This detail significantly impacts the overall pressure generated. Adhering to these specific guidelines will facilitate efficient operation of your cleaning machine.
Testing for Functionality and Leaks
To ensure your device operates reliably, start by connecting it to a water source and a power supply. Turn on the motor and observe for any unusual noises or vibrations. The pump should engage smoothly without hesitation. If you notice any irregularities, troubleshoot the motor and pump alignment immediately.
Next, check for leaks. Focus on the points where hoses connect, especially around the inlet and outlet fittings. Use a soft cloth to wipe the surfaces dry before running a test. After switching on, examine these areas closely. If moisture appears, tighten the connections or apply plumber’s tape to enhance the seal.
Conducting a Spray Test
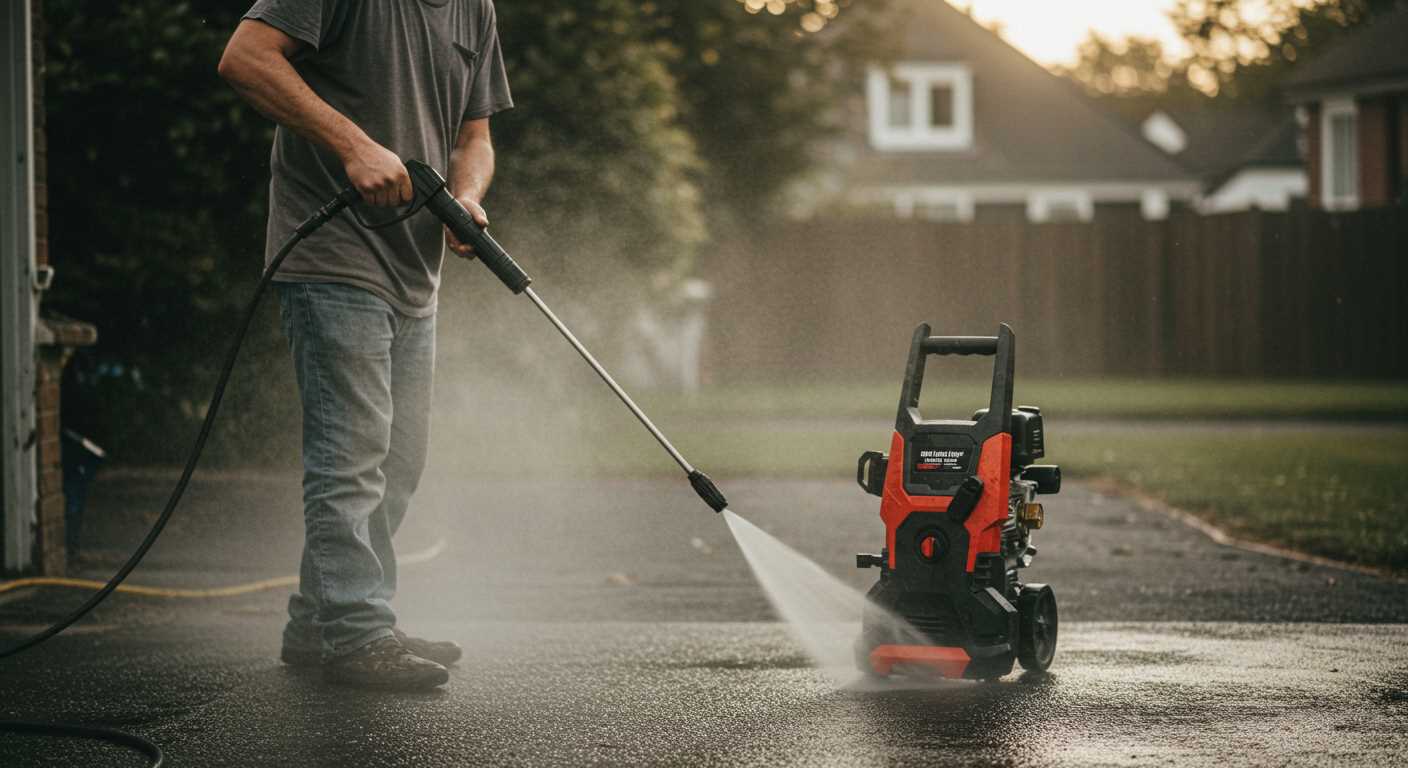
Conduct a spray test to assess the unit’s operational effectiveness. Select a surface appropriate for cleaning, like concrete or a car. Aim the nozzle and trigger the spray. Inspect the spray pattern; it should be uniform without pulsation or weak spots. If the flow is inadequate, it may indicate a clog or pressure setting issue. Adjust the nozzle as necessary to achieve optimal performance.
Lastly, perform a temperature check. If the water heats significantly during operation, it could indicate a malfunction in the pump. Address this early to avoid further damage. By methodically testing these elements, you can confirm the apparatus is fully functional and leak-free before its first use.


