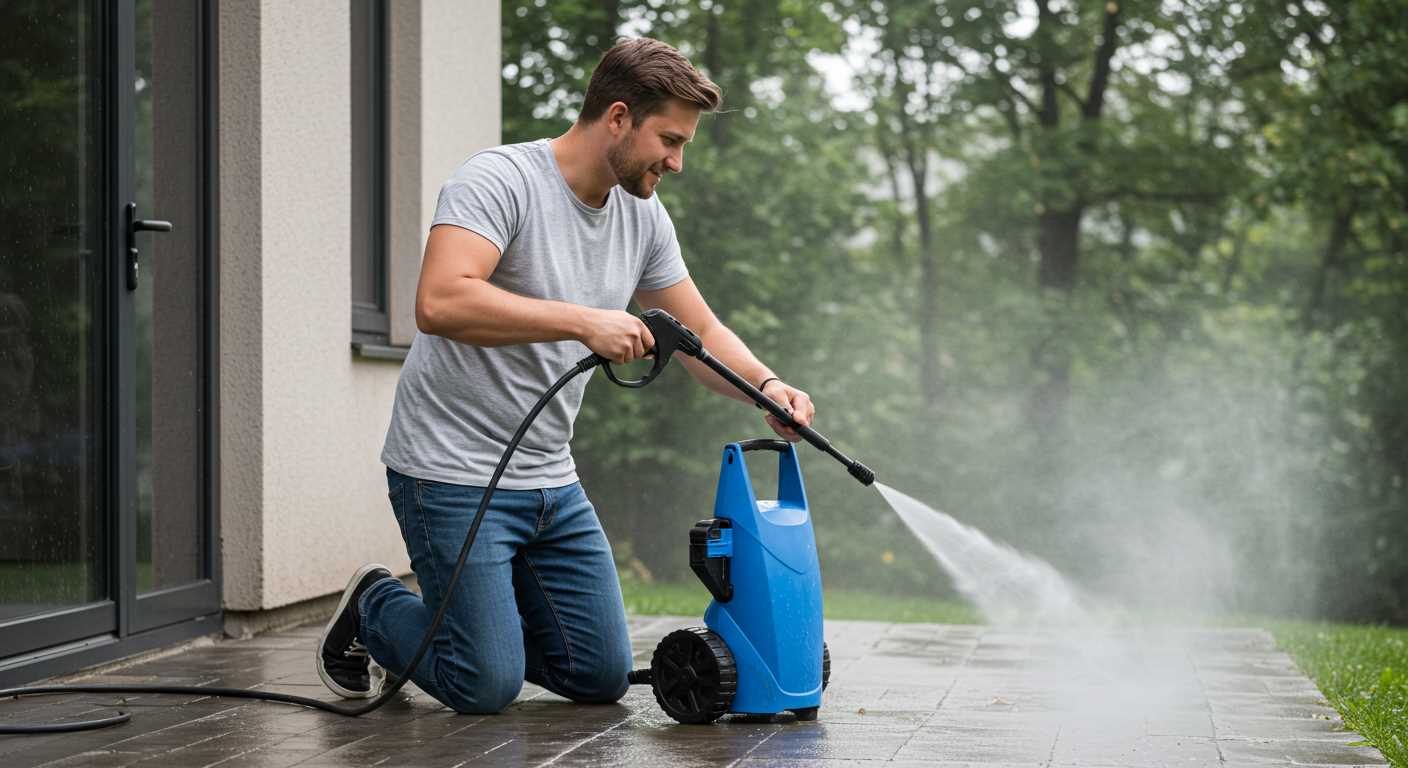
To improve the efficacy of your cleaning tasks, swapping nozzles or spray tips on your equipment is crucial. It’s a straightforward process that can significantly enhance the performance of your appliance. Start by making sure the appliance is turned off and unplugged to ensure safety during the procedure.
Next, locate the release mechanism that secures the current nozzle in place. Most models feature a simple push-button or a latch that allows easy removal. Gently press or pull this mechanism to detach the existing nozzle from the lance. Take care to hold the lance securely to avoid any unnecessary strain during this step.
Once the nozzle is removed, select the appropriate replacement based on your cleaning requirement. Different nozzle types produce various spray patterns, ranging from broad coverage to concentrated jets, perfect for stubborn stains. Align the new nozzle with the lance’s connection point and push it firmly until you hear a click, which indicates it is securely attached.
After the new attachment is in place, plug in the equipment and perform a quick test run to ensure proper functionality. Adjust the settings if necessary, and you’re ready to tackle your cleaning tasks with improved efficiency.
Steps for Swapping the Nozzle on Your Cleaning Unit
.jpg)
Begin by ensuring the unit is powered off and disconnected from the mains supply. Next, locate the quick-release mechanism, typically found near the hose connection point. Press the release button or pull the collar while gently pulling the nozzle away from the lance. You should hear a click as it detaches.
Choose your desired nozzle. Align it with the lance and push until you hear a secure click, confirming it’s locked in place. If the model includes a rotating nozzle type, adjust it accordingly for your cleaning task.
Reconnect the water supply and plug in the device. Test the new nozzle by running the machine on a low setting initially. Adjust the pressure as needed for your cleaning surface, ensuring optimal performance.
Always check for any leaks at the connection points post-installation. Regular inspection of the nozzles for wear and tear will prolong their lifespan.
Identifying the Right Accessory for Your Needs
Begin by identifying the specific task you want to accomplish. For general cleaning, a standard nozzle will suffice. If you need to tackle tough stains, opt for a turbo nozzle. For delicate surfaces, consider a fan spray or specific brush designed to avoid damage. Each accessory is tailored for a distinct purpose, making it essential to choose wisely.
Assess the surfaces you’ll be working on; hard surfaces like concrete or brick can handle higher pressures, while softer materials, such as wood or automotive paint, require more care. Evaluate the level of dirt or grime present; heavier accumulation may necessitate a more aggressive tool.
Check compatibility with your unit. Not all accessories fit every model, so referencing the manufacturer’s specifications for your particular machine ensures seamless integration. This will prevent any operational issues and extend the life of both your device and the tools.
Lastly, consider additional features like adjustable spray patterns, which can offer versatility. Choose tools that afford ease of use and comfort during operation, reducing fatigue during lengthy cleaning tasks. Ensuring you have the right accessory will not only improve performance but also enhance the overall effectiveness of your cleaning tasks.
Preparing Your Karcher Pressure Washer for Attachment Change

Ensure that the power supply is disconnected before proceeding. This prevents any accidental activation while switching tools, safeguarding both your equipment and yourself.
Next, depress the trigger on the gun to release any residual pressure in the system. This step is critical to avoid any spray-back, which could lead to injury or damage. Allow a few moments for the pressure to fully dissipate.
Inspect the connection point of the tool. Look for any debris or build-up that might hinder a smooth transition between implements. Cleaning it with a soft cloth ensures that the new tool will fit securely and operate effectively.
Gather all necessary items nearby. This includes your new implement, a clean cloth, and any required tools for securing the attachment. Having everything at hand reduces downtime and speeds up the process.
If additional components or adapters are needed for the new tool, make sure to have those ready. Refer to your user manual for specifics about compatibility and requirements to avoid any confusion during installation.
Lastly, wear gloves to protect your hands, especially if the previous component is warm from use. Safety gear contributes to a smooth operation, allowing for a focused and secure experience throughout the procedure.
Disconnecting the Current Attachment Safely
To ensure a safe and efficient process, switch off the appliance and unplug it from the power source. It’s crucial to relieve any built-up pressure within the unit. To do this, press the trigger on the spray gun for a few seconds, allowing excess pressure to escape.
Steps to Follow
Follow these steps to disconnect components properly:
- Ensure the device is turned off and unplugged.
- Depress the trigger to release remaining pressure.
- Locate the quick-release mechanism on the current nozzle. Most models have a button or lever specifically designed for this purpose.
- Simultaneously press the button or pull the lever while gently twisting the nozzle clockwise to detach.
- Once removed, store the nozzle in a dry place to prevent damage.
Safety Precautions
Always wear protective gloves to shield your hands from sharp edges or any debris during the process. Never attempt to force any parts apart, as this may cause damage to the equipment. If you encounter resistance, double-check that you have released the locking mechanism accurately.
| Action | Description |
|---|---|
| Unplug | Disconnect from the power outlet before starting. |
| Release Pressure | Use the spray gun trigger to vent excess pressure. |
| Locate Mechanism | Identify the quick-release feature on the current nozzle. |
| Remove Safely | Press or pull the mechanism while twisting gently. |
| Store | Keep removed components in a secure, dry location. |
By following these steps, disconnecting the current component can be done efficiently and safely, paving the way for a new accessory to be installed with ease.
Aligning the New Accessory for Secure Fit

Ensure the new component aligns perfectly with the mounting point. Check for any guiding pins or notches, which aid in positioning. If your device features a rotational mechanism, rotate the new item until you hear a click; this indicates a secured connection.
Before proceeding, inspect the connector for any debris or blockages that may impede a snug fit. Clean the area if necessary, as this will help avoid leaks or performance issues once reassembled.
After aligning, gently press the accessory forward until it sits flush. Test the stability by lightly tugging on it. A well-fitted part should not wobble or easily detach. If adjustments are needed, release it, re-align, and press again firmly.
Lastly, double-check the locking mechanism, ensuring it is engaged properly. Refer to your owner’s manual for specific instructions related to your model, as design variations may exist between different units.
Connecting the New Attachment to the Pressure Washer

Begin by aligning the new tool with the connection point on the device. Ensure that the fitting is clean and free of debris to avoid any obstruction. This step is critical for a secure connection.
Steps for a Secure Connection
- Position the new implement at the designated attachment area.
- Gently push the accessory until you feel or hear a click, indicating it is in place.
- Inspect the connection visually to ensure it is properly seated.
Next, check for any rotational movement of the accessory. There should be minimal or no play. If there is movement, disconnect it and repeat the alignment process.
Final Checks Before Use
After securing the tool, verify all connections thoroughly, including hoses and the water source. Ensuring that everything integrates seamlessly is paramount for optimal performance.
Once you are satisfied with the fit, proceed to test the system. Activate the unit and let it run briefly to confirm that no leaks occur and the new implement functions correctly.
Testing the New Attachment for Functionality
After securing the new implement, I recommend conducting a thorough assessment of its performance. Begin with a low-pressure setting to ensure proper functioning without overwhelming the unit. Gradually increase the pressure while observing the water pattern and spray area.
Performance Evaluation
Utilise various surfaces to test effectiveness. For example, check the results on concrete, wooden decks, and vehicles. Monitor for consistency in cleaning results across different materials. Additionally, pay attention to the volume of water used; an efficient tool should maximise cleaning with minimal consumption.
Maintenance Check
After testing, inspect the connections and seals for any signs of leakage. A tight fit is critical for maintaining performance and preventing water wastage. If any irregularities appear, disconnect and examine the fitting points to rectify any potential issues. Regular checks post-use guarantee longevity and reliability of the new implement.
Maintenance Tips for Accessories
To ensure optimal performance of your devices, regularly check for wear and tear on fittings and seals. Replace any damaged components promptly to prevent leaks and inefficiencies.
- Clean after each use: Residue can build up on nozzles and connectors. Rinse them with clean water and dry thoroughly to prevent blockages.
- Inspect for damage: Regularly examine hoses and connectors for cracks or abrasions that could compromise functionality. Replace as needed.
- Store properly: Keep all components in a dry, cool place. Avoid direct sunlight and excessive heat to prolong their lifespan.
- Lubricate moving parts: A light application of silicone spray on joints can improve ease of use and prevent rust.
For rotating brushes or other mechanical accessories, ensure the bearings are greased routinely to maintain smooth operation. This will enhance the longevity of the components and efficiency during usage.
- Follow manufacturer guidelines: Each accessory has specific maintenance instructions. Familiarise yourself with these to ensure proper care.
- Keep attachments dry: Moisture can lead to corrosion. After use, ensure all parts are completely dry before storage.
- Avoid harsh chemicals: When cleaning your tools, opt for mild detergents rather than abrasive chemicals that may damage the surfaces.
Regular maintenance not only extends the life of your equipment but also ensures reliable performance whenever called upon.
Troubleshooting Common Attachment Issues

Begin by ensuring that the new tool is compatible with your equipment; cross-reference model numbers and specifications. If a snug fit is not achieved, inspect both the connector and the receiving end for any debris or damage that might obstruct proper engagement.
If leaking occurs during operation, check all seals and gaskets. Tighten any loose fittings, and replace worn seals to maintain optimal pressure and performance.
In cases of poor performance, such as inadequate water flow or reduced cleaning power, confirm that the nozzle or brush is not obstructed. Clean or replace the component if necessary.
Listen for unusual sounds that may indicate misalignment or internal blockages. Disassemble the tool carefully, inspecting for any foreign materials, and clear any obstacles that may hinder operation.
If the equipment displays error messages or does not turn on, ensure the unit is properly plugged in and that the power source is functional. Reset the system if applicable, following the manufacturer’s guidelines.
For persistent issues, refer to the user manual for additional troubleshooting steps or consider consulting the manufacturer’s customer support for specific solutions tailored to your model.


