

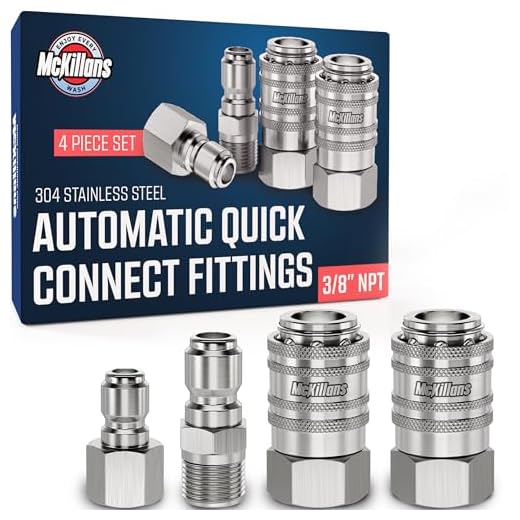

For optimal performance, it’s important to assess the compatibility of replacement nozzles and brushes tailored to your machine. Ensure the replacement tools bear the same attachment specifications as your original components for a seamless fit.
First, disconnect the device from any power source or water supply. This precautionary step guarantees safety during the modification process. Once disengaged, identify the connection point of the existing accessory; typically, a simple twist or pull will release it from the main unit.
Next, align your new tool with the couplings. For a secure fit, insert it straight into the socket, or twist it into place depending on the model’s mechanism. A click or a firm resistance usually indicates that it’s secured properly. Always double-check the lock by giving it a gentle tug before proceeding with use.
Once you’ve successfully affixed the new tool, reconnect your machine to the power and water supply. Perform a quick pre-check to confirm functionality. This ensures you can tackle dirt or grime effectively without interruptions during your task.
Modifying Nozzles and Accessories on Your Pressure Cleaning Equipment
To switch out the nozzles or accessories on your cleaning machine, first ensure the device is powered off and disconnected from any water supply. Locate the release mechanism for the nozzle, usually found at the front of the lance. It may be a simple push-button or a twist-and-lock design.
For a simple pull-off type, grip the nozzle firmly and pull it straight off the lance. For twist-and-lock mechanisms, rotate the nozzle counterclockwise until it loosens, then detach it. To install a new nozzle, align it with the lance and either push it on firmly or rotate it clockwise until secure.
While modifying brushes or other tools, first make sure you have the correct component compatible with your specific model. Similar to the nozzles, these will typically feature a release button or a locking mechanism. Follow the same principles to remove the tool and replace it carefully.
Here’s a summary of the steps:
| Step | Action |
|---|---|
| 1 | Power off and disconnect water supply. |
| 2 | Locate the release mechanism for the nozzle or tool. |
| 3 | Detach the current nozzle or attachment. |
| 4 | Align and secure the new component in place. |
Once everything is fitted, always perform a quick test to ensure the attachment is secure and functioning correctly before returning to the cleaning task. This approach not only guarantees effective operation but also enhances the longevity of your equipment.
Identifying Compatible Attachments for Your Karcher Model
To ensure optimal performance of your cleaning device, first confirm the model number printed on the unit. This will guide you in selecting the correct accessories tailored to your specific machine. Karcher devices typically have dedicated attachments designed for various tasks, so using the right ones is crucial.
Check the Compatibility List
Visit the official Karcher website or consult the user manual for your unit. Manufacturers provide lists detailing which accessories fit each model, including nozzles, brushes, and extension wands. Pay special attention to product codes as these can vary significantly between different model ranges.
Explore Third-Party Options
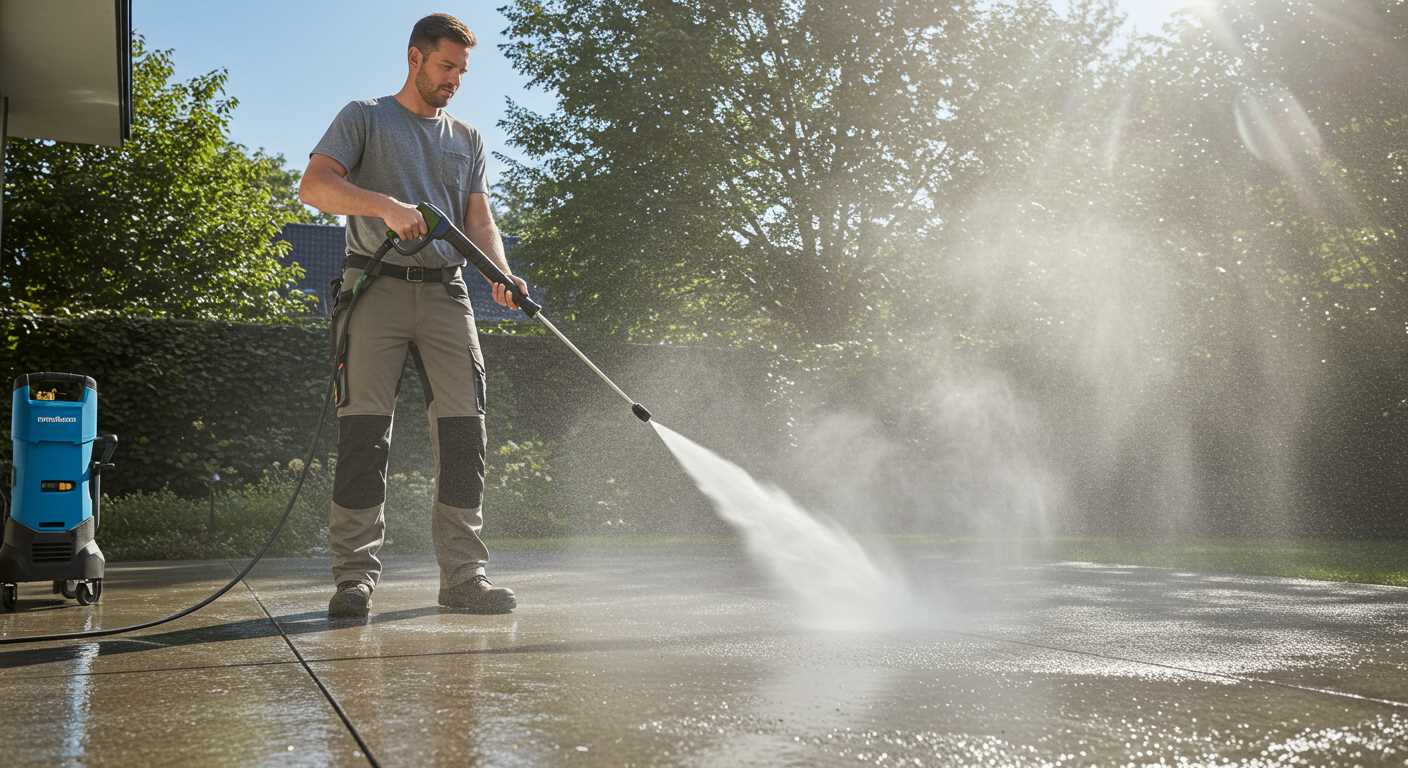
While original manufacturer accessories are recommended, some reliable third-party suppliers offer compatible nozzles and tools. Ensure these options have been certified for use with Karcher systems. Look for reviews and specifications to confirm their effectiveness.
- Model number: Essential in identifying suitable tools.
- Official website: Always check for recommended items.
- Third-party suppliers: Verify compatibility and reviews.
In addition to seeking compatibility, consider the specific cleaning tasks you will perform. Different applications, such as car washing or patio cleaning, may require specialised tools that enhance the cleaning process. Which accessories serve your requirements best will enhance your overall experience.
Preparing Your Cleaning Equipment for Attachment Change
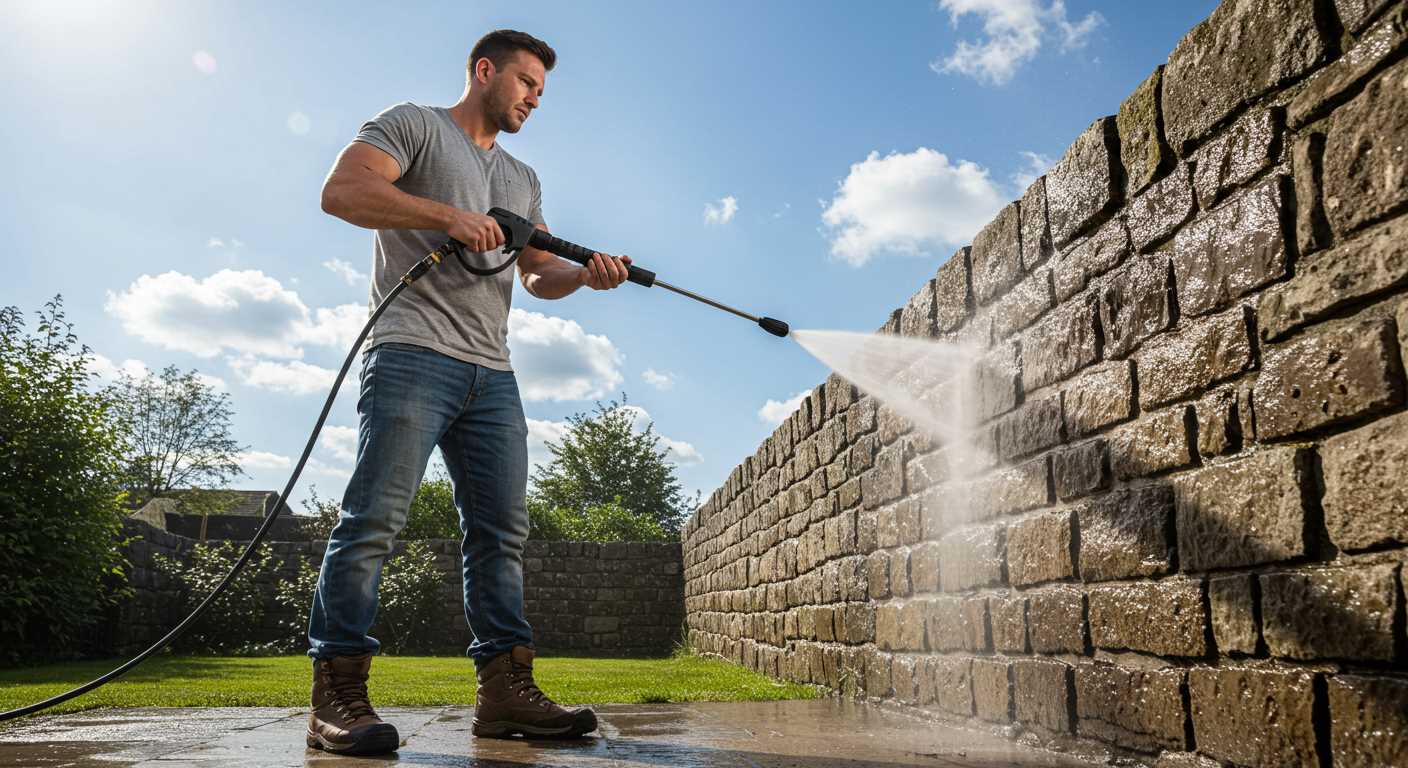
Before switching components, ensure the device is completely powered down and unplugged from the mains. This guarantees safety during handling.
Follow these steps to get ready:
- Detach the water supply hose from the inlet. This prevents water from spraying accidentally.
- Allow any residual water to drain. You can do this by tilting the unit slightly forward.
- Inspect the current component for wear and damage. If necessary, replace it to ensure optimal performance.
- Gather the new implement you wish to attach. Verify its compatibility with your specific model for seamless connection.
- Consult the manual for specific instructions regarding the tools required for the switch. Many transitions can be done by hand, but some may need basic tools.
Once these preparations are complete, you’re ready to proceed with installing the new piece. Always double-check that everything is securely attached and functional before starting the machine again.
Removing the Existing Attachment Safely
Before detaching the current implement, ensure the machine is powered down and unplugged. This prevents any unexpected activation. Next, examine the locking mechanism or clips that secure the tool in place, as these may vary by model. Gently but firmly press or pull the release buttons or levers to disengage the item.
While holding the main body of the unit steady, twist or pull the component away, following any designated motion indicated by the manufacturer. Avoid forcing the part; if resistance is encountered, double-check for any missed release points. Using excessive force can result in damaging both the unit and the accessory.
Inspect the removed piece for any wear or damage before setting it aside. If you plan to store it for future use, ensure it is clean and dry to prevent degradation. These precautions extend the life of both your tools and the new component you plan to attach.
Installing a New Attachment: Step-by-Step Guide
Begin by ensuring the current tool is securely removed from the connector. Take the new accessory and align it with the attachment point. It’s crucial the two parts are matched properly to avoid damage and ensure functionality.
Next, apply a firm push until you feel a click or lock mechanism engage. This confirms the accessory is positioned correctly. If your device includes a locking collar, twist it clockwise to secure the connection further.
Once secured, double-check that the new unit does not wobble or shift when tugged lightly. This indicates it’s firmly attached and ready for use.
Before activating the equipment, briefly test the new implement at a low setting to confirm it’s functioning as expected. Observe any peculiar noises or leaks. If everything operates smoothly, you’re set for your cleaning task.
For further operations, consult the user manual for guidance specific to your model. It often contains valuable information on compatible tools and recommended practices.
Testing the New Attachment for Proper Functionality
Before using the new component, ensure it securely fits the unit. Loose connections can lead to malfunctions or inefficiency. Start by connecting the new piece and checking for any gaps.
Verify Water Flow
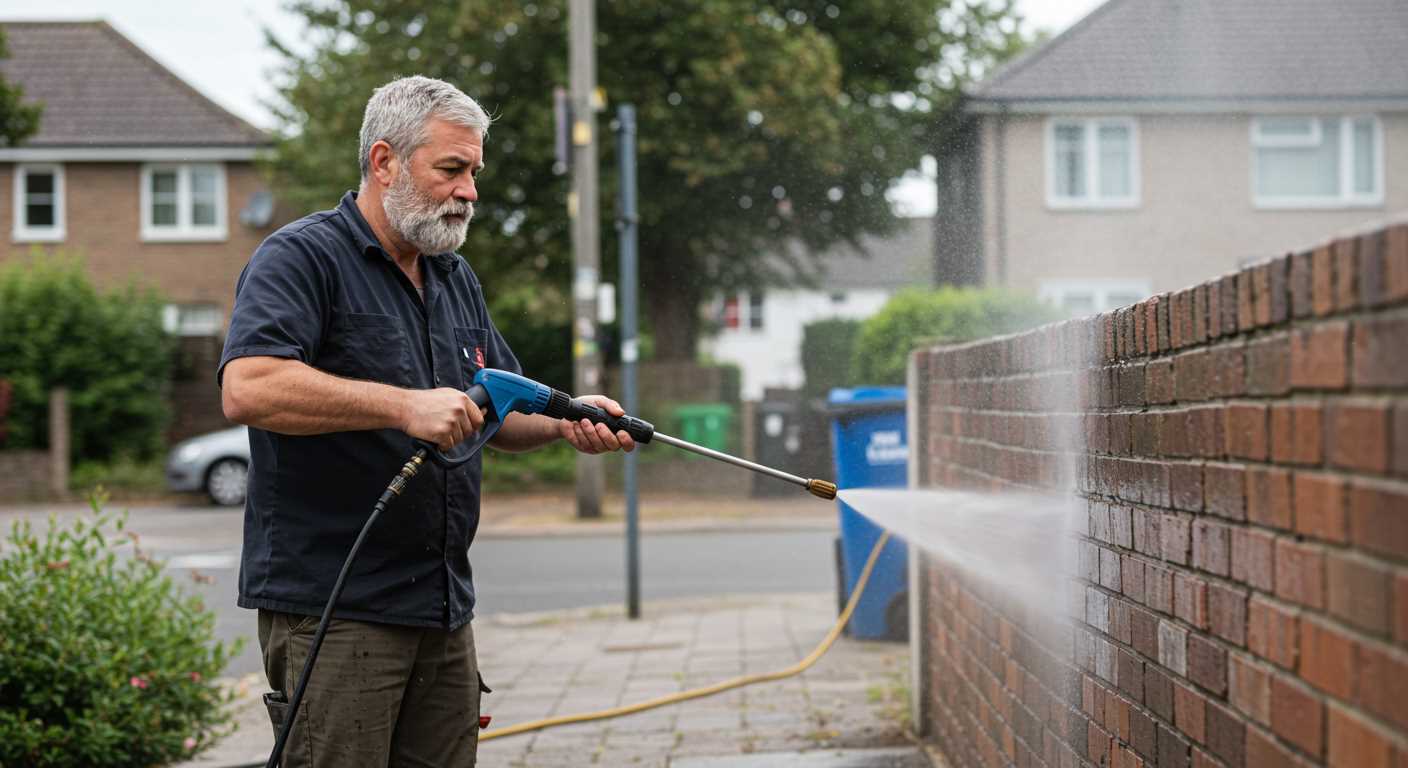
Activate the equipment and observe the water flow. A consistent, powerful spray indicates proper installation. If the spray is weak or intermittent, detach and reattach the component, ensuring everything is lined up correctly. Pay attention to any unusual noises; these can signal issues.
Check Performance on Different Surfaces

Test the new piece on a variety of surfaces. Move from a hard surface like concrete to a softer one, such as wood or pavement. Each type should respond differently, showcasing the versatility of the added tool. Note any performance inconsistencies and consult the user manual if you encounter problems.
Maintaining Accessories for Longevity and Performance
.jpg)
Regular upkeep of your accessories enhances durability and ensures optimal function. Rinse off any debris after each use to prevent build-up that could hinder performance. A gentle detergent can help remove stubborn grime; just ensure thorough rinsing after cleaning.
Inspecting Condition
Frequent inspections for wear and tear are vital. Look for cracks or deformation, particularly on connections and seals. Any damage can compromise functionality, so replace worn parts promptly to maintain effectiveness.
Storage Recommendations
Store components in a cool, dry location. Avoid exposure to extreme temperatures or direct sunlight, which can degrade materials over time. Keeping them in a designated container protects them from accidental damage.
Lubricate moving parts as needed; a light silicone spray can prevent seizing and enhance operation. Prioritise aligning parts correctly during installation to avoid unnecessary strain that can lead to premature wear. Following these tips will ensure that your tools remain reliable and efficient for years to come.


