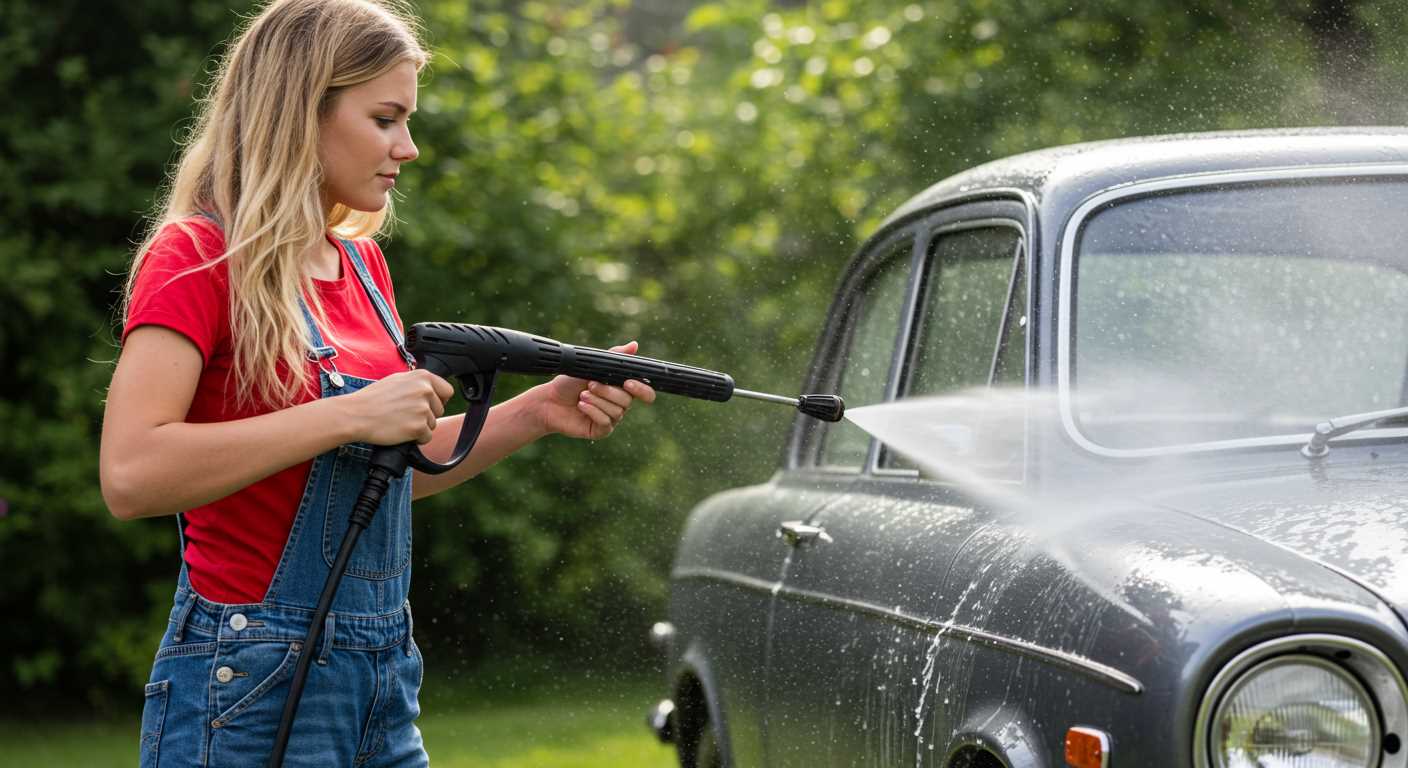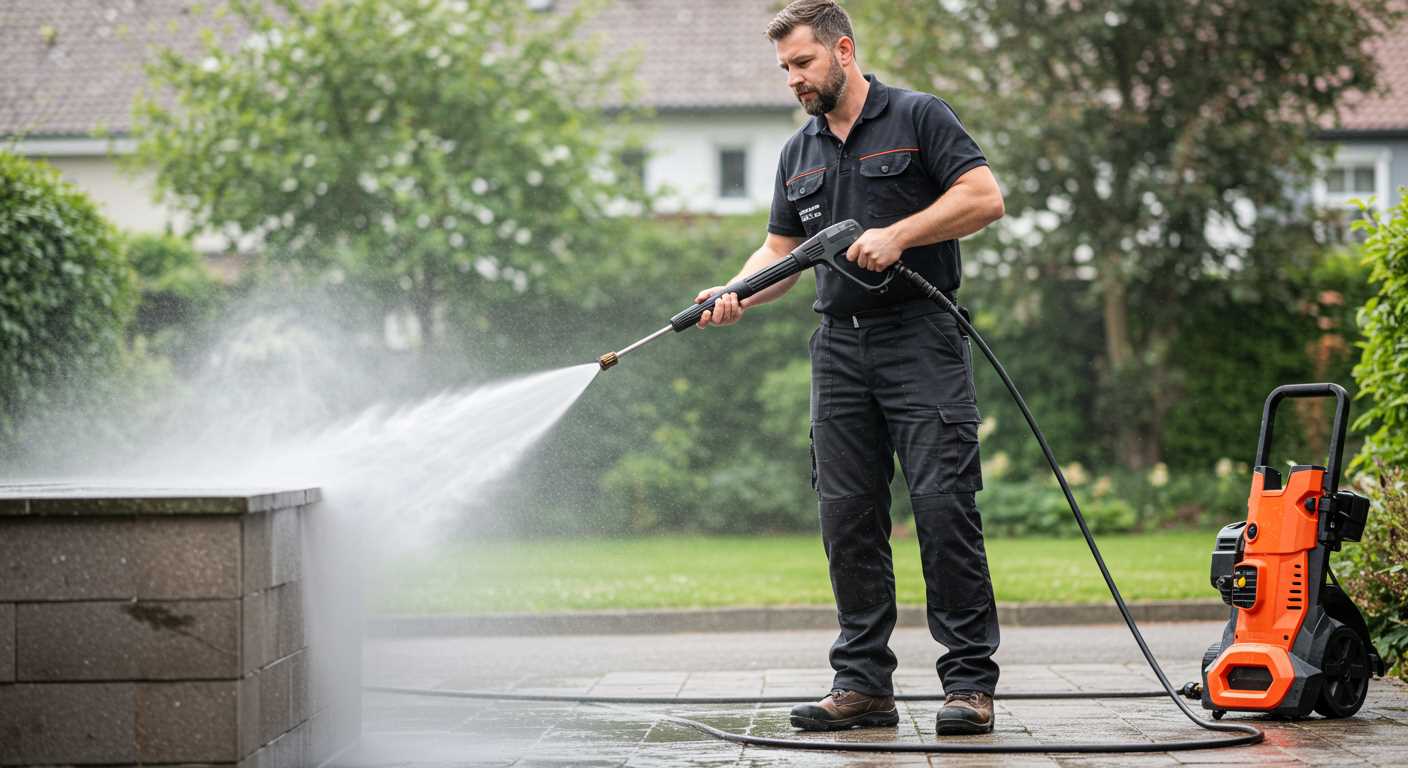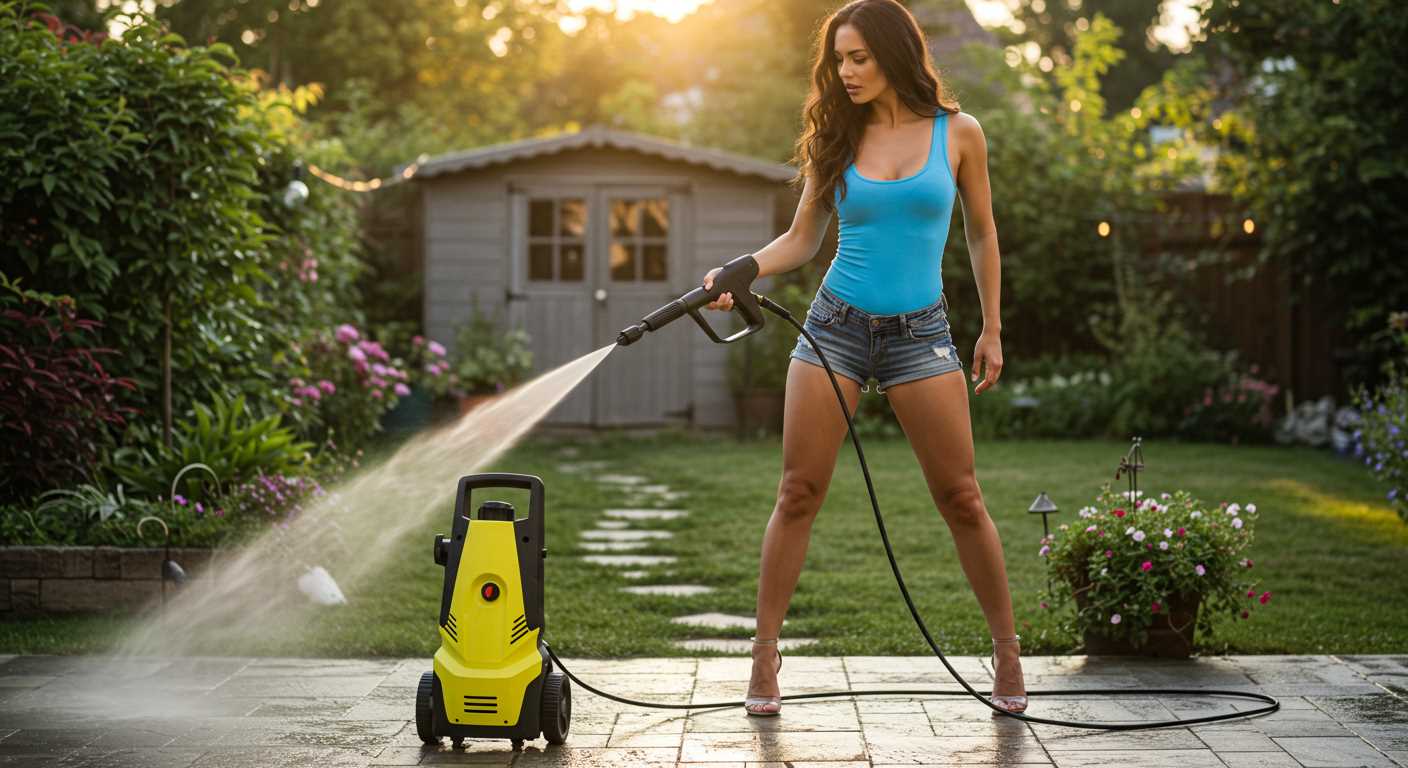


If you’re looking to fine-tune your cleaning appliance for optimal performance, it’s essential to adjust the various components based on your specific needs. Start with the nozzle selection; different tasks require different spray angles. For instance, a fan spray will be ideal for gentle cleaning, while a concentrated jet is perfect for tackling stubborn grime.
Next, calibrate the machine’s pressure output. Many units offer adjustable pressure levels, allowing you to match the intensity to the surface you’re working on. When washing delicate materials like wood, lower the pressure to prevent damage. On the other hand, brick or concrete surfaces can withstand higher settings for effective cleaning.
Don’t forget to check the detergent settings if your model supports using cleaning solutions. Ensure you’re using the appropriate mix for the task at hand–too much detergent can lead to suds that hinder performance, while too little may fail to deliver the desired results.
Regular maintenance will also enhance functionality. Keep an eye on filters and hoses to ensure there are no blockages. Regular checks and cleaning of these parts can prevent issues and extend the lifespan of your equipment.
Adjusting Your Kärcher Equipment
For optimal performance, it’s vital to switch between functions on your Kärcher unit based on the task at hand. Begin by ensuring the device is powered off and disconnected from the water source. This ensures safety during adjustments.
Next, locate the nozzle or lance used. Most models have interchangeable options for varying pressure outputs. To modify the nozzle, hold the lance tightly and rotate or slide the nozzle until it clicks into place. Common options include:
- Wide fan spray for delicate surfaces.
- Narrow jet for stubborn dirt.
- Detergent application for extra cleaning power.
After adjusting the nozzle, reconnect the water supply securely. It’s essential to check for leaks. Then, power on the unit to test the new setting. Observe the spray pattern to ensure it meets your requirements.
For pressure adjustment, some models feature a dial or lever directly on the unit. Turn the dial to your preferred level, keeping in mind that higher pressure is suited for tough grime, while lower pressure is better for softer surfaces.
Lastly, remember to routinely inspect your equipment for wear and tear. This not only prolongs the lifespan but ensures each switch between modes delivers consistent results. Regular maintenance checks are a good habit to adopt.
Identifying the correct pressure level for your cleaning task

To ensure optimal results, select the right force based on the type of surface and the nature of the grime you’re facing. Here’s a handy guide:
Surface-specific recommendations
- Concrete and masonry: Use a higher level, around 150-200 bar, to tackle tough dirt and stains.
- Wood surfaces: Opt for a medium range, about 100-130 bar, to prevent damage while still removing debris.
- Vehicles: A lower force of 90-120 bar is typically sufficient for cleaning cars without risking the paint.
- Patios and decking: A moderate setting between 120-150 bar helps eliminate dirt without causing harm to the materials.
Grime types
- Dirt and dust: Generally, a light force, around 70-100 bar, will suffice.
- Mould and mildew: Higher force, about 130-160 bar, may be necessary for effective removal.
- Grease and oil: Require significant power, often in the range of 150-200 bar, for successful cleaning.
Always begin with the lowest force required for the job, gradually increasing as needed. This approach protects the surfaces and ensures longevity while maintaining the effectiveness of the cleaning process.
Adjusting the pressure settings using the main control panel

To modify the force used during operation, locate the main control panel, typically situated at the front of the device. The panel features a dial or buttons that allow you to select different intensity levels.
Ensure the machine is switched on, then gently rotate the dial or press the increase/decrease buttons according to your desired performance. The adjustments are often indicated by corresponding symbols or colour codes that represent various applications.
Listen for any audible change or watch for lights that indicate the current selection. It’s advisable to start at a lower intensity to prevent damage to surfaces, especially when tackling more delicate materials.
After making your adjustments, I recommend running a quick test on a small, inconspicuous area to verify that the selected intensity meets your expectations. This step is crucial to ensure an effective clean without risking harm to the surface.
If adjustments need further refinement, repeat the process until you achieve optimal results for your cleaning tasks.
Changing the nozzle type for different cleaning requirements
For optimal results, select the appropriate nozzle depending on the task at hand. Various nozzle types offer distinct spray patterns and pressure levels to cater to different surfaces and dirt types.
Types of Nozzles and Their Uses
| Nozzle Type | Spray Pattern | Recommended Use |
|---|---|---|
| 0° (Red) | Direct stream | Heavy-duty cleaning, removing stubborn grime or paint. |
| 15° (Yellow) | Wide angle | Removing tough stains from concrete or metal surfaces. |
| 25° (Green) | Medium spray | General cleaning of vehicles, patios, and walls. |
| 40° (White) | Fanned spray | Delicate surfaces like wood or windows. |
| Soap Nozzle | Low pressure with detergent | Applying cleaning solutions for enhanced cleaning power. |
To switch nozzles, first ensure the equipment is off and unplugged for safety. Firmly grasp the current nozzle and twist it counterclockwise to detach. Align the new nozzle with the lance and twist it clockwise until secure. This simple process ensures you’re equipped for the cleaning challenge ahead.
Tips for Efficient Use
Always start with the widest spray angle to avoid damaging surfaces. Gradually move to narrower angles for tougher stains. Keep a safe distance, adjusting your position as needed, and use appropriate cleaning solutions with the soap nozzle for enhanced results.
Modifying the detergent concentration for optimal usage
For optimal results, I adjust the detergent concentration based on the task at hand. Start by selecting the correct detergent for the surface you’re cleaning; for instance, an all-purpose cleaner works well for general surfaces, while a dedicated vehicle shampoo is preferable for cars.
Next, locate the detergent tank on your cleaning machine. If there’s an adjustable dial or switch, set it to the lower end for light cleaning and gradually increase the amount for tough grime. This allows you to conserve detergent while ensuring effective cleaning.
When applying the solution, keep the nozzle at a distance of about 30 cm from the surface. This ensures even distribution and prevents damage. For heavily soiled areas, apply the detergent first, allow it to dwell for a few minutes, and then rinse off under a more powerful setting.
Regularly check the detergent lines for clogs to maintain consistent performance. If you notice reduced output, I recommend flushing the system with clean water to clear any blockages. This simple maintenance step keeps your equipment in top condition.
Lastly, always refer to the manufacturer’s guidelines for specific recommendations regarding detergent types and usage. Following these tailored approaches can greatly enhance the efficiency of your cleaning tasks.
Understanding the water flow parameters for various surfaces
For effective cleaning across diverse surfaces, it’s crucial to grasp the relationship between flow and surface type. Soft surfaces like patios and wooden decks require a gentle stream to avoid damage, ideally around 100-150 bar for optimal results. Conversely, hard surfaces such as concrete or brick can withstand higher pressure, ranging from 150 to 200 bar, ensuring the elimination of stubborn dirt.
For vehicles, a moderate pressure setting of approximately 120 bar is advisable. This balance protects paintwork while efficiently removing grime. When tackling delicate areas like windows or painted surfaces, use a fan spray to distribute the water more evenly, reducing the risk of chipping or etching.
Additionally, consider the angle of the spray. A wider angle, such as 40 degrees, is best for delicate cleaning tasks, while a narrower 15-degree angle focuses the water for tougher stains. Adjusting the flow rate, if your device allows, can further enhance the cleaning efficacy, adapting to the specific needs of each task.
Recognising these variables maximises both performance and safety, ensuring every cleaning session is as productive as possible.
Troubleshooting common issues with pressure adjustments

If the machine fails to deliver the desired output, start by inspecting the nozzle. A clogged or damaged nozzle can restrict flow, leading to inadequate performance. Clear any debris, or replace the nozzle if necessary.
Inconsistent spray patterns might indicate issues with the hose. Check for kinks or blockages along the entire length. Ensure the connections are secure to prevent any leaks that can disrupt water flow.
Inspect the inlet filter next. If it’s obstructed, it can significantly reduce efficiency. Clean the filter thoroughly or replace it to restore proper functionality.
If changes in performance are sudden, examine the water source. Ensure the supply is adequate and free of contaminants, as low water pressure can affect operation.
Electrical issues might cause the unit to malfunction as well. Ensure the power cord is intact and plug it into a different outlet to rule out power supply problems. A tripped circuit breaker could also halt operations.
Monitor the detergent system. If the soap does not mix well, check the reservoir and feeding tube for blockages. Clean or replace parts as needed for optimal detergent flow.
Regular maintenance is key to avoiding these issues. Schedule routine checks and cleanings to enhance the longevity and performance of the equipment.


