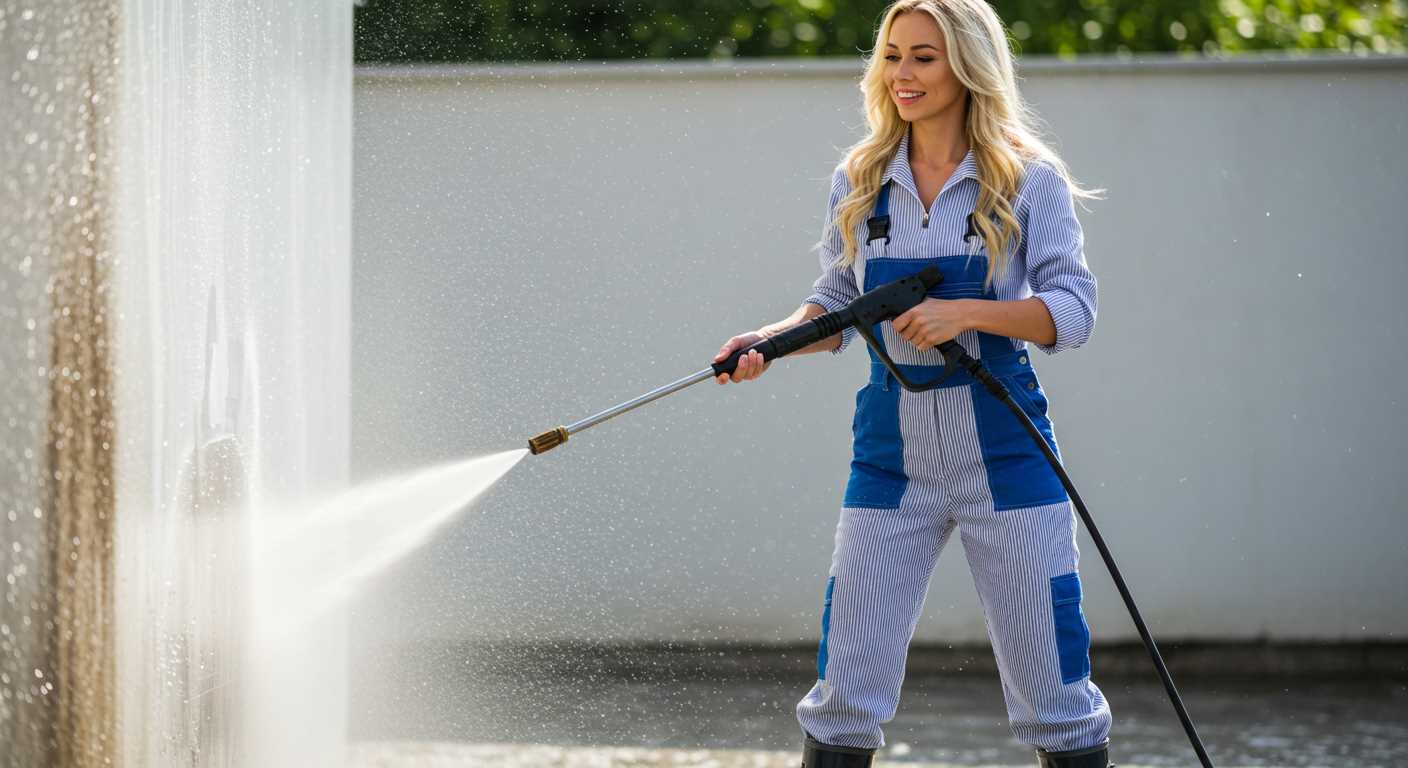
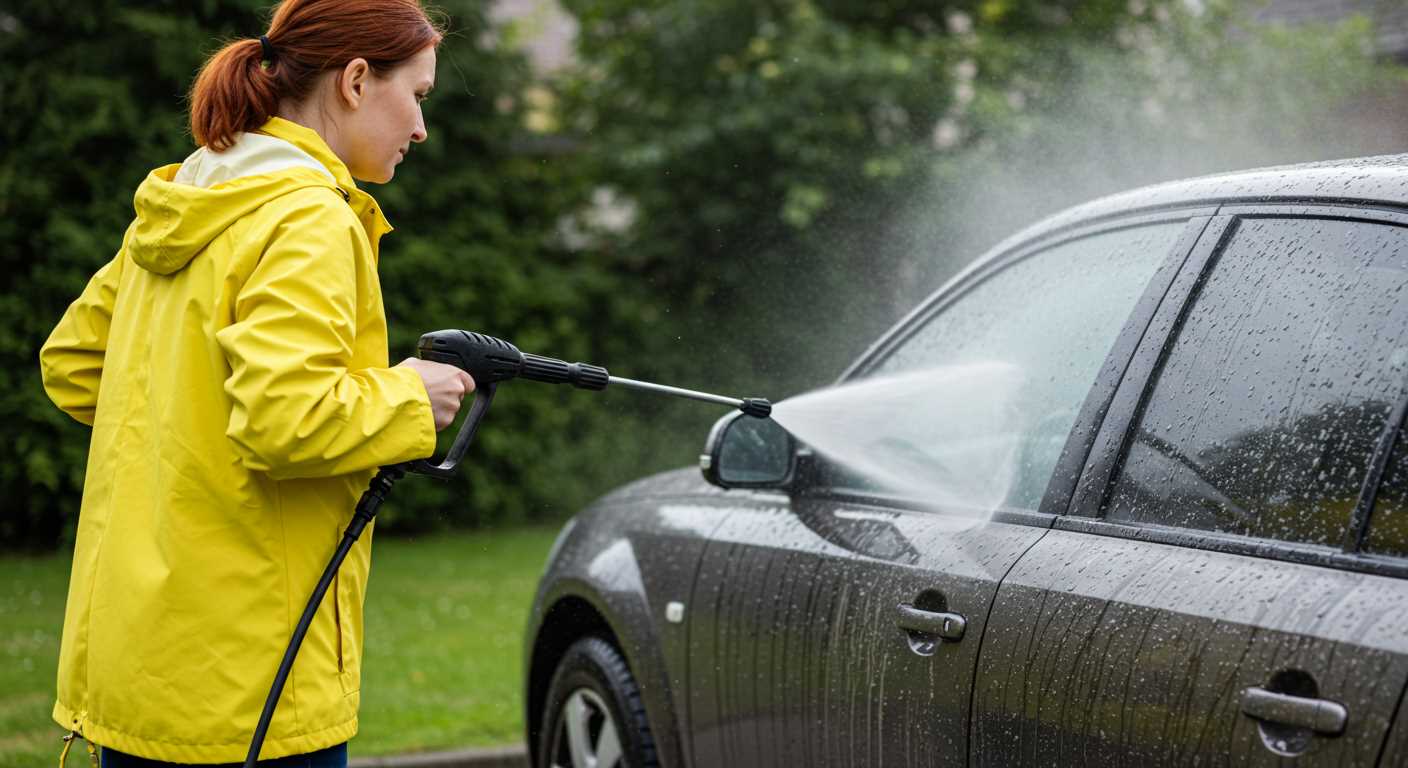
Begin by ensuring the machine is powered off and unplugged. This prevents any accidental activation during the process. Next, locate the nozzle’s locking mechanism, which is typically a simple twist or pull-out connection. Understanding this mechanism is crucial; fiddling aimlessly can lead to damage.
Once unlocked, carefully remove the existing nozzle. If there’s debris or grime, cleaning the connection point helps maintain optimal performance. Inspect the o-ring for wear or damage; replacing this small component can prevent leaks and enhance efficiency.
After preparing the new attachment, align it properly with the connector. Ease it into position rather than forcing it; this step ensures a secure fit without causing unnecessary strain on any part. Lock it in place by twisting or pushing until you hear or feel it click into position.
Before using the device again, perform a test run without any load. Observing the new nozzle in action allows you to confirm there are no leaks and that it operates efficiently. Remember, regular maintenance checks following replacements can significantly extend the lifespan of your cleaning tool.
Replacing Nozzle on a Pressure Cleaner
Begin by ensuring the unit is powered off and unplugged. Safety is paramount. Identify the correct new attachment compatible with your model. Most devices have a quick-release mechanism. Press or pull the release button to detach the existing nozzle.
Align the new nozzle with the connection point on the lance. Ensure it fits snugly. Push firmly until you hear or feel a click, indicating it’s secured. Test the connection by gently tugging on the nozzle; it should remain in place.
Reconnect the water supply and plug in the machine. Turn on to test performance. Adjust as necessary for optimal cleaning.
Always refer to the specific manual for your model for detailed instructions and safety guidelines. Regularly inspect the nozzles and equipment for wear and damage to maintain efficiency.
Identifying the Correct Replacement Head Model
Consult the user’s manual specific to your model for precise details on compatible attachments. Each unit is designed for particular accessories, ensuring optimal performance and preventing damage. If the manual is unavailable, visit the manufacturer’s website and locate the specifications for your device.
Key Factors to Consider
Begin by checking the model number, often found on the body of your unit. Compare this number with the listings of available nozzles or attachments to ensure compatibility. Pay attention to the connection type; some units use bayonet fittings, while others might require screw or quick-release mechanisms.
Recommended Replacement Models
| Model Number | Compatible Nozzle/Attachment |
|---|---|
| K2 | FJ 6, FJ 10 |
| K3 | FJ 3, FJ 10 |
| K4 | FJ 10, FJ 30 |
| K5 | FJ 30, FJ 40 |
| K7 | FJ 40, FJ 50 |
For confirmation, consult customer reviews or forums for insights on others’ experiences with specific replacement models. This can guide you in selecting the right attachment, ensuring you achieve the desired cleaning results.
Gathering Necessary Tools for Replacement
For a smooth transition to the new attachment, you need to assemble the following items:
- Socket Wrench Set: Essential for loosening and tightening screws on the connector.
- Adjustable Wrench: Useful for adjusting nuts that may not fit standard socket sizes.
- Screwdriver Set: Particularly a flat-head and Phillips screwdriver to remove any securing screws.
- Plumber’s Tape: Recommended for ensuring a leak-proof seal at joints.
- Bucket or Container: To catch any excess water that may spill during the process.
- Protective Gloves: To guard your hands from sharp edges and potential debris.
- Towels: Handy for drying off any parts or cleaning up spills.
Once you have all these tools on hand, you’ll be ready to proceed without further interruptions. Proper preparation safeguards against any unforeseen complications during installation.
Turning Off and Disconnecting the Pressure Washer
Before beginning any maintenance or part swapping, ensure the machine has stopped operating. Turn off the power supply by unplugging the unit from the electrical outlet. This prevents any accidental activation while working on it.
Next, release any remaining pressure in the system. Locate the trigger on the wand and pull it to allow water to escape until there’s no sound of pressure release. This step is critical for safety and should not be overlooked.
Disconnect the inlet hose from the source of water. This prevents any unintended flooding or leaks while performing tasks. If your model features a quick-connect coupling, simply press the release tab and pull the hose free.
Lastly, detach the spray gun or wand from the unit. Twist it counterclockwise if it’s a threaded connection or release the lock mechanism for quick-connect models. Store all parts in a safe location to avoid damage. Following these steps will ensure a secure and straightforward process for any upcoming adjustments or replacements.
Removing the Old Head from the Pressure Washer
Begin by locating the locking mechanism, usually a simple twist or push button depending on your model. Engage this mechanism to release the existing nozzle.
Next, while firmly gripping the body of the unit, pull the nozzle straight off. Ensure you apply even pressure to avoid damaging the fittings. If the nozzle seems stuck, a slight twisting motion can help break the hold.
Check for any debris or damage around the connection point. Clean this area as necessary, ensuring a smooth installation for your new attachment.
Finally, inspect the old nozzle for wear and tear. This can inform you about the usage and maintenance routines necessary for future components.
Installing the New Head Securely
Align the new nozzle accurately with the connector on the unit. Apply even pressure while pushing the attachment into place until you hear a definitive click, indicating a secure fit. Ensure there are no gaps between the components to prevent leaks during operation.
Checking for Stability
Gently twist the newly attached fitting to confirm its stability. It should not move or wobble. If it feels loose, detach and inspect for dirt or debris in both the fitting and the connection point. Clean thoroughly before reattaching.
Testing for Leaks
After securing the connection, turn the water supply on without activating the motor. Observe the joint closely for any signs of leaking. If leaks are present, recheck alignment and tighten if necessary. Only proceed to use the unit once you confirm there are no leaks to avoid damage.
Testing the New Attachment for Proper Functionality
.jpg)
Begin by reconnecting your equipment to a power source and water supply. Ensure all connections are secure. Activate the machine, allowing it to reach optimal pressure levels.
Observe the following aspects during testing:
- Water Spray Pattern: Examine the jet for consistency. It should be directed appropriately and free from leaks.
- Pressure Output: Assess the intensity of the stream. A strong, steady spray indicates proper functionality.
- Noise Levels: Listen for any unusual sounds during operation. Excessive noise may signify internal issues.
- Temperature: Monitor the temperature of the new part. It should not overheat after extended use.
If any discrepancies arise, power down the unit immediately and inspect the connections and component installation. Adjust as necessary and retest. It’s crucial to verify that all aspects are functioning as intended before proceeding to regular usage.
Once testing is complete and everything operates smoothly, perform a safety check to confirm all components are securely fastened. Clean up any residual water and store the equipment properly to maintain its longevity.
Maintaining the Equipment After Head Replacement

Regular upkeep is key to extending functionality and reliability. First, ensure that all components are securely fastened, paying special attention to the new attachment. This step prevents any potential leaks or malfunctions during operation.
Cleaning and Storage
After each use, clean the exterior and nozzle thoroughly to remove any debris or detergent residue. This practice helps maintain peak performance and prevents clogging. Store the unit in a dry, sheltered area to protect it from moisture, which can lead to corrosion.
Periodic Inspections

Conduct inspections every few months to check for wear and tear. Look for signs of damage on hoses, connections, and other parts. Replace any worn items promptly to avoid further issues. Regularly lubricating moving parts as recommended by the manufacturer also promotes longevity.
FAQ:
What tools do I need to change the head on a Karcher pressure washer?
To change the head on a Karcher pressure washer, you will typically need a few basic tools. Primarily, you will need a screwdriver, either Philips or flat-head, depending on the screws used in your model. Some models may also require a socket wrench for specific bolts. Additionally, it might be helpful to have a pair of pliers for removing any stubborn connections. Make sure to check your user’s manual for any specific tools recommended for your pressure washer model, as variations exist across different models.
Can I change the pressure washer head myself, or should I seek professional help?
Changing the head on a Karcher pressure washer can be a straightforward task for those who are comfortable with basic mechanical skills. If you carefully follow the instructions in the user manual, you should be able to do it yourself without needing professional assistance. However, if you are unsure about your abilities or if the pressure washer is under warranty, it might be best to consult a professional to avoid any potential damage to the machine.
Are there different types of heads available for Karcher pressure washers?
Yes, there are various types of heads available for Karcher pressure washers, depending on the model. Common types include turbo nozzles, which provide a powerful jet for tough cleaning tasks, and fan nozzles that are better for lighter jobs. Each nozzle type serves a specific purpose, so you might want to choose one that suits the tasks you generally perform. It’s advisable to check compatibility with your specific model to ensure optimal performance.
What should I do if the new head is not fitting properly on my Karcher pressure washer?
If the new head is not fitting properly, first check to ensure that you are using a compatible head for your specific Karcher model. Sometimes, the fittings may not align due to debris or misalignment. Cleaning the connection points can help. If it still doesn’t fit, double-check the installation instructions to ensure you haven’t missed any steps. If problems persist, consulting customer support for your Karcher model might provide further guidance.


