


Before proceeding, ensure you have the right tools: a socket set, adjustable wrench, and a replacement component specific to your model. This task can be straightforward, so take a moment to gather everything you need.
Begin by disconnecting the machine from its power source and water supply. This step is vital for your safety. Once the device is safely powered down, look for the bypass assembly; it is usually located near the pump outlet. Removing the old mechanism requires carefully detaching the screws or bolts holding it in place. Make sure to remember their configuration as you take them out.
With the old piece removed, clean the area to ensure a proper seal for the new component. Then, carefully install the replacement part, making sure it fits snugly and is secured tightly with the original hardware. Once everything is in place, reconnect the water and power supply, and test the machine to confirm everything is functioning as it should.
Replacing the Pressure Relief Mechanism

To effectively replace the pressure relief mechanism, first, disconnect the water supply and ensure the equipment is powered down. Release any residual pressure by squeezing the trigger on the spray gun.
Next, locate the pressure relief assembly. Using the correct size wrench, loosen and remove the retaining screws. Carefully extract the component, paying attention to any washers or seals that may come off with it.
Before installing the new mechanism, examine the mounting area for debris or damage. Clean the surface thoroughly to ensure a proper seal. Place the new part in position, ensuring it aligns correctly with the mounting holes. Insert and tighten the screws securely but avoid over-tightening, as this may damage the assembly.
Once the new mechanism is secured, reconnect the water source and re-check for leaks by running the machine briefly. Monitor the device’s performance to confirm the new component is functioning as intended.
Maintain regular checks on this element during routine inspections to prolong the lifespan of your device and ensure optimal functionality.
Identifying Symptoms of a Faulty Pressure Regulation Mechanism

Look for erratic pressure fluctuations during operation. If you notice inconsistent output, that’s a strong indicator of malfunction.
Another common sign is frequent tripping of the motor or engine. If the power unit stops unexpectedly, it may be struggling due to excessive pressure buildup or insufficient release.
Listen for unusual sounds; a hissing or sputtering noise often points to a leak or blockage in the system. This can compromise performance and should be addressed promptly.
Difficulty in starting or operational stalling may also arise. This could indicate that the device is unable to effectively regulate its internal pressure, resulting in operational issues.
Observe if the discharge water flows unevenly. Intermittent spurting instead of a steady stream suggests that the regulation unit might not be functioning correctly.
Check for visible wear or damage around the attachment points. Cracks or corrosion can create flow issues, affecting the overall effectiveness.
Lastly, note any excessive heat around the motor. Overheating can signal an internal problem, possibly related to pressure regulation.
Gathering Necessary Tools and Replacement Parts
For a seamless process, ensure you have all the required tools and replacement components at hand before starting the task. Here’s a concise list of what you’ll need:
| Item | Purpose |
|---|---|
| Socket Wrench Set | To remove and install the mounting bolts with ease. |
| Adjustable Wrench | For loosening any stubborn fittings. |
| Flathead and Phillips Screwdrivers | To address screws that hold parts in place. |
| Pliers | To grip and twist components as needed. |
| Replacement Component | Purchase an OEM part for optimal performance. |
| Sealant or Thread Tape | To prevent leaks during reassembly. |
| Safety Goggles | To protect your eyes from spray and debris. |
| Work Gloves | To safeguard your hands while handling tools. |
| Bucket | For collecting any residual water when disassembling. |
Ensure you also consult the user manual for any specific part numbers and guidelines related to your model. Having the correct replacement part ready will streamline the entire procedure, making it quicker and more efficient. If in doubt, reach out to the manufacturer or a reputable dealer for assistance in selecting the right component.
Draining the Pressure Washer Before Maintenance
Before any maintenance, it’s essential to drain the system thoroughly. Begin by turning off the appliance and disconnecting it from the power source. Ensure the water supply is also switched off.
Next, release any remaining pressure. Locate the trigger gun and pull the trigger to allow any trapped water to escape. This step is crucial to prevent any injury or damage during your work.
Position a bucket or appropriate container beneath the drain plug, usually situated at the base of the unit. Unscrew the plug carefully and allow all water to flow out. Remember to do this in a well-ventilated area to avoid any issues with slip hazards.
Once drained, tighten the plug securely to ensure no debris enters the system during maintenance. A proper drainage process is vital for the efficiency of the repairs ahead.
Removing the Old Unloader Valve Safely
Before beginning the removal, ensure the machine is entirely de-pressurised. Disconnect the unit from the power source and the water supply to avoid any potential hazards. Wear protective gloves and goggles to shield yourself from any residual water pressure or debris.
Locate and Detach

Identify the specific component requiring removal. Typically, this part is found near the inlet or outlet hoses. Use a wrench or appropriate tool to carefully loosen the connections. Take care not to apply excessive force, as this can damage surrounding components. Once loose, gently twist and pull to release it.
Examine and Clean the Area
Once detached, inspect the mounting area for any debris or damage. Clean the surface with a soft cloth to ensure a smooth fit for the new component. This step is critical for preventing leaks after reinstallation. If there are any signs of corrosion, treat the area accordingly before inserting the new item.
Installing the New Component Properly
Position the new assembly precisely on the mounting point. Ensure that all threads align correctly to avoid cross-threading. Apply a small amount of thread sealant to the threads to prevent leaks, but do not overdo it as excess material may cause blockages.
Utilise a wrench to secure the component. Tighten it firmly, but avoid over-tightening, which can lead to cracking or damaging the equipment. Refer to the manufacturer’s specifications for the recommended torque settings, if available.
Reconnect any hoses or connections that were detached. Make sure gaskets are intact and seated properly; replace them if necessary to ensure a tight seal. Double-check that the connections are secure, as leaks may result from loose fittings.
Before testing the unit, check that all tools and materials are removed from the workspace to prevent accidents. Refill the unit with water as per the user manual.
Once assembled, turn the power on and run the machine briefly while observing for any leaks around the newly fitted component. Adjust and tighten if required. If everything appears secure and operational, your maintenance is complete.
Testing the Pressure Cleaner After Replacement
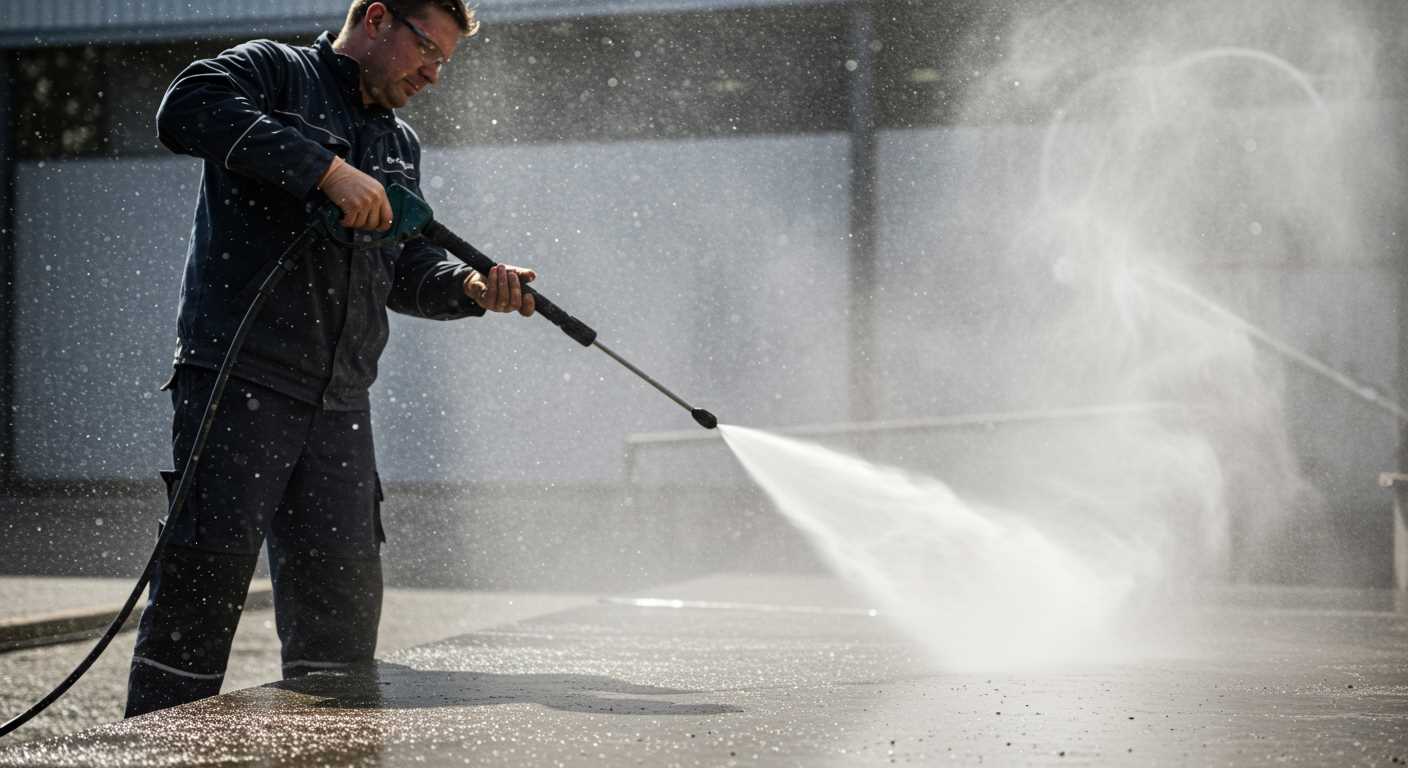
After resolving the issue and fitting the new component, conduct an operational test to ensure functionality. Begin by connecting the machine to a water source and power supply, making sure all hoses are secure and free from kinks.
Engage the trigger on the gun while observing the water flow. A consistent stream indicates proper installation. If you notice erratic flow or leaks, double-check all connections and the fit of the new part.
Next, run the unit for a few minutes. This allows air to bleed from the system. Listen for any unusual noises, such as hissing or popping, which may signal a malfunction. The operation should be smooth, with no signs of pressure loss.
Test the cleaning function by attempting a short job on a surface to confirm full operational capability. Assess both pressure levels and spray patterns. If the output aligns with manufacturer specifications, the maintenance was successful. If it fails, revisit each step to identify any oversights.
Document your findings and any adjustments made during this process. Consistent notes can aid future troubleshooting and help maintain the equipment effectively.


