

Begin with a bucket of warm water mixed with a suitable automotive shampoo. Use a soft sponge or microfiber cloth to avoid scratching the surface. Focus on one section at a time, applying the mixture generously and scrubbing gently to lift dirt and grime.
Next, rinse the sponge frequently in clean water to avoid redistributing dirt. After washing each section, use a separate bucket to rinse off the soap. A hose with a spray nozzle can be beneficial for thorough rinsing, but if a hose isn’t available, consider using several buckets of clean water to achieve similar results.
For the wheels and tyres, a dedicated brush with stiff bristles can effectively remove brake dust and road grime. Apply a wheel cleaner designed for your specific type of rims, allowing it to penetrate stubborn deposits before scrubbing. Don’t forget to dress the tyres afterwards, using a tyre shine product for that polished finish.
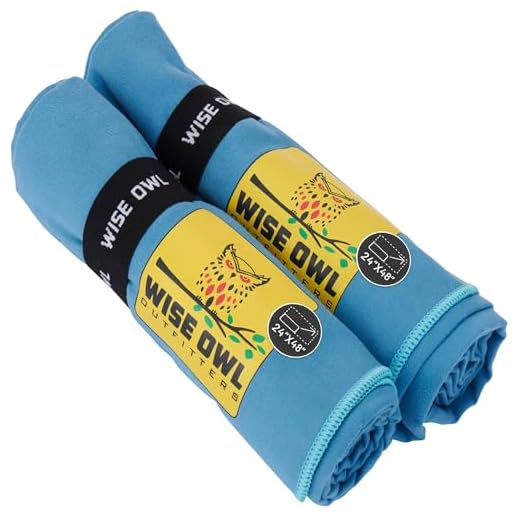
Drying is crucial to prevent water spots. A clean, soft microfiber drying towel works best for this task. Gently wipe down the vehicle, starting from the top and working downwards. For windows, use a dedicated glass cleaner or a vinegar-water solution for a streak-free shine.
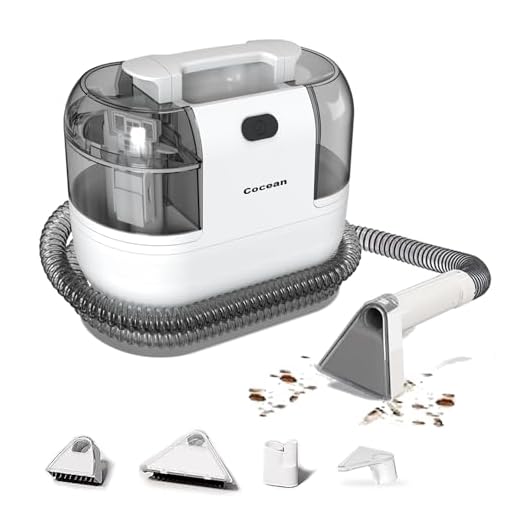
Inspect and clean the interior as well. Start by removing any debris and using an appropriate cleaner for surfaces such as plastics and fabrics. A vacuum with attachments will help reach those tricky spots. Finish with an air freshener to leave a pleasant scent inside.
Efficient Techniques for Vehicle Maintenance
Utilise a bucket filled with warm, soapy water alongside a microfiber cloth to scrub the surfaces. Soak the cloth thoroughly, wring out excess liquid, and start from the top, working downwards to avoid redistributing dirt to cleaner areas. This method is efficient and reduces the likelihood of scratches.
Wheel and Tyre Attention
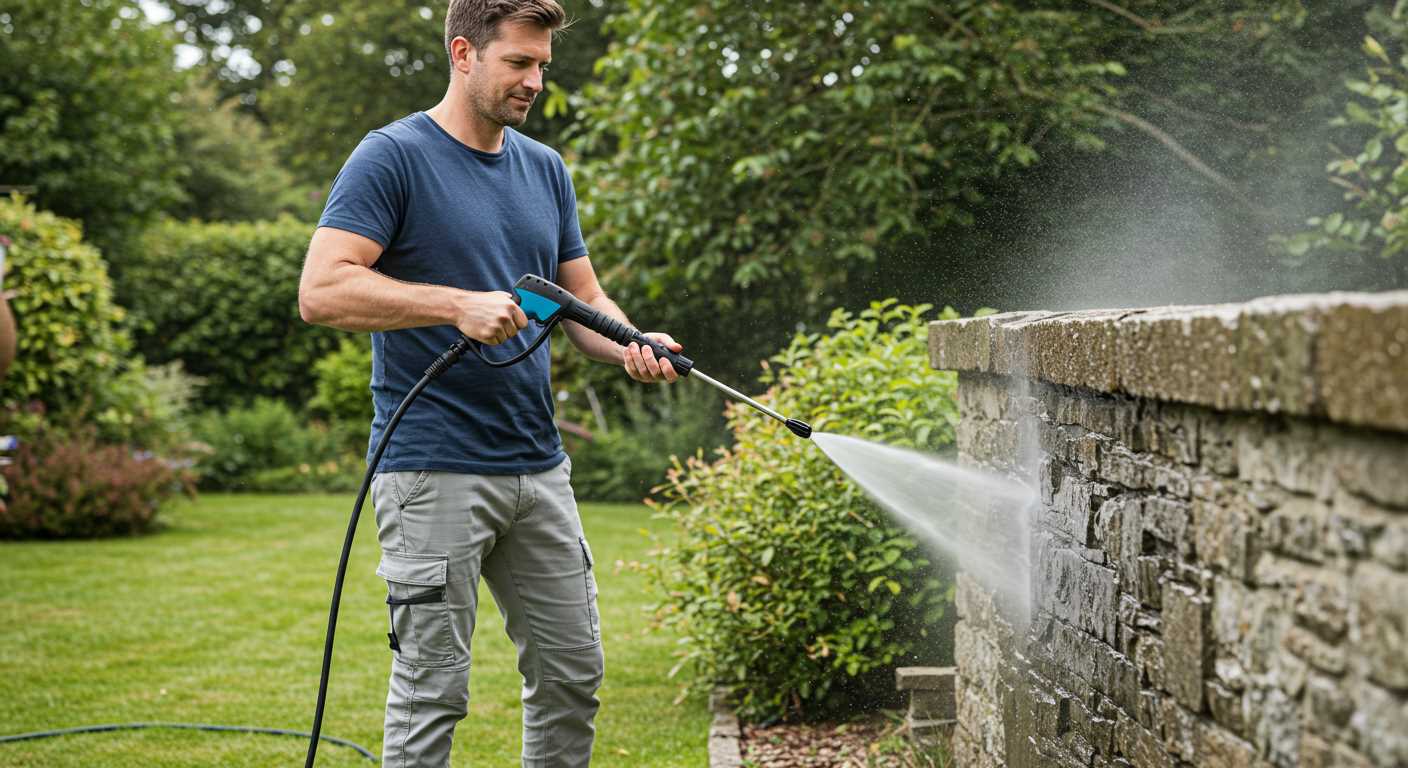
For wheels, apply a dedicated cleaner using a spray bottle or sponge. Allow the product to sit for a minute, then agitate with a soft brush to dislodge grime. Rinse with ordinary water from a hose or a watering can, ensuring all residues are removed for a well-maintained appearance.
Drying and Finishing Touches
Use a chamois leather or a clean microfiber towel to dry surfaces immediately after rinsing. This prevents water spots and streaks. For a final gloss, apply a spray wax, buffing it onto surfaces in a circular motion with a separate clean cloth for that extra shine.
Choosing the Right Cleaning Supplies for Your Vehicle
Using the appropriate materials makes a significant difference when tidying up your automobile. Here’s a selection of indispensable items to consider:
- Microfiber Cloths: Their ultra-soft texture ensures surfaces remain scratch-free. They’re excellent for wiping down interiors and exteriors.
- Car Shampoo: Opt for pH-balanced solutions specifically designed for automobiles. They remove grime without compromising wax finishes.
- Wheel Cleaner: For alloys and rims, a dedicated wheel cleaner dissolves brake dust and road grime effectively. Aim for non-acidic formulas for safe application.
- Glass Cleaner: Look for a streak-free formula to ensure visibility. Microfiber towels work best for windows and mirrors.
- All-Purpose Cleaner: Versatile sprays handle fabric, vinyl, and plastic surfaces. Ensure it’s safe for various materials inside the vehicle.
- Detailing Brushes: Useful for tight spaces like vents and crevices. Select brushes with soft bristles to avoid scratches.
- Wax or Sealant: Protects the paint by forming a barrier against contaminants. Choose paste wax for longevity or spray wax for ease of use.
Specialised Tools
Consider investing in additional tools for a thorough experience:
- Bucket with Grit Guard: Prevents dirt from settling back onto your sponge or mitt. It’s a simple yet effective way to maintain cleaning integrity.
- Foam Cannon or Sprayer: A foam sprayer allows for even distribution of soap, enhancing pre-wash effectiveness.
- Vacuum Cleaner: A portable vacuum with attachments simplifies interior tidying, ensuring hard-to-reach areas are not overlooked.
Carefully selecting these items will enhance the appearance of your automobile while ensuring its longevity. Each tool serves a purpose, and using them effectively will pay off in the long run.
Preparing Your Vehicle for a Thorough Clean
Begin the preparation by moving the vehicle into a shaded area. Direct sunlight can cause soap to dry too fast, leading to streaks and spots. Ensure the surface is at an ambient temperature for best results. Next, gather your supplies strategically; you will need buckets, sponges, and brushes designed for different surfaces.
Before any scrubbing, remove all personal items from inside. This includes cupholders, door pockets, and under the seats. Also, take out any floor mats for individual attention. Dust and debris can be found in various nooks, so a handheld vacuum will be beneficial here. A brush with soft bristles can dislodge dirt from seats and other upholstery.
For the exterior, begin by rinsing the wheels with a dedicated wheel cleaner. This should give you a chance to activate your cleaning products and allow time for them to penetrate any grime. Afterwards, inspect the body for any visible contaminants or tar that might need pre-treatment. A clay bar can be useful to remove stubborn spots before proceeding further.
| Step | Action |
|---|---|
| 1 | Move to shaded area |
| 2 | Gather cleaning supplies |
| 3 | Remove personal items from inside |
| 4 | Vacuum interior surfaces |
| 5 | Rinse wheels with dedicated cleaner |
| 6 | Inspect and pre-treat exterior contaminants |
Afterwards, ensure you have all your towels and drying materials ready. Microfibre towels are preferable as they absorb moisture effectively and minimise scratches. Gather them close to avoid unnecessary movements once you start washing the exterior thoroughly.
Hand Washing Techniques: Tools and Methods

Begin with the right tools to achieve satisfactory results. Gather a wash bucket, sponge or microfibre mitt, wheel brush, and drying cloth. These items enhance the washing experience and yield better outcomes.
Preparation of Tools
Use a two-bucket method to avoid dirt and debris from scratching the surface. Fill one bucket with soapy water and the other with clean water for rinsing the sponge. This practice helps maintain the cleanliness of the wash solution.
Step-by-Step Process
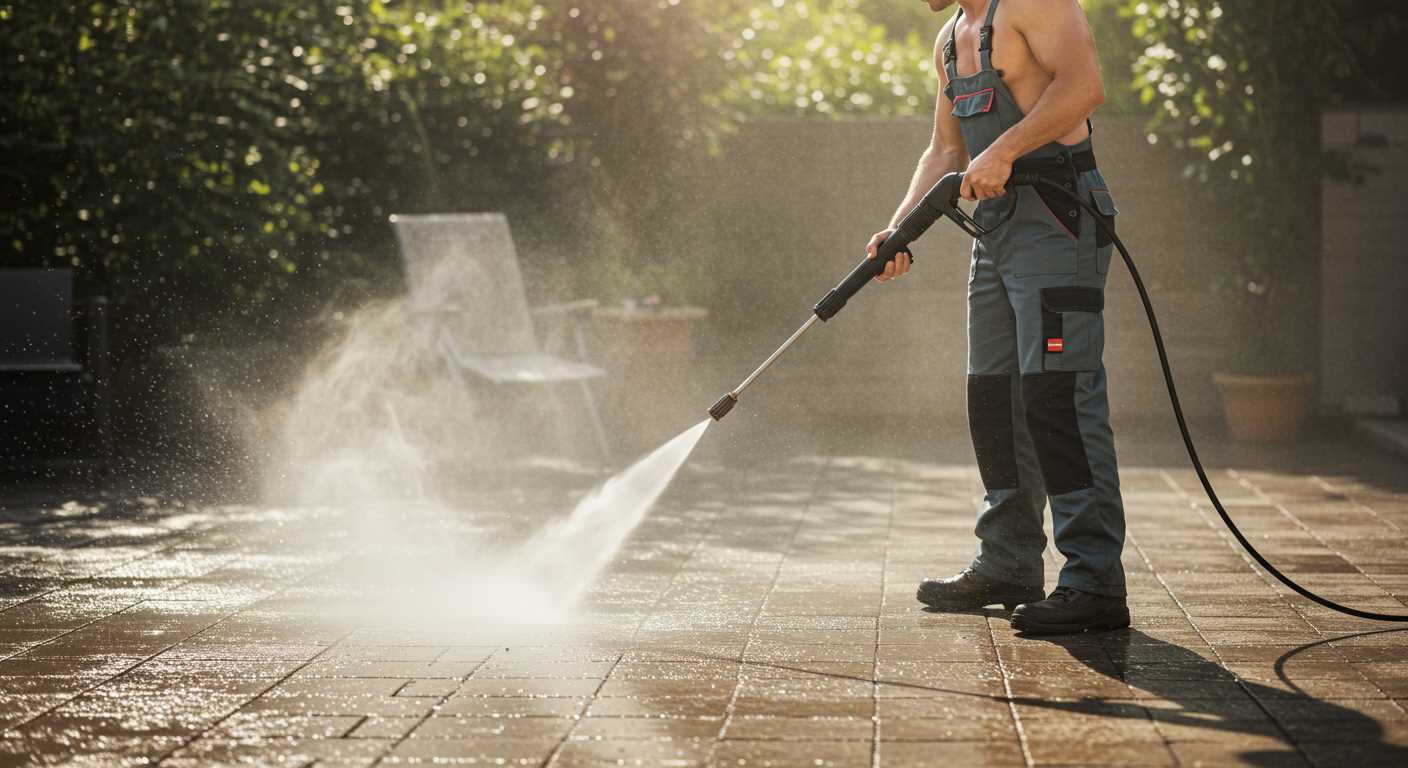
- Start from the top: Wash the roof, slowly making your way down to the sides.
- Utilise a soft mitt or sponge for application, ensuring even coverage. Regularly rinse in the clean water bucket to remove accumulated grime.
- Pay attention to detailed areas like door sills and mirrors. A small brush or detailing cloth can serve well for these spots.
- Use a dedicated wheel brush for the wheels and tyres, as brake dust and road grime may require extra effort. Ensure this brush is distinct from the one used on the body.
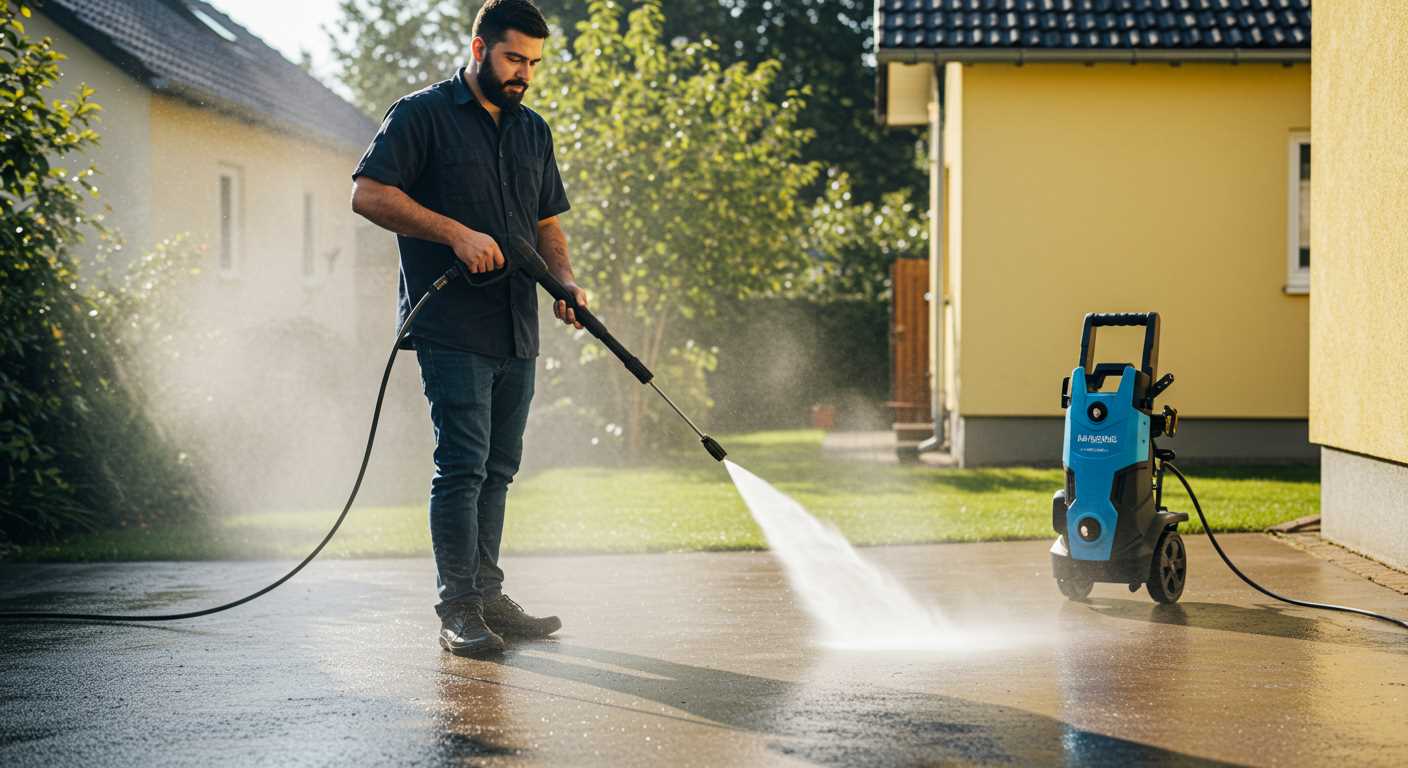
- Finish with a thorough rinse using a hose, allowing water to flow freely to remove suds.
- Dried properly, preferably with a microfibre towel, to prevent water spots. Blot rather than rub to minimise scratches.
The suggested techniques combine practical experience with effective methods to achieve a polished finish without the need for heavy machinery. Proper preparation and focused efforts, along with the right tools, ensure an impressive outcome. Keep tools clean after use to maintain their efficacy for subsequent washing sessions.
Wheels and Tyres Cleaning by Hand
Start by gathering the appropriate materials: a bucket, soft brush, sponge, tyre cleaner, wheel cleaner, and a hose. Ensure the wheel surface is cool to the touch to avoid any potential damage from cleaning products.
Step-by-Step Instructions
1. Fill the bucket with warm water and add a few drops of mild detergent or a dedicated automotive wheel cleaner. This mixture will help lift grime effectively.
2. Rinse the wheels with plain water to remove loose dirt. Use a hose with a spray attachment if possible, as it offers better control and coverage.
3. Apply the wheel cleaner directly to the tyre walls and rims. Allow it to sit for a few minutes according to the product instructions, which enhances its effectiveness.
4. With a soft brush, scrub the rims to eliminate brake dust and dirt from hard-to-reach areas. Pay attention to the spokes and wheel crevices.
5. For tyre walls, use a stiff brush to tackle ingrained dirt. A dedicated tyre cleaner will help restore the natural shine of the rubber.
Final Rinse and Drying

6. Once done scrubbing, rinse each wheel carefully to wash away any remaining soap and debris. Make sure no product is left on the surfaces to prevent damage.
7. Dry the wheels with a soft, clean cloth to prevent water spots and preserve the finish. It’s advisable to ensure that the wheels are completely dry before moving on to the next cleaning stage.
| Cleaning Product | Recommended Use |
|---|---|
| Wheel Cleaner | For rims; breaks down grime and brake dust. |
| Tyre Cleaner | Restores shine and removes embedded dirt. |
| Mild Detergent | General purpose; suitable for soapy water mix. |
Implement these techniques regularly to maintain excellent wheel and tyre appearance, preventing damage and extending their lifespan.”
Removing Stains and Dirt from the Interior
Deeply ingrained stains can be tackled with a few simple steps. For fabric seats, pre-treat stains using a mix of warm water and a few drops of dish soap. Apply the solution with a soft cloth or sponge, gently rubbing the area until the stain lifts. Rinse the cloth frequently to avoid spreading the dirt.
For tougher marks like ink or greasy spots, consider using rubbing alcohol. Dampen a cloth with the alcohol and dab the stain, ensuring not to soak the fabric. Always test in an inconspicuous area first to check for colourfastness.
Leather interiors require a different approach. Begin by vacuuming any debris. Then, use a mixture of water and a few drops of specialised leather cleaner. Wipe the surface gently with a soft sponge, ensuring even coverage. Follow up with a conditioner to keep the material supple.
For carpets, sprinkle baking soda over the affected areas before vacuuming. This helps to neutralise odours and lift stains. Afterward, use a carpet cleaner solution applied with a brush, scrubbing in circular motions to work the product into the fabric.
Lastly, utilise a handheld steam cleaner for hard-to-reach areas or stubborn residues. For instance, vents and seat creases often trap dirt. The heat from the steam loosens grime, making it easier to wipe away with a microfiber cloth. Always allow the area to dry completely to prevent mould.
Tips for Cleaning Windows and Mirrors
Use a high-quality glass cleaner or a mixture of water and vinegar to achieve streak-free results. A 50/50 blend of these two substances is my go-to solution. Always apply it to a microfiber cloth rather than directly onto the surface to prevent oversaturation and minimise drips.
Technique for Streak-Free Shine
Start at the top corner and work in a reverse S-pattern down to the bottom. This technique ensures even coverage and effectively lifts dirt and grime. For mirrors, I suggest using multiple cloths–one for applying the solution and another for buffing. This prevents residue build-up and enhances clarity.
Additional Considerations
Clean windows and mirrors during cooler parts of the day or when they’re shaded to avoid rapid drying, which can leave streaks. If stubborn spots remain, a non-scratch sponge can be effective for gentle scrubbing without causing damage. Regular maintenance will minimise the need for deep cleans, so consider setting a schedule to keep surfaces sparkling.
Addressing Hard-to-Reach Areas in Your Vehicle
For tight spots like between seats or in cup holders, a small detail brush with soft bristles works wonders. I prefer to keep a variety of sizes on hand; they help dislodge dirt without scratching surfaces.
Utilising a vacuum cleaner with a narrow nozzle attachments ensures that crumbs and debris are efficiently removed from those awkward corners. Make a habit of using it regularly to maintain cleanliness in these less visible areas.
For dashboard crevices, a microfiber cloth dampened with a mild cleaner can lift dust effectively. I often fold the cloth to create a pointed edge to reach into narrow gaps.
Remember to check the rear seat pockets and under mats; sometimes, items get wedged in there. A small, flexible grabber tool can assist in retrieving lost objects while keeping your environment tidy.
Consider using a paintbrush or a similar tool to reach vents and other intricate designs, gently brushing away the dust that accumulates. This strategy is particularly helpful for air conditioning vents where dirt tends to build up.
Routine inspections of these hard-to-access areas can lead to a more enjoyable experience every time you get behind the wheel. By maintaining focus on even the smallest sections, you ensure every inch of your environment reflects the care you’ve put into it.
Finishing Touches: Waxing and Polishing Your Vehicle
To achieve a glossy finish, start by choosing a high-quality wax. I recommend a paste wax for greater durability and shine. You can apply it using a foam applicator pad, ensuring even coverage across the surface.
- Work in small sections to prevent the product from drying too quickly.
- Apply in straight lines rather than circular motions to avoid swirl marks.
- Allow the wax to haze before buffing it off with a clean, soft microfiber cloth.
Polishing is crucial for enhancing the vehicle’s appearance and removing minor imperfections. For this step, consider using a dual-action polisher for consistent results. If you prefer hand application, use a foam pad for a better finish.
- Use a polishing compound with a light abrasive to smooth out the surface.
- Apply the polish in a thin layer, working it into the paint.
- Keep the pad clean, switching to a fresh one if it becomes clogged.
Repeat the waxing process after polishing. This layering protects the finish from environmental elements and maintains that showroom shine.
Finally, don’t forget the final touch-ups on chrome accents and trim. A dedicated metal polish will help restore shine to these areas. The result will be a well-maintained and visually appealing conveyance ready to impress.


