


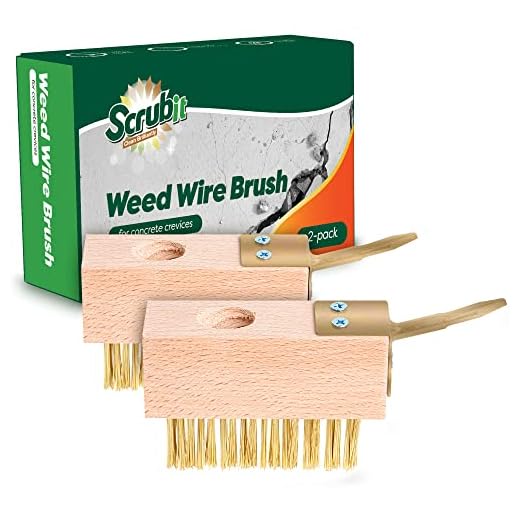
For optimal results, I recommend using a mixture of warm water and a gentle dish soap to tackle grime. Apply the solution with a stiff-bristled broom or scrub brush, ensuring that you cover every inch of the surface. Allow the mixture to sit for about 10-15 minutes to break down dirt and stains effectively.
Next, use a garden hose fitted with a spray nozzle to rinse away the solution and debris. Adjust the nozzle to a stream setting for more focused pressure, concentrating on any stubborn spots. For hardened stains, consider employing a paste made from baking soda and water, applying it directly to the area and scrubbing until it’s gone.
Additionally, incorporating white vinegar can be beneficial for tackling algae and moss. Spray undiluted vinegar onto the affected areas and let it sit for approximately 30 minutes before scrubbing and rinsing thoroughly. This natural approach will help restore the appearance of your paved area while being environmentally friendly.
Gathering necessary cleaning supplies
Prior to initiating the task, assemble the following materials for optimal results:
- Broom or stiff-bristled brush: Essential for sweeping away loose dirt and debris.
- Bucket: For mixing solutions and holding water.
- Cleaning solution: Choose a suitable detergent or a mix of vinegar and water for a natural alternative.
- Sponge or cloth: Ideal for applying the cleaning solution and scrubbing stubborn spots.
- Garden hose: A regular hose is sufficient for rinsing off the surface; ensure it has a spray nozzle for better water distribution.
- Safety gear: Gloves and goggles protect against irritants in cleaning chemicals.
- Stiff-bristled scrub brush: Perfect for tackling tough stains and ingrained dirt.
- Vinegar or baking soda: Both work effectively for spot treatment on stains.
Collecting these tools will streamline the process and enhance the effectiveness of the materials used for maintenance. After gathering these supplies, you’ll be well-prepared to achieve a satisfactory outcome.
Preparing the Surface for Maintenance
Clear the area first. Remove any vehicles, garden furniture, or debris from the surface. This ensures unrestricted access to all sections. It’s advisable to sweep up loose dirt and leaves using a broom to prepare for deeper cleaning.
Next, inspect the surface carefully. Look for oil stains, crusted grime, or cracks. Identifying these areas allows for tailored treatment later on. For instance, stubborn oil stains may require a different approach than ordinary dirt accumulation.
If any vegetation grows near the edges, trim or cut back plants to prevent them from interfering during the process. Any roots or loose soil could complicate your efforts.
Finally, check the weather. Optimal conditions are crucial; a dry day is best, as wet surfaces can lead to ineffective treatment. Preparing for maintenance in this way sets the stage for a successful outcome.
Choosing the Right Cleaning Solution
Select a solution based on the type of stains present. For oil spots, a mixture of dish soap and warm water effectively breaks down grease. Use a ratio of three tablespoons of soap per gallon of water.
For tough stains like rust or mildew, consider a commercial product specifically designed for those issues. Read labels carefully to ensure compatibility with your surface and follow the manufacturer’s instructions for dilution and application.
Homemade Alternatives
- Baking Soda Paste: Mix baking soda with water to form a paste. Apply directly to stubborn marks and let it sit for 30 minutes before scrubbing.
- Vinegar Solution: Combine equal parts white vinegar and water. This solution can help lift grime and restore surface brightness.
- Hydrogen Peroxide: For mildew, apply hydrogen peroxide directly to the affected areas. Let it sit for 15 minutes and rinse with water.
Eco-Friendly Choices
If environmental impact is a concern, look for biodegradable cleaning products. Many brands offer eco-conscious options that effectively remove stains without harming plant life.
Whatever choice you make, always test the solution on a small, inconspicuous area to ensure it does not damage the surface or alter its appearance. Safety is paramount; use gloves and eye protection when handling strong chemicals.
Applying the cleaning solution correctly
To achieve optimal results, ensure you apply the cleaning solution evenly across the surface. Start at one end and work your way systematically to the opposite side, preventing the solution from drying before you have the chance to scrub it in. Use a garden sprayer or a bucket and mop for this task.
Covering the surface
When using a sprayer, maintain a distance of about 30 cm from the surface to avoid oversaturation. If you’re opting for a bucket, dip the mop thoroughly and then wring it out slightly before applying. Work in small sections, ensuring each area receives an adequate coating of the cleaner.
Timing is key
Allow the solution to sit for the recommended time as indicated by the product instructions, usually around 10-15 minutes. This will help break down stubborn stains and embedded dirt. After this period, use a stiff-bristled brush to scrub the surface, targeting particularly soiled areas.
Once finished, rinse the area thoroughly with water, making sure no residues remain. This step is crucial as it helps to avoid slippery conditions and ensures the integrity of the surface. Regular maintenance will keep it looking its best.
Using a broom and scrubbing brush for best results
A stiff broom and a scrubbing brush can effectively remove dirt and stains from surfaces. Start by sweeping the area thoroughly to gather loose debris. This will prevent scratches during scrubbing and make the entire process smoother.
For scrubbing, use a brush designed with stiff bristles. This type of brush withstands tough materials and excels at loosening grime. Apply consistent pressure, concentrating on stained spots. Circular motions work best for embedded dirt.
Technique for Optimal Scrubbing
It’s crucial to follow a systematic approach. Divide the area into sections, ensuring you don’t miss any parts. Move methodically from one section to another, rinsing the brush regularly to avoid spreading dirt. This will also aid in maintaining the efficiency of your cleaning solution.
Additional Tips
For tougher stains like oil or rust, it might be advantageous to let your cleaning solution sit for a few minutes before scrubbing. This will allow the solution to penetrate and lift the stain more effectively. Rinse each section thoroughly after scrubbing to prevent residue build-up.
| Tool | Purpose |
|---|---|
| Broom | Remove loose dirt and debris |
| Scrubbing Brush | Eliminate stubborn stains and grime |
Utilising these tools with the right technique delivers impressive results without the need for more complex equipment. Regular maintenance will not only keep the surface looking clean but also extend its lifespan. Aim to incorporate this method into your routine for a consistently tidy space.
Rinsing off the cleaning solution
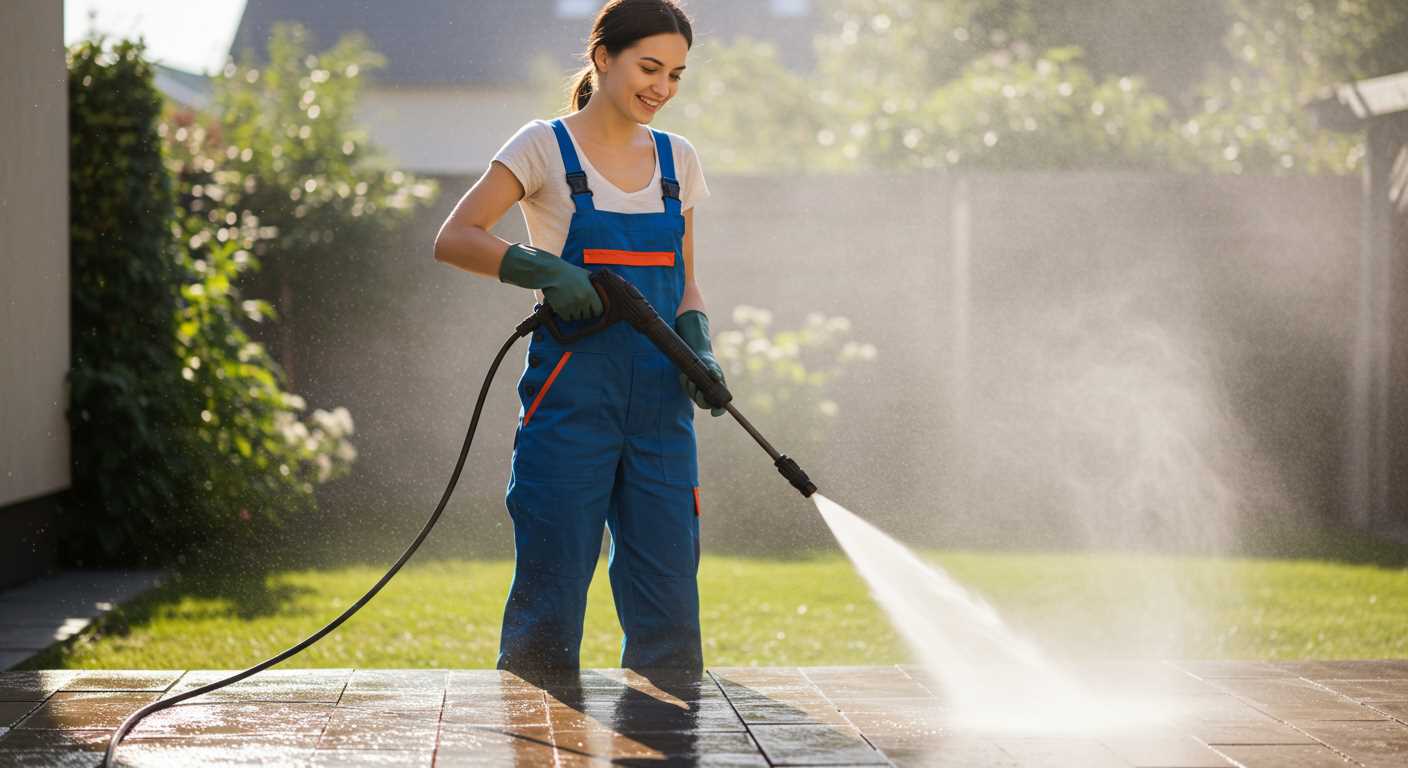
After allowing the cleaning agent to penetrate the surface, it’s crucial to remove it thoroughly to prevent residue buildup. Begin by using a garden hose equipped with a spray nozzle. Set the nozzle to a medium spray setting for effective rinsing.
Technique for rinsing
Start at one end of the area and work methodically toward the other end. This ensures that you rinse off all the cleanser and dirt. Aim the water flow directly at the surface, allowing it to flow off the edges. Overlap your movements slightly to ensure no sections are missed.
Post-rinse inspection
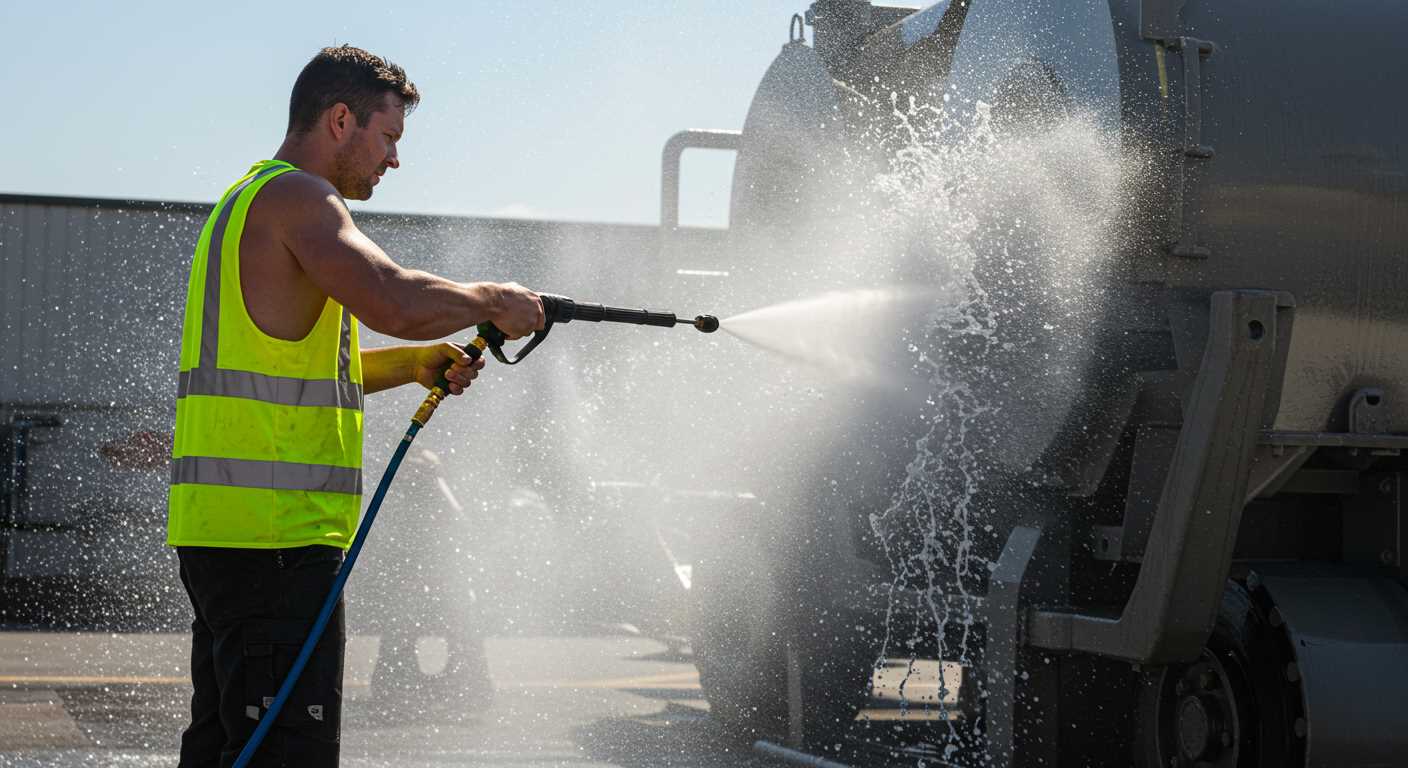
Once you believe the surface is free of the solution, inspect for any remaining spots or stains. If you notice any areas needing further attention, apply a little additional water and scrub gently with a deck brush to lift stubborn residues before rinsing again. Ensure everything is completely rinsed once finished to maintain the integrity of the surface.
Dealing with tough stains and oil spots
For stubborn blemishes, particularly oil marks, I recommend applying a generous amount of baking soda directly over the affected area. This natural abrasive lifts grease effectively. Let it sit for about 30 minutes to absorb the oil before scrubbing.
Alternative stain removers
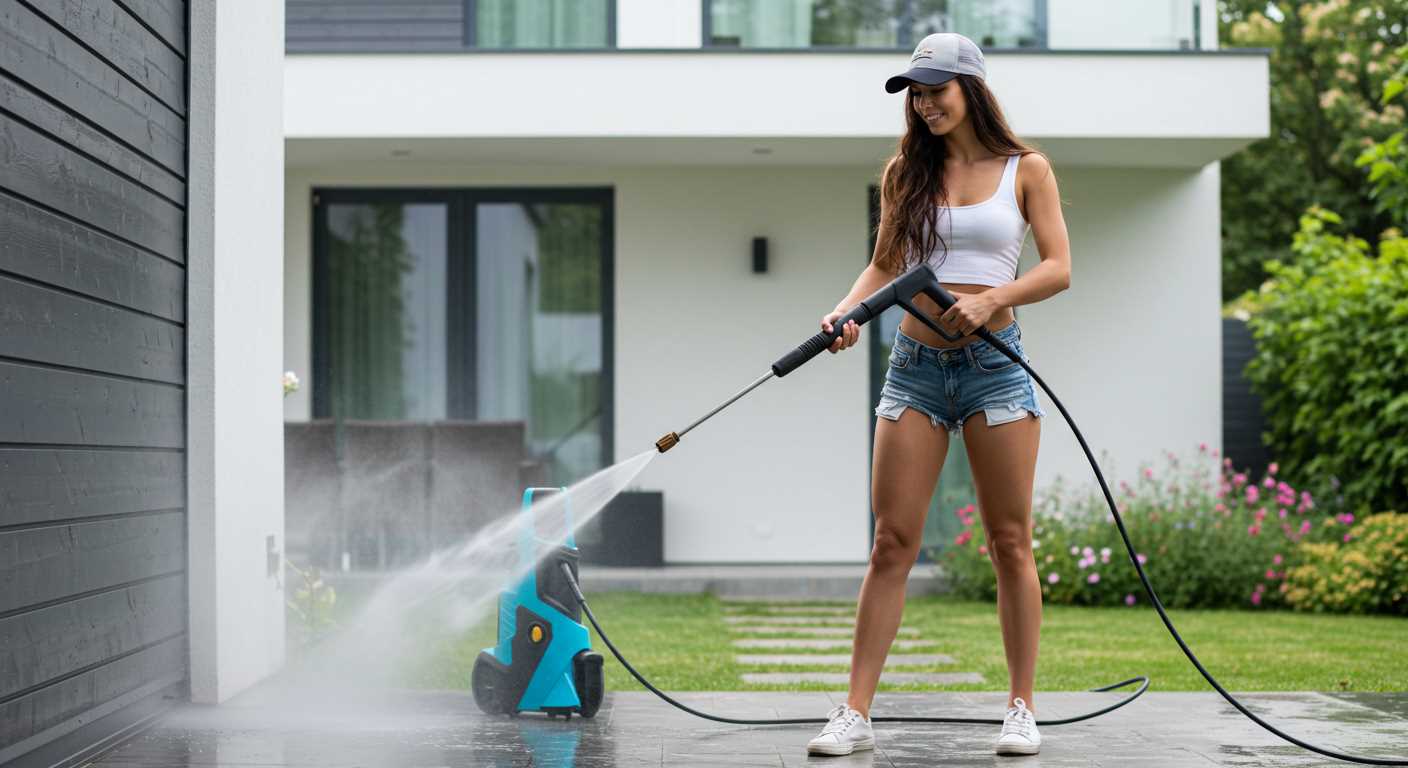
In cases of more persistent marks, consider using a mixture of vinegar and dish soap. Combine one cup of vinegar with a few drops of dish soap in a bucket of warm water. Apply it to the stains and allow it to penetrate for approximately 15 minutes before scrubbing with a stiff-bristled brush. This solution is not only safe but highly effective in breaking down grime.
Finishing touches
Once you’ve tackled the tough spots, ensure that you rinse all residues thoroughly. A garden hose works well for this purpose; just spray down the entire area to prevent any cleaning agents from leaving discolouration. This last step is crucial to achieving a uniformly clean surface.
Maintaining Your Surface After Cleaning
Regular inspections are key to preserving the state of your surface post-maintenance. Check for cracks or chips that could lead to larger issues if neglected. If you spot any damage, address it promptly with suitable fillers or sealers designed for your specific surface type. This can help prevent water infiltration and expand existing problems.
Sealant Application
Applying a quality sealant is beneficial after your thorough cleaning. This adds a protective layer that can resist stains and weathering. Choose a product specifically formulated for your surface. Ensure the surface is fully dry before application to achieve maximum adhesion. Follow the manufacturer’s instructions for curing time to ensure durability.
Regular Upkeep Routine
Establishing a regular upkeep routine is essential. Sweep away debris and leaves weekly to prevent moisture absorption and staining. Consider using a mild cleaning solution monthly to prevent build-up and maintain appearance. If you experience significant weather events, perform an additional inspection and maintenance afterwards to catch any potential issues early.
By implementing these strategies, you’ll ensure longevity and maintain a visually appealing surface for years to come.


