


Begin by ensuring all debris, such as leaves and branches, are removed from the surface. This will prevent any obstruction during the washing process and allow for a consistent clean throughout. I recommend using a broom or a leaf blower to effectively clear the area before initiating any washing tasks.
Select a suitable nozzle for your cleaning device; a 25-degree nozzle is typically the best choice for most hard surfaces. This size balances power and precision, enabling you to lift dirt and grime without causing damage. Hold the nozzle roughly 12 to 18 inches away from the surface, maintaining a steady motion to avoid streaking and uneven clean.
For stubborn stains, consider applying a cleaning solution designed for masonry. Mix according to the manufacturer’s instructions, and apply it generously to the affected areas. Allow it to sit for the recommended time before rinsing, as this enhances the efficacy of the treatment.
Once the washing is complete, observe the surface for any remaining blemishes. Areas may require a second pass or additional treatment to ensure a uniform appearance. Regular maintenance, such as rinsing debris and occasional washing, can significantly extend the lifespan of your outdoor area.
Techniques for Maintaining Your Outdoor Surface Using a High-Pressure Device
Begin by adjusting the nozzle to a fan spray setting for an even distribution of water. Make sure the device is at least 12 inches away from the surface during operation to avoid damage.
Mix a suitable detergent designed for outdoor surfaces according to the manufacturer’s directions. Apply this solution with a low-pressure spray to loosen dirt, grime, and other contaminants. Allow it to sit for about 5 to 10 minutes for optimal results.
Switch back to the fan spray setting and commence rinsing from one corner. Move steadily in straight lines for uniformity. Overlap each pass slightly to ensure thorough cleaning. Take care to maintain a consistent distance from the surface.
Adjust the pressure as necessary, increasing it for stubborn stains. For oil or grease spots, consider pre-treating with additional degreaser before rinsing.
After completing the process, rinse the area thoroughly with clean water to remove any detergent residues. Allow the surface to dry completely before applying any sealants or coatings.
Inspect the area for any remaining stains once dry. If needed, repeat the treatment on spots that didn’t come out completely. Regular maintenance will prevent build-up and keep your outdoor space looking pristine.
Choosing the Right Pressure Washer for Your Patio
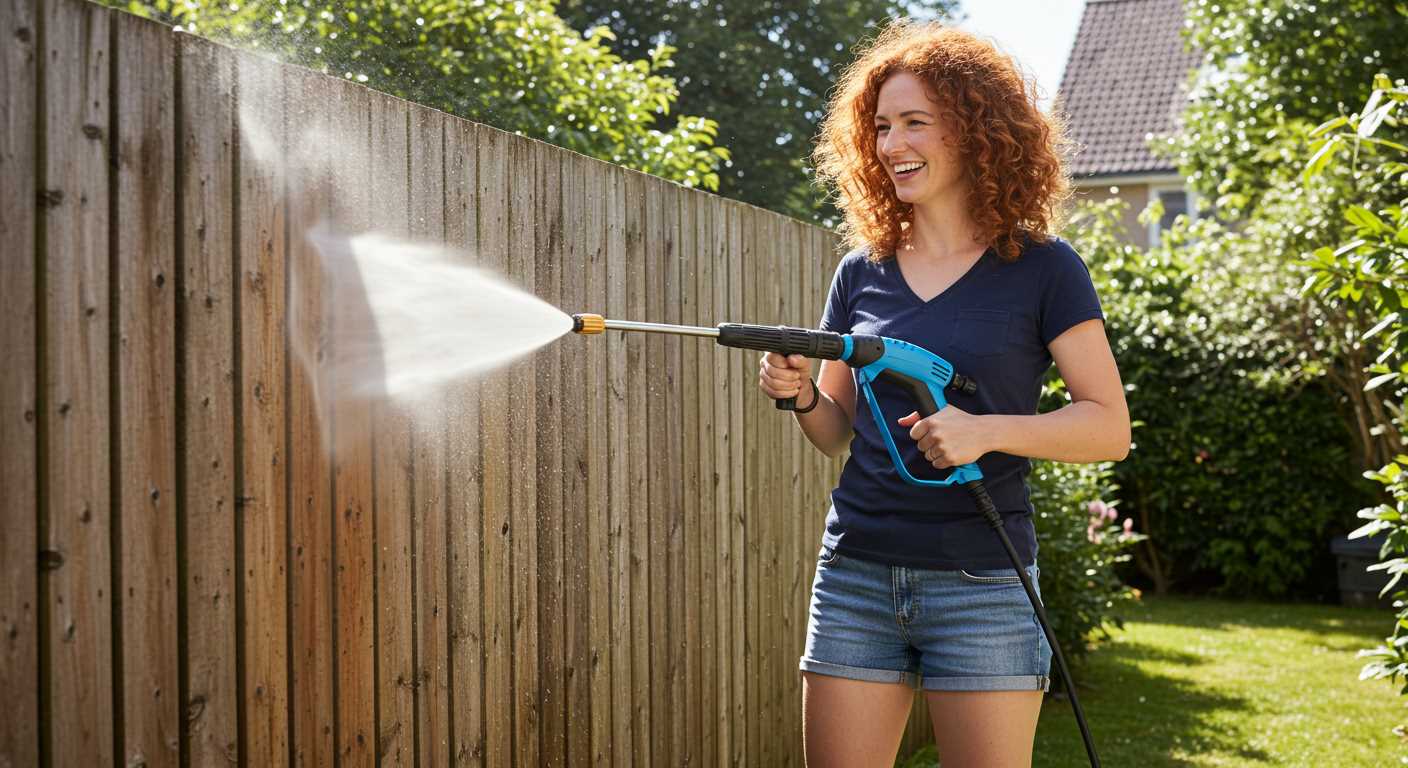
To achieve optimal results, select a unit with a minimum rating of 2,000 PSI combined with at least 1.5 GPM. This combination effectively tackles stubborn stains and debris, ensuring a thorough clean without damaging the surface.
Electric vs. Gas Models
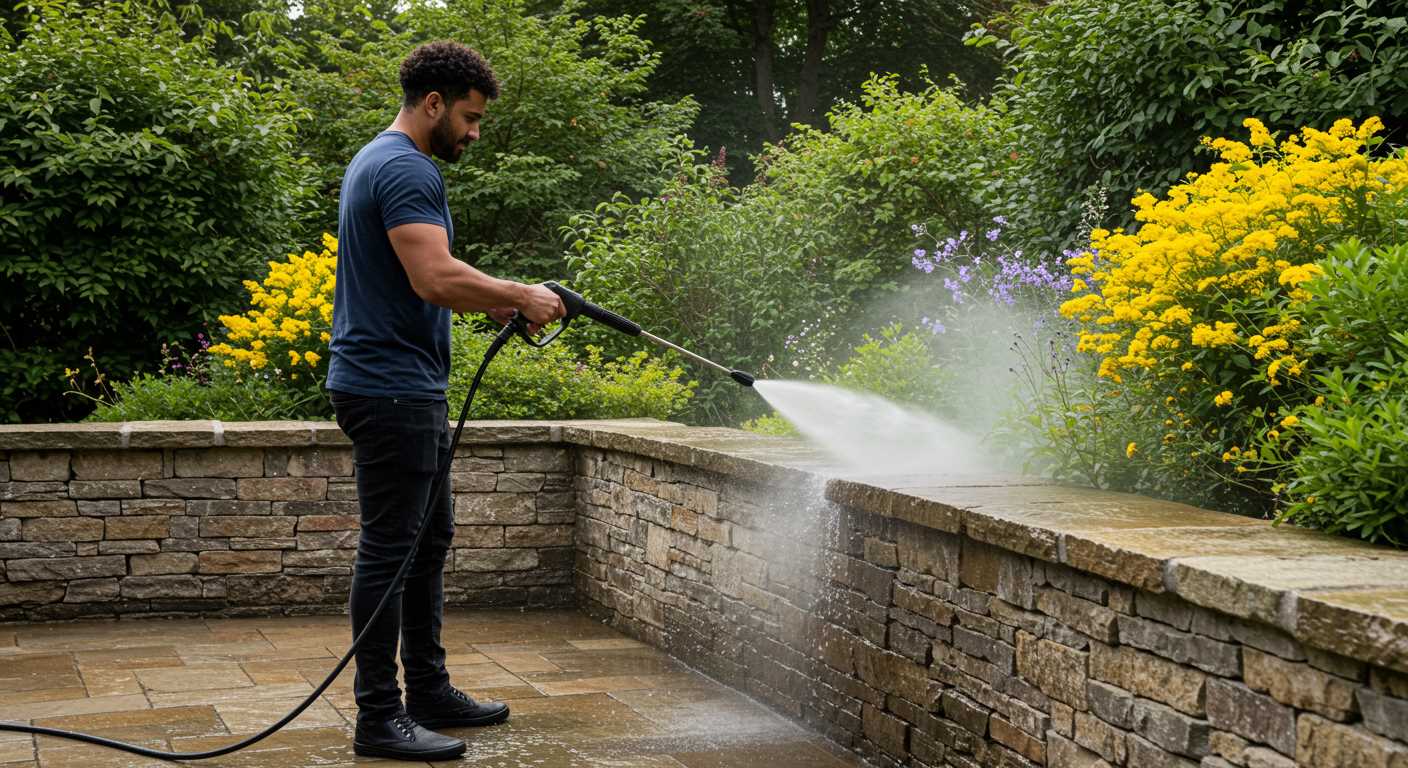
Electric models are lighter, quieter, and require less maintenance. They are perfect for residential use, especially smaller spaces. Opt for a gas-powered machine for larger areas or tougher jobs; they generally offer higher pressure and can handle more extensive tasks effectively.
Types of Nozzles
Invest in a set of nozzles for varied cleaning projects. A 0-degree nozzle provides concentrated power for tough grime, while a 25-degree nozzle offers broader coverage for general cleaning. The 40-degree option is excellent for delicate surfaces, ensuring versatility in your cleaning arsenal.
Ultimately, the right choice depends on the specific needs of your outdoor area. Assess your requirements carefully and make an informed decision to ensure efficient results.
Preparing Your Patio for Cleaning
Clear the area of any furniture, potted plants, or decorative items. This step prevents accidental damage and ensures an unobstructed workspace.
Next, inspect for loose debris, leaves, or dirt. A broom or leaf blower can be effective in removing these materials quickly.
Pay attention to any stains or stubborn spots. Pre-treat these areas with a suitable cleaning solution to make the overall process smoother. Follow the product instructions for best results.
Make sure the surrounding landscape is protected. Cover any nearby plants or delicate surfaces that might be affected by the force of the water.
Finally, check the water supply connection. Ensure a stable flow and adequate pressure, as insufficient water can impact performance during usage.
Selecting the Appropriate Cleaning Solution
For optimal results, choosing the right cleaning solution is crucial. I recommend using a specific product designed for the surface type and the nature of the stains you face. Here’s a breakdown of options:
| Type of Stain | Recommended Solution |
|---|---|
| Oil and Grease | Commercial degreasers or a mixture of dish soap and hot water |
| Mildew and Algae | Bleach-based solutions or specialised mildew removers |
| Rust | Oxalic acid or rust removers specifically formulated for stone surfaces |
| General Dirt and Grime | All-purpose cleaners, preferably ones that are biodegradable |
Always follow manufacturer instructions regarding dilution and application. For more substantial cleaning challenges, a pre-treatment may be beneficial, allowing the solution to penetrate before using your sprayer. Avoid anything acidic or harsh that can damage the surface – if in doubt, conduct a spot test in an inconspicuous area first.
Safety is also paramount; ensure adequate ventilation and wear protective gear when handling chemicals. Mixing solutions can lead to hazardous reactions, so keep each product distinct and labelled properly.
Techniques for Pressure Washing Concrete
To achieve optimal results, maintain a consistent distance of around 12 to 18 inches from the surface during operation. This distance ensures adequate pressure while reducing the risk of surface damage.
Angle of Approach
Angling the nozzle at approximately 45 degrees helps to break down stubborn stains more effectively. This technique not only maximises the pressure applied but also directs debris away from the working area, aiding in thorough removal.
Pattern and Movement
Utilise a sweeping side-to-side motion, overlapping each pass by about 30%. This method avoids streaks and ensures uniform cleaning across the entire area. Avoid stationary spraying; moving the nozzle continuously prevents damage to one spot and optimises cleaning power.
Choose the right nozzle for specific tasks: a wide-angle nozzle for larger areas, or a narrow, concentrated spray for stubborn stains. Always test on a small, inconspicuous area to confirm compatibility with surfaces.
For enhanced results, apply a suitable cleaning solution prior to high-pressure rinsing, allowing it time to dwell. This pre-treatment lifts grime and makes high-pressure rinsing more effective.
Finally, remember to adjust the pressure setting according to the material and the extent of dirt. Lower settings work better for delicate surfaces, while higher settings tackle heavy staining.
Dealing with Stains and Tough Spots
For stubborn marks like oil, rust, or mildew, pre-treatment is key. I recommend using a specific spot cleaner designed for the type of stain you’re tackling. Apply the cleaner directly to the affected area and allow it to sit for at least 15 minutes to penetrate the stain effectively.
Methods for Treating Specific Stains
- Oil Stains: Absorb any excess oil with paper towels, then sprinkle a generous amount of baking soda or cornstarch over the stain. Let it sit for several hours, then use a stiff brush to scrub the area before rinsing.
- Rust Stains: Use a rust remover or a mixture of white vinegar and baking soda. Apply it to the rust spot and let it work for about 30 minutes before scrubbing and rinsing thoroughly.
- Mildew: Prepare a mixture of one part bleach to three parts water. Carefully apply this to the mouldy area, allowing it to sit for 10-15 minutes. Always ensure you’re in a well-ventilated area and wear protective gear.
Scrubbing Techniques
After pre-treatment, a good scrubbing can make a noticeable difference. Use a stiff-bristled brush or a broom to scrub the area thoroughly. Work in sections, applying steady pressure. Follow up with rinsing to remove any loosened debris and cleaning solution.
Once you’ve treated the tough spots, return to your high-powered cleaning device. Adjust the nozzle to a narrow spray to concentrate the force on any remaining stubborn marks. This method ensures a thorough finish after your pre-treatments.
For persistent areas that resist even these measures, consider repeating the process before a final deep clean. It often takes multiple attempts to entirely rid these surfaces of tough stains.
Post-Cleaning Care for Your Patio
After washing your outdoor surface, allow it to dry completely before applying any sealers or treatments. This prevents trapping moisture, which can lead to mould and mildew growth. It’s advisable to wait at least 24 hours, especially in humid conditions.
Reinforce Surface Protection
Consider applying a penetrating sealer to safeguard the area from future stains and erosion. Use a product specifically formulated for outdoor surfaces, and follow the manufacturer’s instructions for application. This treatment will enhance durability and maintain the pristine look of your space.
Regular Maintenance Schedule
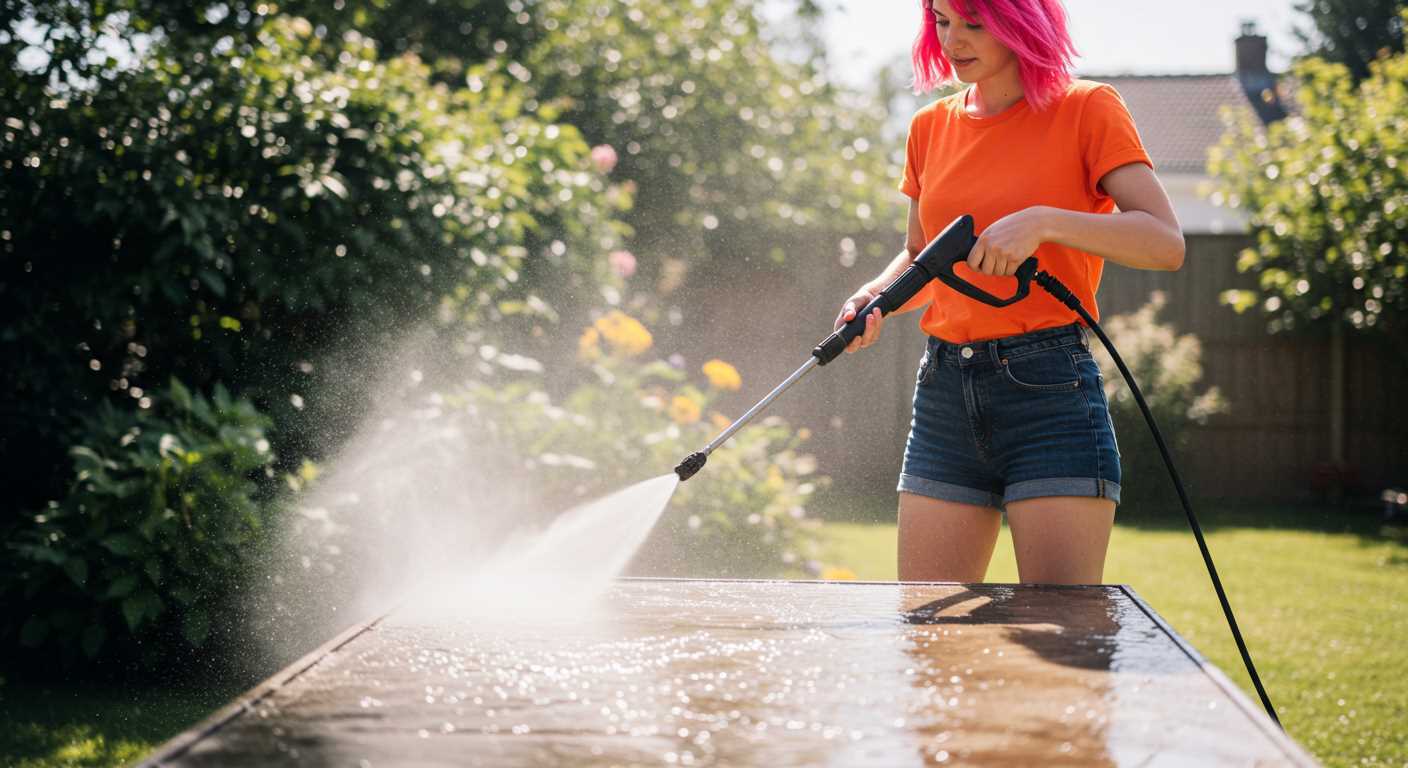
Establish a routine for upkeep. Regular sweeping and occasional rinsing will prevent dirt accumulation. For tougher stains that may arise, use specific cleaning solutions to target issues without the need for intense scrubbing. Set reminders for seasonal checks to keep your area in optimal condition.
Safety Precautions While Using a Pressure Washer
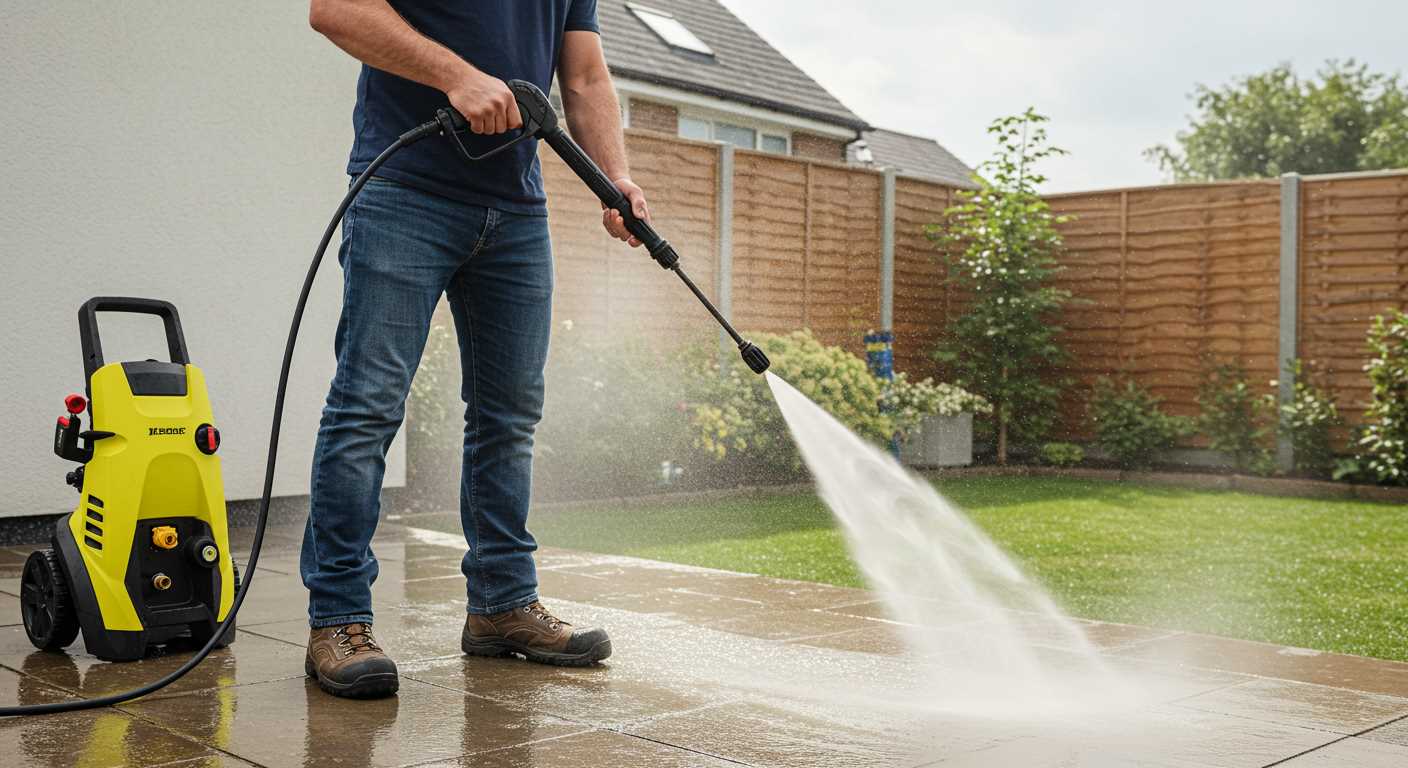
Always wear appropriate personal protective equipment (PPE) to safeguard against potential hazards. This includes safety goggles to protect your eyes from debris, gloves for hand protection, and sturdy footwear to prevent slipping or injury from falling objects.
Evaluate Your Work Area
Before starting, inspect the surrounding environment. Remove any obstacles, such as furniture or potted plants, that could be damaged. Check for loose electrical wires, as water and electricity pose serious risks. Ensure that children and pets are at a safe distance from the work area.
Handling the Equipment
- Keep both hands on the wand at all times to maintain control and stability.
- Avoid pointing the nozzle at anyone, including yourself, to prevent injuries.
- Do not exceed the recommended operating pressure, as it can lead to equipment failure or accidents.
Be aware of your surroundings while working. Watch out for slippery surfaces, especially when water is sprayed onto the ground. Begin using the tool at a safe distance from surfaces, gradually moving closer only if necessary to avoid causing damage.
- Ensure the unit is properly grounded to prevent electrical shock.
- Never operate it indoors or in enclosed spaces without adequate ventilation.
- Maintain a firm grip and stance, avoiding overreach that might cause you to lose balance.
After using, turn off and disconnect the equipment before making any adjustments or replacing nozzles. Store all components in a safe, dry place out of reach of children.
Refer to the manufacturer’s instructions for specific safety guidelines related to the model in use, ensuring full understanding of operational limits and safety features.


