Mix a solution of warm water and dish soap for an effective yet gentle approach. This combination not only cuts through grime but is also safe for various surfaces. Apply this mixture to the area using a stiff-bristled broom, which will help to loosen embedded dirt and stains. Work in sections, scrubbing in circular motions for maximum efficiency.
For stubborn stains, create a paste from baking soda and water. Spread it directly onto the affected area and let it sit for approximately 15-20 minutes. The mild abrasiveness of the baking soda combined with its alkaline properties will assist in breaking down tougher spots. Afterward, scrub again with the soap solution for a thorough treatment.
Rinse the entire surface with a garden hose, ensuring to remove all soap and residue. If a garden hose is unavailable, consider using buckets of clean water for rinsing. This method may require more effort, but it effectively ensures a fresh finish without the assistance of heavy machinery.
To maintain clarity and reduce grime build-up moving forward, consider regularly sweeping debris and performing light cleanings with soapy water every few weeks. Additionally, utilising a sealant designed for your specific surface type can help protect against future staining and wear. This proactive approach not only enhances aesthetic appeal but prolongs the lifespan of your outdoor space.
Methods to Refresh Your Outdoor Surface
Begin with a mixture of white vinegar and warm water to tackle any stains. Combine one part vinegar with two parts water in a bucket. Apply the solution to the affected areas using a stiff-bristled broom or a scrub brush. Let it sit for approximately 10 minutes, then scrub vigorously to lift stubborn marks.
Using Baking Soda for Tough Stains
Baking soda is another powerful ally. Create a paste by mixing baking soda with water in a small bowl until you achieve a thick consistency. Apply the paste directly to stains and allow it to sit for 15-20 minutes. Afterward, scrub with a brush and rinse thoroughly with clean water.
Routine Maintenance

<pEstablishing a regular maintenance routine helps prevent the accumulation of dirt and grime. Sweeping weekly removes debris and keeps your surface looking neat. Occasionally, mopping with warm soapy water can enhance appearance while also sanitising the area.
Assessing the Type of Stains on Your Outdoor Surface
Begin by identifying the nature of stains to tailor your approach effectively. Organic marks such as leaves or food residue typically lift off with a mild solution of warm water and dish soap, requiring minimal scrubbing. For oil or grease remnants, a mixture of baking soda and vinegar can serve as an excellent absorbent, applied directly to the affected areas and left to sit before removal.
Avoid overlooking rust stains that may arise from patio furniture or tools. A paste made from lemon juice and salt can target these spots effectively, allowing you to scrub gently with a non-abrasive sponge. If efflorescence, a white chalky substance, is present, a simple brush and water should suffice, ensuring the surface is totally dry afterwards.
Mould or mildew can point to excess moisture. For such cases, a solution of water and white vinegar can help eliminate these shades. Test the mixture on a small area first to confirm it doesn’t alter the colour or texture. Always rinse thoroughly after treatment to remove any residues that could attract more dirt in the future.
By understanding the specific types of stains, I have found it becomes easier to select the appropriate cleaning agents and methods, ensuring optimal results for outdoor surfaces.
Gathering the Right Cleaning Supplies for Concrete
Begin by collecting the following materials to effectively tackle stain removal and surface care:
- Broom: A sturdy broom is necessary for initial debris clearance, enabling cleaner application of other products.
- Bucket: Use a large bucket for mixing cleaning solutions and rinsing cloths or brushes.
- Mild Detergent: Choose a non-toxic detergent suitable for outdoor surfaces. This will help lift dirt and grime.
- Vinegar or Baking Soda: These natural agents assist in breaking down stubborn stains without harsh chemicals.
- Scrub Brush: A durable brush with stiff bristles will aid in scrubbing tough areas and ensuring thorough stain removal.
- Garden Hose: A standard hose is essential for rinsing, allowing you to wash off detergent and debris effectively.
- Safety Gear: Rubber gloves and eye protection safeguard against splashes from cleaning agents.
Ensure readiness by verifying that all items are in good condition before starting your project. This preparation will lead to a smoother and more successful cleaning session.
Preparing the Surface for Thorough Maintenance
Begin by removing furniture, potted plants, and any other obstructions from the area. This will allow for unobstructed access and ensure that every part of the flooring is addressed.
Clear Debris and Loose Materials
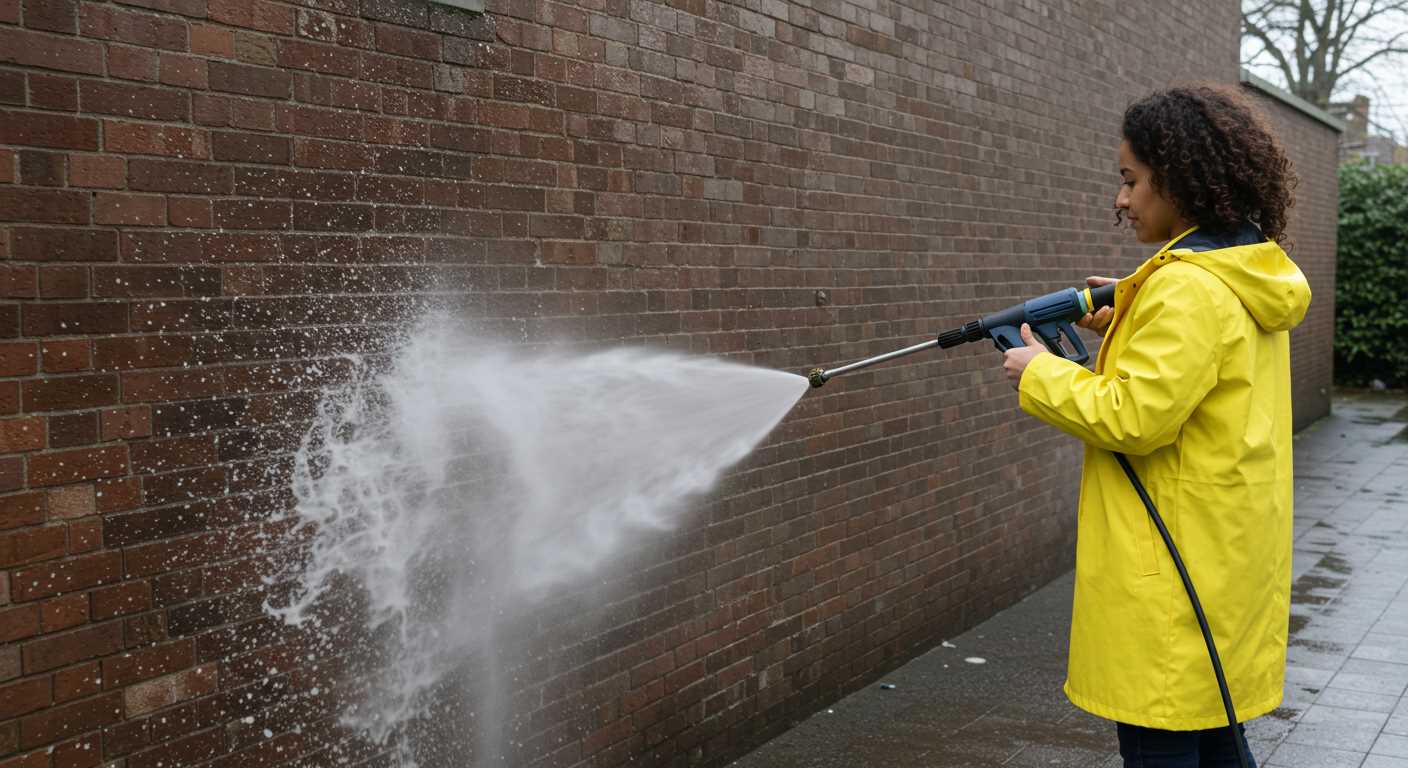
Utilise a broom or a leaf blower to eliminate dust, leaves, and other debris. Pay attention to corners and crevices, as these areas often retain dirt. Collect and dispose of this material effectively so it doesn’t interfere with your cleaning endeavours.
Inspect for Damage
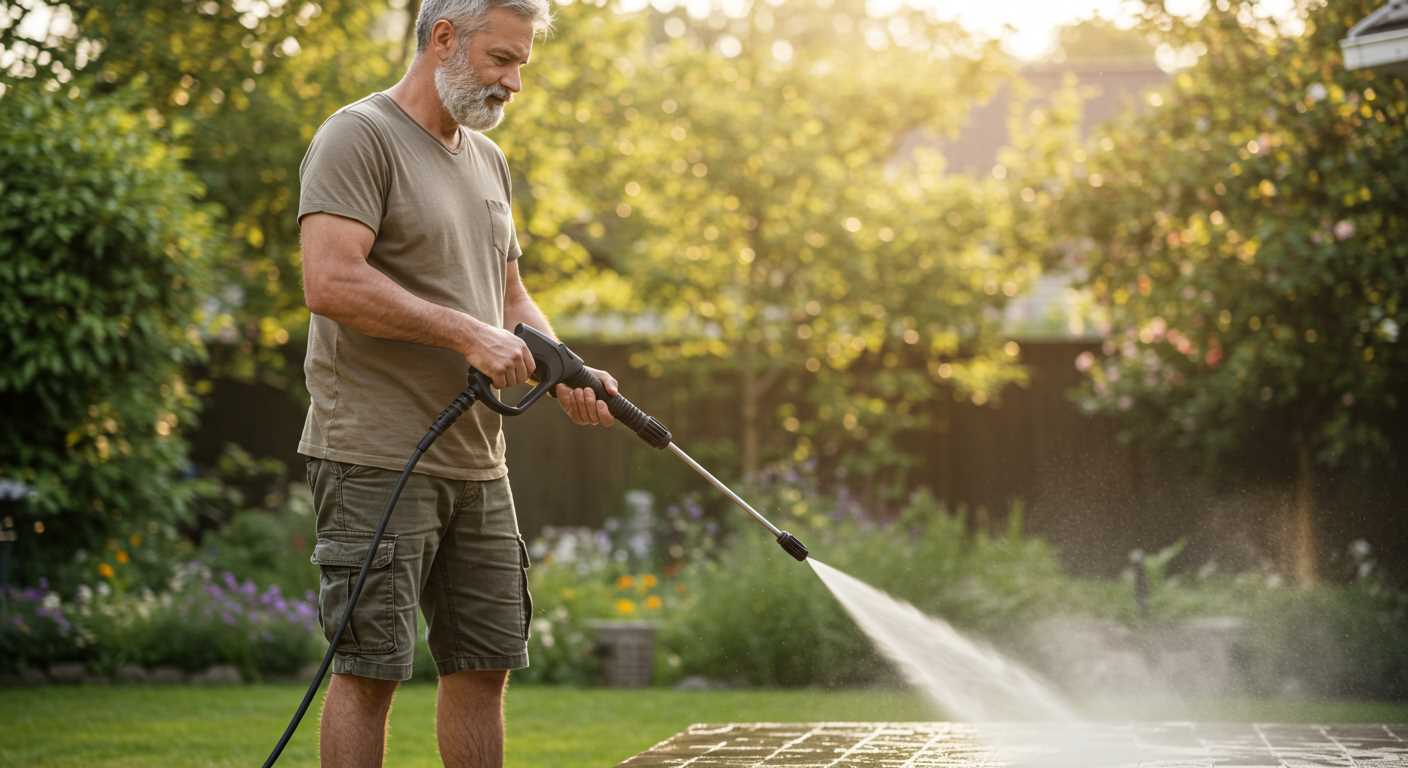
Take a moment to assess the state of the surface. Look for cracks, chips, or other signs of wear that might require repair before applying any cleaning solution. This assessment is crucial to prevent further deterioration during the maintenance process.
| Action | Description |
|---|---|
| Furniture Removal | Clear all items to gain full access. |
| Debris Elimination | Use a broom or blower to clear the area. |
| Surface Inspection | Check for cracks or damage that may need attention. |
Once you’ve prepared the area, the surface will be ready for the application of suitable cleaning solutions tailored to the specific stains and type of material you’re dealing with.
Choosing the Best Cleaning Solutions for Tough Stains
.jpg)
Select a solution specifically designed for the type of marks you’re dealing with. For oil-based stains, automotive degreasers work superbly, as they penetrate the surface effectively. Dilute as per the manufacturer’s instructions to avoid any residue.
Acid-Based Cleaners

For rust and mineral deposits, acid-based options like muriatic acid can provide a powerful remedy. Always wear protective gear and ensure proper ventilation while using these products. Test a small area first to gauge the reaction on your surface.
Eco-Friendly Alternatives
Consider using white vinegar or baking soda mixed with water for a gentle yet effective solution. This approach is safe and non-toxic, suitable for light stains. Apply the mixture to the affected area and let it sit before scrubbing with a stiff brush.
For removing tough stains like mildew or mould, a solution of bleach and water works well. Mix one part bleach to three parts water, apply, and leave for a few minutes before scrubbing. Ensure ample rinsing afterwards to prevent any damage to your surface.
Always follow up any cleaning process with a thorough rinse. The combination of the right solution and consistent effort yields the best results for restoring the appearance of your surfaces.
Scrubbing Techniques for a Thorough Clean
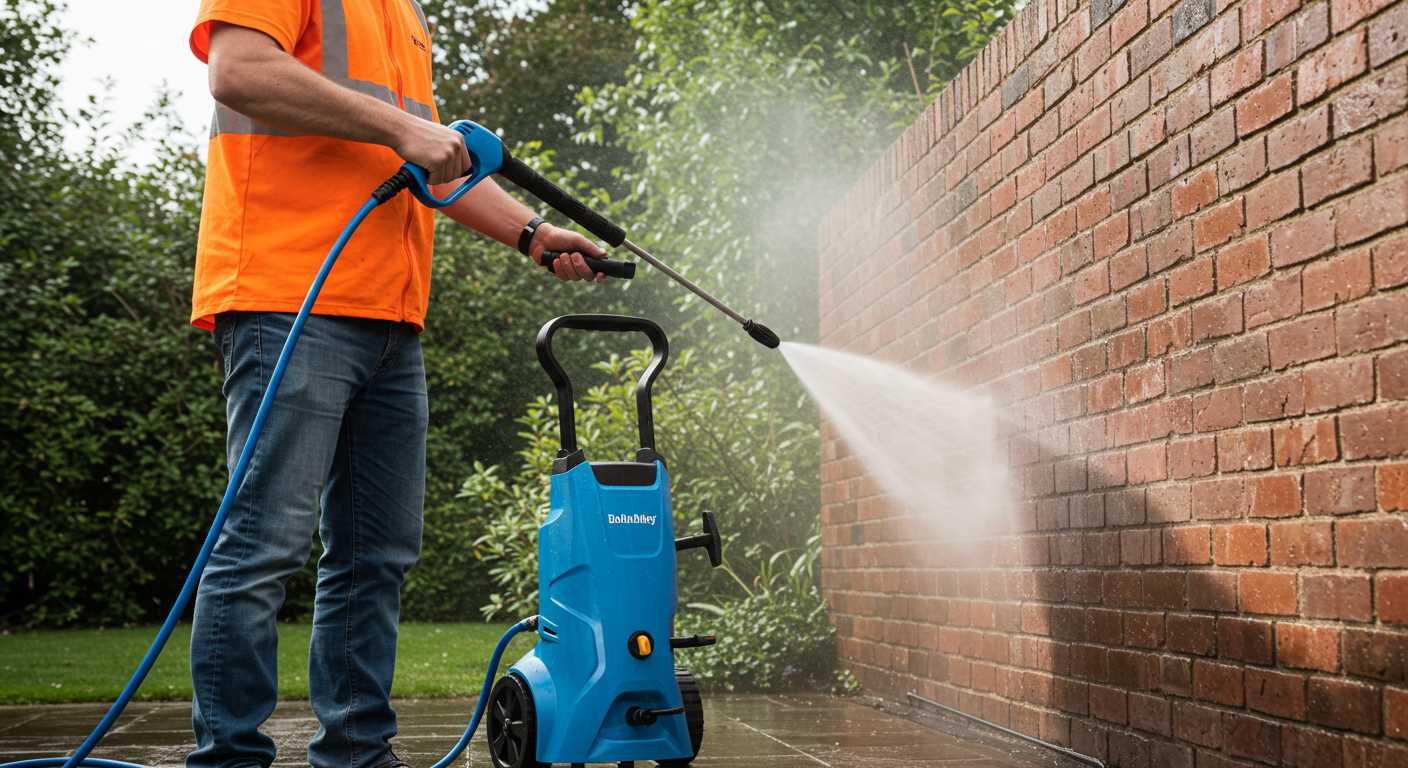
For optimal results, employ a robust scrubbing method. Start by using a stiff-bristled broom or a long-handled scrub brush to remove loose debris and dirt. Sweep thoroughly to prepare for a deeper clean.
Next, follow these steps to effectively tackle tough stains:
- Choose the Right Scrub Brush: Select a brush with synthetic bristles that can withstand harsh scrubbing while being abrasive enough to lift grime.
- Employ an Effective Technique: Use a back-and-forth motion, applying consistent pressure while scrubbing. For more challenging areas, consider circular motions to loosen stubborn dirt.
- Use a Bucket and Solution: Fill a bucket with warm water and your chosen cleaning solution. Dip the brush into the mixture and scrub sections at a time, rinsing the brush regularly to avoid spreading dirt.
- Let Solutions Sit: Allow any cleaning solution applied to stains to sit for 5-10 minutes before scrubbing. This gives the formula time to penetrate and break down grime.
- Rinse Thoroughly: After scrubbing, rinse the area with clean water to ensure all residues are removed. A hose with a nozzle can be handy for this step.
For persistent stains, repeat the scrubbing process as needed. Test small areas first to see how the surface reacts and adjust your technique accordingly. Remember to protect your hands by wearing gloves, especially if using harsh solutions.
Finally, after cleaning, allow the area to dry completely. This will help in assessing any remaining spots that may need additional attention.
Sealing the Surface After Cleaning for Longevity
Choosing a sealing product after scrubbing is vital for protecting the surface. An appropriate sealer shields from moisture, stains, and wear while enhancing the aesthetic appeal.
Types of Sealers
Consider two primary types of sealers: penetrating and topical. Penetrating sealers absorb into the material, offering strong protection without altering the appearance. They are often resistant to mould and mildew. Topical sealers, on the other hand, create a protective layer on the surface–ideal for adding a glossy finish. Evaluate the specific needs of your space to decide which suits best.
Application Process
Before applying, ensure the surface is entirely dry after the cleaning process. Use a roller or a sprayer to distribute the sealer evenly. In hot weather, work in small sections to prevent premature drying, leading to streaks or uneven coverage. Follow the manufacturer’s recommendations for drying times between coats, which may require a second application for maximum durability.
A newly sealed surface not only appears refreshed but is also better equipped to withstand the elements. Regular maintenance, such as resealing every few years, will extend the lifespan significantly, keeping it looking its best over time.
FAQ:
What are the best methods for cleaning a concrete patio without using a pressure washer?
To clean a concrete patio without a pressure washer, you can employ several effective methods. One commonly used method is to create a mixture of warm water and a mild detergent, which can be scrubbed onto the surface with a stiff-bristled brush. This helps remove dirt and grime. For tougher stains, you might mix baking soda with water to form a paste and apply it directly to the stain, letting it sit before scrubbing. Another option is using vinegar, which can break down organic materials. Always remember to rinse the patio thoroughly with clean water after cleaning to remove any residues from your cleaning mixtures.
How can I remove stubborn stains from my concrete patio without a pressure washer?
For stubborn stains on your concrete patio, several approaches can be effective. First, identify the type of stain; oil stains can be treated with a mix of dish soap and baking soda, creating a paste that you can apply directly to the stain. Let it sit for about 30 minutes before scrubbing it away. For rust stains, try using a commercial rust remover or a mixture of lemon juice and cream of tartar, which can also be effective. For more general stains, a combination of water and white vinegar can help lift dirt and grime. After applying any of these solutions, scrub the area with a stiff brush and ensure to rinse well afterward to ensure no cleaner is left behind.


