


Start with sweeping to remove loose debris and dirt. Use a stiff-bristled broom to reach into corners and remove larger particles. Investing in a good-quality broom can make a significant difference in efficiency.
Next, mix a solution of warm water and a gentle detergent or a degreaser for tackling stains. Make sure to read the label of the cleaner to ensure it is safe for your specific surface. Apply the solution generously with a mop or a scrub brush as needed, focusing on heavily soiled areas.
To handle oil or grease stains, consider using baking soda or cornstarch. Sprinkle your substance of choice over the stain, allow it to sit for a few hours, and then scrub it off with the cleaning solution. This method helps to absorb the oil effectively.
Rinsing the area is crucial. Use a bucket with clean water and a mop to remove any remaining cleaner. Make sure to ventilate the space to aid drying. Depending on the size of the area, this can be achieved faster by using a squeegee to push excess water towards the exit.
Regular maintenance goes a long way. Establish a cleaning routine to minimise buildup and keep the area looking its best. Simple tasks such as regularly sweeping or rinsing off spills can save time in the long run.
Thorough Techniques for Achieving Immaculate Surfaces
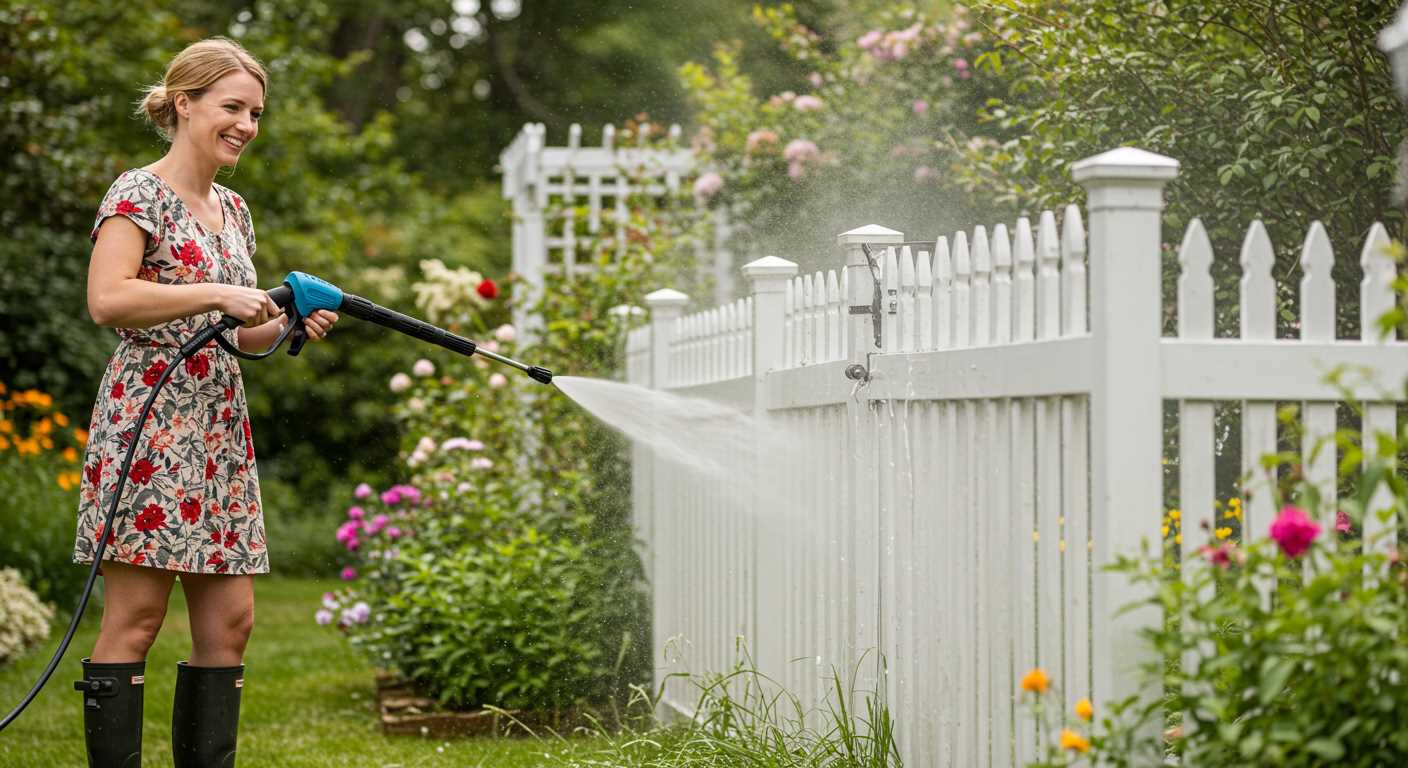
A practical mixture of baking soda and vinegar offers a straightforward solution. Combine equal parts in a bucket, apply to the targeted area, and scrub with a stiff brush. This concoction effectively lifts stubborn stains.
Utilising a mop or bristle broom is essential for debris removal. Regularly sweep to eliminate dust and larger particles before employing any moisture-based solution.
For oily stains, powdered dish detergent blended with warm water works wonders. Apply directly to the affected area, let it sit for approximately 15 minutes, and scrub the surface vigorously to break down grease.
Another method involves a solution of 1 cup of liquid soap mixed with 1 gallon of warm water. This versatile cleaner targets grime and light stains effortlessly. Use a mop or sponge for application to ensure thorough coverage.
Wet-dry vacuums are invaluable for quick extraction of excess water and debris after any cleaning regime. This approach not only speeds up the drying process but also prevents slippage.
For finishing touches, a squeegee can assist in removing any remaining moisture and achieving a streak-free shine. Employ it in a backward motion towards the exit to facilitate water drainage.
- Mix baking soda and vinegar for stubborn stains.
- Regularly sweep for dust and debris removal.
- Use powdered dish detergent on oily spots.
- Employ warm water and soap mix for grime.
- Utilise wet-dry vacuums for quick clean-up.
- Squeegee to eliminate moisture after cleaning.
Choosing the Right Cleaning Supplies
For a thorough refresh of surfaces, select an appropriate detergent tailored to your specific requirements. I recommend opting for a degreaser, particularly if oil or grease stains are prevalent. A product with a concentration of surfactants will aid in breaking down grime effectively.
Consider a stiff-bristle brush for scrubbing. This tool allows for better control and can tackle tough stains. A broom will help in removing loose debris initially, ensuring a clear workspace before using liquids.
Utilise a mop or sponge for applying cleaning solutions uniformly. Microfiber options are excellent due to their absorbent nature, which aids in capturing dirt without scattering it. Be sure to have a bucket for mixing your cleaning solution; this ensures consistency in application.
For those less inclined towards chemical products, a mixture of vinegar and baking soda can provide an environmentally friendly solution that still yields impressive results.
Lastly, invest in safety gear. Gloves protect your skin from harsh chemicals, while goggles shield your eyes from splashes, especially when dealing with strong detergents.
Preparing the Garage Floor for Cleaning
Begin by removing all items from the area. This includes tools, boxes, and any stored belongings. Ensure the space is completely clear to allow unobstructed access to every corner.
Next, inspect the surface for any leaks or spills. Address oil or chemical stains immediately with suitable absorbent materials. This will prevent residues from mixing into the cleaning solution.
Following that, sweep the area thoroughly. Use a stiff-bristled broom to dislodge dirt and debris. Pay attention to edges and corners where grime tends to accumulate. A good sweep will facilitate a more effective washing process.
If applicable, consider applying a degreaser to tough spots. Let it sit for a few minutes to penetrate deeply and break down stubborn residues. This step can dramatically enhance the effectiveness of your subsequent scrubbing.
Finally, assess the drainage. Ensure that water can flow freely and won’t pool during your procedure. This includes checking any existing floor drains and clearing them of debris.
Removing Oil Stains and Grease
For persistent oil stains and grease marks, using cat litter is a straightforward solution. Simply cover the stained area with a generous layer and let it absorb moisture for several hours or overnight. Afterward, sweep up the litter and dispose of it appropriately.
An alternative is to utilise baking soda mixed with water to create a thick paste. Apply this mixture directly onto the stain and allow it to sit for at least 30 minutes before scrubbing with a stiff brush. Rinse with clean water to eliminate any residue.
Another effective method is using dish soap or a specialized degreaser. Mix the chosen product with warm water and apply it to the stain. Allow it to sit for about 15-20 minutes, then scrub with a bristle brush and rinse off thoroughly.
If these methods fail to remove the stain, consider using a commercial oil remover. Follow the manufacturer’s instructions for application and safety precautions. After treating the area, ensure you rinse it well to prevent slippery surfaces.
Lastly, after successfully removing the stains, sealing the surface with a suitable garage floor sealant can prevent future issues and keep your space looking tidy.
Cleaning with Baking Soda and Vinegar
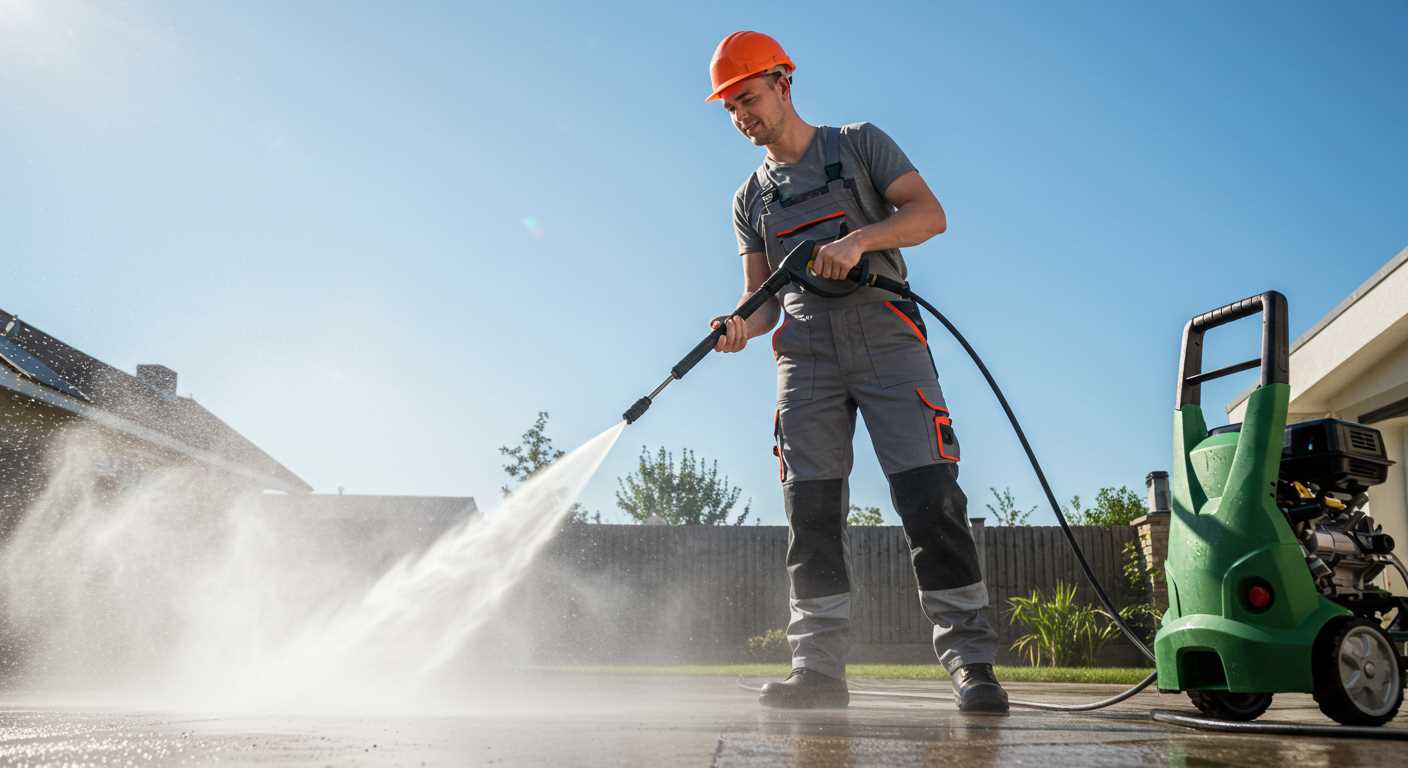
For a natural and effective solution, combine baking soda and vinegar. Begin by sprinkling a generous amount of baking soda over the stained areas. This acts as a mild abrasive that helps break down dirt and grime.
Next, pour white vinegar over the baking soda. The reaction between the two will produce fizzing, which aids in lifting stubborn residues. Allow this mixture to sit for about 10 to 15 minutes to maximise its effectiveness.
After the fizzing subsides, scrub vigorously with a stiff-bristled brush. Focus on tougher stains and heavily soiled spots, applying pressure as needed to lift any grime. Rinse the area with water, removing the loosened debris.
For persistent marks, repeat the process. Once satisfied with the results, dry the surface with an old towel or allow it to air dry. This combination not only cleans effectively but also neutralises odours, leaving a fresh scent behind.
Using a Stiff-Bristle Broom for Scrubbing
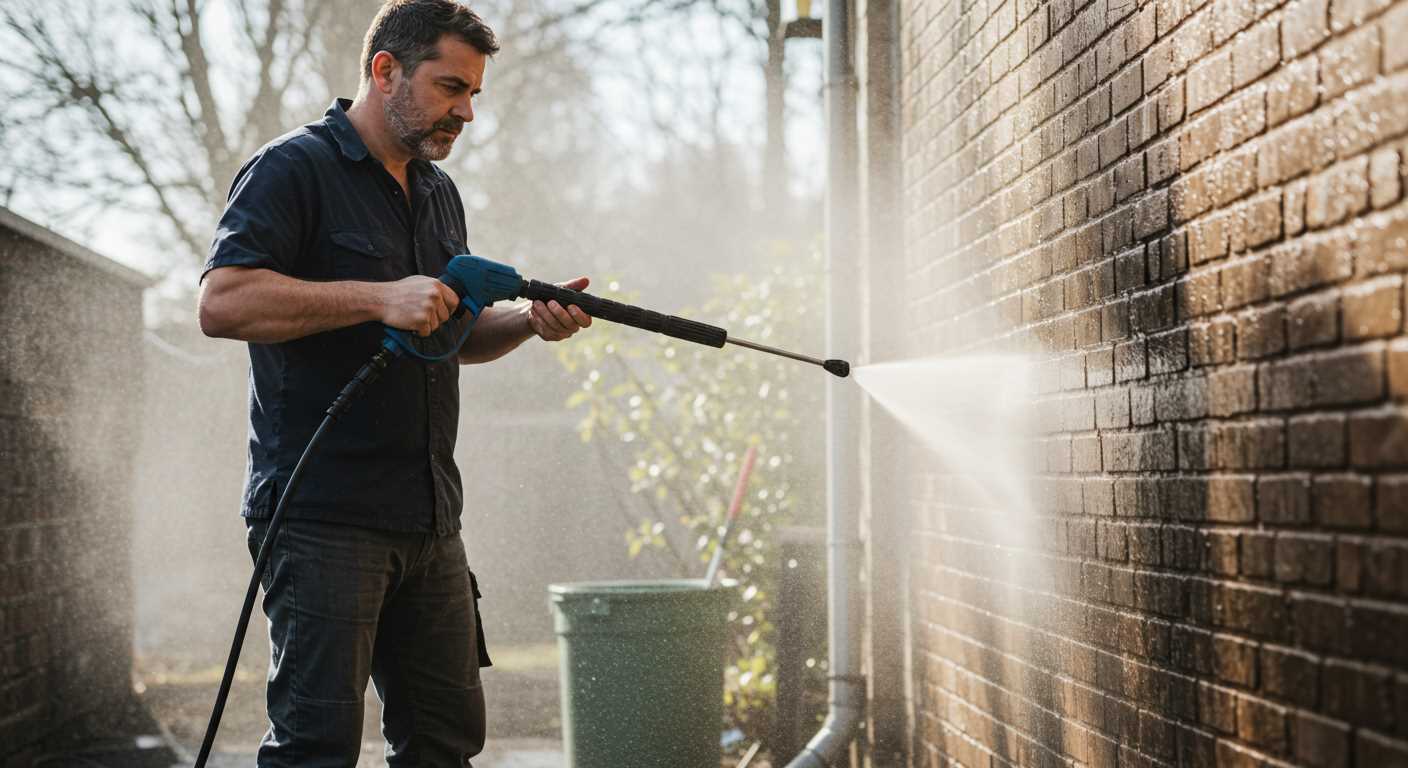
I recommend selecting a stiff-bristle broom for scrubbing stubborn debris and grime effectively. Look for a broom with synthetic bristles, as these are durable and resist wear. A wider broom head will enable quicker coverage of larger surfaces. Hold the broom at an angle, applying firm pressure while sweeping back and forth. This technique helps to dislodge dirt particles that have settled deeply into the surface.
For optimal results, start at one corner and work systematically towards the exit. This prevents the need to step on already cleaned areas. Regularly shake out the broom to clear accumulated dust and filth, ensuring that you maintain maximum scrubbing efficiency.
Incorporate a bucket of soapy water or a specialized detergent mixed with water for added cleaning power. Dip the broom bristles into the solution, allowing them to absorb the liquid before you begin scrubbing. This not only provides lubrication but also helps lift away persistent stains.
For heavily soiled spots, let the soapy solution sit for a few minutes before scrubbing. This soaking time allows the cleaning agents to break down the grime, making it easier to remove. After scrubbing, rinse the area with clean water, either using a hose or a bucket, to ensure all soap and debris are washed away.
Finally, ensure proper ventilation in the area during and after the scrubbing process to speed up drying and minimise any lingering odours from the cleaning agents used.
Rinsing and Drying the Surface Properly
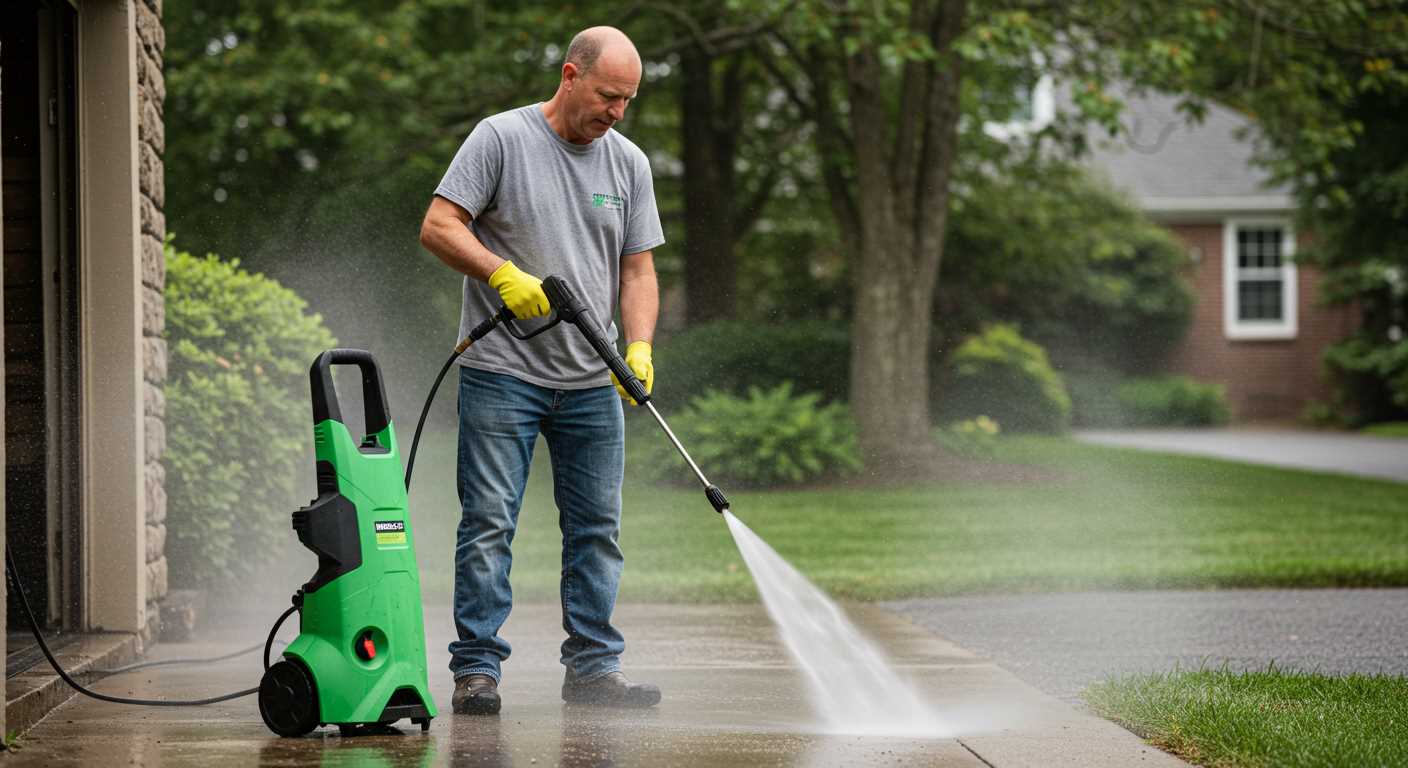
Thoroughly rinsing is crucial for removing residue and ensuring a spotless outcome. Start with a bucket filled with warm water and a suitable rinsing agent. Use a mop or soft-bristle broom to spread the mixture evenly over the area. This process serves to lift dirt that remains after scrubbing.
Optimal Rinsing Technique
For effective results, follow these steps:
| Step | Description |
|---|---|
| 1 | Wet the area with clean water, allowing the solution to penetrate for a few minutes. |
| 2 | Use a mop to move the dirty water towards the nearest drain or designated area for disposal. |
| 3 | Rinse with fresh water to eliminate any remaining cleaning solution. |
| 4 | Repeat rinsing if there are still visible stains or residues. |
Effective Drying Methods
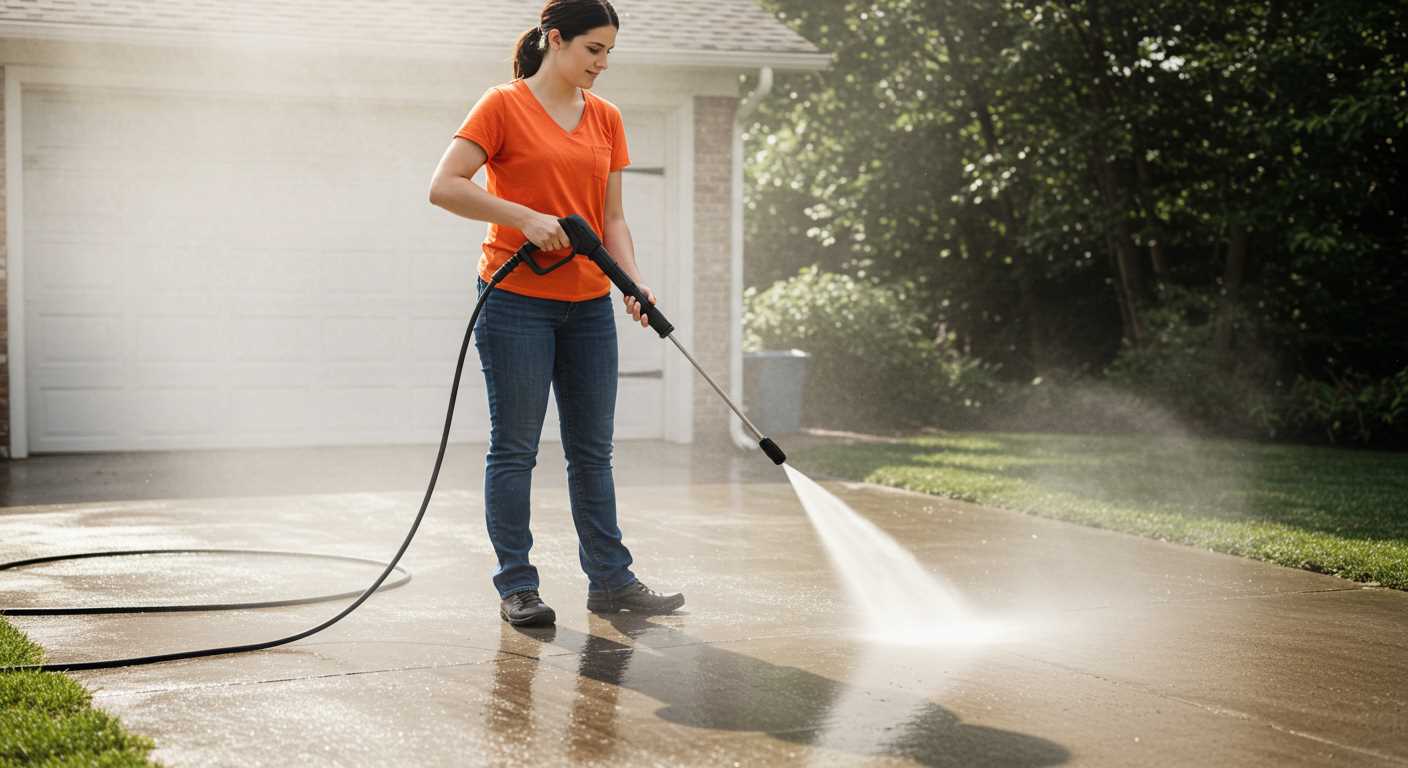
Once rinsed, drying is the next step. I recommend these options:
- Utilise a large, dry mop to absorb excess water.
- Consider opening windows and doors to promote airflow, which aids in faster drying.
- If natural ventilation is insufficient, use a fan to enhance air circulation.
For thick damp patches, placing towels over the area can also help absorb moisture quickly.
Allow the surface to dry completely before returning any items to prevent moisture build-up or mildew growth. Regular checks on the condition of the surface post-cleaning ensure longevity and maintain appearance.
Maintaining a Clean Garage Floor Long-Term
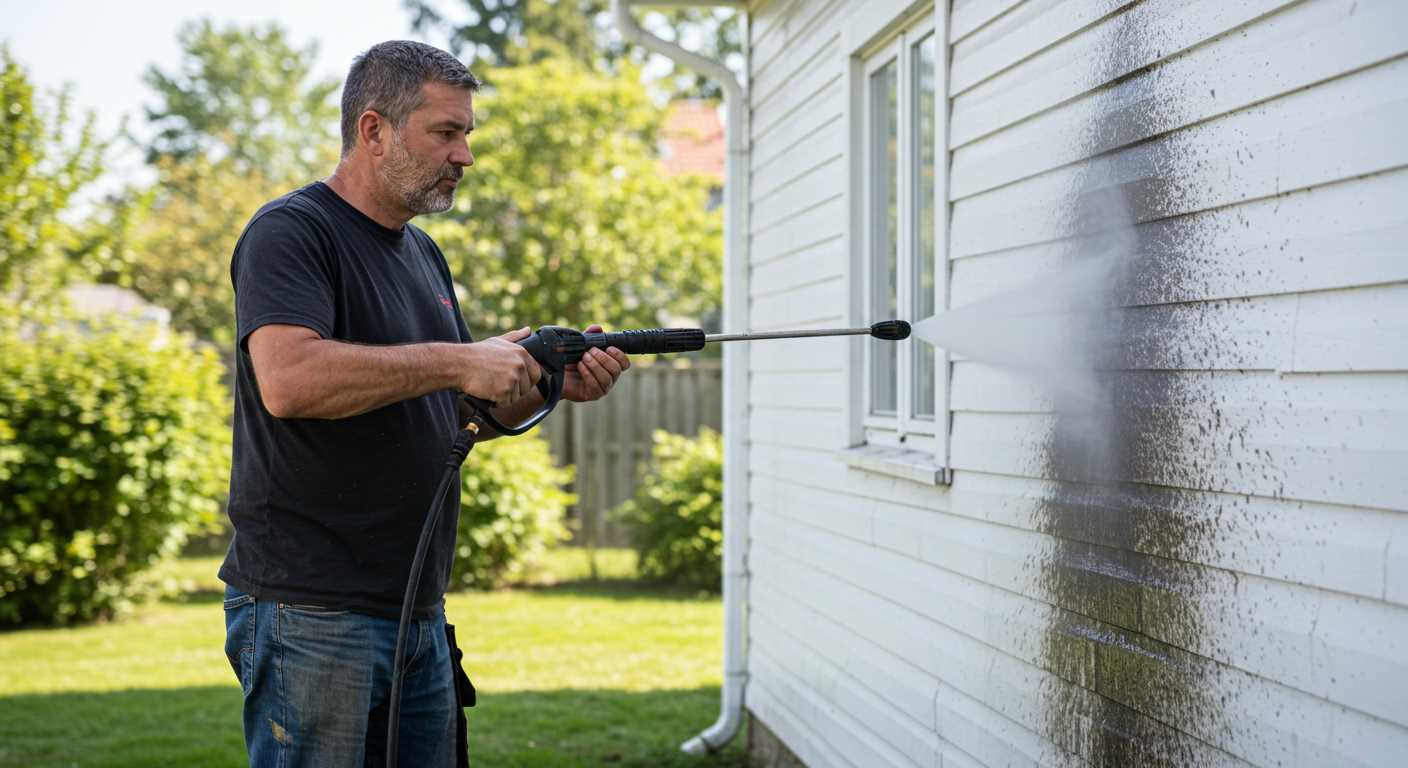
Regular upkeep is key to preventing dirt accumulation and surface damage. Implement these steps consistently for long-lasting results.
- Create a Cleaning Schedule: Set a specific day each month for thorough inspections and maintenance. Address spills immediately to avoid staining.
- Utilise Mats and Rugs: Place durable mats or rugs at entry points to capture debris and moisture before it can settle. This reduces the frequency of deep cleans.
- Seal the Surface: Consider applying a sealant to protect the surface from stains and wear. Reseal every couple of years to maintain effectiveness.
- Implement Organisational Solutions: Use shelves, hooks, and storage bins to reduce clutter. Keeping items off the ground minimizes potential spills and dirt tracking.
- Regularly Inspect for Damage: Look for cracks or chips and repair them promptly to prevent further deterioration. Addressing small issues early can save time and effort later.
By establishing a routine and taking preemptive measures, I ensure that my workspace remains tidy and functional over time.


