

For stunning results, a mixture of water, vinegar, and mild soap can be your best ally. Combine one cup of white vinegar with a gallon of warm water and a few drops of dish soap. This eco-friendly solution effectively removes dirt and grime while being gentle on the fibres.
Utilise a stiff-bristled brush to apply the mixture. Make sure to scrub gently, following the grain of the material, which prevents damaging the surface. Focus on areas with stubborn stains, allowing the mixture to sit for a few minutes before rinsing with clean water.
Consider enhancing the natural beauty of your structure by treating it with a wood conditioner or sealant upon drying. This will not only preserve the appearance but also extend its lifespan against the elements. Regular maintenance with simple solutions helps keep your outdoor space inviting and impressive.
Cleaning Techniques for Your Timber Surface
Start by gathering necessary supplies: a broom, a stiff-bristled brush, a bucket, mild detergent, and garden hose. First, sweep away loose debris and dirt to prepare the surface.
Prepare a cleaning solution by mixing a few drops of mild detergent into a bucket of warm water. Use this mixture with the stiff brush to scrub the timber, applying a bit of pressure for spots with stubborn stains.
For tougher grime or mildew, you may consider a vinegar solution. Combine equal parts vinegar and water in a spray bottle. Apply it directly onto affected areas and scrub gently. Allow it to sit for about 10-15 minutes before rinsing with water.
A garden hose will suffice for rinsing. Pour water liberally over the treated areas to ensure all soap and residues are washed away. Ensure there is no standing water left; allowing it to dry properly prevents water damage.
If your timber shows signs of age or weathering, a sandpaper treatment may help restore its appearance. Use medium-grit sandpaper to lightly sand the surface in the direction of the grain, followed by fine-grit paper to smooth it out.
After the cleaning session, consider applying a sealant to protect your surface. This step prolongs the lifespan and enhances aesthetics, enabling your outdoor area to maintain its appeal over time.
Gather Necessary Cleaning Supplies
Collect the following items to prepare for the task:
- Broom or Stiff Brush: A broom will help in removing loose debris, while a stiff brush is ideal for scrubbing stubborn grime.
- Bucket: Necessary for mixing cleaning solutions and easily transporting them.
- Cleaning Solution: Choose a wood-friendly formula or create a DIY mix using vinegar, soap, and water. Ensure it’s safe for the surface.
- Garden Hose: Use it for rinsing off dirt and any cleaning solution after application.
- Protective Gear: Wear gloves and safety goggles to protect your skin and eyes from chemicals.
- Scraper or Putty Knife: Ideal for removing any stubborn stains or residues that need extra attention.
Optional Tools
- Microfibre Cloths: Useful for wiping down surfaces after scrubbing.
- Sponges: Handy for applying cleaning solutions to smaller areas.
- Squeegee: Aids in quickly removing excess water after rinsing.
Having these supplies at hand will streamline the process and ensure a more thorough result.
Remove Furniture and Debris
Prior to commencing the cleaning process, ensure that all furniture and obstacles are removed from the surface. This step is crucial for effective maintenance and allows for unobstructed access to every area that requires attention.
Steps to Follow:

- Clear the Area: Take away all furniture, including chairs, tables, and loungers. Store them in a dry location to protect them from moisture and direct sunlight.
- Inspect for Debris: Look for any leaves, branches, or dirt that may have accumulated. Collect this debris manually, as leaving it on the surface can trap moisture and lead to decay.
- Check for Personal Items: Remove any personal belongings, like cushions or planters, to avoid potential damage during the cleaning process.
After clearing the area, inspect all surfaces for any signs of mould, mildew, or stains. This information will guide you in choosing the appropriate cleaning supplies and methods for a successful refresh.
Brush Away Dirt and Grime
A stiff bristle brush is your best ally for tackling stubborn dirt and grime. Use it to scrub the surface thoroughly, focusing on areas with noticeable stains or discolouration. Choose a brush with a long handle to reach tough spots without straining yourself.
Choosing the Right Cleaner
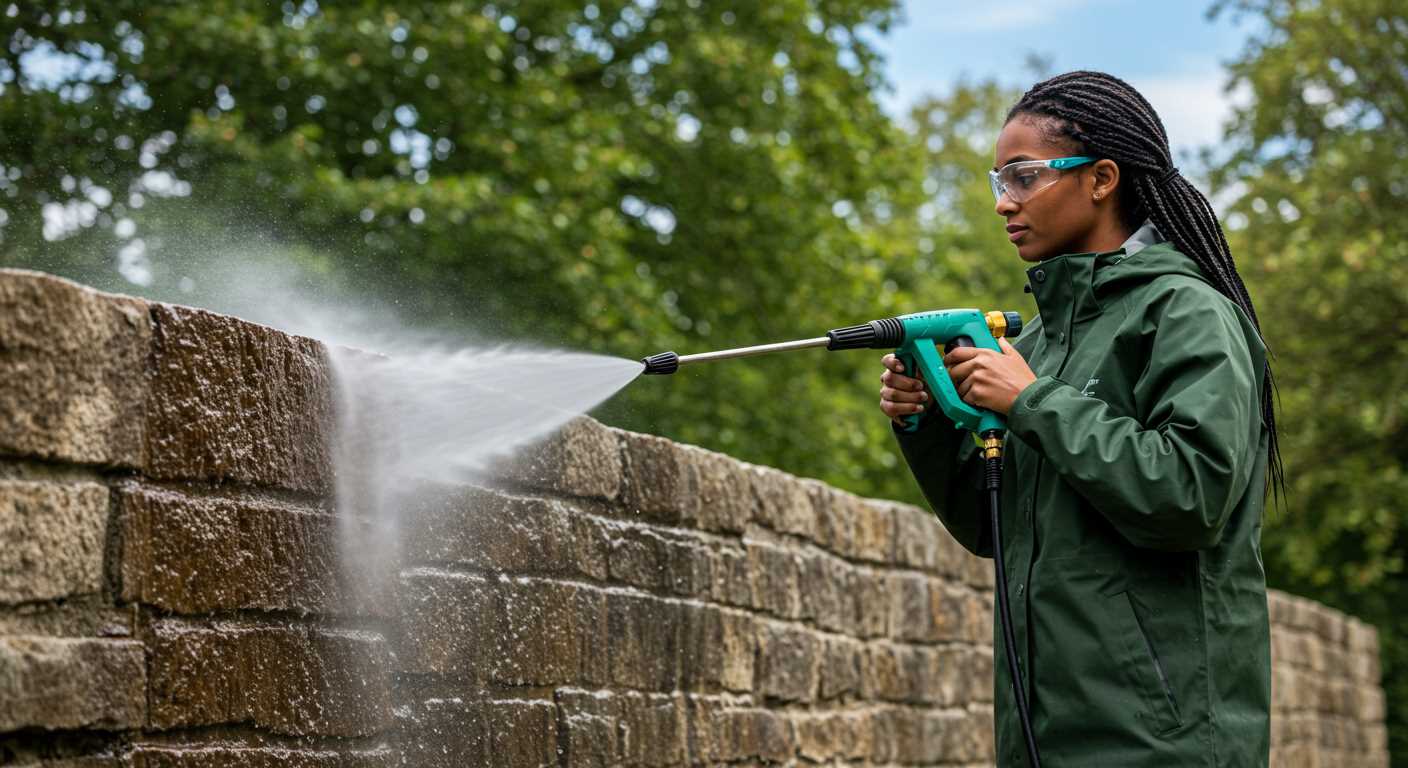
Select a biodegradable and wood-safe cleaner designed for outdoor surfaces. Dilute it according to the manufacturer’s instructions. Apply the solution using a spray bottle or a garden sprayer, ensuring even distribution. Allow it to sit for a few minutes to penetrate the grime.
Scrubbing Technique
Work in sections for better control and to avoid letting the cleaner dry on the surface. Use firm, circular motions to lift dirt. Pay attention to the grooves and joints, as they tend to accumulate debris. Rinse your brush frequently to prevent spreading the grime around.
Once you’ve scrubbed each section, rinse thoroughly with a hose. Ensure all cleaning solutions are washed away, preventing residue build-up that can lead to further discolouration. This method, when done consistently, helps to maintain the appeal and durability of your outdoor space.
Prepare a Homemade Cleaning Solution
To create an effective mixture for rejuvenating outdoor surfaces, combine one part white vinegar with one part water in a spray bottle. This solution harnesses the natural acidity of vinegar to remove stains and mildew.
For tougher stains, add a cup of baking soda to the vinegar and water mix. This will produce a fizzing reaction that aids in breaking down grime. Stir the solution gently before application to ensure the baking soda dissolves properly.
If a more powerful cleaning agent is desired, consider incorporating a few drops of mild dish soap. This will enhance the solution’s ability to cut through grease and dirt.
Always test this mixture on a small, inconspicuous area first to gauge its effect on your surfaces. Adjust the proportions as needed based on your specific cleaning requirements and the severity of the dirt or stains.
Apply the solution generously and allow it to sit for about 10-15 minutes before scrubbing with a stiff-bristled brush for optimal results.
Apply the Cleaning Solution Evenly
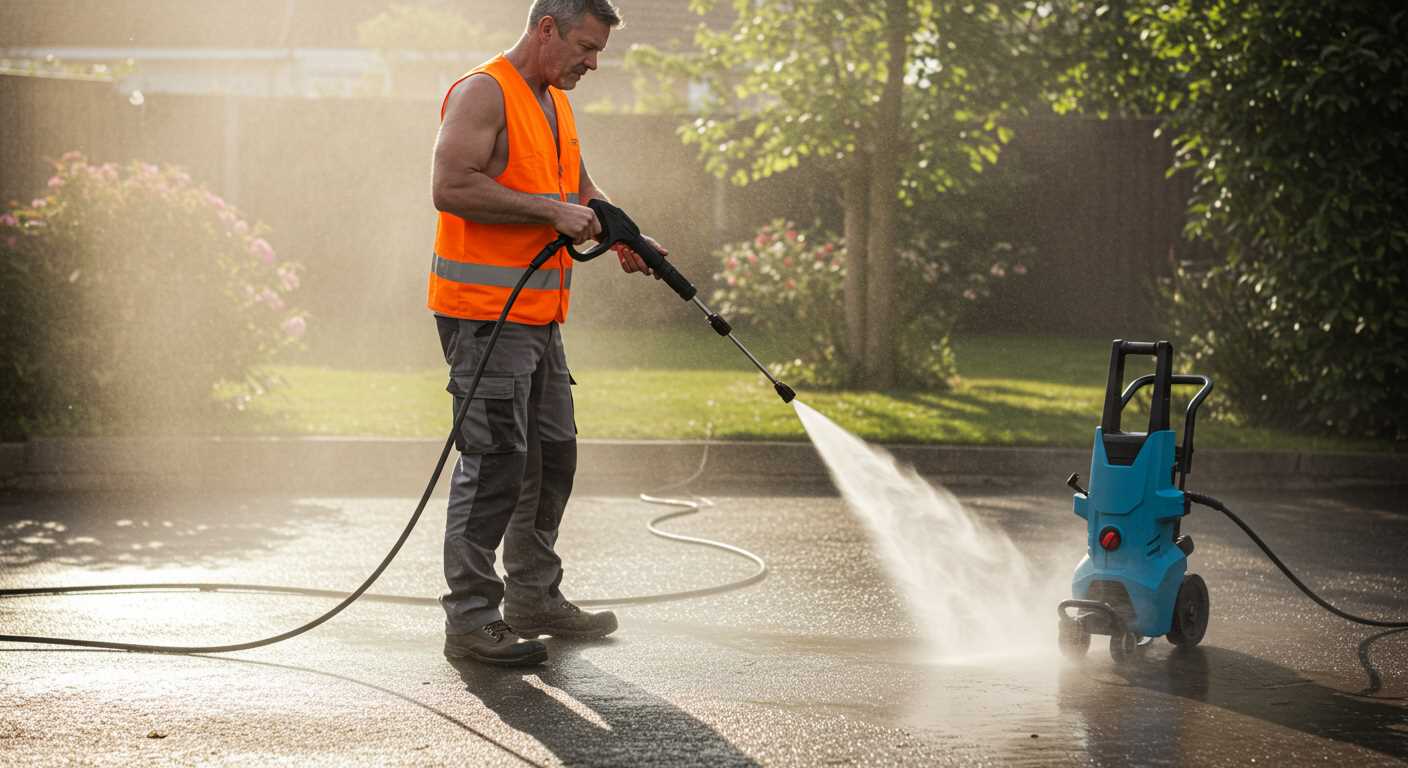
To achieve a thorough cleansing, distribute the cleaning mixture uniformly across the surface. Use a garden sprayer or a bucket with a sponge to spread the solution, ensuring you cover every area consistently. This prevents streaks and patches, which can leave the surface looking uneven.
Begin at one corner and work systematically towards the opposite end. Overlap your strokes slightly to guarantee complete coverage. Pay extra attention to heavily soiled areas; apply a bit more solution there to allow for better penetration and loosening of grime.
For added efficiency, use a long-handled brush to help spread the mixture into the grooves of the timber. This tool can help reach difficult spots, making sure that dirt and mildew are addressed effectively.
As the solution begins to work, let it sit for the recommended time on the instructions of your cleaning concoction. Aim to avoid letting it dry completely, as this might lead to residues forming. After the waiting period, you can easily proceed to the next phase of scrubbing.
Scrub Stains and Heavily Soiled Areas
For persistent blemishes and deeply ingrained dirt, using a stiff-bristled brush paired with the homemade cleaning solution is indispensable. Apply the solution directly to the affected spots generously, ensuring there’s ample moisture to break down the substances. Let it sit for approximately 10-15 minutes before proceeding.
Technique and Tool Usage
Employ a circular scrubbing motion, exerting firm but not excessive pressure. This allows the bristles to penetrate and lift the stains without damaging the surface. Focus on one section at a time; working in smaller areas ensures thoroughness. Rinse each scrubbed section with plain water to remove any loosened debris and verify your progress.
Persistent Stains
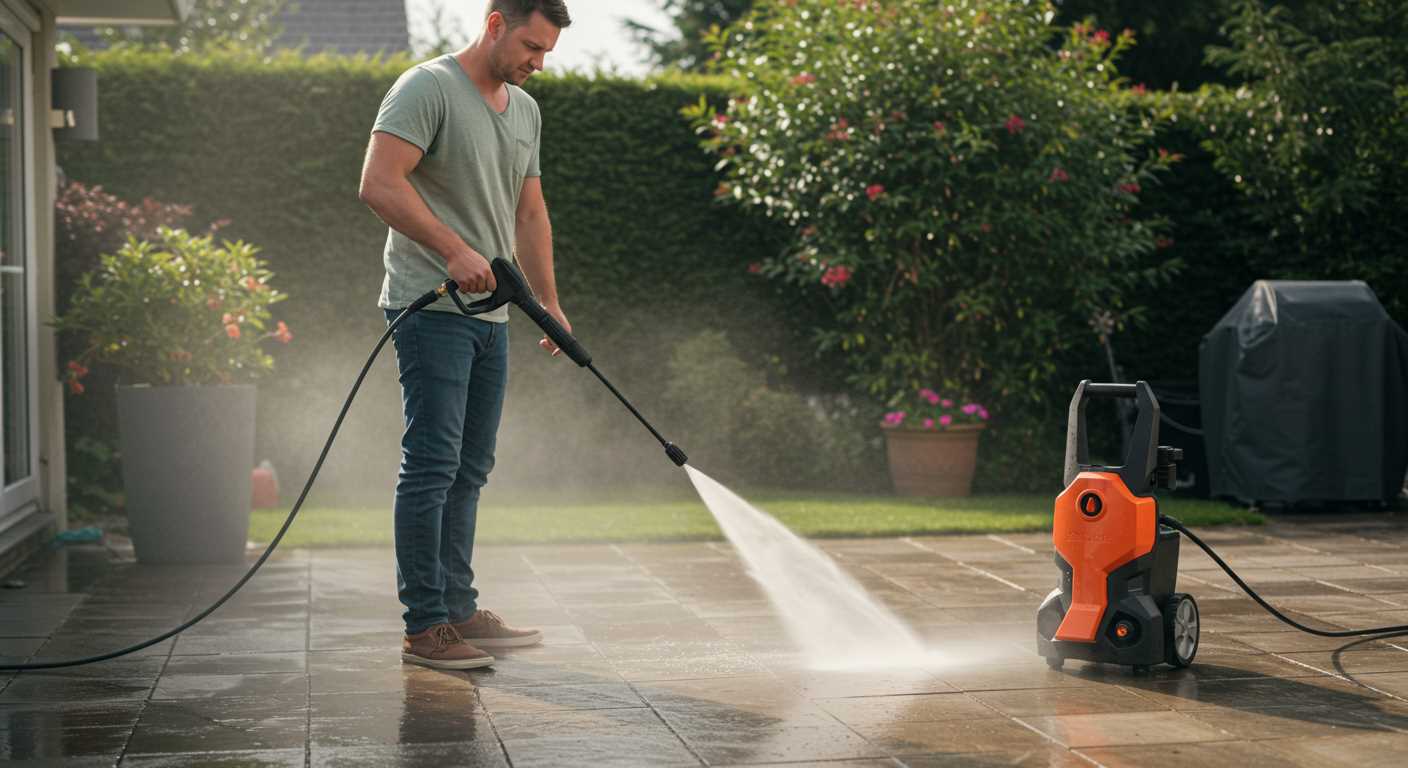
For stains that resist initial scrubbing, consider a paste made from baking soda and water, applying it to the stain and letting it sit for an additional 10 minutes before scrubbing again. This gentle abrasive method can often help in lifting stubborn marks without compromising the finish.
Rinse and Dry the Surface Properly
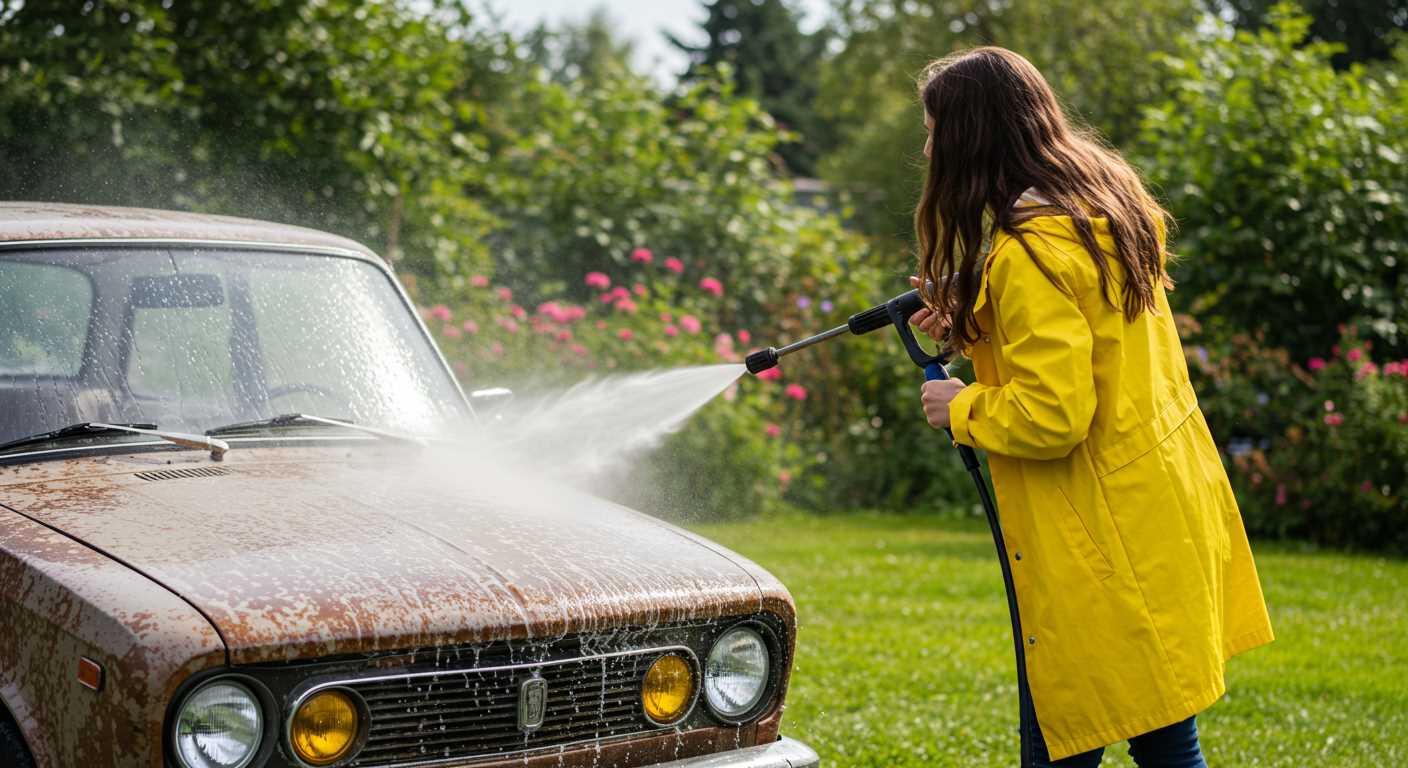
After treating the boards with a cleaning solution, thoroughly rinse off all residues using a garden hose. Attach a spray nozzle for a steady stream of water, and work your way from one end to the other to ensure every section is evenly saturated. This prevents any leftover cleaning agents from damaging the timber over time.
Steps for Effective Rinsing:
| Step | Action |
|---|---|
| 1 | Begin at the farthest edge, aiming the hose at a 45-degree angle to avoid directing water under the boards. |
| 2 | Work in sections to ensure that no area is left untreated, focusing on crevices where debris may accumulate. |
| 3 | Continue rinsing until the water runs clear, indicating that all cleaning agents have been removed. |
Once rinsed, allow the surface to dry properly. Avoid replacing any furniture or accessories until the wood has dried completely to prevent moisture from being trapped, which can lead to mildew and decay. Depending on the weather, this might take anywhere from a few hours to a full day.
Additional Tips for Drying:
If feasible, ensure adequate airflow across the area. If it’s a particularly humid day, consider using fans to expedite drying. Regularly check the timber for moisture before replacing any items. Ensuring a dry surface is key to maintaining the integrity and appearance of your outdoor space.


