

Consider using a blend of baking soda and warm water for tackling stubborn stains on outdoor surfaces. This mixture effectively lifts dirt without causing damage. Apply it with a stiff brush, scrubbing in circular motions for best results.
Another option is a solution of vinegar and water, which works wonders on mildew and algae. Spray it directly onto affected areas and let it sit for 10 to 15 minutes before scrubbing. This natural remedy not only sanitises but also acts as a deodoriser.
Invest in a durable scrub brush to tackle larger areas like patios or walkways. Pairing the brush with a mixture of dish soap and warm water can help dislodge debris effortlessly. Rinse thoroughly with a hose to leave surfaces fresh.
A leaf blower is quite handy for removing debris like leaves and dirt from pathways and driveways. This tool saves time and effort, ensuring a neat outdoor area without the need for intensive scrubbing.
For more delicate surfaces, such as wooden decks or fences, a soft bristle broom combined with a solution of water and mild dish soap will suffice. Regular sweeping prevents build-up and maintains the wood’s integrity over time.
Don’t underestimate the power of a garden hose with a spray nozzle. Adjusting the flow can assist in rinsing away loose dirt and grime effectively. This straightforward method can yield impressive results with minimal effort.
Practical Techniques for Outdoor Cleaning
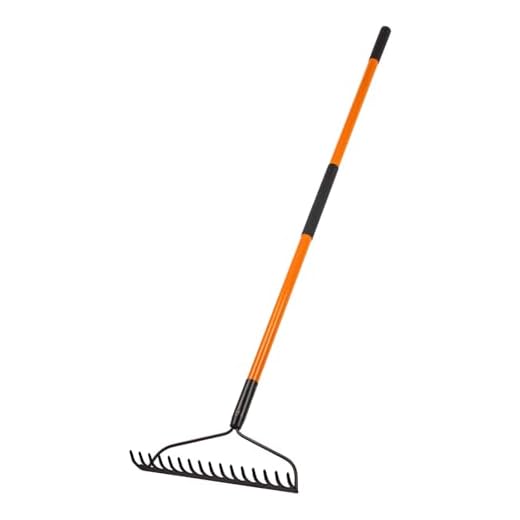
Invest in a sturdy broom or rake to gather leaves and debris. A wide push broom is particularly useful for larger areas, as it covers more ground efficiently. For tight corners, a smaller hand broom can be handy.
Mix vinegar and water in a spray bottle for an eco-friendly solution to tackle stains on surfaces. This mixture works well on concrete and stone, breaking down dirt without harsh chemicals. Spray, let it sit for a few minutes, and then scrub with a stiff-bristled brush.
Utilising DIY Soap Solutions
Create a solution using dish soap mixed with warm water to address greasier spots or stubborn grime. Apply it generously, scrub with a brush, and rinse with a garden hose. Ensure the spray nozzle disperses water evenly across the area.
Marking Your Progress

Set specific sections of your outdoor space to complete at a time, allowing for a more manageable approach. By focusing on one area before moving on to the next, I find it less overwhelming and more organised.
For decorative elements like stones or outdoor furniture, a simple mixture of mild soap and water can refresh their appearance. Scrub with a cloth or soft brush, then wipe down with fresh water to remove any residue.
Lastly, don’t forget about keeping your tools in good condition. Regularly cleaning rakes, brooms, and brushes extends their service life and enhances their effectiveness in maintaining tidiness outdoors.
Choosing the Right Tools for Yard Cleaning
Selecting the proper tools is a key step in achieving satisfying results. For tackling stubborn debris and dirt, a combination of traditional hand tools and modern devices will yield the best outcome. Beyond personal preference, consider the following equipment:
| Tool | Purpose | Recommendation |
|---|---|---|
| Rake | Gather leaves, grass clippings, and loose debris | Opt for a sturdy rake with flexible tines for ease of use |
| Shovel | Remove stubborn dirt or mulch | Choose a lightweight model for better manoeuvrability |
| Broom | Clear hard surfaces like patios and walkways | A stiff-bristled broom works best for tough dirt |
| Garden Hoe | Loosen soil and clear weeds | Look for one with an ergonomic handle to ease strain |
| Bucket | Carry water and cleaning solutions | A plastic bucket with a handle is lightweight and durable |
| Spray Nozzle | Disperse water or cleaning solutions | Adjustable nozzles allow for versatile applications |
Investing in quality tools makes the task more manageable. For larger projects, consider renting or borrowing equipment like a leaf blower or a garden vacuum, which can expedite the process significantly. Regular maintenance of these tools extends their lifespan and enhances efficiency, ensuring readiness for future cleaning sessions.
Ultimately, the right selection allows for a thorough rejuvenation of your outdoor space, resulting in a more inviting environment.
Removing Weeds and Unwanted Plants
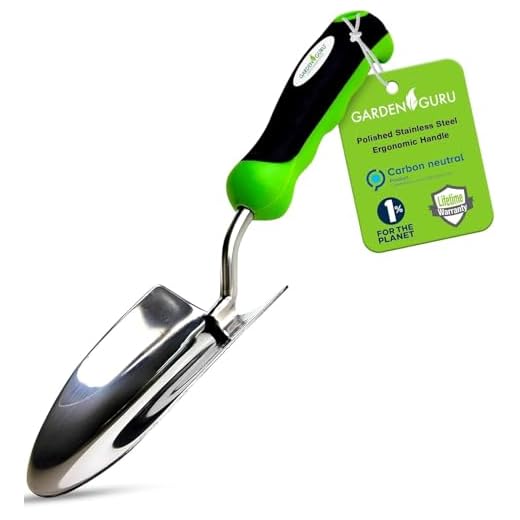
Begin by gathering the right equipment: gloves, hand trowel, weeding fork, and a hoe will serve you well. Make sure the soil is moist; it’s easier to uproot unwanted growth when the ground is slightly damp.
Pry weeds from their roots using a hand trowel or weeding fork. Insert the tool at an angle next to the weed, pushing down to loosen the soil. Grasp the base of the weed and pull steadily to avoid breaking it.
For tougher specimens, use a hoe to slice through the roots just below the soil line. This can be effective for large patches of unwanted greenery. Ensure you remove the entire root system to prevent regrowth.
Mulching is another excellent way to suppress future weed growth. Apply a layer of organic material, such as wood chips or straw, around desirable plants. This not only enhances appearance but also conserves moisture and suppresses competing flora.
For a more natural approach, consider boiling water or vinegar as a spot treatment. Carefully pour these substances directly onto the unwanted plants to effectively kill them. Be cautious to avoid desirable plants, as these methods lack selectivity.
In addition, regular monitoring allows for early detection. Routinely check your space and remove weeds before they can establish deep roots, making the task more manageable.
Finally, composting the removed weeds can be beneficial, provided they haven’t gone to seed. This turns waste into nutrient-rich material for future use.
Techniques for Cleaning Patios and Decks
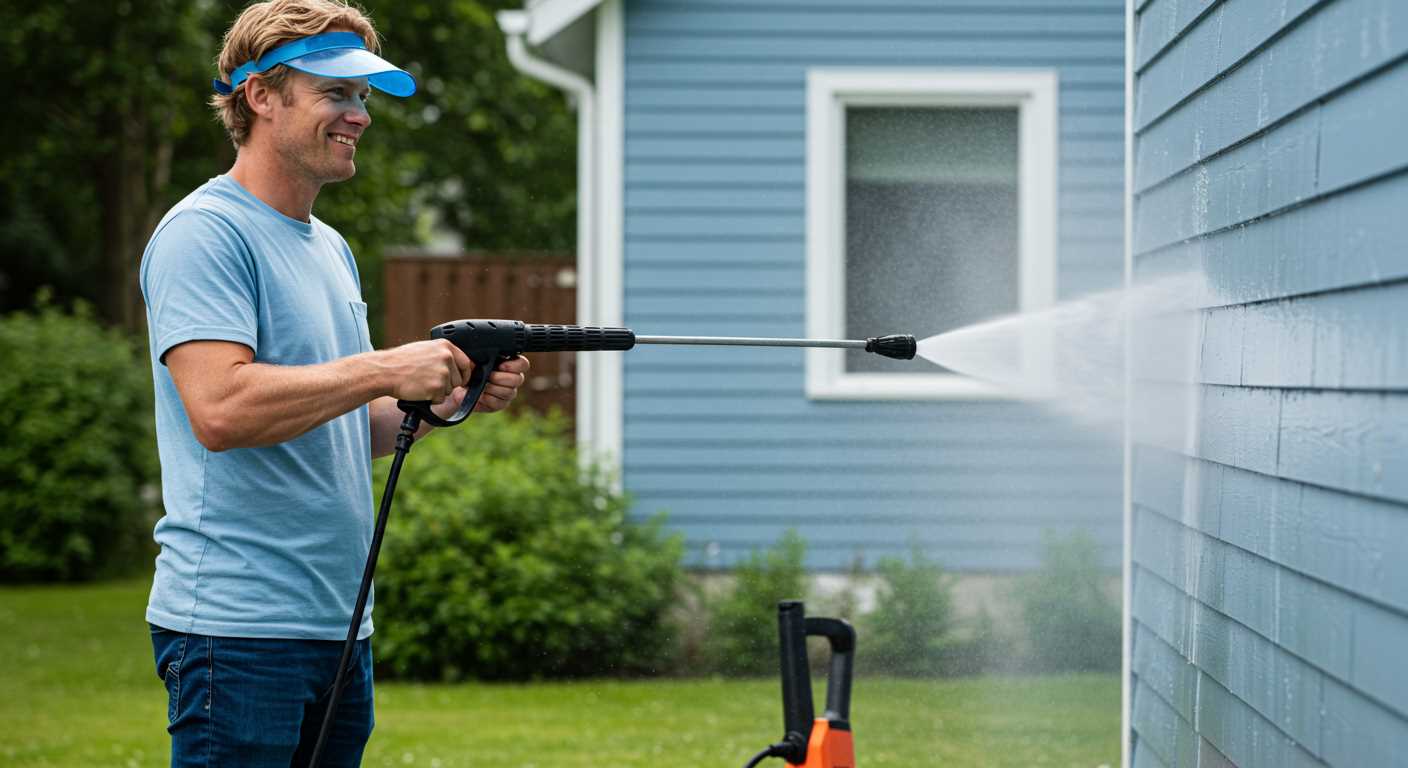
Scrubbing with a stiff-bristle broom effectively loosens dirt and debris. Use soapy water made from a biodegradable detergent combined with warm water for optimal results. Apply the solution to the surface and let it sit for about 10 minutes before scrubbing.
A diluted vinegar solution, mixed at a ratio of one part vinegar to one part water, is powerful against mildew and stains. Spray or apply it liberally to affected areas, allowing it to penetrate for 15 minutes prior to scrubbing. Rinse with a bucket of clean water.
Baking soda serves as a gentle abrasive for stubborn spots. Create a paste using water, apply it to grime, and scrub thoroughly with a brush. This technique works well on composite decking or stone patios without causing damage.
<p.Where branches and leaves accumulate, a leaf blower can be especially useful. Alternatively, a rake works well for gathering up larger debris. Following this, sweep the area clean, ensuring no residual materials are left behind.
<p.For wooden surfaces, consider using a solution of oxalic acid to brighten and restore the original colour without harsh chemicals. Apply the solution, scrub gently, and rinse thoroughly to avoid any residue.
Always check for weather forecasts. A mild, dry day promotes fast drying, preventing the potential growth of mould or mildew. After treatment, ensure the patio or deck receives adequate ventilation to dry completely.
Strategies for Clearing Leaves and Debris
Employ a rake with a sturdy handle and tines designed for efficient gathering. Tackle smaller areas first to avoid overwhelming yourself. Collect leaves in piles for easier transport. Consider using a tarp for quick gathering; drag it to your compost or disposal spot. This method conserves energy and time.
Using Tools Effectively
- Choose a lightweight rake to prevent fatigue.
- Utilise a leaf blower for larger areas, adjusting speed according to debris type.
- Use garden bags to contain excess materials, making them manageable for disposal.
Timing and Techniques
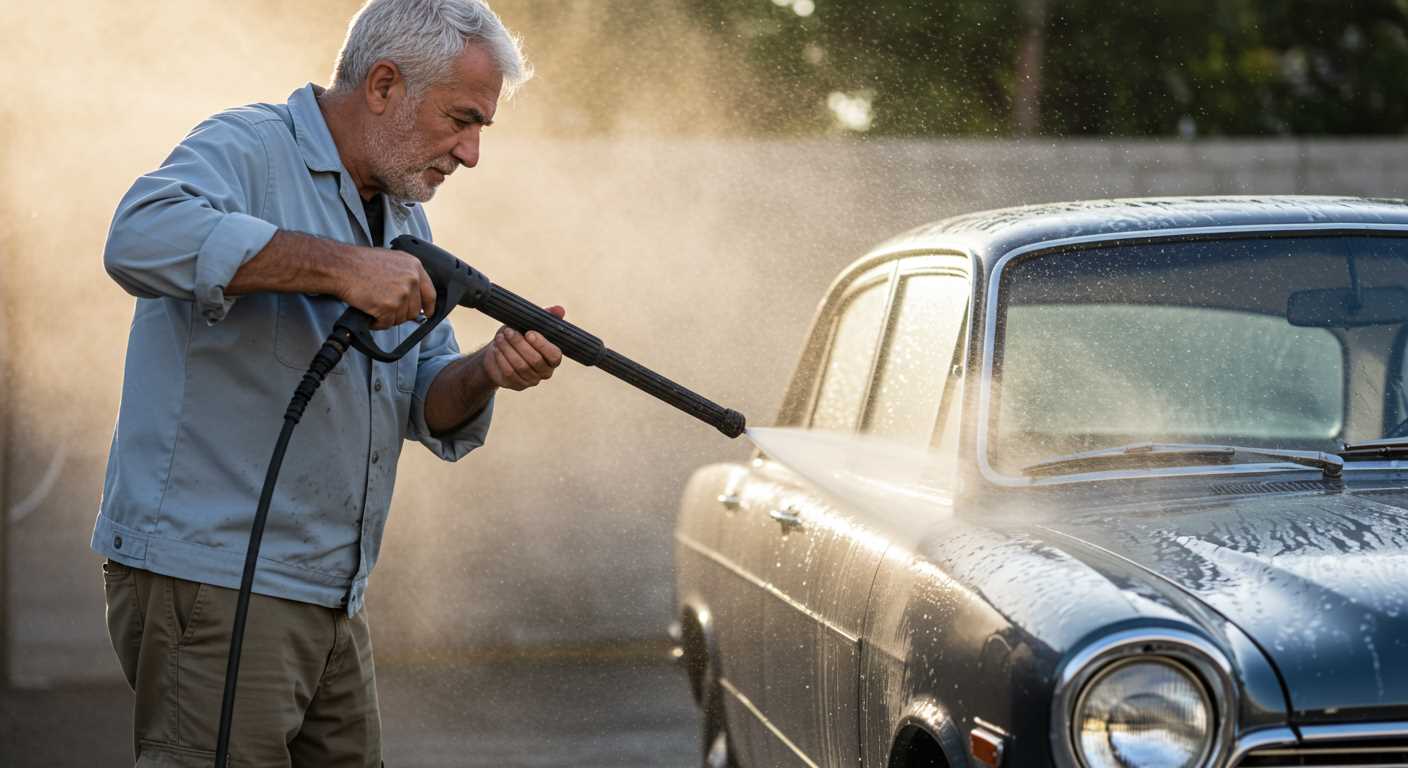
Early in the autumn, target leaves shortly after they fall. This strategy prevents decay and simplifies collection. On windy days, take advantage by working with the breeze, allowing the wind to assist in moving leaves into piles.
For larger branches and twigs, utilise a pruning saw or loppers. Cut into manageable sizes to facilitate removal. Regularly check for debris accumulation, particularly after storms, to maintain tidiness.
Engaging friends or family can help speed up the process. Set a specific time for a collective effort, making the task feel less daunting and more enjoyable.
Safe Methods for Cleaning Fencing and Walls
Utilise a mix of mild cleaning solutions and manual tools for effective results. Begin with a solution of warm water and dish soap to tackle dirt and grime.
- Soft-bristle Brush: Use this tool for applying your soapy mixture. Work from the top down to prevent streaks.
- Garden Hose: Rinse off the soap using a garden hose with a spray nozzle set to a gentle setting to avoid damage to surfaces.
- Vinegar Solution: Combine equal parts white vinegar and water for tougher stains. Apply and let it sit for about 10 minutes before scrubbing.
For wood fencing, consider a dedicated wooden surface cleaner to protect the material from discolouration. Always follow the manufacturer’s recommendations.
- Sandpaper: Lightly sand rough areas to remove flaking paint or dirt build-up, maintaining the wood’s integrity.
- Sealer or Stain: After cleaning, apply a wood preservative to enhance durability against the elements.
Masonry or brick walls benefit from a different approach:
- Baking Soda Paste: Mix baking soda with water to create a paste. This gently lifts stains without harming the surface. Apply with a cloth and scrub lightly.
- Moss or Mould Treatment: For outdoor structures, use a mould remover designed for masonry. This avoids harmful chemical damage.
Always test any cleaning solution on a small, inconspicuous area to ensure compatibility with the surface material. Regular maintenance checks can prevent the heavy build-up of grime, making future efforts easier and safer.
Maintaining Your Outdoor Space After the Clean-Up
Establishing a regular maintenance routine is paramount after tidying up. I recommend inspecting the area weekly for debris accumulation, especially during windy seasons. Quick removal can prevent build-up and preserve cleanliness.
Mulching and Edging
Applying mulch around plants not only enhances aesthetics but also suppresses the growth of unwanted flora. Opt for organic materials, as these nourish the soil over time. Edging also defines garden beds and prevents grass from encroaching, making upkeep more straightforward.
Watering and Fertilisation
Hydrate dry patches regularly, especially during hotter months. A soaker hose can be efficient for deep watering without waste. Supplementing with appropriate fertilisers promotes healthy growth. Use slow-release formulas to provide nutrients gradually.


