

For an effective approach to restoring the gleam of your exterior cladding, begin by mixing a solution of warm water and mild dish soap. This gentle cleanser will efficiently lift dirt and grime without damaging the surface. Use a soft-bristle brush or a sponge to apply the mixture, working from the bottom up to prevent streaks.
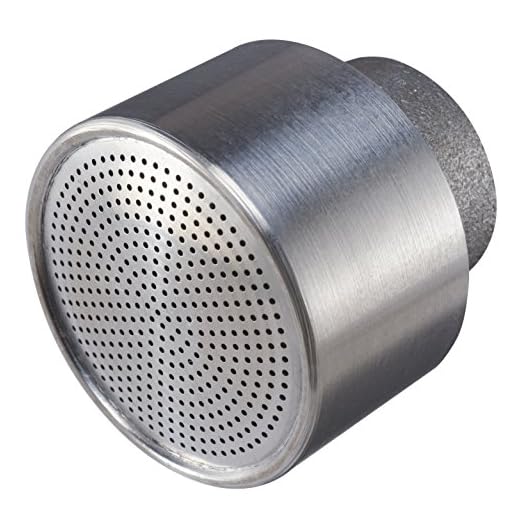
After applying the soapy solution, rinse the surface thoroughly with clean water. It’s crucial to ensure that no residue is left behind, as this can lead to staining or dullness over time. A garden hose with a spray nozzle at its end will suffice for rinsing, allowing control over water flow and pressure.
For tougher stains or mildew, consider adding white vinegar or a baking soda paste to your cleaning regimen. These natural options provide additional cleaning power without the need for harsh chemicals. Remember to test any new solution in an inconspicuous area before proceeding to ensure compatibility with your surface.
Incorporating these methods into your regular maintenance routine can greatly extend the life and appearance of your cladding, keeping your home looking its best. Regular upkeep not only enhances kerb appeal but also prevents the build-up of more serious stains and deterioration.
Cleaning Techniques for Metal Exteriors
The first step involves gathering your supplies. You will need a bucket, warm water, a soft-bristled brush or sponge, and a residential-grade cleaning solution, preferably one designed for metal. Together with these items, ensure you have a garden hose for rinsing.
Preparation
Begin by removing any loose debris, such as leaves and dirt, from the surface. Use a broom or blower for this task. This will prevent scratches during washing.
Washing Process
- Mix the cleaning solution with warm water in the bucket according to the manufacturer’s instructions.
- Dip the brush or sponge into the soapy water, then start scrubbing a small section of the metallic surface from the bottom up. This approach will help avoid streaks.
- Once you have scrubbed an area, rinse it thoroughly with the garden hose to remove soap residue.
- Continue this process, working in manageable sections, until the entire area has been treated.
- For stubborn stains, you may need to let the cleaning solution sit for a few minutes before rinsing, but be cautious not to let it dry on the surface.
After completing the steps, inspect the surface closely for any remaining spots. If necessary, repeat the washing procedure on those areas. For extra shine, consider applying a metal polish after the cleaning process is finished.
Gathering Necessary Cleaning Supplies
Begin with a bucket as the main container for your cleaning solution. A standard five-gallon version will suffice, allowing ample space for mixing.
Choose a gentle detergent specifically formulated for exterior surfaces; this prevents damage while effectively breaking down grime. Look for products containing biodegradable components.
Opt for a soft-bristle brush with a long handle. This ensures thorough coverage without scratching or harming the surface of your walls.
A garden hose will be your primary tool for rinsing. Ensure it is equipped with a spray nozzle to control the water flow, which aids in directing the rinse precisely where needed.
Consider including a sponge or microfiber cloth for spot cleaning difficult areas. These tools are excellent for ensuring no residue remains after you’ve applied the cleaning solution.
Finally, have protective gear on hand, such as gloves and goggles. This ensures safety while working, particularly when dealing with strong cleaning agents.
Preparing the Area Around Your Cladding
Clear away any furniture, flowerpots, or decorations that might obstruct your access. If your property features any plants or flowers near the walls, consider covering them with a tarp or plastic sheeting to protect them from cleaning solutions.
Remove any loose or peeling paint nearby, as this could create a mess during the process. Check for and secure any electrical outlets or exterior lights to ensure they are safe from moisture.
Establish a safe footing by placing a non-slip mat or a tarp on the ground where you’ll be working. This helps prevent slipping from cleaning liquids or water runoff that might pool on the ground.
Identify any hoses, windows, or doors that might be vulnerable and take steps to protect them. Use painter’s tape to cover edges where necessary, reducing the risk of accidental damage.
Following these steps will ensure a safe and smooth experience while enhancing the effectiveness of your task. A well-prepared space allows for more focus on the materials and methods used in this maintenance process.
Choosing the Right Cleaning Solution for Aluminum

I recommend using a solution that contains mild detergents or natural ingredients, as harsh chemicals can damage the finish. For most dirt and grime, a mixture of warm water and a few drops of dish soap works wonders. If you’re dealing with stubborn stains or mildew, consider a solution made from equal parts of vinegar and water. This is both effective and environmentally friendly.
Commercial Products
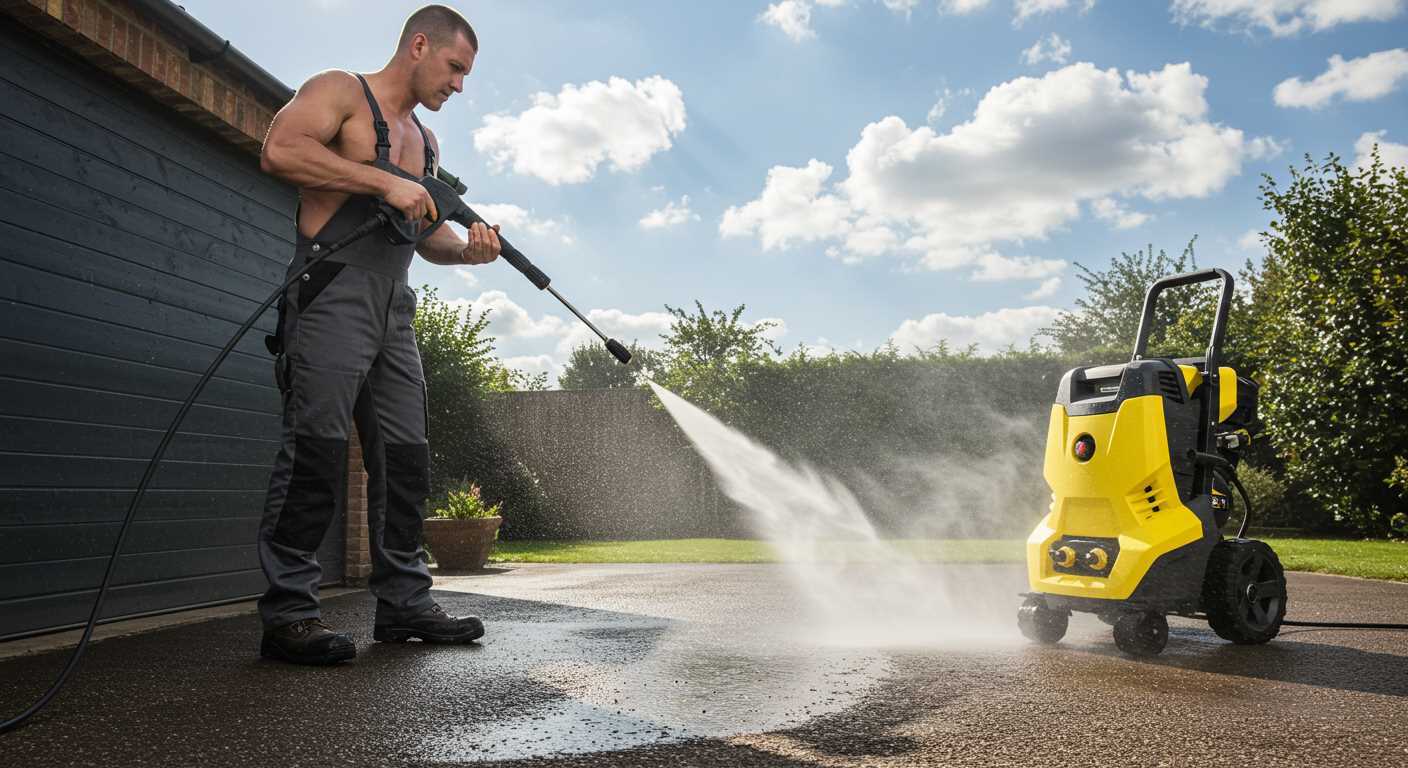
If you prefer ready-made options, many brands offer specialised cleaners for metal exteriors. Look for products labelled as safe for use on metals and specifically designed to remove dirt without causing harm. Always check instructions to ensure compatibility with your specific cladding material.
Testing Your Solution
Before applying the chosen mixture across larger areas, it’s wise to test it on a small, inconspicuous section. This helps confirm that there is no adverse reaction with the surface. If results are satisfactory, proceed with the application across the visible areas for uniform results.
Testing the Cleaning Solution on a Small Area
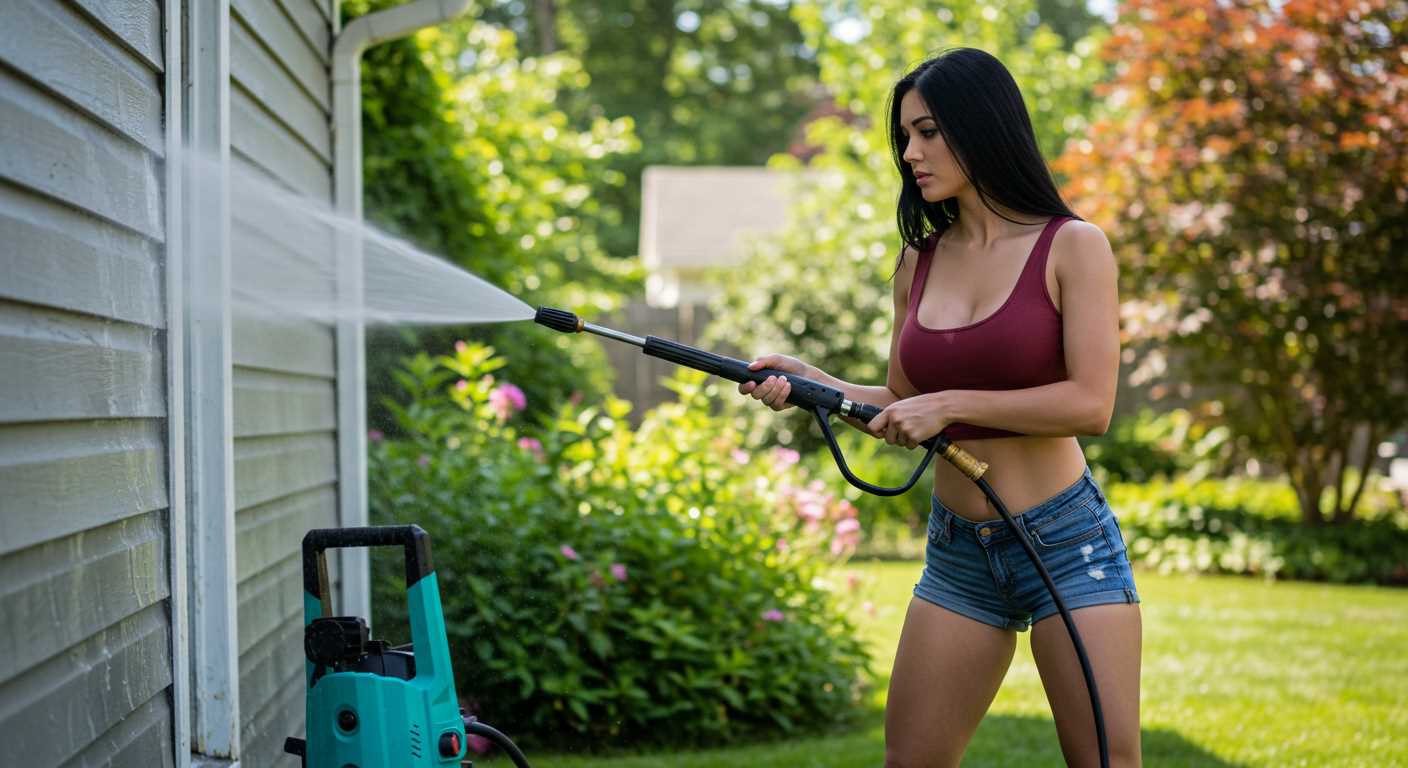
Prior to applying your chosen mixture across the entire exterior surface, test it on a discreet section. Select a small, inconspicuous area to evaluate the solution for any adverse reactions. This step is crucial to ensure compatibility with the surface finish and to avoid damaging the material.
Steps for Testing
1. Apply a small amount of the solution using a soft cloth or sponge. Ensure not to saturate the area excessively.
2. Allow it to sit for 5 to 10 minutes, observing closely for any change in colour or texture.
3. Rinse the test area thoroughly with clean water to remove any residues.
4. Inspect the spot after drying to confirm that no damage has occurred and that the finish maintains its integrity.
Expected Reactions
| Observation | Action |
|---|---|
| No Change | Proceed with cleaning the larger area. |
| Discolouration | Consider a milder solution or adjust the current mixture. |
| Surface Damage | Stop use immediately and switch to an alternative cleaning product. |
By following these steps, you can confidently ensure the safety of your cleaning method before tackling the entire facade. This careful approach safeguards against potential damage and promotes lasting results.
Applying the Cleaner with a Soft Brush
Use a soft-bristled brush to apply your chosen cleaning solution. This method ensures a gentle yet thorough approach, preventing any damage to the surface. Dip the brush into the mixture and start at the top, working your way down to allow the solution to flow downwards, effectively lifting dirt and grime.
Maintain a consistent pressure on the brush as you work, making sure to cover each section adequately. For best results, use a circular motion, which helps to agitate embedded debris without scratching the finish. Focus on the seams and edges where dirt tends to accumulate.
If you encounter stubborn stains, apply a little extra cleaning solution directly onto the affected area and let it sit for a few minutes before brushing again. Rinse the treated area with clean water afterwards to remove any residue.
After completing the application, inspect the surface for any missed spots. If necessary, repeat the process in particular areas to ensure a uniform appearance. Following up with a soft cloth can also enhance the finish, giving it a polished look.
Rinsing Your Aluminium Cladding Thoroughly
After applying the cleaning solution, it is crucial to ensure that the surface is thoroughly rinsed to avoid residue build-up. I recommend using a garden hose with a spray nozzle set to a gentle stream. This method prevents potential damage while ensuring effective removal of soaps and dirt.
Begin rinsing from the top and work downwards. This approach enables the dirty water to flow down and away, reducing the chances of streaks and keeps the lower sections clear of grime. Focus on small sections at a time to ensure each area is adequately rinsed before moving on.
Using Clean Water for Optimal Results
Utilise clean water for rinsing to guarantee that all cleaning agents are completely eliminated. If you’re near a water source, consider attaching a spray nozzle that can produce a wider fan spray, which covers more area efficiently without requiring excessive pressure.
Pay special attention to any corners and crevices, as soap can accumulate there. For these spots, aim the hose directly into the crevices to flush out remaining solutions. Ensuring a thorough rinse will not only maintain the appearance but also prolong the life of the surface by preventing any chemical degradation.
Final Touches and Inspection
After the final rinse, visually inspect the entire area for any remaining dirt spots or streaks. If necessary, spot rinse these areas again with clean water. Once satisfied, allow everything to air dry completely. This will give you the best indication of the final appearance and help identify any areas that might need further attention.
By meticulously rinsing, you’ll ensure that your finish is not only clean but also looking its best, free from any residues that could affect its longevity.
Maintaining Your Aluminium Exterior After Cleaning
To preserve the appearance and integrity of your exterior, applying a protective coating post-cleaning is highly beneficial. Consider using a wax or sealant designed specifically for metal exteriors to enhance longevity and resistance against the elements.
Regular Inspections
- Conduct assessments at least twice a year for signs of scratches, dents, or corrosion.
- Create a checklist to simplify your inspections, noting any repairs needed.
Seasonal Touch-Ups
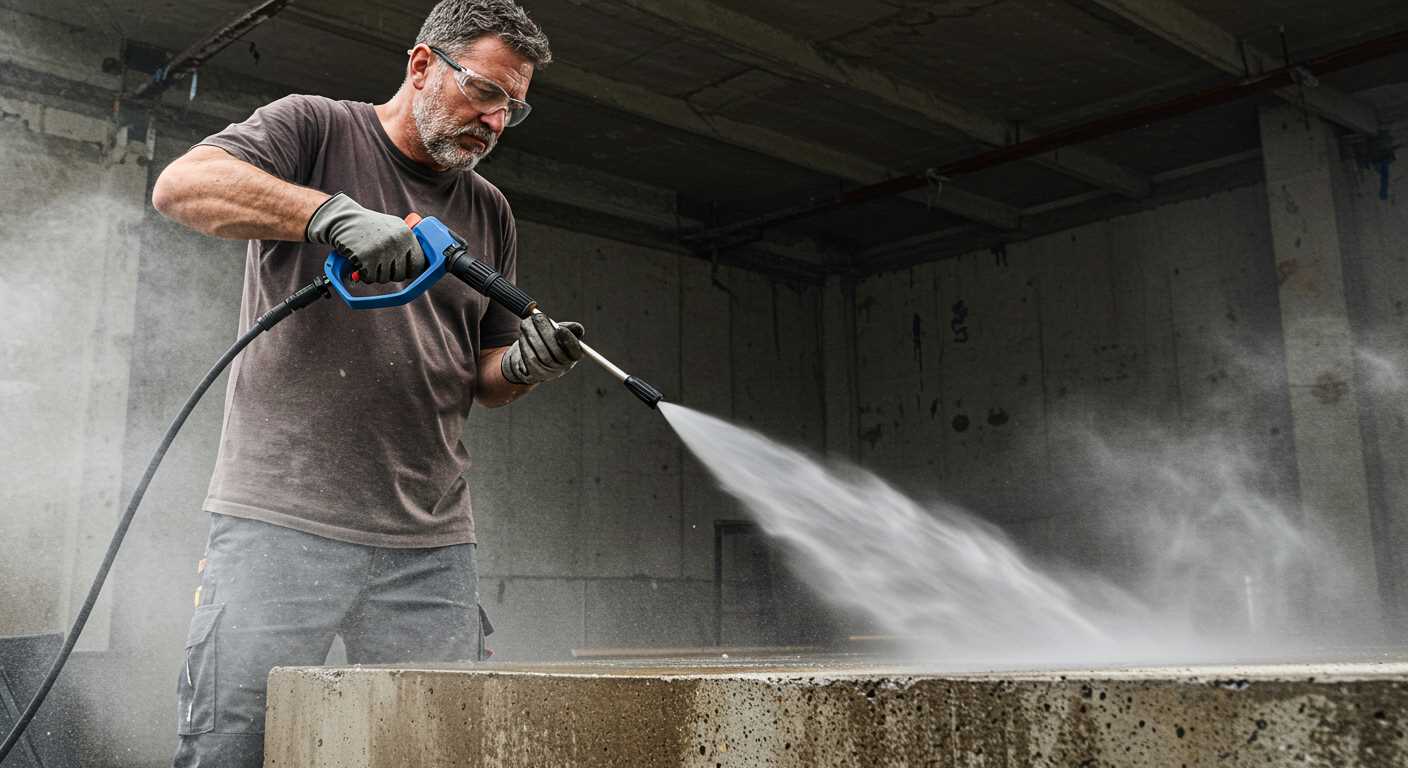
Refresh the protective layer seasonally to ensure optimal performance. If you notice any discolouration or peeling, reapplying the sealant is crucial.
Pay attention to surrounding vegetation; trim back trees and shrubs to prevent physical contact that can cause damage. This not only helps maintain cleanliness but also protects the finish.
Make use of gentle cleaners during routine maintenance to avoid harsh chemicals that can degrade the surface over time. A simple mixture of soap and water can often do the trick.
Lastly, keep the area free of dirt and debris to enhance drainage and prevent water pooling, which could lead to corrosion issues down the line.

