

The first step I recommend is preparing the area to avoid any damage from water runoff. Clear the space of furniture, planters, and other obstacles. This ensures you maximise efficiency while maintaining your landscaping.
Next, choose a suitable nozzle for your machine. A wide fan tip is preferable for large areas, as it disperses water evenly without concentrating force, which could lead to fibre damage. Maintain a distance of approximately 30 cm from the surface to prevent any unintentional wear.
Before commencing, I advise pre-treating any stubborn stains. A biodegradable detergent applied to affected areas can enhance your results significantly. Let it sit for 10 to 15 minutes, ensuring it does not dry out. This allows the solution time to penetrate deeply and lift grime effectively.
As you begin, use sweeping motions rather than direct blasts. This will help in evenly distributing the water and cleaning solution across the surface. Pay special attention to edges and corners, where dirt tends to accumulate. A slight angle of around 45 degrees will assist in removing trapped particles.
After rinsing, allow the fabric to air dry completely. This will prevent moisture build-up, which causes mould and mildew. Regular maintenance, such as brushing and wiping down after heavy use, can prolong the lifespan and appearance of your investment.
Choosing the Right Washer Settings
Set the spray angle to 25 degrees for optimal results; this provides a balance between force and control, preventing damage while ensuring thorough dislodging of dirt. If your equipment has an adjustable nozzle, begin with a wider spray pattern to assess the condition of the material.
Pressure Levels
Keep the pressure between 1500 to 2000 PSI. Higher pressures may risk tearing fibres or causing wear. If unsure, start low and gradually increase to find the pressure that effectively loosens debris without compromising the integrity of the fabric.
Temperature Settings
Utilise hot water if your device allows it. Temperatures around 120°F to 140°F can enhance the effectiveness of the cleaning solution, breaking down stubborn stains more rapidly. Ensure the material can withstand heat to avoid any adverse reactions.
Remember to experiment cautiously before settling on settings. Test a small area first to confirm that the combination of pressure and angle works for your specific item. This approach minimises the risk of damage and maximises cleaning performance.
Preparing the Surface for Cleaning
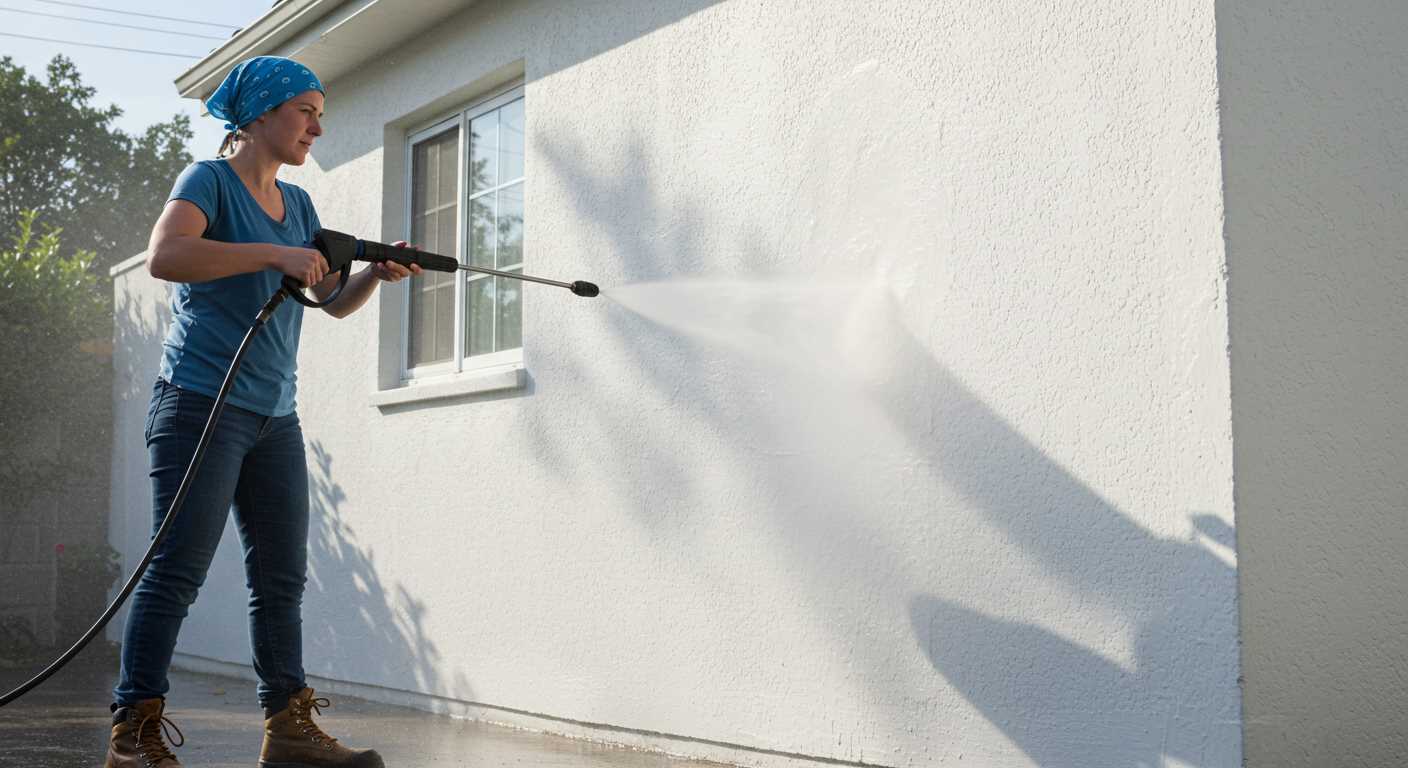
Remove any furniture or obstructions from the area where the textiles are located. This ensures unhindered access and prevents damage to your belongings during the cleaning process.
Shake Off Loose Debris
Before applying any pressure equipment, shake the fabric vigorously to dislodge dirt and particles. You can also use a broom or a vacuum cleaner to assist in gathering dust and larger debris.
Inspect for Stains
Check for visible marks or spills. Pre-treat any stains using an appropriate solution, allowing it to penetrate for several minutes prior to high-pressure cleansing. This will enhance the effectiveness of the subsequent cleaning action.
Ensure that the textile is laid flat and securely positioned; this helps to prevent it from moving during the cleaning process. If necessary, anchor it down or weigh the corners with heavy objects.
Finally, determine the fold lines and move the fabric to expose all areas for thorough treatment. Taking these preliminary steps will optimise the results and extend the lifespan of your textile surface.
Applying detergent for maximum stain removal
Opt for a specially formulated detergent that targets the types of stains you’re dealing with–whether it’s grease, mildew, or dirt. Make sure the detergent is compatible with your sprayer attachment.
Before application, thoroughly read the instructions on the detergent packaging. If the product requires dilution, measure accurately to maintain effectiveness. Mix the solution in a separate bucket if necessary, ensuring proper ratios are followed.
Apply the detergent using a low-pressure setting to prevent overspray and to allow it to penetrate the fabric. Start at one end and work your way to the other, ensuring even distribution. If you encounter stubborn stains, let the mixture sit for about 10 minutes to break down the grime.
During this period, avoid letting the detergent dry out. If it begins to dry, lightly mist the area with water to keep it moist. After the dwell time, rinse thoroughly with water using a high-pressure setting to remove all residues, ensuring no detergent remains that could attract dirt in the future.
For persistent stains, consider a second application of detergent followed by rinsing. This two-step process enhances stain removal as the detergent works deeper into the material, helping to restore its appearance.
Techniques for Pressure Washing Your Rug
Begin by keeping the nozzle at a consistent distance of approximately 30 cm from the surface to avoid damage. Move in a sweeping motion rather than holding the spray in one place to prevent uneven patches.
Adjusting Your Stance
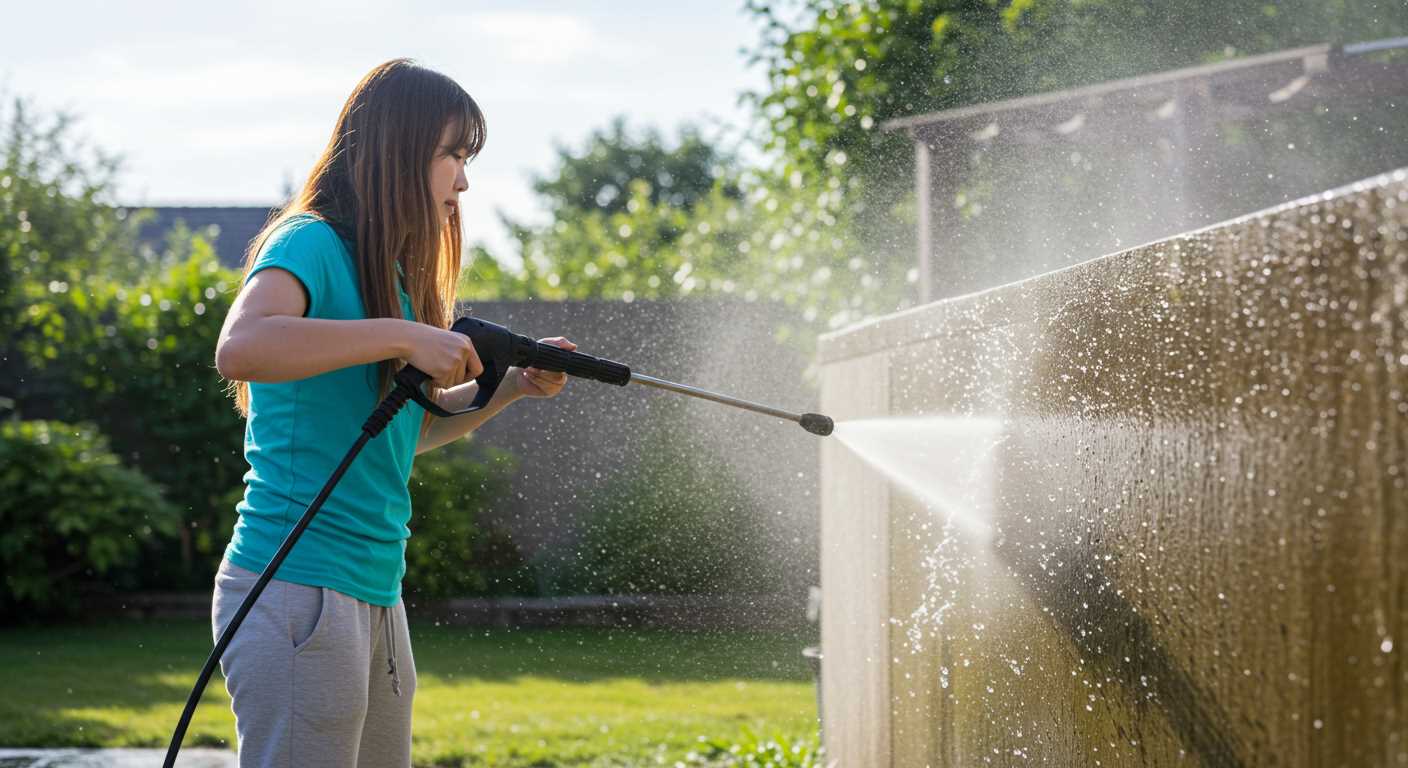
Position your feet shoulder-width apart for stability. Lean slightly forward to maintain balance, allowing for better control of the wand. This technique helps in applying an even pressure across the area.
Utilising Angled Spray Patterns
Employ different spray angles for optimal outcomes. Start with a 25-degree nozzle for broad coverage. Switching to a 15-degree nozzle can effectively target stubborn areas, but ensure you maintain distance to avoid any wear on delicate fibres.
After the initial wash, it may be beneficial to inspect the results closely. If certain areas remain soiled, a more concentrated spray may be needed to enhance cleanliness. Always rinse thoroughly afterwards to remove any detergent residue, ensuring a pristine finish.
Drying the Rug After Cleaning
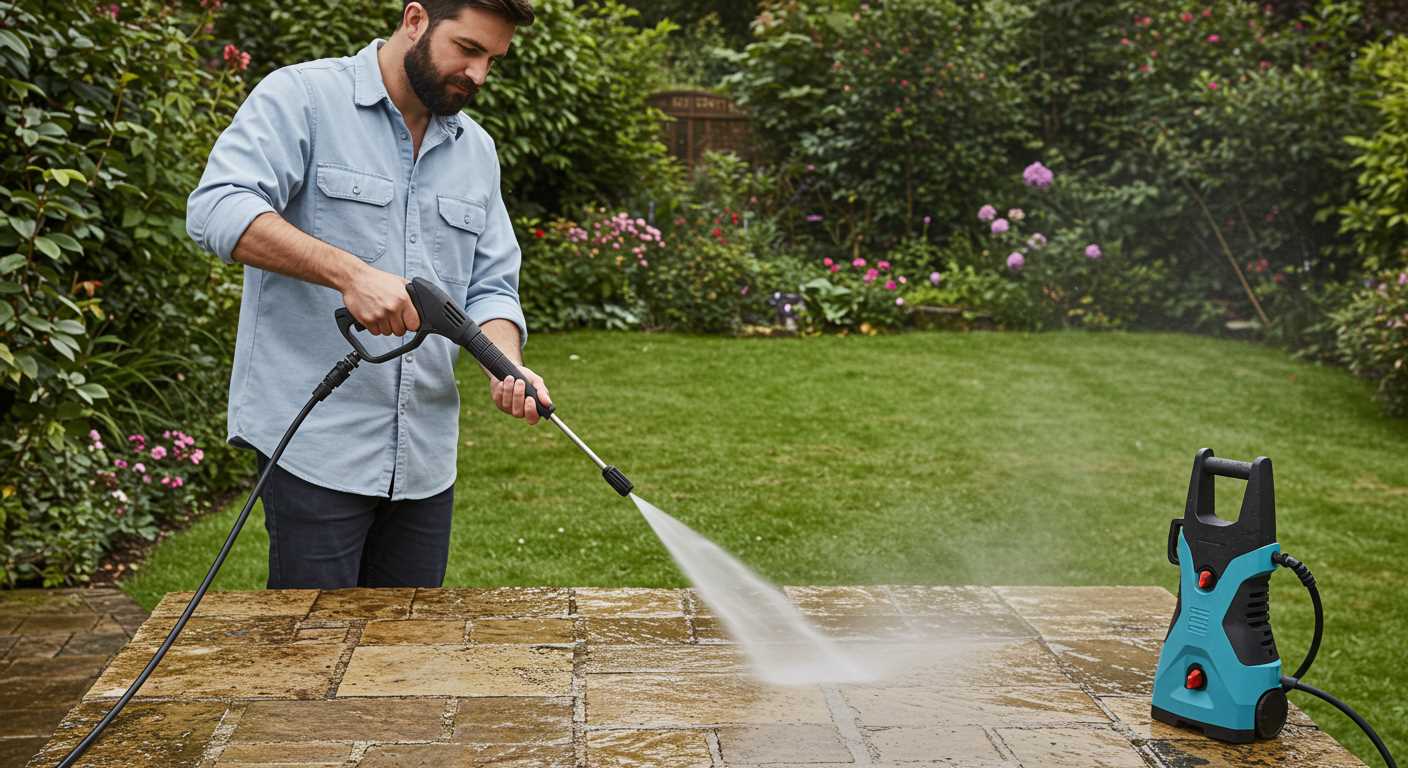
After completing the washing process, ensure the moisture is adequately removed to prevent mould and mildew. Here are practical methods to expedite drying:
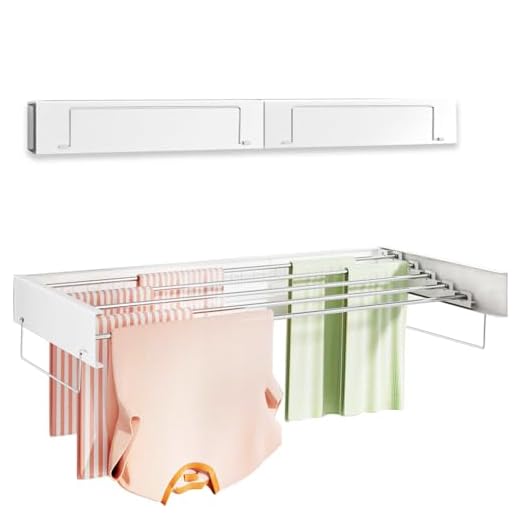
- Hang the item: If possible, elevate the mat to enhance airflow. Use a clothesline or sturdy frame to ensure it dries evenly from all sides.
- Utilise sunlight: Place it in direct sunlight if the weather permits. The sun acts as a natural drying agent, speeding up the process significantly.
- Employ fans: Set up fans around the area to circulate air. This helps reduce drying time, especially in humid conditions.
- Flip and rotate: Halfway through the drying period, flip the mat to expose the underside. This helps to ensure moisture doesn’t get trapped.
- Check for dampness: Regularly inspect the fabric during the drying. Even slight residual moisture should be addressed to avoid future complications.
Consider weather conditions and plan accordingly. A well-dried fabric not only looks better but also lasts longer without issues. I recommend letting it dry completely before placing it back in its designated outdoor space.
Maintaining Your Outdoor Carpet Post-Cleaning
To extend the lifespan of your carpet, regular maintenance is crucial. Immediately after washing, examine the surface for any remaining stains or areas that might need additional care. Address these spots while they are still wet for best results.
Routine Care Tips
Implement a weekly sweeping routine to remove debris and dirt. This helps to prevent grime from settling into the fibres. I recommend using a soft-bristle broom or a vacuum cleaner designed for outdoor textiles.
Seasonal Maintenance
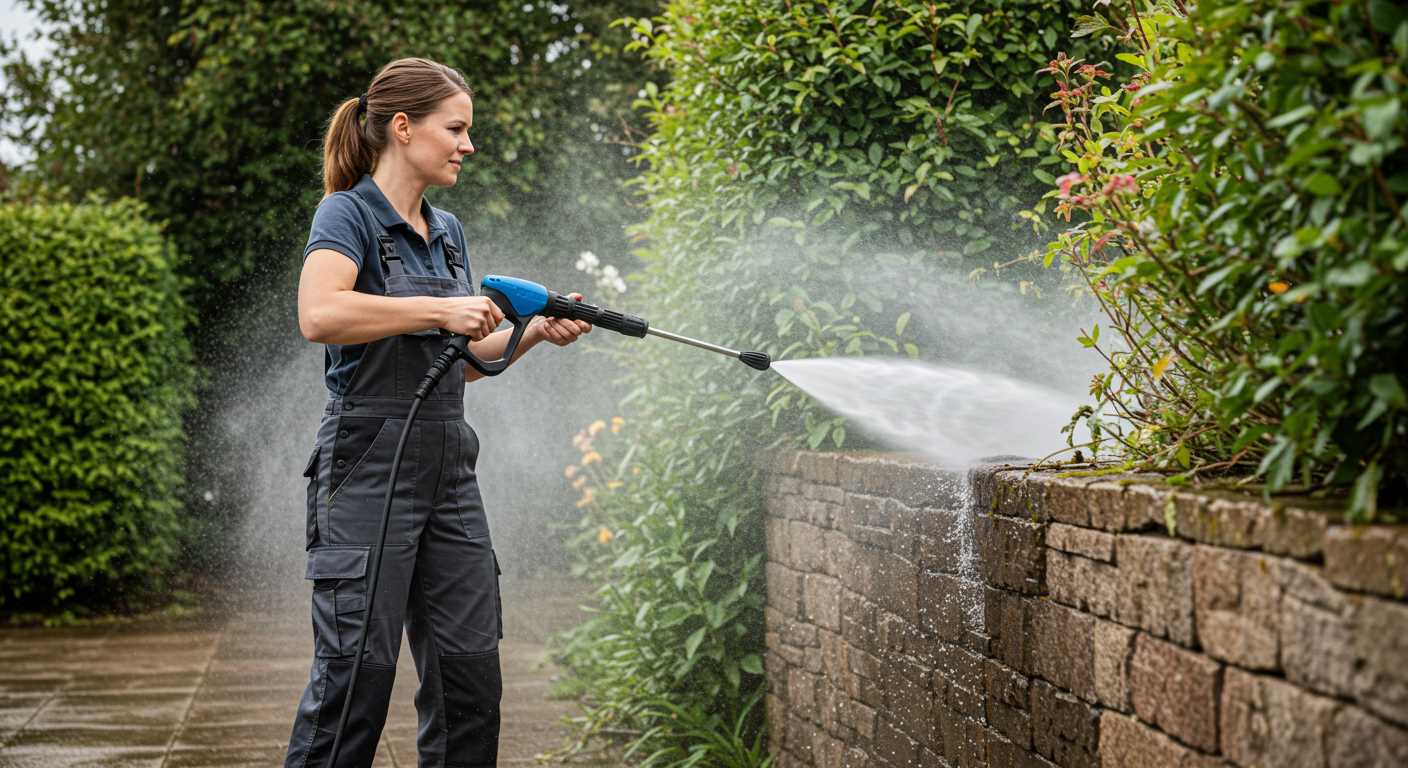
During changing seasons, inspect the fabric for any signs of mould or mildew. Moisture can accumulate, leading to unpleasant odours and damage. Treat these areas promptly with a mixture of vinegar and water, using a soft cloth to dab the solution onto affected spots.
Store your carpet in a dry place during winter. If leaving it outside is unavoidable, consider using a protective cover to shield it from snow and ice, which can degrade the material.
| Maintenance Task | Frequency |
|---|---|
| Weekly sweeping or vacuuming | Once a week |
| Vinegar treatment for mildew | As needed |
| Inspection for damage | At the beginning of each season |
| Deep clean | Every 3-6 months |
Incorporating these procedures into your care routine will enhance the durability and appearance of your carpet, ensuring it remains a beautiful feature of your space.


