



For a spotless outdoor area, start with a broom or brush to sweep away loose dirt and debris. A stiff-bristle broom works wonders on uneven surfaces, while a soft brush is more suitable for delicate materials.
Next, mix warm water with mild dish soap in a bucket. This combination effectively tackles grease and stains. Use a sponge or a non-abrasive cloth to apply the soapy water, scrubbing gently in a circular motion.
For those stubborn spots, a paste made from baking soda and water can be a game changer. Apply this mixture directly to the affected areas, let it sit for a few minutes, then scrub with a brush. Rinse thoroughly to reveal a refreshed surface.
To enhance the cleaning process, consider using a vinegar solution. Combine equal parts of vinegar and water in a spray bottle, apply it to the area, and let it sit for a short period. This natural approach breaks down grime effectively.
Don’t overlook the use of a garden hose. Rinse the area with a steady flow of water to remove any remaining soap or cleaning solutions after you’re done scrubbing. This final step ensures your outdoor space is left spotless and ready for enjoyment.
Effective Techniques for Outdoor Space Maintenance
For a satisfactory refresh of your outdoor area, start by gathering necessary tools: a broom, dustpan, bucket, sponge or scrub brush, and a mild detergent. Preparing your workspace by removing furniture or items will make this process smoother.
Step-by-Step Cleaning Process
- Dusting: Begin with sweeping the surface to remove loose debris. Pay attention to corners and crevices where dirt accumulates.
- Washing: Mix warm water with a suitable mild detergent in a bucket. Use your sponge or scrub brush to apply the solution, tackling one section at a time to avoid letting it dry out.
- Rinsing: After scrubbing, use a damp cloth to wipe away detergent residues. Alternatively, pour clean water from a bucket over the surface if feasible.
- Drying: Allow the area to air dry thoroughly. For prompt results, a clean towel may assist in drying surfaces efficiently.
Maintenance Tips
- Routine Checks: Regularly inspect your outdoor area for built-up grime or mildew.
- Protective Measures: Consider using mats or furniture covers to minimise dirt accumulation.
- Seasonal Refresh: Schedule deep cleans at least twice a year to maintain appearances.
Each step in this methodical approach brings improvement to your outdoor space’s aesthetic and longevity, enhancing your enjoyment of this area.
Assessing the Condition of Your Outdoor Space
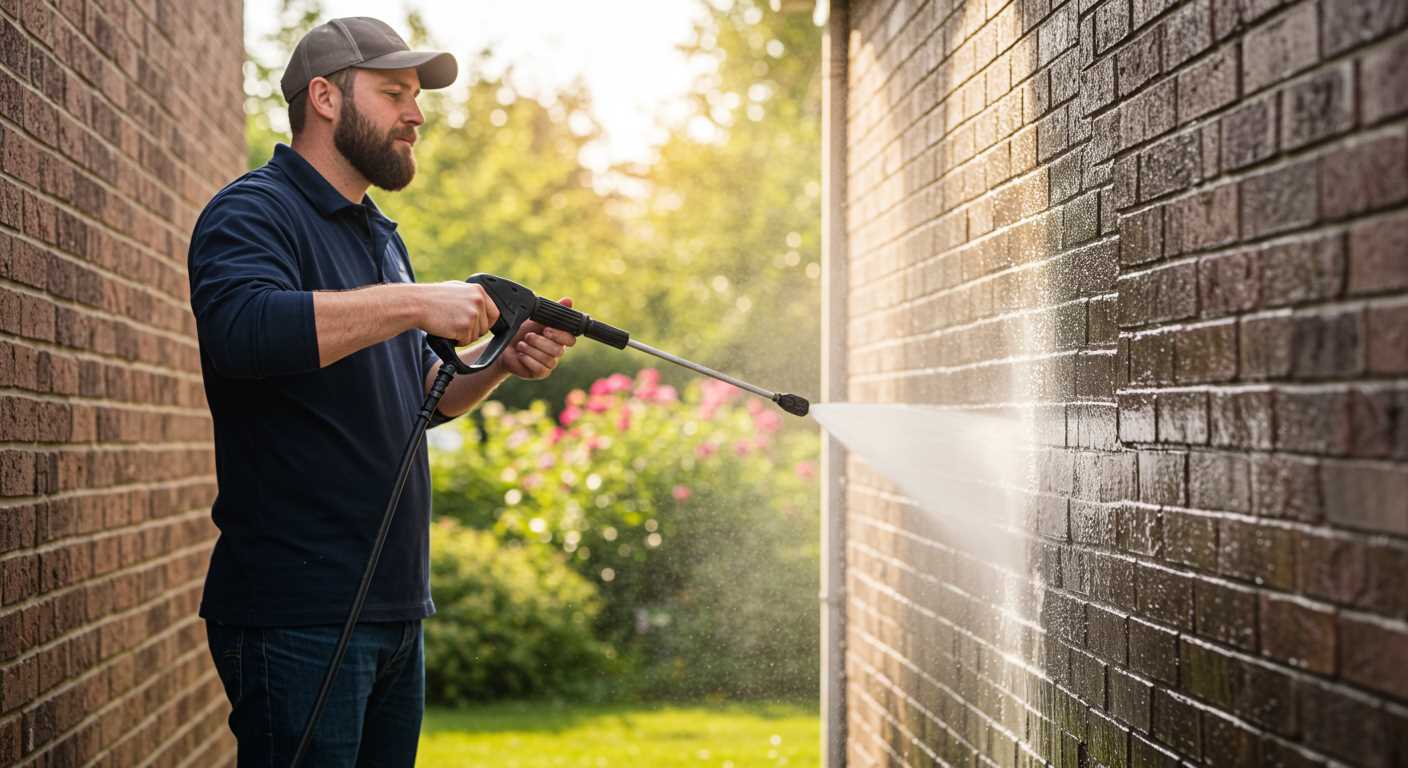
Begin with a thorough inspection. Examine the surface for dirt build-up, stains, and any signs of wear or damage. Look closely for mould or mildew, especially in shaded areas. Check joints and supports for rust or corrosion if you have a metal structure.
- Identify areas of discolouration caused by spills or weather.
- Take note of any cracks or loose tiles if applicable.
- Investigate railings and furniture for stability and potential deterioration.
Consider the materials of your installation. Wooden surfaces may require different treatment compared to concrete or stone. Assess whether your protective coatings are intact; peeling or faded finishes may signal a need for refinishing.
Be cautious about safety factors. Ensure there are no hazards, such as sharp objects or slippery sections, that can lead to accidents. Evaluate the accessibility of your area for cleaning; clear away any obstacles that might hinder your efforts.
- Remove furniture or decorative items before starting.
- Organise tools and cleaning solutions within reach.
Regular assessments will prolong the life of the structure, maintaining its appearance and functionality. Keeping a checklist can help track changes over time and ensure you address issues promptly.
Gathering Necessary Cleaning Supplies
Begin with a sturdy broom to remove loose debris like dust, leaves, and dirt from the surface. A broom with stiff bristles is ideal for tough grime, while a softer one works well for delicate areas. Next, procure a dustpan to collect the swept debris efficiently.
A bucket is essential for mixing cleaning solutions. Ensure it is large enough to hold enough liquid for the task while being manageable to carry around. I recommend using a mop with a detachable head that can fit into corners and tight spaces. Choose a microfibre mop for optimal results.
For stubborn stains, acquire a scrub brush with a long handle to save your back. A smaller brush can help in hard-to-reach locations. Consider investing in a garden sprayer or a spray nozzle that attaches to a hose, allowing for better application of cleaning solutions.
Cleaning solutions are crucial. Opt for eco-friendly options if possible. A mix of warm water with vinegar works wonders for many stains and is safe for most materials. For tougher grease and oil stains, a mixture of baking soda and water can yield excellent results.
Don’t forget gloves to protect your hands, especially if using chemical-based cleaners, and protective eyewear if splashing may occur. A squeegee might also come in handy for any glass sections, ensuring a streak-free finish.
| Supplies | Purpose |
|---|---|
| Broom | Removing loose debris |
| Dustpan | Collecting debris |
| Bucket | Mixing cleaning solutions |
| Mop | Wiping surfaces clean |
| Scrub Brush | Scrubbing tough stains |
| Garden Sprayer | Application of cleaning solutions |
| Gloves | Hand protection |
| Protective Eyewear | Eye protection |
| Squeegee | Cleaning glass surfaces |
With the right gear, you’ll be equipped to tackle any cleaning task efficiently and safely, ensuring a tidy and welcoming outdoor space.
Removing Loose Debris and Furniture
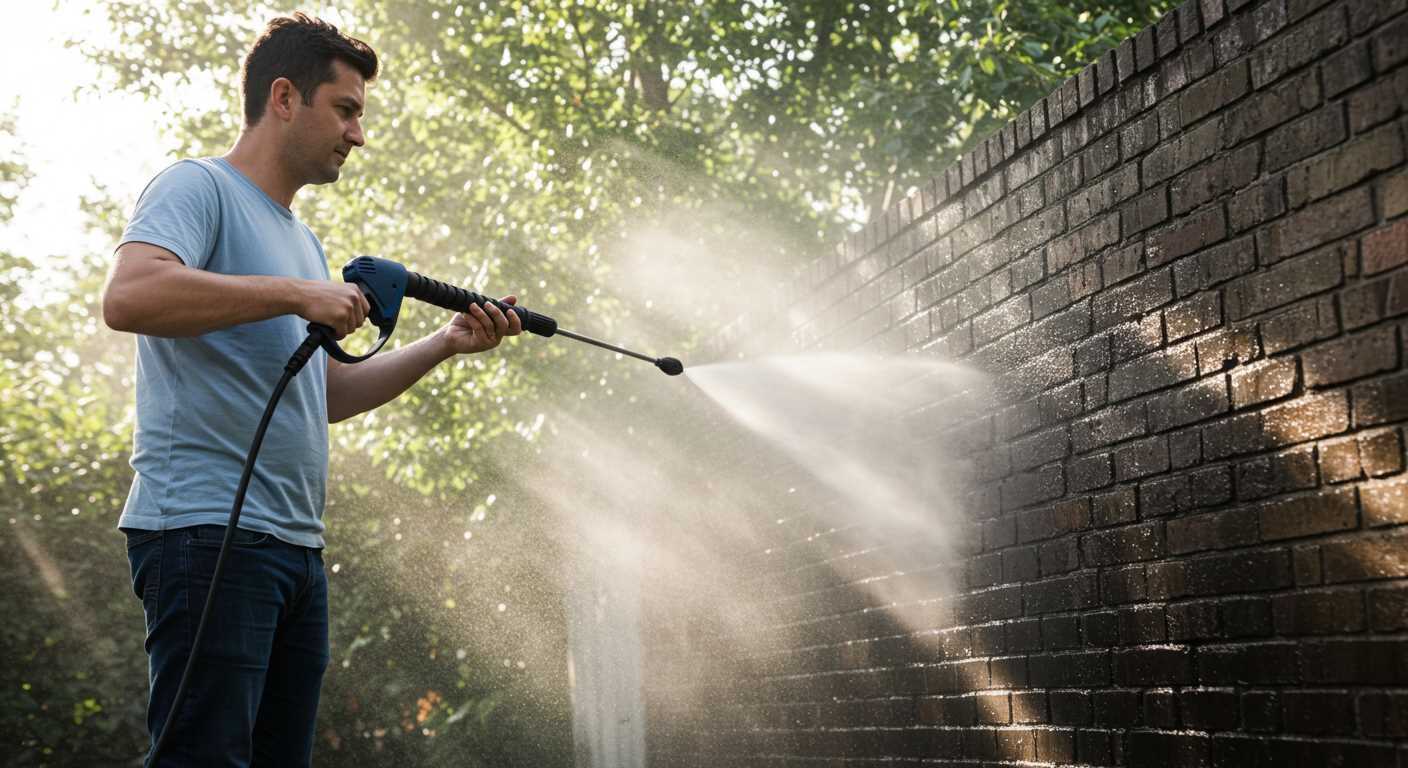
Begin by removing all items, such as furniture and potted plants, from the area. This prevents obstructions while tending to the surfaces. If furniture is heavy, enlist help to avoid straining yourself.
Clearing Small Debris
Next, gather fallen leaves, dirt, and any other loose material. A stiff-bristled broom works wonders for sweeping away larger particles. For smaller debris, a handheld vacuum can be particularly effective, easily reaching narrow spaces.
Handling Larger Items
For heavier items, like outdoor sofas or tables, lifting them up a little while tilting will enable you to sweep or vacuum beneath them. Once cleared, consider wiping down the furniture before placing it back, ensuring a fresher appearance.
Washing Surfaces with a Homemade Solution
For effective surface treatment, I recommend creating a homemade cleaning solution. Combine equal parts white vinegar and water in a spray bottle. This mixture acts as a natural disinfectant and helps to eliminate grime.
For additional power against stubborn stains, add a squirt of dish soap to the vinegar-water blend. This breaks down oils and grease, ensuring a thorough cleansing action. Mix gently to avoid excessive foam.
Before using your solution, test it on a small, inconspicuous area to ensure compatibility with the surface material. If all looks good, spray generously over the affected areas and let it sit for 10-15 minutes, allowing the solution to penetrate the dirt.
Afterward, scrub the wet surfaces with a stiff-bristle brush. For best results, use circular motions to lift dirt and debris. Rinse with a bucket of warm water to remove any residue. This method is not only eco-friendly but also economical.
Cleaning the Railing and Banisters
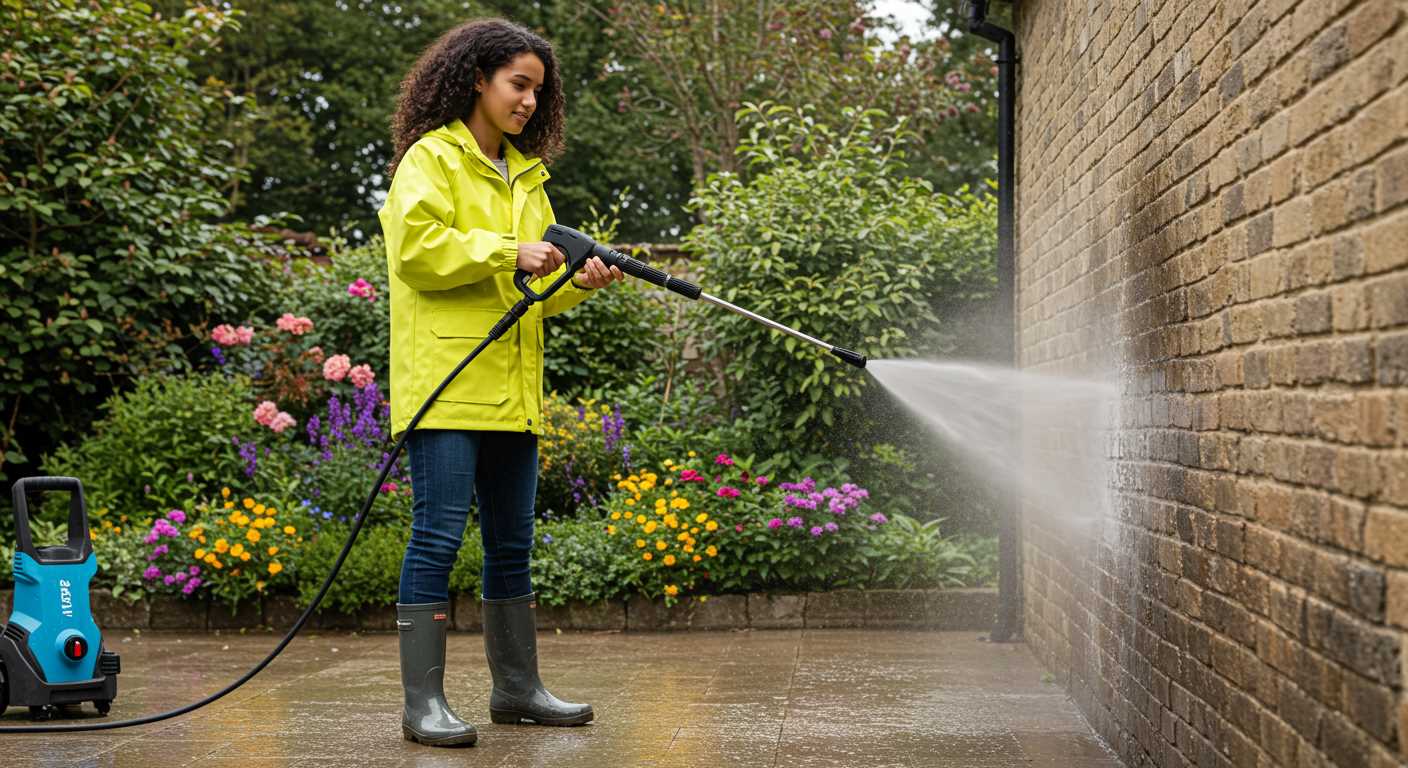
For a thorough transformation, the railings and banisters require focused attention. I recommend mixing warm water with a few drops of dish soap in a bucket. This solution tackles grime and stains effectively. Using a soft sponge or microfiber cloth, begin by wiping down the surfaces, starting from the top to avoid dirty water running down.
Addressing Stubborn Stains
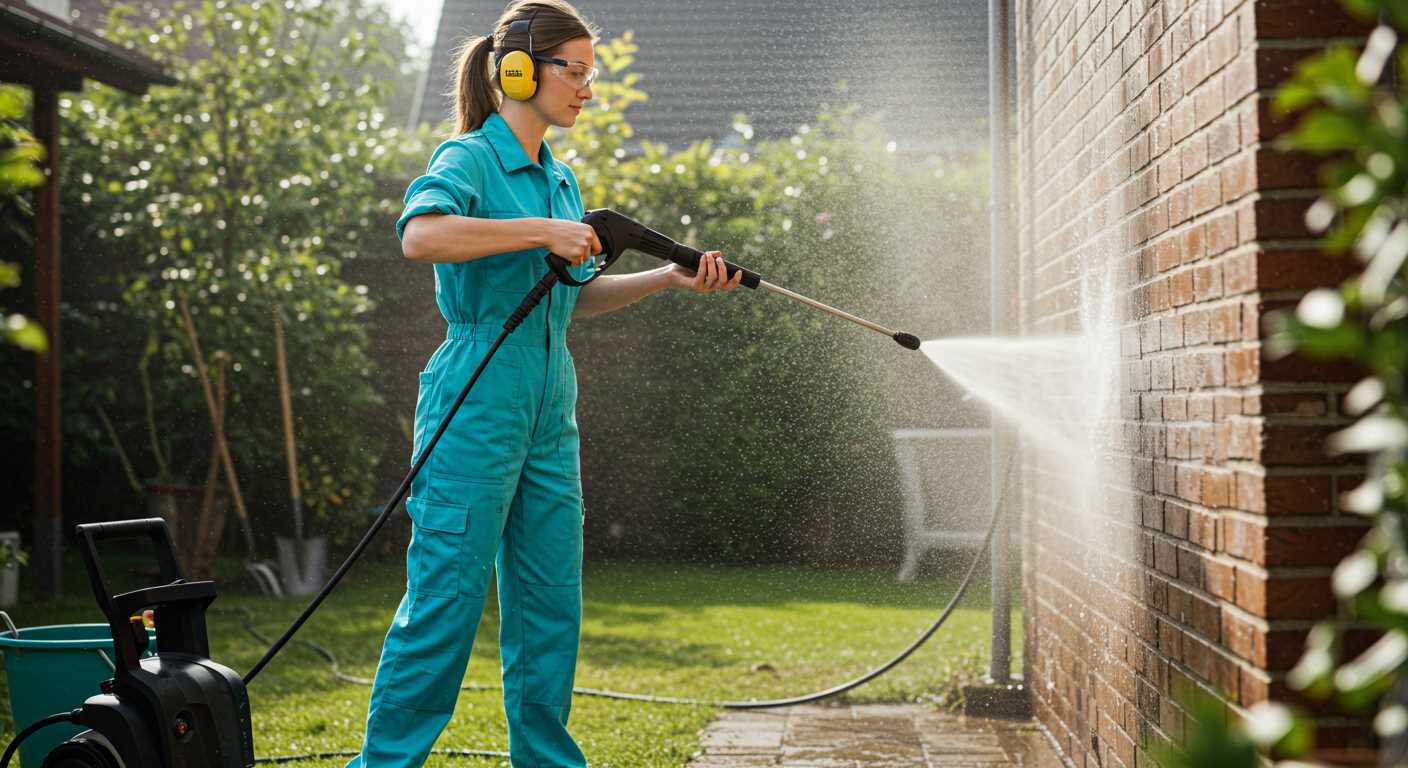
For tougher marks, a paste made from baking soda and water can work wonders. Apply it directly on the stain, let it sit for 10 to 15 minutes, and then scrub gently with a damp cloth. Rinse with fresh water to prevent any residue.
Finishing Touches
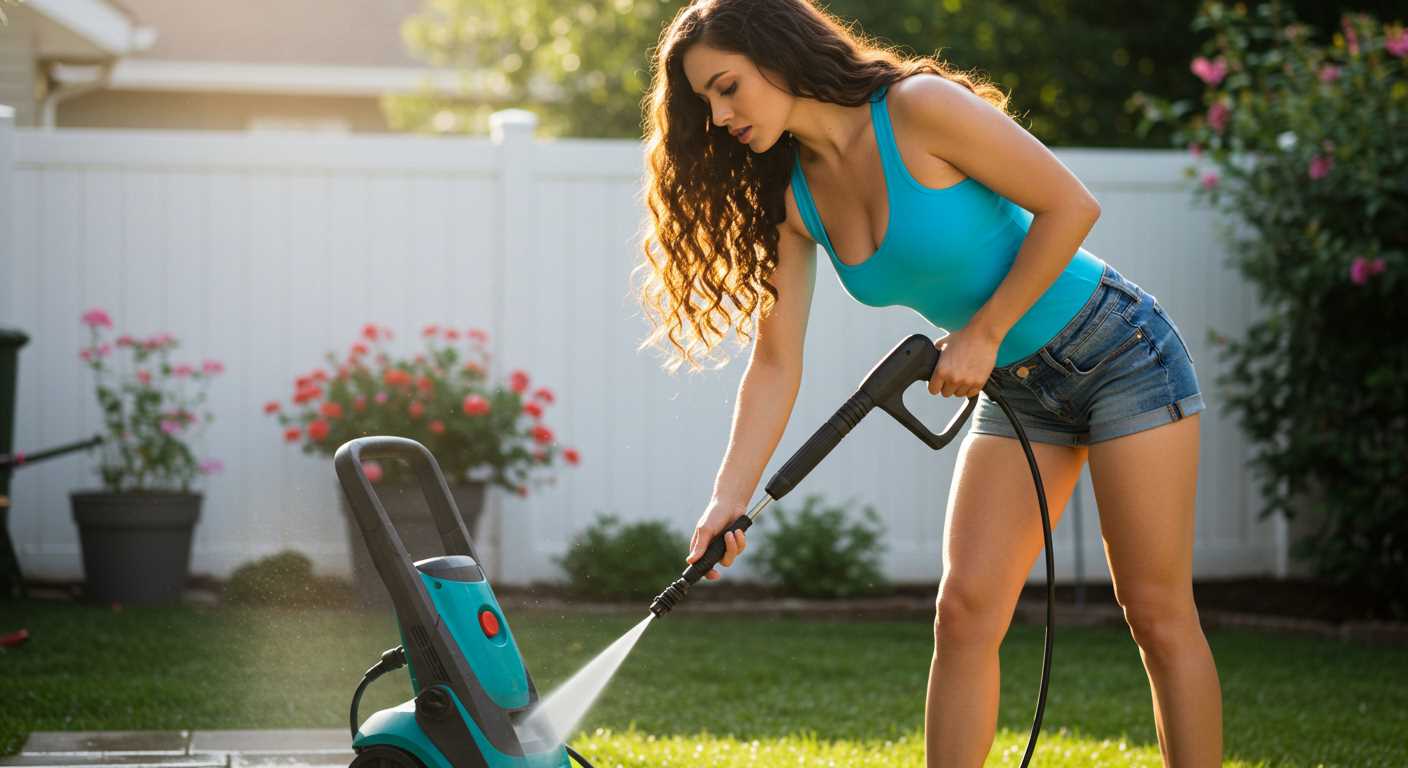
To ensure no soap or cleaning product remains, go over the surfaces again with a cloth dampened in clean water. For a polished look, consider applying a suitable furniture polish or natural oil, which not only enhances shine but also helps protect the finish from future dirt accumulation.
Dealing with Stains and Mildew
For persistent stains, a mixture of baking soda and water works wonders. Create a paste and apply it directly to the affected areas. Allow it to sit for about 15 minutes, then scrub gently with a brush, focusing on the stained spots. Rinse thoroughly afterward.
Mildew requires special attention. Combine equal parts white vinegar and water in a spray bottle. Spray the affected areas liberally, ensuring the solution entirely saturates the mildew. Leave it to work for 30 minutes before scrubbing with a soft brush. Rinse the surfaces with clean water.
If vinegar isn’t available, hydrogen peroxide can serve as an alternative. Dampen the mildew with hydrogen peroxide, let sit for 10-15 minutes, then scrub and rinse as before.
For wooden surfaces, avoid harsh chemicals. Instead, consider a solution of warm water, white vinegar, and a few drops of dish soap. Apply gently, ensuring not to oversaturate the wood.
Frequent maintenance is key to preventing mildew buildup. Regularly inspect your outdoor space, and do spot checks for moisture retention, especially after rain.
Finishing Touches and Maintenance Tips
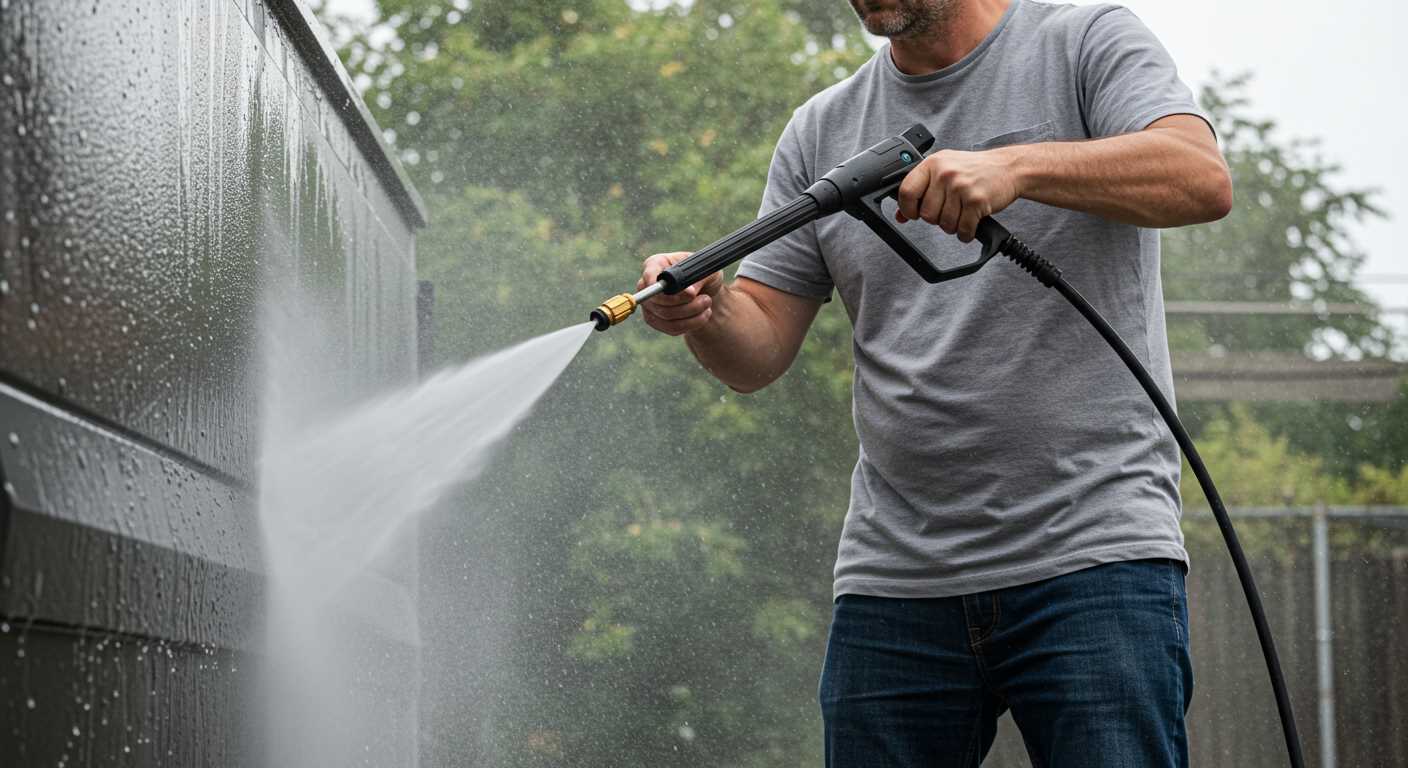
After thorough cleaning, inspect the surfaces for any missed spots and give them a quick wipe down with a damp microfibre cloth. This ensures a polished appearance and removes any lingering dust or grime.
For the outdoor furniture, apply a suitable protectant designed for the specific material. This will prolong the life of your pieces while keeping them looking good. Regularly check for any signs of wear or damage, and address these issues promptly to prevent further deterioration.
Incorporate a periodic maintenance routine, cleaning the area every few weeks to prevent dirt build-up. A simple method is to sweep and wipe surfaces with a mild solution as routine upkeep, preventing the need for deep cleanings.
Store away any items that tend to collect dirt or debris when not in use, such as cushions or throws. Proper storage can significantly reduce the frequency of necessary thorough cleaning.
Consider using a sealant on stone or tiled areas once a year. This can help prevent staining and make it easier to keep the surfaces looking pristine.
If plants are present, regularly check the surrounding area for fallen leaves or debris. Quick removal can make a noticeable difference in the overall appearance.
Finally, engage in the habit of inspecting railings and banisters for any rust or corrosion, applying protective coatings when necessary to keep them in optimal condition. Regular checks can save you time and effort in the long run.
FAQ:
What are the best methods to clean a balcony without using a pressure washer?
Cleaning a balcony without a pressure washer can be effectively achieved using a few different methods. First, gather basic supplies such as a broom, mop, bucket, scrub brush, and some cleaning agents. A mixture of warm water and dish soap or a vinegar solution can work well for removing dirt and grime. Begin by sweeping the balcony to remove loose debris. Next, create your cleaning solution and apply it to the surfaces using a mop or scrub brush. For stubborn stains, let the solution sit for a few minutes before scrubbing. Rinse with clean water using a bucket, ensuring all soap residues are removed. For specific materials, like tiles or wood, consider using appropriate cleaners designed for those surfaces to avoid damage.
How can I prevent dirt buildup on my balcony in the future?
To prevent dirt from accumulating on your balcony, regular maintenance is key. Set a cleaning schedule, perhaps once a month, to sweep the surfaces and remove any debris. Additionally, consider placing mats or outdoor rugs to catch dirt and dust that comes from shoes. If you have plants on your balcony, ensure the soil is contained to prevent spillage. Installing a canopy or awning can also help minimise debris falling onto your balcony from above. Regularly check for and clean any drain outlets to prevent blockages, which can lead to an accumulation of grime.
What cleaning products can I use that are safe for the environment?
There are several eco-friendly cleaning products you can use to clean your balcony safely. Look for biodegradable soaps and general-purpose cleaners that are labelled environmentally friendly. Alternatively, you can create your own solutions using household items. A combination of vinegar and baking soda is excellent for tackling tough stains, while lemon juice can be used for its natural antibacterial properties. Always test a small area first to ensure there’s no adverse reaction on the balcony surfaces.
How do I clean different balcony materials like wood and tile?
Cleaning methods vary depending on the material of your balcony. For wooden balconies, it’s important to use a mild soap mixed with water and a soft brush to avoid scratching the surface. After scrubbing, rinse thoroughly with water without soaking the wood. For tiled balconies, a stronger cleaning solution can be used, including a mix of bleach and water for tough stains, but take care not to use abrasive tools that could scratch the tile. Always ensure that you rinse all surfaces well to remove any cleaning residues.
Is it necessary to protect my balcony furniture while cleaning?
Yes, it is advisable to protect your balcony furniture during the cleaning process. Most cleaning solutions can damage or discolour outdoor furniture. Before starting any cleaning, move the furniture away or cover it with a tarp or plastic sheeting. If covering isn’t possible, a thorough cleaning after your balcony is done should be done to remove any cleaning products that may have splashed onto the furniture.


