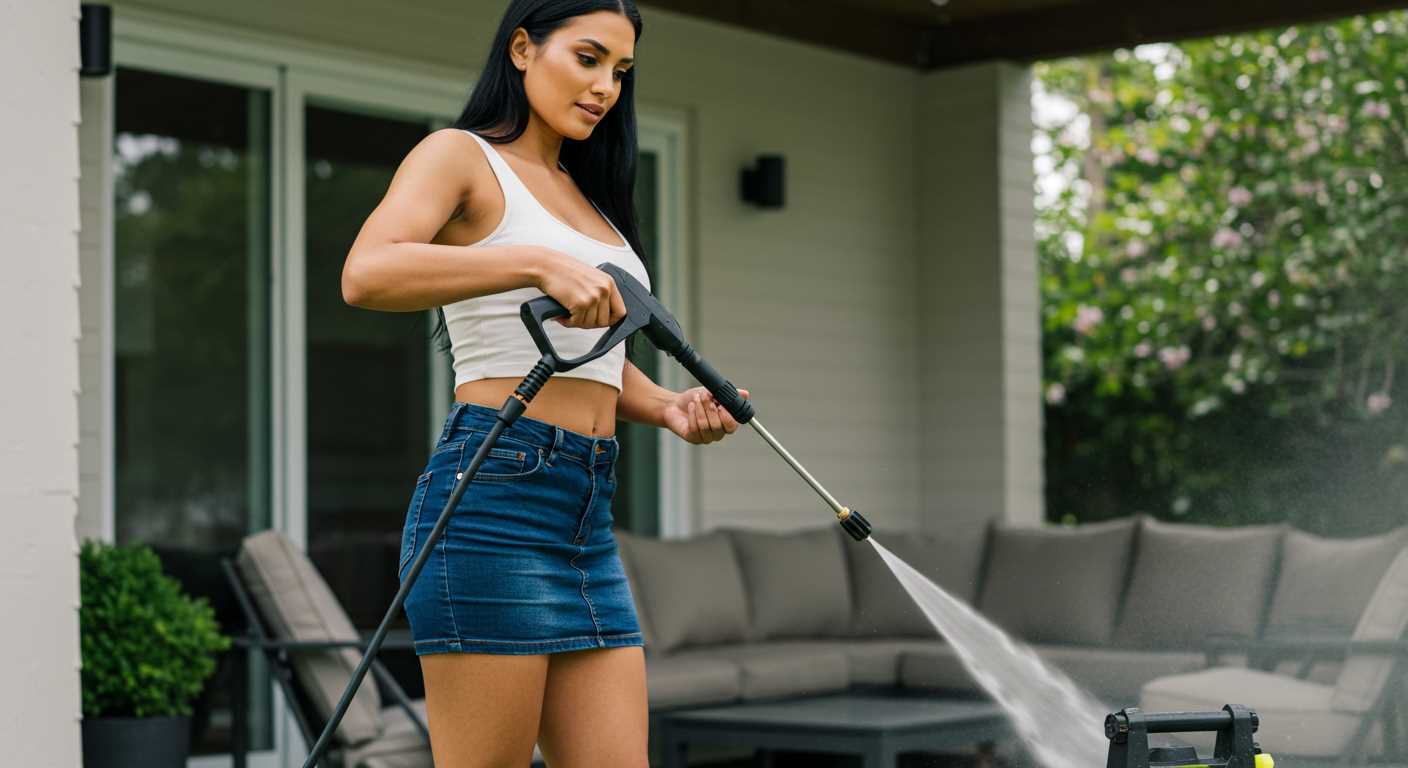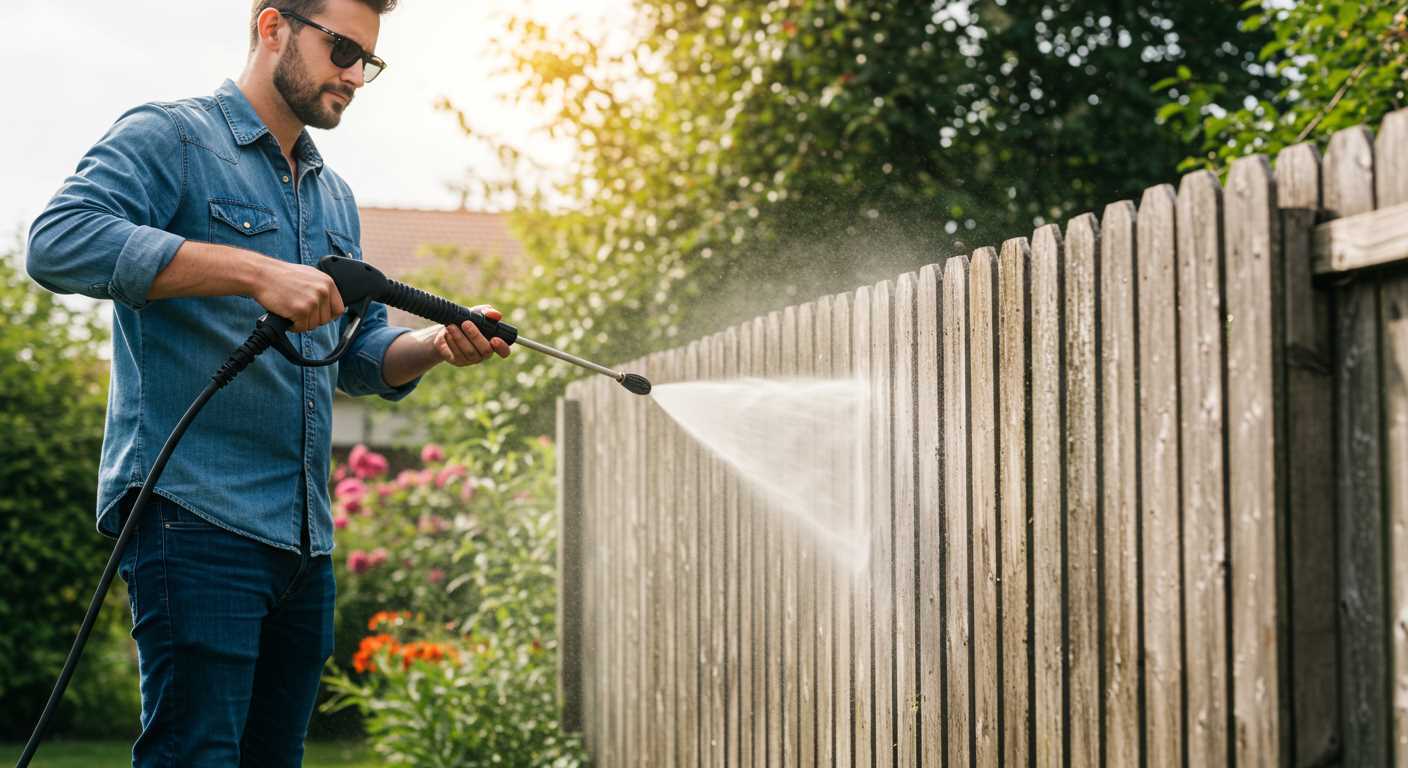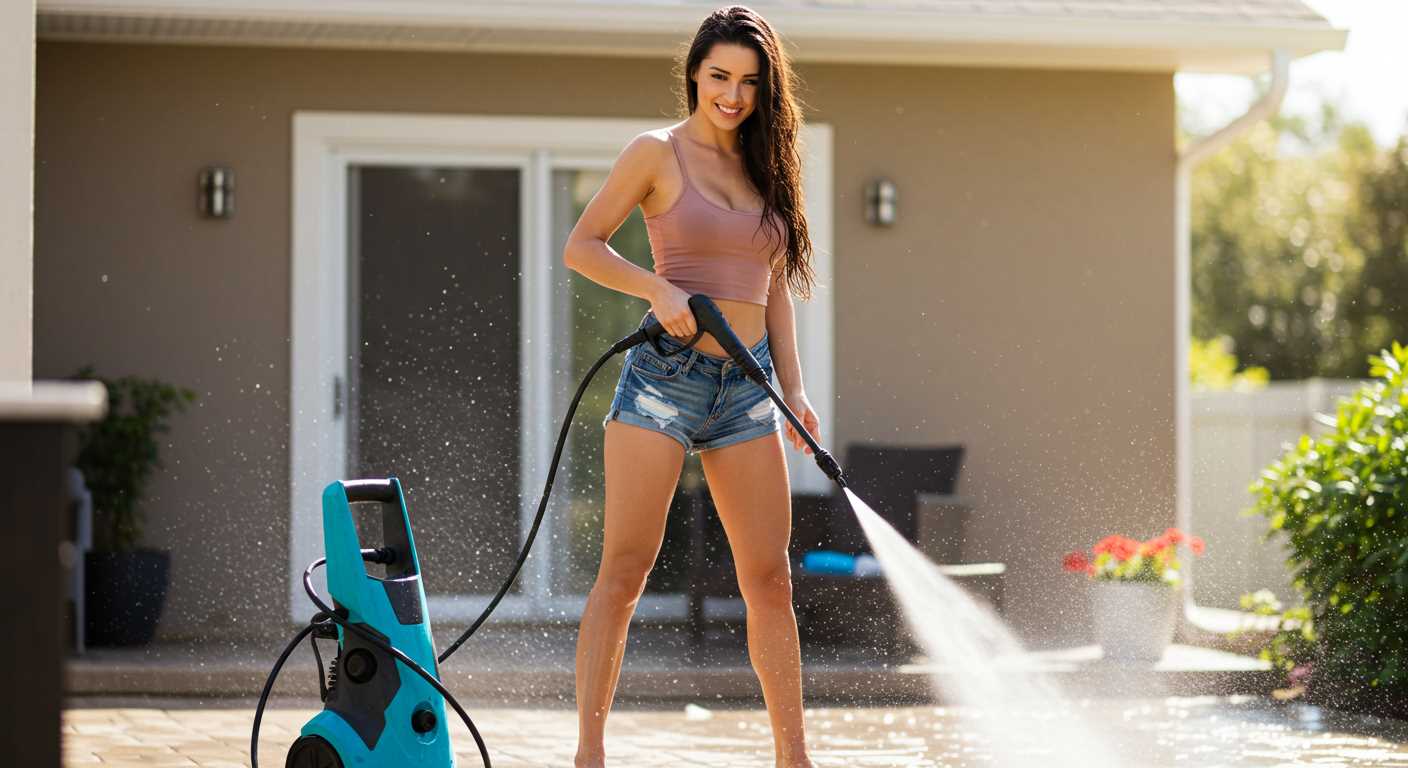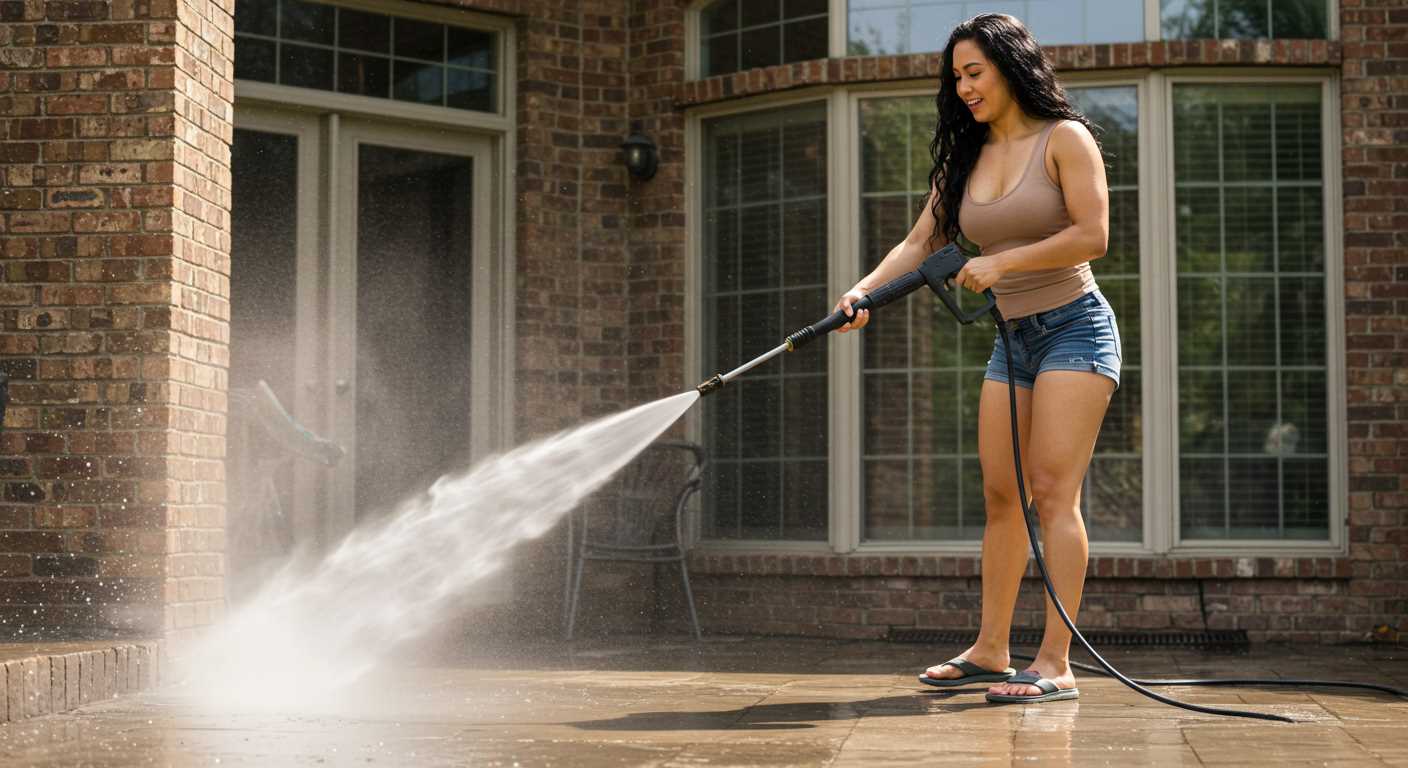


For optimal results when refreshing your driveway or patio, I recommend utilising a power cleaner set to the appropriate pressure and equipped with a rotating nozzle or surface cleaner attachment. This combination drastically reduces the time and effort required to remove grime, moss, and stubborn stains.
Begin by carefully preparing the surface. Remove any loose debris, such as leaves and stones, to ensure the water jet reaches every nook and cranny. If you encounter particularly thick moss or weeds, consider applying a suitable treatment before you start washing.
The next step involves selecting the right detergent. Opt for one specifically formulated for exterior surfaces and compatible with your machine. Mixing the detergent according to the manufacturer’s guidelines will enhance the overall cleaning power, ensuring a more thorough outcome.
When applying the jet, maintain an angle of approximately 45 degrees and keep the nozzle at a distance of about 30 centimetres from the surface. This approach prevents damage while ensuring optimal cleaning efficiency. Work in sections, overlapping each pass slightly to avoid streaks.
After rinsing and allowing the area to dry, consider resealing to protect the surface and maintain its appearance. A quality sealant will provide long-lasting results and enhance the overall aesthetic of your exterior.
Guidelines for Maintaining Your Paved Surface Using a High-Pressure Cleaning Device
Before tackling any dirt and grime, ensure the area is free from furniture and any obstacles. Use a broom to remove loose debris, which aids in achieving optimal results.
Select a nozzle suited for the task–typically, a fan spray nozzle works well. Avoid narrow jet settings as these may chip the surface. Adjust the pressure settings on your device to prevent damage; a lower setting is often adequate.
Keep the nozzle at a distance of around 30cm from the surface to effectively dislodge dirt without causing harm. Move the nozzle in a consistent motion, overlapping each pass slightly for uniform results.
For stubborn stains, consider pre-treating with a suitable cleaning agent. Allow it to sit as per the instructions before washing it off to enhance the effectiveness of your cleaning session.
If you notice joints or cracks, use a jointing sand after the area dries completely. This step prevents future weed growth and aids in maintaining the stability of your surface.
Finally, consider using a sealant once the surface dries fully. This adds a layer of protection, making future maintenance easier and ensuring longevity for your paved area.
Choosing the Right Pressure Washer for Block Paving

For the task at hand, I recommend opting for a unit that offers a pressure rating between 130-160 bar. This range is powerful enough to eliminate embedded dirt and grime without risking damage to your surfaces.
Electric vs. Petrol Models
Electric machines are ideal for domestic users, being lighter, quieter, and easier to maintain. They suit smaller jobs where mobility is less of an issue. In contrast, petrol-driven models provide increased pressure and portability, making them suitable for larger projects or extensive areas where access to power is a concern.
Nozzle Selection
Selecting the correct nozzle angle is paramount. A 25-degree nozzle is a go-to choice for a balanced spray, efficiently removing muck without being overly abrasive. For stubborn stains, consider a turbo nozzle, which combines pressure with a circular motion for enhanced cleaning capability.
In addition, look for features such as adjustable pressure settings for versatile use across varied surfaces. A good quality hose length (at least 10 metres) also ensures ease of movement during the task.
Lastly, pay attention to build quality and brand reputation. A reliable machine will not only perform well but also provide years of service. Be sure to check user reviews and warranty options that reflect long-term usage.
Preparing the Area Before Cleaning
Clear the space effectively, removing any furniture, pots, or obstructions. This ensures unhindered access to every surface requiring attention. Next, sweep the area meticulously, gathering debris, leaves, and dirt that could interfere with the process. Pay close attention to corners and edges, as they can accumulate stubborn residues that may complicate the task ahead.
Inspect for any cracks or loose stones; repair them prior to starting your task to avoid potential damage. It’s wise to rinse the area lightly. This preliminary wash can help loosen up stubborn grime, making the main task easier. Should you notice any tough spots or stains such as oil or grease, treat them with an appropriate cleaner to enhance the effectiveness of your equipment.
Lastly, cover nearby plants and sensitive surfaces with tarps or cloths to protect them from the intensity of the spray. This precaution will prevent unwanted damage and keep the environment safe during operation.
Identifying Stains and Dirt on Block Paving
Start by examining the surface for common blemishes such as oil, grease, moss, and mildew. These contaminants can vary in appearance and require different approaches for removal. Here’s how to recognise them:
- Oil and Grease: Look for dark, slick patches that may appear shiny. These are often found near vehicle entry points or under parked cars.
- Moss: Typically fluffy and green, moss tends to accumulate in damp areas or shaded spots. It can create a slippery surface, which is dangerous.
- Mildew: This often presents as dark spots or stains, particularly in areas with poor drainage or insufficient sunlight.
- Weeds: Notice any green shoots or plants sprouting between the joints or cracks. This indicates a need for surface maintenance.
- General Dirt: A dull, dusty look signals the presence of accumulated dirt from environmental exposure, foot traffic, or weather conditions.
Assessing Severity
Understanding the severity of each type of stain will dictate the cleaning method required. Here’s a simple way to categorise them:
- Light Stains: Surface dirt and minor discolouration can usually be addressed quickly, requiring minimal effort and time.
- Moderate Stains: Oil, mildew, or moss that has set in longer may need a more thorough cleaning process and possibly additional products.
- Severe Stains: Long-standing or deep-rooted contaminants might require pre-treatment or specific solutions to lift the residue effectively.
Identifying and categorising stains helps develop a clear strategy for restoring the aesthetic of your outdoor space effectively.
Setting Up Your Pressure Washer Correctly
To maximise performance when using your machine, begin by ensuring you have the correct accessories. A wide-angle nozzle is recommended for extensive surfaces, while a narrow nozzle can effectively eliminate stubborn grime.
Next, ensure the water source is clean and provides adequate flow. A standard garden hose with a diameter of at least ¾ inch will usually suffice. Connect it securely to avoid leaks.
Adjusting Pressure
Most models allow you to adjust the pressure based on the task at hand. For softer surfaces, you may wish to reduce the pressure to prevent damage. Generally, a setting between 1400 and 2000 PSI is optimal for brickwork surfaces.
Mixing Detergents
If using a cleaning agent, mix it correctly according to manufacturer’s guidelines. An incorrect ratio might hinder results and damage the equipment. Use a dedicated detergent injector, if available, as this allows you to apply cleaning solutions effectively.
| Pressure Setting (PSI) | Recommended Use |
|---|---|
| 1000-1400 | Delicate Surfaces |
| 1400-2000 | Standard Brick and Stone |
| 2000-3000 | Heavy-Duty Cleaning |
| Above 3000 | Industrial Cleaning |
Lastly, verify all connections, including the spray gun and hose, to prevent malfunction during operation. A seamless setup will enhance both efficiency and safety during the task.
Using the Right Nozzle for Block Paving

For optimal results, I recommend using a 25-degree nozzle for tackling stubborn grime on your surface. This nozzle strikes a balance between power and control, effectively removing dirt without causing damage.
If you’re focusing on heavy stains, consider utilising a 15-degree nozzle. It delivers a concentrated stream of water, ensuring thorough elimination of embedded substances. However, maintain a safe distance to protect the surface from potential etching.
For wider areas, a turbo nozzle can be advantageous. It features a rotating spray pattern that covers more ground efficiently, cutting down the time needed to refresh the area.
Always experiment with different nozzles on a small, inconspicuous section before proceeding with full cleaning. This way, you can assess how the surface responds to varying pressure settings, ensuring you find the right fit for your particular needs.
Consider the type of surface texture as well–more delicate finishes may require a gentler approach, whereas rougher surfaces can withstand higher pressure settings without risk.
Lastly, maintain your nozzle by cleaning it regularly and checking for clogs. A well-maintained attachment ensures consistent performance and extends its lifespan, helping you achieve the best results each time.
Techniques for Effective Pressure Washing
Start by maintaining a consistent distance of about 30 to 45 centimetres from the surface. This prevents damage and ensures thorough removal of dirt and grime.
Angle of Approach
Utilise a sweeping motion rather than a stationary blast. This helps to avoid creating uneven patches and ensures a uniform finish. Work in a straight line and overlap each pass slightly.
Pressure Points
- Focus on heavily soiled areas first. Increase the pressure as needed, but be cautious of any shifting debris or material.
- For stubborn stains, use a back-and-forth motion to apply more force locally.
- Keep the nozzle moving to avoid gouging the surface; lingering too long in one spot can cause damage.
Employ a detergent suited for outdoor surfaces if necessary. Apply it before washing, allowing a few minutes for it to activate before rinsing. Always follow the manufacturer’s instructions for dilution and application.
Control Water Flow

Monitor your equipment settings to adjust water flow rate. Sometimes, less pressure with a higher flow can yield better results by rinsing away debris effectively.
Finally, optimising your technique will enhance results significantly. Practice adjusting your pace and pressure based on the surface condition for the best possible outcome.
Post-Cleaning Maintenance for Paved Surfaces

After the thorough cleaning session, it’s crucial to take steps to maintain the appearance and longevity of the surface. Begin by ensuring the area is completely dry before any subsequent actions.
Jointing Sand Application
Once the area has dried, consider replenishing the jointing sand. Sweep fine sand into the gaps between the stones to prevent weed growth and maintain structural integrity. This should be done annually or after heavy cleaning sessions.
Regular Inspections and Spot Treatment
Conduct regular inspections, looking for signs of mould or mildew. A mild solution of vinegar and water can effectively tackle light discolouration. For stubborn patches, a specific cleaner designed for outdoor surfaces may be necessary.
Lastly, consider sealing the surface with an appropriate sealant to enhance resistance against stains and weathering. This step not only helps keep the appearance sharp but also makes future upkeep simpler.
Safety Precautions While Using a Pressure Washer
Always wear protective goggles to shield your eyes from debris propelled by the nozzle. Gloves are essential to guard against chemicals and sharp edges on the surface. Sturdy, enclosed footwear is a must to protect your feet from heavy equipment and slippery surfaces.
Ensure the area is clear of people and pets; establish a safety perimeter to prevent accidents. Be cautious of electrical outlets and cords, keeping your equipment away from potential water exposure. Verify that your power source is compatible with the device to prevent electrical hazards.
Maintain a safe distance from surfaces while operating the machine to avoid damage. A distance of at least 30cm is generally recommended. Always point the nozzle downwards and avoid aiming it at yourself or others.
Prior to starting, inspect the equipment for any leaks or damaged hoses. If any are found, repair them before usage. Knowledge of your machine’s specifications is crucial; refer to the manufacturer’s guidelines for safe operation.
Utilising safety features, such as pressure triggers and safety locks, enhances protection. Familiarise yourself with these functions before beginning. When finished, disconnect the power and water supply before performing any maintenance or adjustments.


