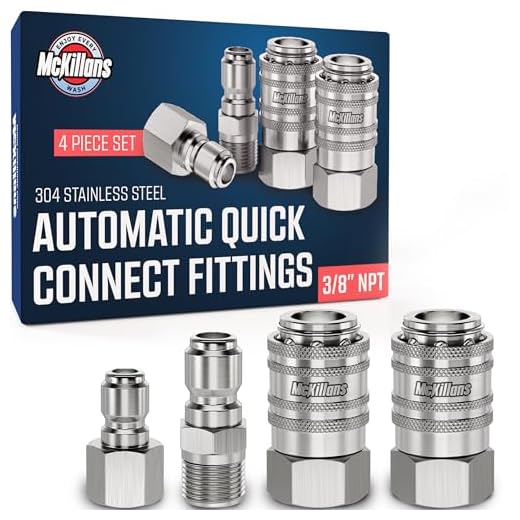


Using a soft-bristle brush is a reliable method to eliminate debris from the nozzle tip. Ensure the water source is turned off and remove the nozzle from the machine. Gently scrub the tip, focusing on any visible blockages, and rinse thoroughly once completed. This step is often sufficient for minor clogs.
If you encounter stubborn residues, soaking the nozzle in a mixture of warm water and a mild detergent can work wonders. Allow it to soak for approximately 30 minutes, then follow with a thorough rinse. This will help to break down any lingering grime that may have accumulated.
Should issues persist, consider employing a thin wire or a straightened paper clip to dislodge deeper blockages. Be cautious with this method; apply gentle pressure as you insert the tool into the openings to avoid damaging the internal components of the nozzle.
Cleaning a Clogged Spray Wand
First, ensure the unit is disconnected from the power source. Remove the nozzle from the spray wand and inspect it for any visible obstruction. If debris is apparent, use a soft brush or a toothpick to clear any residue caught in the nozzle openings.
Next, prepare a mixture of warm water and mild detergent. Submerge the nozzle in this solution for about 15 minutes to help dissolve any stubborn deposits. After soaking, rinse thoroughly under warm running water.
For deeper blockages, create a cleaning solution using white vinegar and baking soda. Combine one part vinegar with one part baking soda to form a paste. Apply this paste to the nozzle and let it sit for 10-15 minutes, then rinse again with warm water.
| Step | Action |
|---|---|
| 1 | Disconnect power and remove the nozzle. |
| 2 | Inspect and clear visible debris with a brush or toothpick. |
| 3 | Soak the nozzle in a warm detergent solution for 15 minutes. |
| 4 | For stubborn build-up, use a vinegar and baking soda paste. |
| 5 | Rinse thoroughly under warm running water. |
After rinsing, reattach the nozzle and conduct a test run to verify full functionality. If the issue persists, consider checking the spray wand for any internal blockages or damage. A thorough check ensures optimal operation and longevity of the equipment.
Identify the Cause of the Blockage
Start by examining the tip and nozzle for visible debris or buildup. Common culprits include dirt, mineral deposits, or soap residue, which can obstruct water flow.
Next, assess the attachment point where the lance connects to the machine. Any wear or damage here can lead to leaks, affecting performance. Check for water flow irregularities or reduced pressure that may indicate issues upstream.
If the tip appears clogged, ensure the correct nozzle type is in use, as incompatible nozzles can restrict water passage. Rotate or replace with a suitable size if necessary.
Review the hose for kinks or punctures that might impede performance. A blocked hose section can create back pressure, leading to misfunction. Unravel any bends and inspect for integrity.
Lastly, consider the water source. Contaminated water can introduce particles into the system, causing blockages. Ensure that the filter at the water source is clean and clear of debris.
Gather Necessary Cleaning Tools
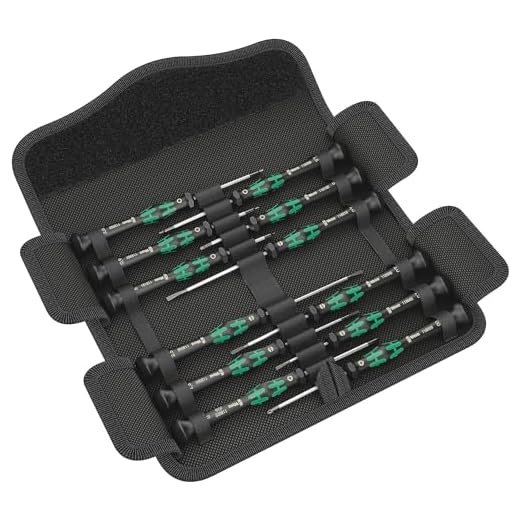
For this task, assemble a few specific tools to ensure efficiency and thoroughness. You will need a small screwdriver or a set of precise tools to disassemble the nozzle if necessary. A soft brush, preferably with nylon bristles, will assist in removing stubborn debris without damaging the components. Additionally, a container of warm, soapy water helps dissolve any grime. An air compressor or canister of compressed air works wonders for clearing out fine particles lodged within nozzles and orifices.
Utilise a safety pin or a thin wire to tackle blockages in smaller apertures. A soft cloth or paper towels will be handy for wiping down surfaces and ensuring cleanliness after the process. Finally, having a pair of gloves will protect your hands from any sharp edges and chemicals you may encounter. Gather these tools in advance to streamline your actions and improve results.
Disassemble the Cleaning Nozzle
Start by ensuring the device is completely off and disconnected from any power source. Carefully detach the cleaning nozzle from the wand, twisting it counter-clockwise until it releases. If it’s stuck, apply a gentle yet firm grip to avoid causing damage.
Accessing Internal Components
Once the nozzle is detached, examine it closely for any visible debris or dirt accumulation. Remove protecting caps if present. Inside, you’ll find a filter and spray tip, which may also have obstructions. Use a soft brush or cloth to wipe these parts clean.
Next, check for any screws or clamps that might be holding the internal components in place. If applicable, use the appropriate screwdriver to remove them, and carefully lift the inner assembly out.
Inspect and Clean
Inspect all collimating jets for clogs. If any particles are present, use a pin or needle to clear them out. Avoid using excessive force to prevent damaging the delicate tips. Rinse everything under warm running water to ensure all residues are removed.
Reassemble the unit by reversing the process. Ensure that all parts are secured tightly to prevent future leaks or functionality issues. Regularly checking these components will prolong the lifespan of the equipment and maintain efficient operation.
Clean the Nozzle and Filter
Remove the nozzle from your unit carefully. Inspect for any debris or blockages. A soft brush can help dislodge dirt stuck within the nozzle’s opening. If the blockage persists, soaking it in warm soapy water for about 30 minutes is beneficial. After soaking, rinse thoroughly with clean water to ensure all soap residues are removed.
Next, turn attention to the filter located within the lance assembly. This component is often neglected, yet it plays a vital role in preventing larger particles from entering the system. Detach the filter by gently pulling it out with pliers. Rinse it under running water, or immerse it in a vinegar solution to break down mineral deposits.
- For persistent clogs, use a pin or needle to poke through the filter mesh.
- A toothbrush or fine wire brush can effectively aid in removing stuck dirt.
After cleaning both the nozzle and filter, ensure they are completely dry before reassembling. This prevents moisture-related issues when putting everything back together.
Reassemble the Lance Properly
Align the components accurately to ensure a snug fit. Start by placing the filter back into its designated spot. Ensure it sits evenly to avoid any misalignment during reassembly.
Next, attach the nozzle. Rotate it gently until you feel it click into place. This confirms a secure connection, reducing the likelihood of leaks or disconnections while in use.
Before securing any fasteners, check for any signs of wear or damage on the O-rings or seals. If necessary, replace these parts to maintain optimal performance and prevent future issues.
Once everything is aligned, carefully tighten any screws or clamps. Avoid over-tightening, as this can cause breakage or damage to the components.
Finally, give the assembled unit a gentle shake to ensure all parts are securely fitted. This step helps verify that no parts were overlooked during reassembly.
- Double-check the alignment of the filter and nozzle.
- Ensure all seals are in good condition.
- Tighten components without excess force.
- Perform a final shake test to confirm assembly integrity.
Test the Equipment After Maintenance
After addressing the blockage issues and reassembling the equipment, it’s essential to run a performance test. Ensure the device is connected to a power source and water supply. Activate the trigger and observe the water flow. Consistent and strong jetting indicates successful maintenance.
Evaluate Performance
Watch for any irregularities in pressure or flow. If the device operates smoothly with no leaks, it confirms proper assembly. If there are still inconsistencies, recheck the components. Pay attention to the nozzle; an uneven spray pattern may signal further adjustments are needed.
Monitor for Further Issues

Once the initial test is complete, conduct a brief operational run. This should last a few minutes, allowing you to gauge the overall functionality. Listen for any unusual sounds that might suggest underlying problems. Regular performance checks will prolong the lifespan and reliability of the equipment.
Maintain Your Karcher Lance to Prevent Future Blockages

Regular attention to your cleaning equipment is key for optimal performance. After each use, ensure that the nozzle is free from debris by rinsing it under warm water. This simple act can prevent accumulation that leads to future clogs. Additionally, store your equipment in a dry, clean location to minimise exposure to moisture and contaminants.
Utilise Quality Detergents

Using the right cleaning solutions also plays a significant role in maintenance. Opt for detergents recommended by the manufacturer that are specifically designed for your model. High-quality options are less likely to leave residues that can contribute to build-up. Always follow dilution instructions to avoid any potential damage to your equipment.
Routine Inspection
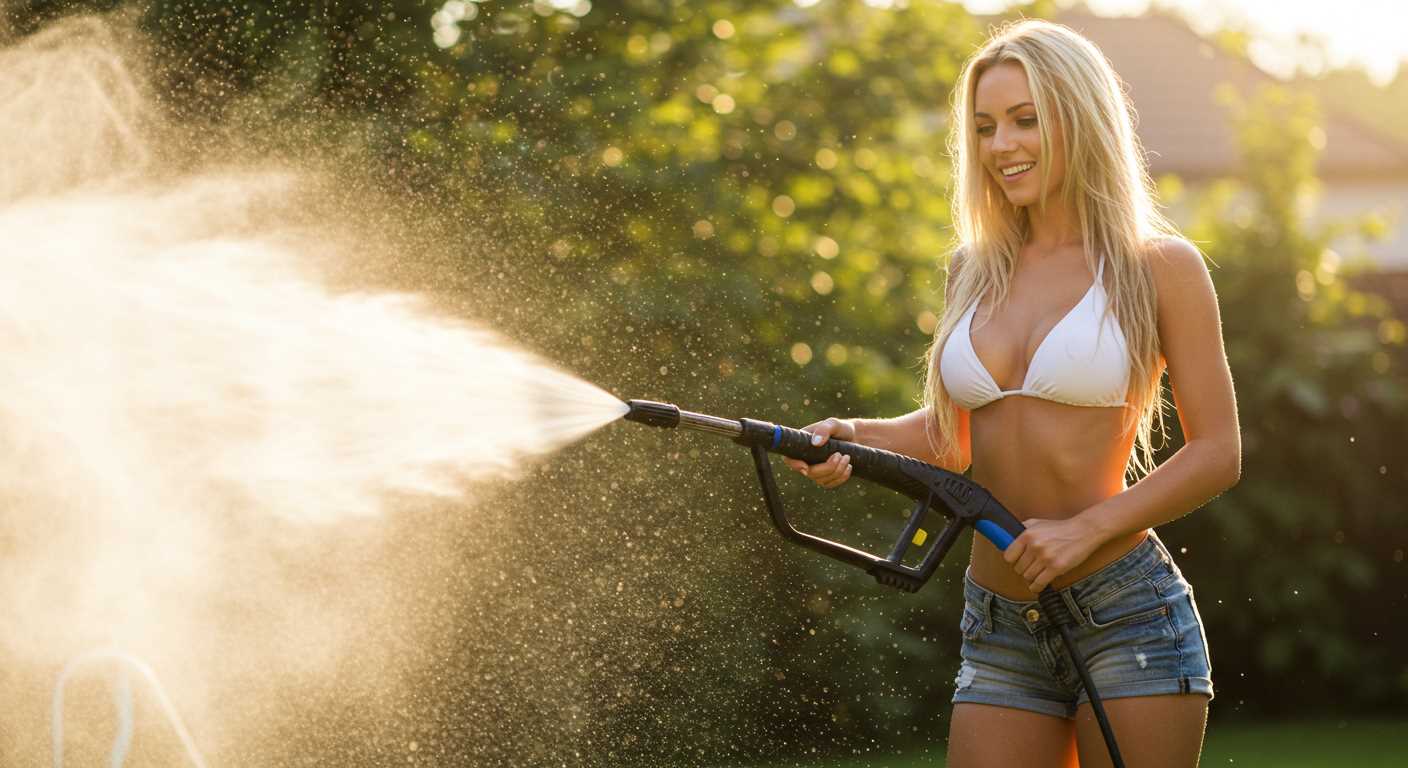
Perform inspections regularly to assess for wear or tears in the hoses and fittings. Pay particular attention to the coupling where the lance attaches, as any misalignment can lead to pressure variances, resulting in stress on components. Tighten any loose connections to ensure a tight seal and prevent leaks that could compromise performance.
Stay proactive with lubrication of the connectors and O-rings. A small amount of silicone lubricant can extend the life of these parts, offering smoother operation and preventing potential seizing. Regular upkeep not only enhances functionality but prolongs the lifespan of your cleaning tools, ensuring they remain reliable for every task ahead.


