
Start with a simple solution: mix warm water with a mild detergent in a bucket. Use a stiff-bristled broom to scrub the surface vigorously, ensuring that you reach all corners and crevices. This initial step can lift away dirt and grime effectively.
For stubborn stains, consider creating a paste using baking soda and water. Apply this mixture directly to the affected areas. Let it sit for at least 10 minutes before scrubbing again. The abrasiveness of the baking soda helps in tackling tougher blemishes.
Don’t overlook the power of white vinegar. This natural agent works well against moss and algae. Mix equal parts vinegar and water in a spray bottle and apply it to the stain. After a few hours, scrub with a brush to clear away residue.
It’s also advisable to use a garden hose with a spray nozzle for rinsing off the surface after cleaning. This method, while not as intense as machinery, helps in removing loosened debris and ensures a residue-free finish.
Lastly, regular maintenance includes sweeping away leaves and debris, which can create stains if left unattended. Following these straightforward methods will keep your paved area looking pristine and enhance its longevity.
Effective Techniques for Maintaining Your Paved Surface
A simple mix of warm water and vinegar provides a powerful solution for grime and stains. Use a bucket to combine one part vinegar with two parts water. Apply the mixture with a stiff-bristled broom, working it into the joints and over the surface. Let it sit for about 15 minutes before rinsing with a garden hose for the best results.
Brush and Scrub Method
<p.Invest in a durable scrub brush with nylon bristles. Dampen the area prior to scrubbing to loosen dirt. Focus on stained sections and apply a small amount of dish soap for tough spots, scrubbing in circular motions to lift the grime effectively. Rinse thoroughly to avoid soap residue.
Stain Treatment Solutions
<p.For stubborn blemishes such as oil or rust marks, baking soda works wonders. Create a paste by mixing a quarter cup of baking soda with a small amount of water. Apply directly to the stain and allow it to sit for 20 minutes before scrubbing lightly and rinsing away. Repeat if necessary.
Identifying the Right Cleaning Solutions for Brick
For tackling stubborn stains and dirt, a combination of natural and commercial substances can be utilised effectively. For organic stains like leaves or moss, a simple mixture of white vinegar and water serves well. Combine one part vinegar with three parts water, then apply with a scrub brush to agitate the area.
For mineral stains, such as efflorescence, a baking soda paste is best. Mix baking soda with water until it reaches a thick consistency, apply it to the stained area, and scrub gently. Rinse thoroughly afterwards.
A Bleach Solution
If mould and mildew are present, a diluted bleach solution is beneficial. Use one part bleach to ten parts water, applying it cautiously with a sprayer or soft brush. It’s essential to wear gloves and ensure proper ventilation while working with this mix. Allow it to sit for no more than 10 minutes to avoid damage to the surface.
Commercial Cleaners
For those seeking a more potent option, consider commercial cleaners specifically formulated for stone surfaces. Look for products containing phosphoric acid or oxalic acid, which can break down dirt effectively. Always follow the manufacturer’s guidelines for dilution and application.
Always test any solution on a small, inconspicuous area first to ensure compatibility with the surface. This approach helps avoid unexpected damage while allowing me to identify the most effective method for keeping the pavers looking pristine.
Preparing the Area Before Cleaning
Prior to commencing the cleaning process, ensure the workspace is free from obstacles. Remove any planters, furniture, or decorative items that may obstruct access. This facilitates a more thorough job and protects your belongings from potential damage during the endeavour.
Next, inspect the surface for any weeds or unwanted plant growth. Manually pull these out or utilise a hoe to prevent them from interfering with the cleaning solution’s efficacy.
Gathering Necessary Tools
Equip yourself with the right tools. You will require a stiff-bristled brush, a bucket, and a garden sprayer if available. Collect a scraper for stubborn grime and a broom for sweeping away loose debris afterwards. Having these items readily accessible will streamline the process.
Choosing the Right Time
Opt for a dry day with mild temperatures to ensure the chosen cleaning solution adheres effectively. Avoid overcast or rainy days, as moisture can dilute results and prolong drying time. Mid-morning or late afternoon generally has the best light conditions for visibility during the task.
| Task | Recommended Action |
|---|---|
| Obstacle Removal | Clear all items from the area. |
| Weed Management | Pull out or hoe weeds before proceeding. |
| Tool Preparation | Gather necessary equipment including brushes and a sprayer. |
| Timing | Choose a dry, mild day for optimal results. |
Step-by-Step Guide to Manual Cleaning Techniques
Begin with a broom to sweep away loose debris, such as leaves and dirt. This prepares the surface for deeper treatment.
Next, mix warm water with a suitable cleaning solution specifically designed for porous surfaces. I recommend using a ratio of 1 part cleaner to 4 parts water for optimal results.
Apply the solution generously to a small section of the surface using a garden sprayer or a bucket and mop. Allow it to sit for around 10-15 minutes to penetrate stubborn stains.
For scrubbing, use a stiff-bristle brush or a deck brush. Make circular motions to effectively lift grime and marks from the surface. Pay extra attention to areas with visible discolouration.
Once the scrubbing is complete, rinse the treated section with clean water. A hose with a spray nozzle can assist in removing any remaining solution and debris.
Continue this process in sections until the entire area is addressed. Aim to work on manageable portions to avoid re-soiling previously cleaned spots.
After all sections are finished, allow the surface to dry completely. If necessary, follow up with an additional treatment for persistent stains, applying the same solution and scrubbing technique.
To maintain cleanliness, consider regularly sweeping and using a light solution treatment every few months.
Removing Stains from Brick Surfaces
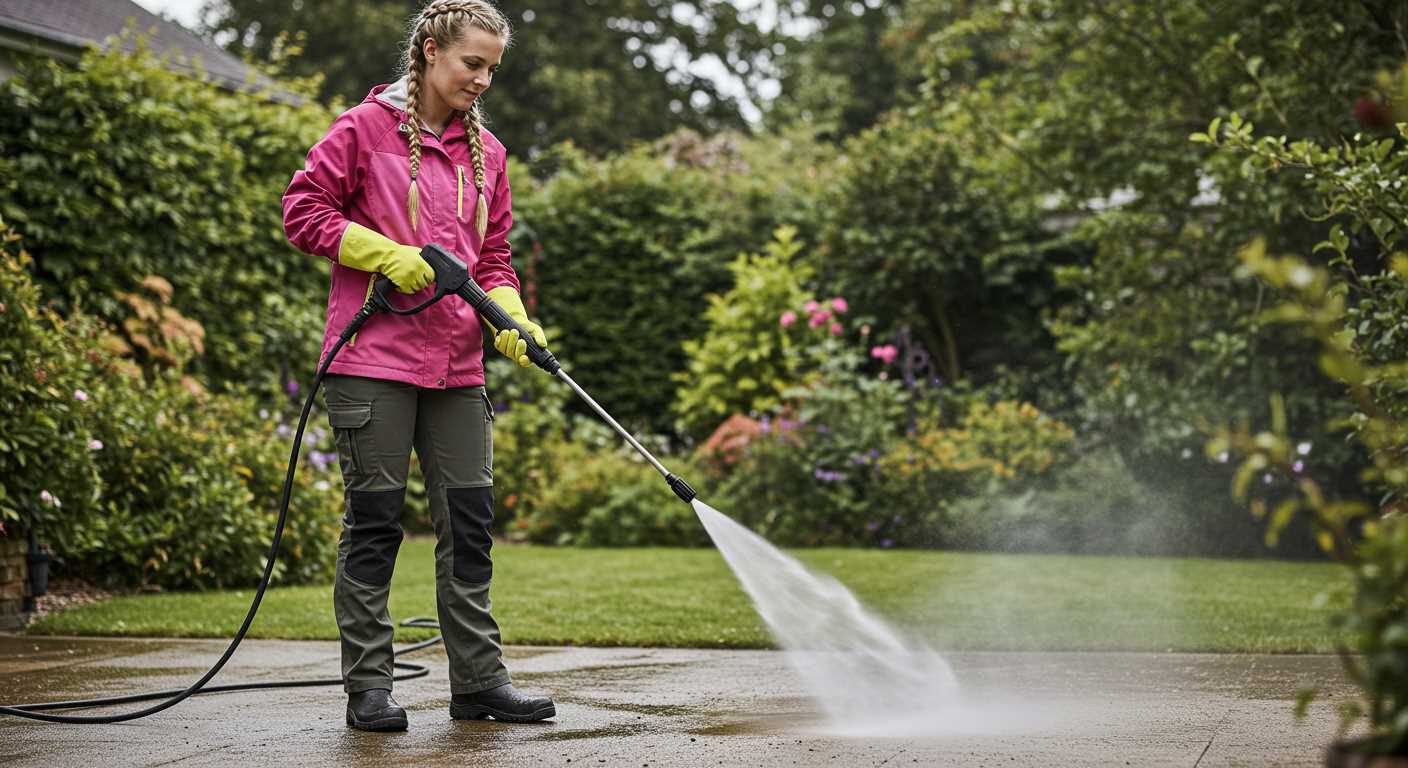
For effective removal of unsightly blemishes, specifically target the type of stain present. Here’s a breakdown of strategies for common stain varieties:
Oil and Grease Stains
- Sprinkle cornstarch or baking soda directly on the stain. Allow it to sit for several hours to absorb excess oil.
- Mix a solution of warm water and dish soap, applying it with a stiff brush. Scrub gently before rinsing.
- If needed, use a commercial degreasing agent. Apply it as directed, usually requiring a brief dwell time before scrubbing.
Rust Stains
- Create a paste of baking soda and water. Apply it to the rust stain and wait for about 15-20 minutes.
- Scrub the area with a nylon brush, ensuring not to scratch the surface.
- For stubborn stains, consider using a rust remover designed for masonry. Follow manufacturer instructions carefully.
Organic Matter (Moss, Algae)
- Mix a solution of one part vinegar to three parts water. Apply generously to the affected areas.
- Allow it to soak for at least 30 minutes. Scrub with a brush to remove any remaining organic material.
- Rinse thoroughly with clean water to prevent residue buildup.
General Stains
- Prepare a mixture of water and mild detergent. Use a soft-bristled brush to apply it to the stained area.
- Scrub in circular motions to lift the stain. Rinse with a garden hose or bucket of water.
- Repeat the process if the stain persists, opting for a stronger detergent if necessary.
Finish by rinsing the entire surface to ensure no cleaning residue is left behind. This provides a fresh appearance and helps to maintain the surface integrity.
Dealing with Weeds and Moss on Brick Surfaces
To tackle unwanted vegetation, a mixture of vinegar and water typically yields excellent results. Combine equal parts and apply it directly to the affected areas. Allow this solution to sit for at least 30 minutes, which will help to kill the weeds and moss effectively.
Manual Removal and Maintenance
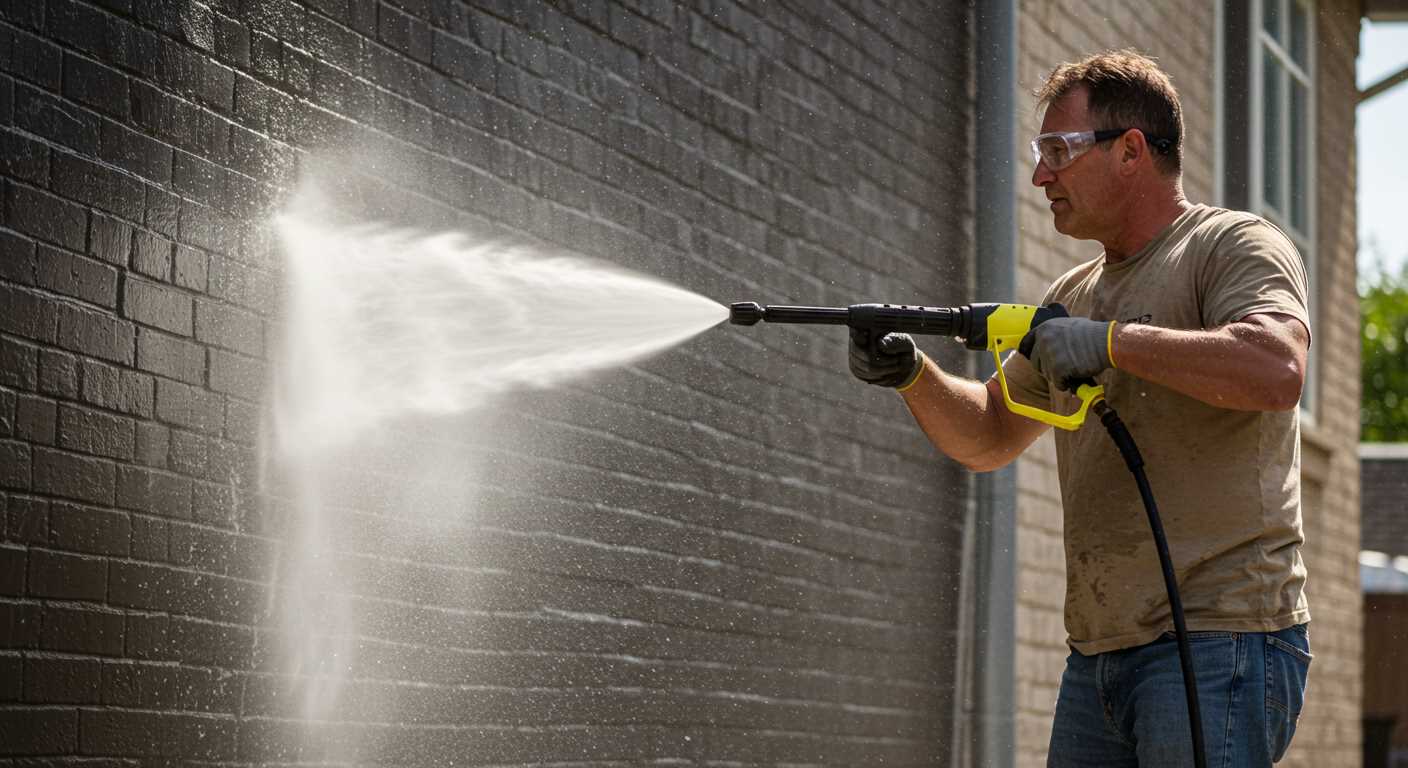
Using a stiff brush or a hand hoe, you can manually remove the dead plants and moss. This can be physically demanding, but it ensures no chemical residues remain on the surface. After pulling out the debris, sweep the area clean to remove any remnants.
Preventing Future Growth
After addressing the issue, consider applying a layer of sand to the joints between the pavers. This can inhibit future growth by creating an unsuitable environment for seeds to settle. Regular maintenance, including periodic checks and quick removal of new sprouts, will significantly reduce the likelihood of recurrence.
Maintaining a Clean Paved Surface After Tidying
To ensure longevity and aesthetics, consider sealing the surface. Applying a high-quality sealer protects against stains and weathering, making future upkeep simpler. It also enhances the colour and surface texture.
Regular Sweeping and Inspection
Establish a routine to sweep the area weekly. This action prevents debris accumulation, which can lead to stains and growth of unwanted plants. Additionally, frequently inspect for any signs of damage or loose units that require attention.
Promptly Address Stains and Damage
As soon as you notice a spill, take immediate action. Blot liquids with an absorbent cloth and use suitable cleaning solutions designed for porous materials. For any chips or cracks, apply a repair compound to maintain both integrity and appearance.
Consider adding a layer of landscaping around the edges to deter soil erosion and manage water flow. This helps keep the area clean and reduces maintenance efforts in the long run.


