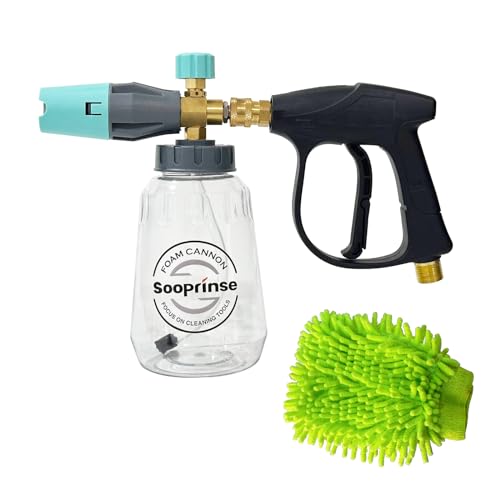


The first step involves removing any loose debris such as leaves, twigs, and dirt. A stiff broom works wonders for this task. Sweep thoroughly across the surface, ensuring that all corners and crevices are addressed. Take your time; this initial clean-up sets the foundation for the next stages.
Next, create a mixture of warm water and mild dish soap in a bucket. Use a brush with firm bristles to scrub the surface. This combination is gentle yet effective, helping to lift stains and grime. Focus on particularly dirty areas, applying a bit more pressure if necessary. Rinse with clear water to wash away any soap residue.
For stubborn spots, consider a paste made from baking soda and water. Apply this directly to the stains and let it sit for a while. After it has penetrated, scrub again with your trusty brush. The baking soda will assist in breaking down tough residues. Rinsing afterward is crucial to remove any remnants of the paste.
Finally, to prevent the accumulation of dirt in the future, consider sealing the surface with a suitable product. This not only keeps it looking aesthetically pleasing but also simplifies maintenance in the long run. Regular upkeep with gentle sweeping and occasional washing will keep your outdoor area welcoming.
Effective Techniques for Outdoor Surface Maintenance
Utilising a mix of vinegar and water at a 1:1 ratio creates an effective solution. Apply this mixture generously to the surface, allowing it to sit for approximately 15 minutes to break down grime.
Use a stiff-bristled broom or brush to scrub the area, focusing on any stains or weathered sections. This action loosens dirt and algae. Rinse the area thoroughly using a garden hose, ensuring that all residue is washed away.
For tougher stains, a paste made from baking soda and water can provide additional scrubbing power. Spread this paste over the stained area, let it set for 30 minutes, then scrub and rinse. Repeat this process as necessary.
- Consider using a diluted bleach solution for moss and mildew; ensure to protect any nearby plants.
- Maintaining a sealant application annually can help prevent future build-up and reduce the frequency of the scrubbing process.
- Regular sweeping helps prevent dirt accumulation, making future care easier.
Utilise a mixture of dish soap and hot water for a basic clean. This solution is safe for outdoor surfaces and helps lift everyday debris.
In case of persistent stains, commercial cleaners specifically formulated for outdoor surfaces may be worth trying. Always follow manufacturer instructions and perform a patch test to avoid damage.
Stay persistent. Regular maintenance will simplify the upkeep process over time, ensuring a clean, inviting space for relaxation and entertainment.
Gather Necessary Cleaning Supplies for Brick
For an effective approach to refreshing your outdoor surfaces, assemble a few key items. Opt for a stiff-bristled broom, which is ideal for sweeping away loose dirt and debris. A durable scrub brush will be essential for tackling more stubborn stains.
Consider a pH-neutral cleaner or a solution of vinegar and water for a non-toxic option. For tougher spots like grease or oil, a focused degreaser can provide significant benefits. Make sure to have a bucket on hand to mix your cleaning solution, and a garden sprayer or spray bottle for easy application.
Additionally, gloves are important for protecting your hands during the process, while a sponge or cloth will help with wiping down surfaces post-application. A hose with a spray nozzle will also assist in rinsing, ensuring that all residues are thoroughly removed.
Gathering these supplies will set the stage for successful maintenance, making the task at hand straightforward and manageable.
Remove Loose Debris and Dirt from Patio Surface
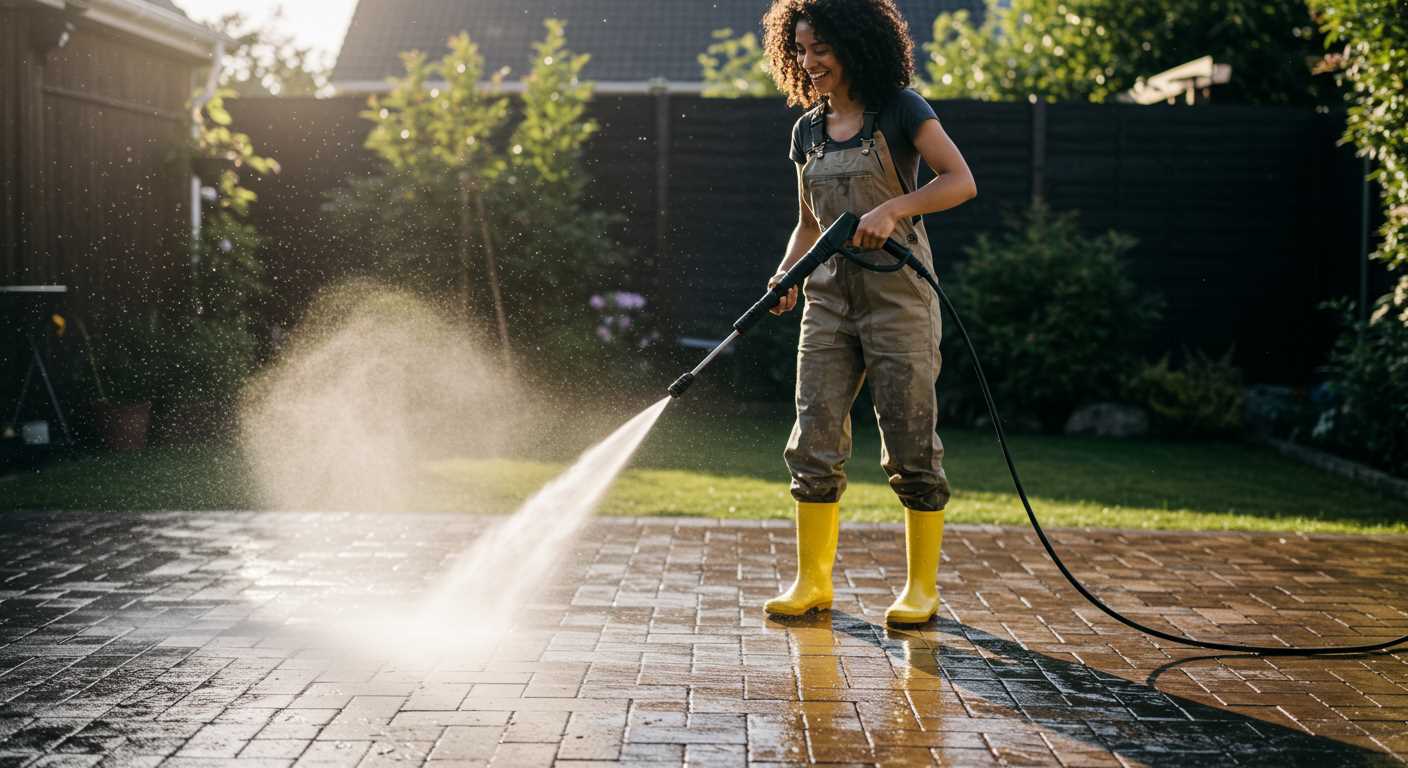
Begin by sweeping the area with a sturdy broom, ensuring all loose debris such as leaves, dirt, and twigs are removed. Focus on corners and edges where dirt accumulates. A stiff-bristled broom is ideal for dislodging stubborn particles.
Utilise a Dustpan
After sweeping, use a dustpan to collect the debris. Make sure to get into crevices between the stones where larger particles may be hiding. Disposing of this waste prevents mould growth and ensures your surface is ready for the next step.
Consider a Leaf Blower
If available, a leaf blower can efficiently remove small debris. Direct the airflow across the surface, ensuring to cover all areas evenly. This method is particularly effective for hard-to-reach spots, allowing for a thorough removal process.
Choose the Right Cleaning Solution for Stains
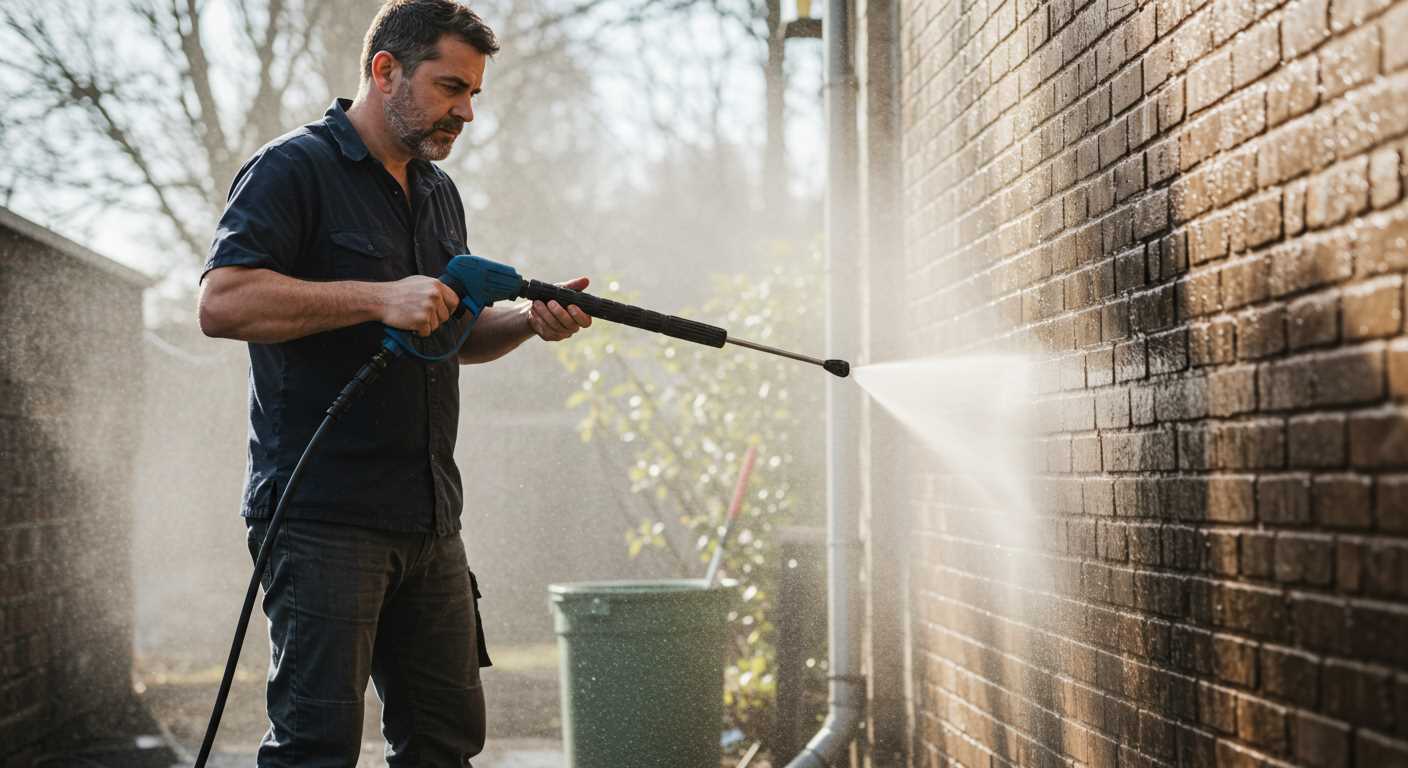
For effective removal of blemishes, selecting the correct cleaning agent is paramount. The nature of the stain dictates the most suitable solution. Here’s a table summarising common stains and recommended cleaning products.
| Type of Stain | Recommended Solution |
|---|---|
| Oil Grease | Degreaser or dish soap mixed with warm water |
| Food Spills | Vinegar diluted with water or baking soda paste |
| Moss and Algae | Bleach solution (1 part bleach to 10 parts water) |
| Rust | Citrus-based cleaner or commercial rust remover |
| General Dirt | Soap and water solution |
Application Tips
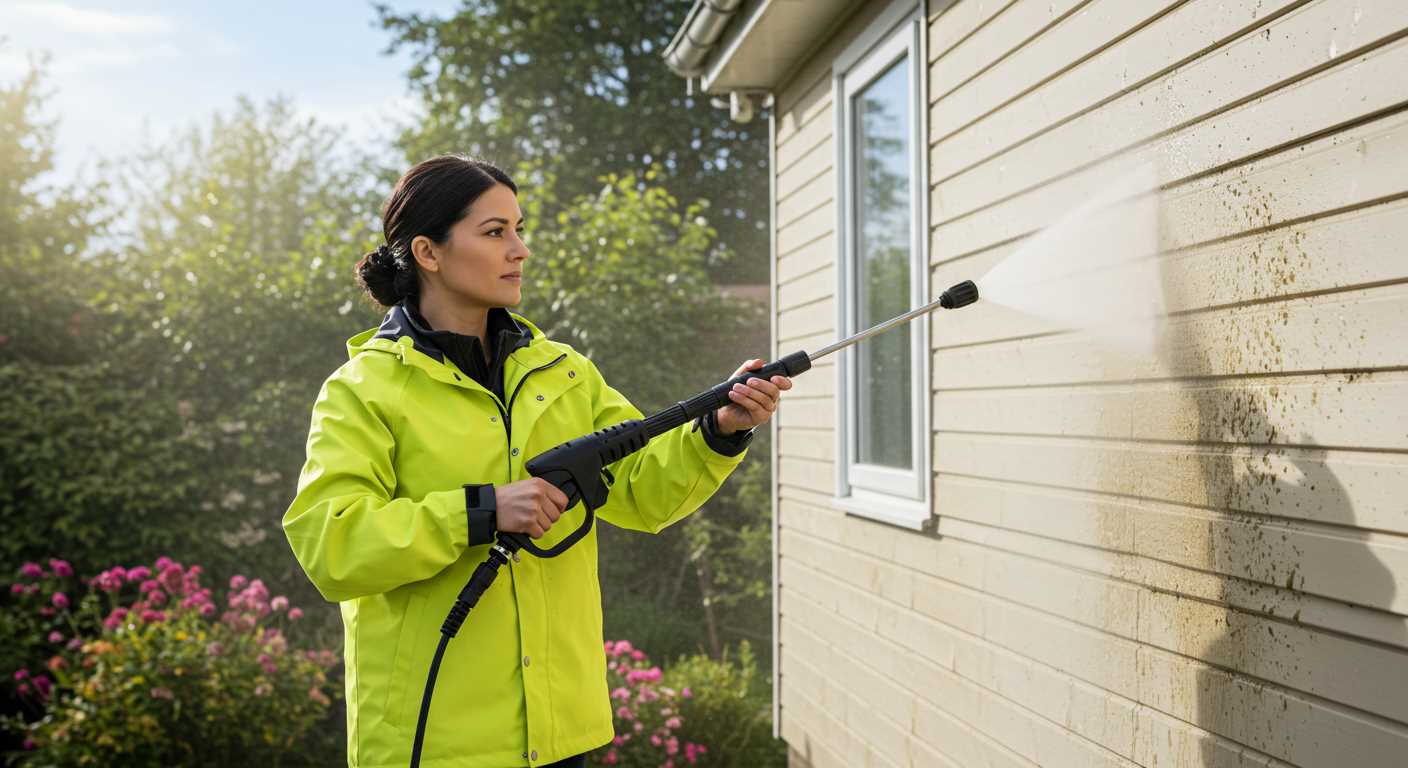
After selecting the appropriate product, apply it liberally over the affected areas. Allow time for the solution to penetrate–approximately 15–30 minutes–before scrubbing with a stiff-bristled brush. Rinse thoroughly with a garden hose to remove residues. Adjust the concentration if stains persist, but avoid using highly acidic or abrasive substances that could damage your surfaces.
Apply Cleaning Solution Evenly Across Brick Surface
For optimal results, applying the cleaning mixture uniformly is crucial. I recommend using a sprayer or a watering can with a fine spout to distribute the solution. Focus on overlapping sections to ensure no areas are missed, which can leave unsightly blotches. Additionally, aim to maintain a consistent distance from the surface to avoid puddling.
Start from one end of the area and work your way across, ensuring you cover all corners. For large surfaces, tackling it in sections is practical; this allows adjustment of the solution concentration if needed. To enhance absorption, consider lightly agitating the surface with a soft-bristled broom after application.
Let the solution dwell for the recommended time on the label, monitoring closely to avoid drying. This gives it ample time to break down grime and stains effectively. After the dwell time, inspect the surface for any areas that may require another application or extra attention. Use gentle pressure when scrubbing those spots to avoid damaging the material.
Finally, rinse thoroughly with clean water, ensuring no residue is left behind. This will reveal a refreshed and rejuvenated appearance, ready for use once again.
Scrub Stained Areas with Appropriate Brushes
For stubborn stains, a stiff-bristled brush is my go-to choice. These brushes penetrate deeply into the texture of the surface, effectively lifting grime and residue. Opt for one with a long handle to maintain comfort while tackling larger areas.
Brush Types
Different types of brushes serve unique purposes. A wire brush is perfect for heavy-duty tasks, especially on more resilient surfaces. However, use this with caution as it can scratch softer materials. For delicate conditions, a nylon or synthetic-bristle brush is advisable. It’s gentle yet robust enough for moderate scrubbing.
Technique for Maximum Results
Work in sections, applying consistent pressure as you scrub. Circular motions can be particularly effective for breaking down built-up dirt. Rinse each section after scrubbing to see your progress, ensuring you’re not just spreading the grime. Additionally, keep your brush clean by rinsing it regularly to avoid redepositing dirt.
Implementing these strategies enhances the overall cleaning process, ensuring a refreshed appearance and longevity for your outdoor surfaces.
Rinse Off Cleaning Solution with Water
After applying the chosen detergent, ensure to thoroughly rinse the surfaces. A garden hose with a spray nozzle fitted for versatility will work perfectly for this task.
Steps for Effective Rinsing
- Attach a spray nozzle to your hose for a manageable water flow.
- Begin by moistening the entire area to help lift any residue.
- Starting from one end, spray the surface systematically, moving towards the exit point to avoid stepping on freshly rinsed areas.
- Focus on areas where cleaning solution was applied the heaviest, ensuring all residues are washed away.
- For stubborn spots, use a broom or scrub brush while rinsing to ensure all traces of the detergent are eliminated.
Final Tips
- Rinse on a day with clear skies to prevent rapid drying, which can leave residue behind.
- Check for any missed areas after rinsing; redo those sections to guarantee a spotless finish.
- Allow the surface to dry completely before regular use to avoid any slippery conditions.
Avoiding Common Mistakes During the Cleaning Process
One frequent error is using the wrong cleaning agents. Acidic solutions can damage the surface. Always check the manufacturer’s recommendations for safe products that won’t harm the surface finish.
Over-scrubbing is another pitfall. Applying excessive pressure can lead to scratches or wear down the material. Use a brush with appropriate bristles and let the cleaning solution do most of the work.
Working in Unfavourable Weather
Cleaning during rain or extreme heat can impact results. Rain can wash away cleaning agents before they take effect, while high temperatures can cause solutions to evaporate prematurely, leaving residue. Choose a mild day for this task.
Ignoring Safety Precautions
Neglecting safety can lead to accidents. Always wear gloves and protective eyewear when handling cleaning solutions. Ensure the area is well-ventilated, especially if using strong chemicals.
Maintain Your Brick Patio Regularly After Cleaning
For optimal longevity of your outdoor space, implement a routine maintenance schedule. Sweep the area weekly to eliminate debris and prevent staining. An occasional light washing with a simple mixture of water and mild soap can help inhibit moss and algae growth, which can become problematic over time.
Seal for Protection
Applying a quality sealant every few years can safeguard against moisture damage and stains. Look for products specifically designed for porous surfaces, ensuring a proper bond and effectiveness. Before application, confirm the area is completely dry and free of contaminants to achieve the best results.
Be Mindful of the Weeds
Regularly inspect the seams between the stones and remove any weed growth promptly. A mixture of vinegar and water can be effective for spot-treating weeds without harming the surface. Alternatively, consider using landscape fabric or sand in the joints to deter weed resurgence.


