
The best approach involves a mixture of warm water, a mild detergent, and a stiff-bristled brush. Start by sweeping the area to remove debris, ensuring a smooth surface for treatment. Dilute the detergent in a bucket of warm water, using a ratio of about one cup of detergent to three gallons of water.
Next, dip the brush into the solution and apply it to the surface in small sections. Work the mixture into any stubborn stains or discolouration by applying moderate pressure, allowing it to penetrate for a few minutes. After treating an area, rinse it thoroughly with clean water.
For persistent marks, consider a paste made from baking soda and water. Apply the paste on the affected spots and let it sit for several hours before scrubbing. This method will help lift tough stains while being gentle on your surfaces.
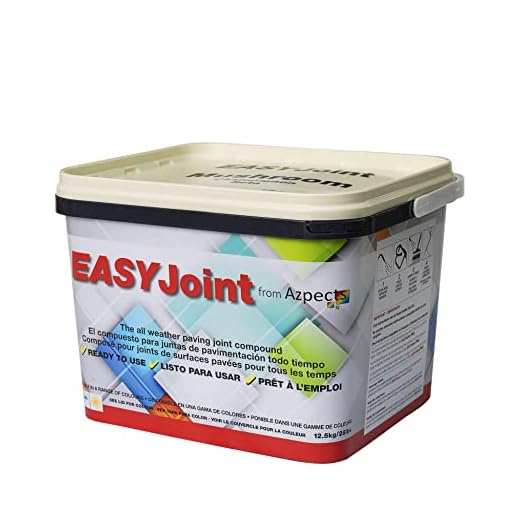
As a finishing touch, once everything is clean and rinsed, ensure that the joints between your tiles or blocks are filled and stable. If needed, apply a jointing compound for added durability and appearance, preventing dirt and weeds from returning. Maintaining this routine will keep your outdoor surface looking fresh and inviting.
Assessing the condition of your outdoor surface
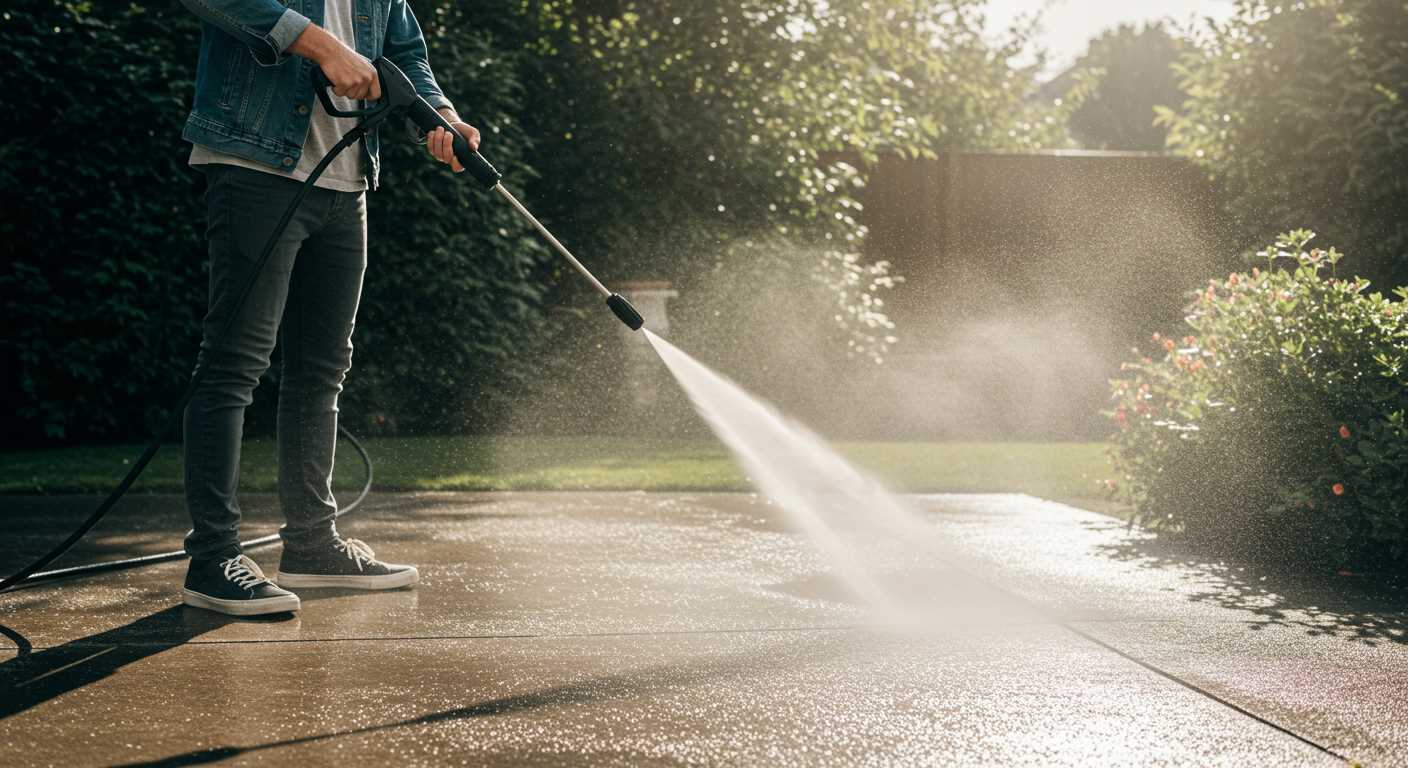
Begin by inspecting for any significant cracks or gaps between the units. Assess whether weeds are sprouting through, as this indicates a potential problem with joint integrity. Check for areas of discolouration; stains may suggest the presence of oil or other contaminants, while lighter patches could indicate efflorescence, a common issue with moisture. Consider the overall flatness of the area; uneven spots can lead to water pooling, which exacerbates deterioration.
Utilise your foot to tap on various sections, listening for hollow sounds which may reveal shifting or loose stones. Run your hand across the surface to feel for roughness or rough patches, which could indicate wear over time. Lastly, examine drainage options; blocked channels can lead to water accumulation, further damaging the masonry.
Choosing the Right Cleaning Solution for Your Bricks
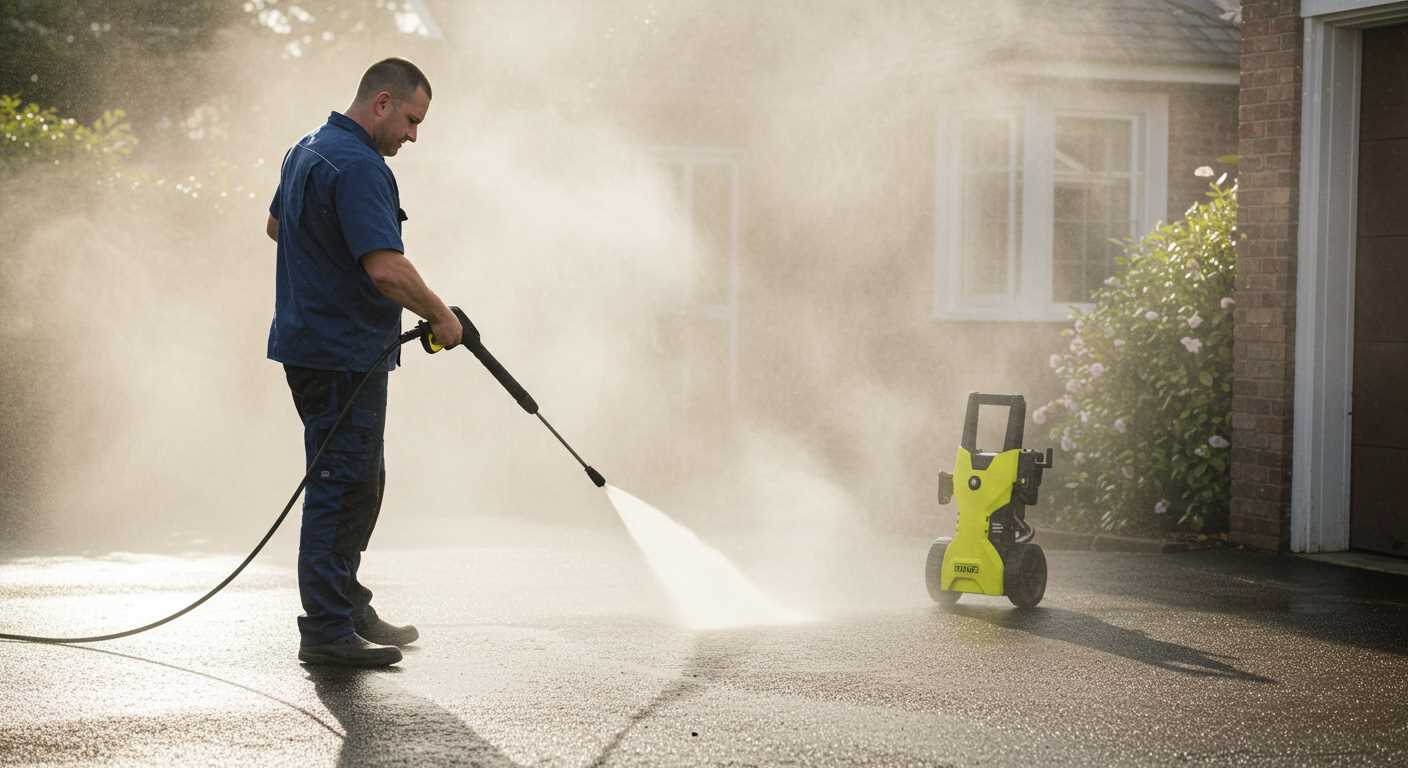
For effective maintenance, selecting an appropriate cleaning solution is key. The type of cleaner must correspond with the specific stains encountered and the material composition of the surface.
Types of Cleaning Solutions

- Natural Solutions: A blend of vinegar and water is ideal for light soil and organic stains. Use a ratio of 1:1 for optimal results.
- Commercial Cleaners: Look for pH-neutral products designed specifically for masonry. These ensure a balance between efficacy and safety for the surface.
- Bleach:** For stubborn mould or mildew, a diluted bleach solution can be effective, but always rinse thoroughly to avoid residue.
Application Tips
- Test any solution in a small, inconspicuous area first. Observe for any adverse reactions or discoloration.
- Apply cleaners during cooler parts of the day to prevent rapid evaporation and enhance penetration.
- Use a scrubbing brush for better agitation, ensuring thorough removal of dirt and stains.
Choosing wisely will ensure longevity and maintain the aesthetics of your surfaces while preventing damage from harsh chemicals. Assess the condition, choose the right product, and prepare for effective rejuvenation of your hard surfaces.
Preparing the area for cleaning
Clear the surface of debris, dirt, and any obstacles. This step prevents scratches and ensures a thorough approach. Sweep or rake the area to collect leaves, twigs, and stones, making it easier to spot stubborn stains.
Check for plant life
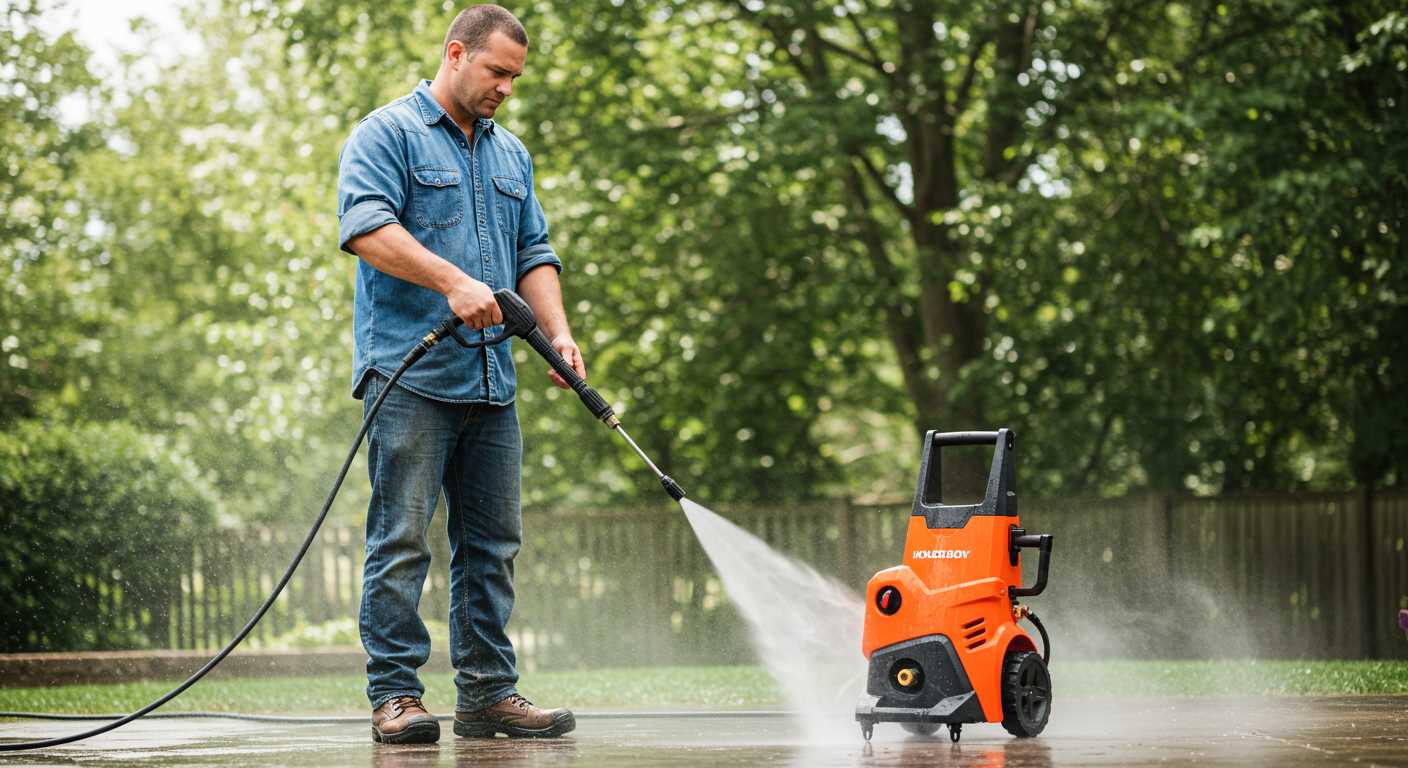
Examine any surrounding vegetation. Cover nearby plants with tarps or old sheets to protect them from potential damage caused by cleaning agents. Use biodegradable solutions where possible to minimise environmental impact.
Gather necessary tools
Collect all required equipment and materials before starting. Include a stiff-bristled brush, buckets, measuring tools for liquids, and safety gear such as gloves and goggles. This preparation streamlines your process and enhances safety.
| Tool/Material | Purpose |
|---|---|
| Stiff-bristled brush | Remove grime and algae |
| Buckets | Mix cleaning solutions |
| Measuring tools | Ensure correct solution ratios |
| Gloves | Protect hands from chemicals |
| Goggles | Shield eyes from splashes |
Using Manual Scrubbing Techniques
To restore the appearance of your stone surfaces, use manual scrubbing with the right tools and approach. A stiff bristle brush is ideal for tackling stubborn stains and grime.
Recommended Materials
- Stiff-bristled brush or floor scrubber
- Bucket for mixing cleaning solutions
- Sponge or cloth for rinsing
- Protective gloves to safeguard your hands
- Old towels or rags for drying
Scrubbing Process
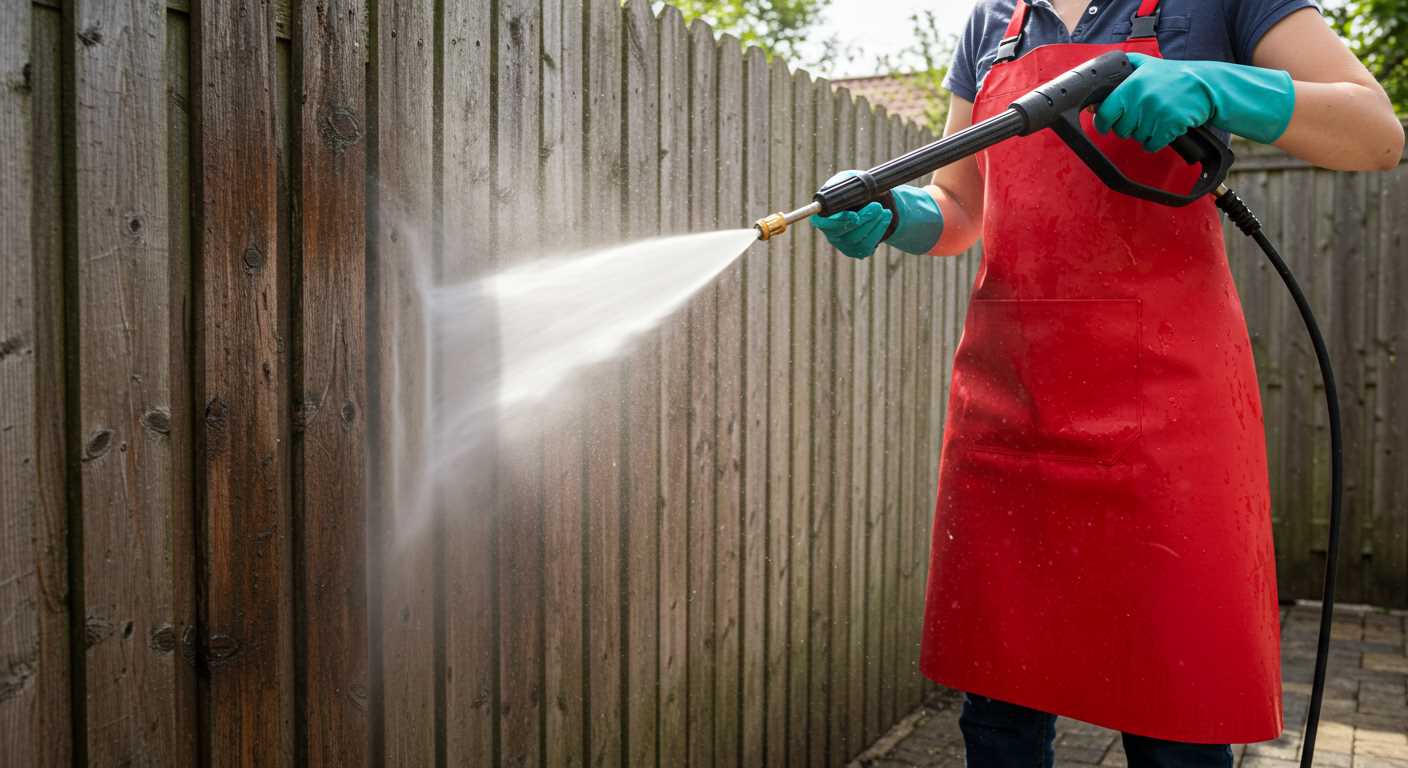
- Mix your chosen cleaning solution in the bucket, following the manufacturer’s instructions for dilution ratios.
- Apply the solution generously to sections of the surface, allowing it to sit for a few minutes to penetrate stains.
- Using the stiff-bristled brush, scrub vigorously in circular motions, focusing on heavily soiled areas. Work in small sections for effective results.
- After scrubbing, use a sponge or cloth dipped in clean water to remove the solution and dirt. Ensure no residue is left behind.
- For stubborn stains, consider repeating the application and scrubbing process as necessary.
- Finally, dry the surfaces using old towels or rags to prevent water spots and allow the area to fully air out.
Consistency with this method will yield noticeable improvements, enhancing the charm of your outdoor area.
Removing stubborn stains and mould
For tough blemishes and mould growth, I recommend creating a mixture of equal parts white vinegar and water. This solution is both natural and effective against entrenched grunge. Apply the mixture generously onto the affected areas and allow it to penetrate for approximately 20 minutes.
After allowing the solution to dwell, grab a stiff-bristled brush. Scrub vigorously in circular motions to break down the residue. If the stain stubbornly lingers, sprinkle some baking soda directly onto the area before scrubbing again. The mild abrasiveness of baking soda enhances the cleaning action.
For particularly persistent marks
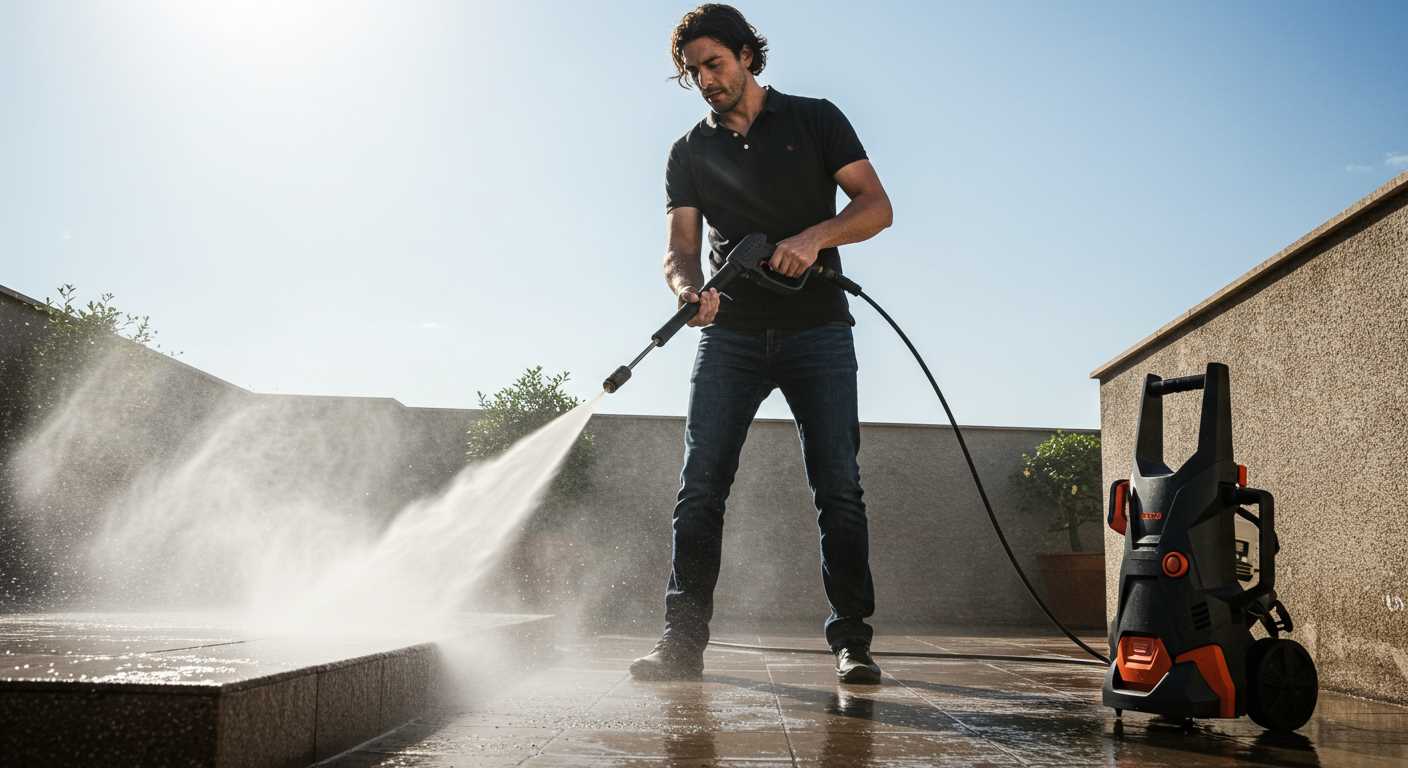
Consider utilising a diluted bleach solution (one part bleach to ten parts water). Carefully apply this mixture to the stained region, ensuring proper ventilation, and wear gloves to protect your hands. Leave it on for 10 to 15 minutes. This method effectively targets mould spores that vinegar might not fully remove.
Always rinse the area thoroughly with clean water after treatment to prevent any chemical residues from affecting surrounding vegetation. If necessary, repeat the process until the surface is clear. Regular maintenance will help to keep these unsightly features at bay, reducing the frequency of deep cleansing sessions.
Finishing touches and maintenance tips
To enhance the appearance and longevity of your outdoor surfaces, apply a sealer post-cleaning. This protects against moisture and stains, making future upkeep easier. Opt for a water-based sealant to ensure compatibility with most surfaces. Allow the surface to dry thoroughly before application for best results.
Regular inspections
Conduct routine checks for cracks, loose sections, or signs of joint deterioration. Early detection of these issues can prevent costly repairs later. Fill small gaps with sand or a suitable jointing compound to maintain stability and prevent weed growth.
Weather considerations
Be mindful of seasonal changes that can impact your exterior surfaces. During heavy rainfall, consider adjustments to drainage and surface slopes to prevent pooling. In colder months, check for ice and snow accumulation that could lead to damage or slipping hazards.


