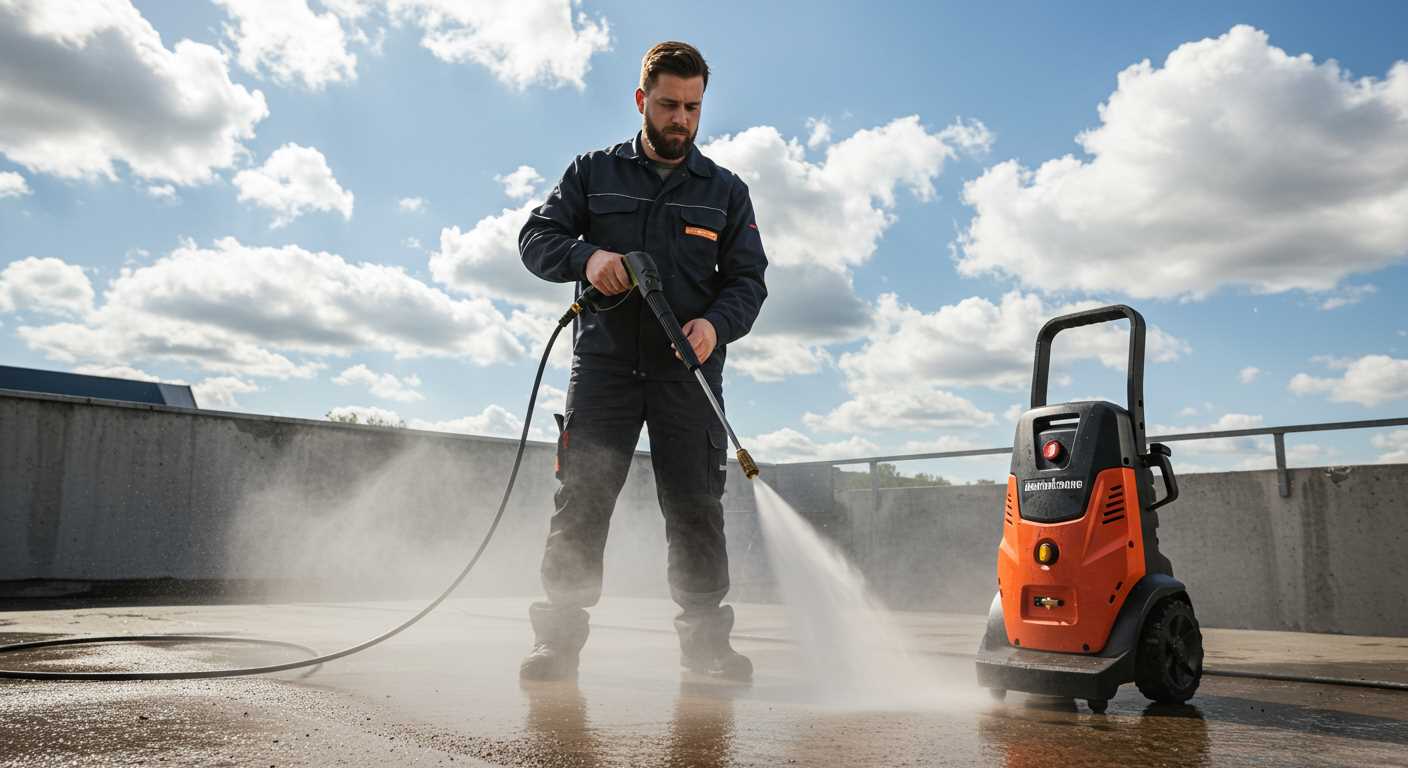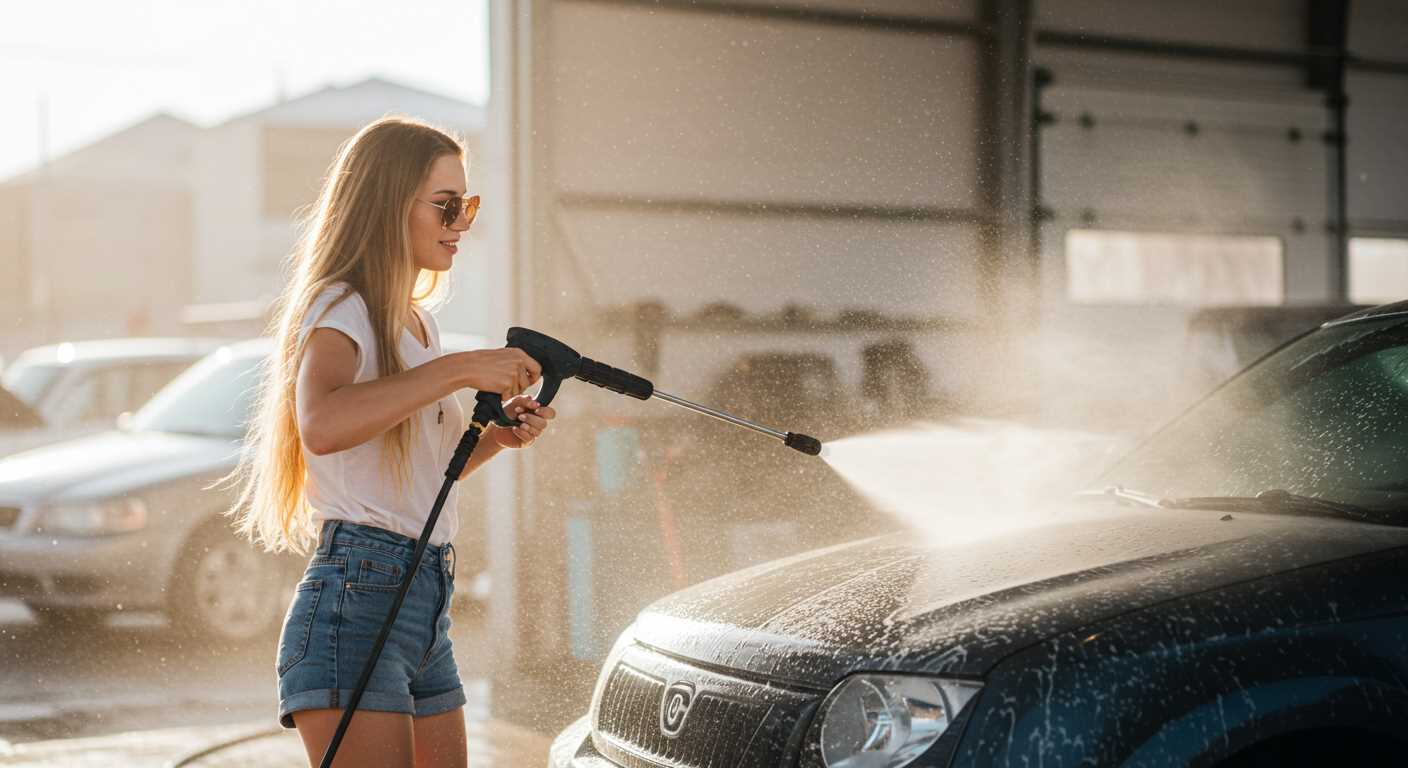


To achieve a spotless surface, I recommend utilising a cleaning machine equipped with a turbo nozzle. This specific attachment provides a focused and powerful jet of water, enabling the removal of embedded dirt and stains effectively. Make sure to maintain a distance of around 30 centimetres from the surface to avoid any potential damage.
Prior to commencing, it’s critical to perform a thorough inspection of the area. Remove any debris such as leaves or branches, and clear out furniture or items that may obstruct your workflow. For stubborn areas, a pre-treatment with a suitable cleaning solution can enhance results significantly; simply apply it and allow it to sit for approximately 10-15 minutes before washing.
During the operation, employ a sweeping motion and overlap each pass slightly to ensure uniform coverage. Be cautious around edges and joints; it’s easy to erode these areas if the angle is too steep or the pressure too high. After rinsing, assess the surface for missed spots, and repeat the process if necessary.
Effective Techniques for Patio Refreshment
For a thorough refresh of your outdoor surface, begin by selecting a model that delivers at least 2000 PSI paired with a minimum of 2 GPM. This combination ensures a robust flow that tackles stubborn grime and stains effectively.
Spray nozzles are critical; I recommend a 25-degree nozzle for general cleaning. It’s versatile enough for most debris while preventing damage to the surface. Position the nozzle about 12 inches away from the surface and keep it moving in a steady, sweeping motion to ensure uniform results.
Chemical Assistance and Saturation
If stains persist, consider applying a suitable cleaning solution before washing. Allow it to sit for 10-15 minutes to penetrate deeply into the affected areas. Rinse well to remove any residues, ensuring that your wash maintains its potency without leaving any soaps or chemicals behind.
Finishing Touches and Maintenance
After you finish, leave the surface to dry naturally. Regular maintenance after the initial washing can significantly prolong the cleanliness and appearance of your exterior space. A quick rinse every few months will help keep it in good shape and prevent heavy build-up.
Gather the Necessary Equipment and Supplies
Prepare a checklist of items before commencing the cleaning task. Essential tools include a high-pressure cleaning device, a surface cleaner attachment for even coverage, a long extension hose, and a reliable electric or gas-powered unit. Select a suitable detergent designed specifically for use with pressure cleaning machines, ensuring compatibility to avoid damage.
Recommended Supplies:
| Item | Purpose |
|---|---|
| Pressure Cleaner | Primary tool for removing dirt and grime |
| Surface Cleaner Attachment | Ensures uniform cleaning results without streaks |
| Extension Hose | Provides extra reach, especially for larger areas |
| Detergent | Enhances cleaning power and assists in stain removal |
| Protective Gear | Safeguards eyes and skin during the process |
Additional items such as a broom for sweeping debris and a bucket for rinsing mixing solutions may be useful. Always ensure the area is clear of obstacles to facilitate an efficient process. Assess and confirm the condition of the equipment prior to use to avoid interruptions. Having all tools ready simplifies the task and maximises results.
Prepare the Surface for Cleaning
Begin by removing all furniture and items from the area. This ensures a clear workspace, allowing for efficient cleaning. Pay attention to potted plants, tools, or decorative elements that might obstruct your approach.
Inspect the Area
Examine the surface closely for cracks, stains, or high-traffic grime. Identifying problem spots in advance will help in targeting them effectively during the washing process.
Remove Debris

- Use a broom or a leaf blower to eliminate loose dirt, leaves, and other debris.
- Check for any cobwebs or dust that may have accumulated in corners or crevices and remove them.
If there are any heavy stains or moss growth, consider pre-treating these areas with a suitable cleaning solution formulated for tough stains. Allow it to sit as per the product instructions before proceeding.
After ensuring the area is debris-free and pre-treated, check your surroundings. Ensure the nearby plants are either covered or moved to prevent any unwanted chemical exposure. Take care to protect surfaces like walls or windows from the water spray and cleaning solutions.
Having completed these steps, the area is now primed for an effective and thorough washing session. The preparation sets the stage for achieving optimal results and ensuring longevity of the surface.
Select the Right Pressure Washer Settings
Set the pressure to a minimum of 2000 PSI, which effectively tackles staining and dirt build-up without damaging surfaces. A higher pressure isn’t always beneficial; excess force can etch the material, leading to unwanted repairs.
Nozzle Selection
Utilise a wide-angle nozzle (25-30 degrees) for expansive areas. This ensures adequate coverage while preventing concentrated streams that might scuff. For tougher grime, consider a 15-degree nozzle, but be cautious about its concentrated force.
Adjusting Water Flow
Choose an adjustable flow rate suitable for the task. Higher flow allows for better rinsing but may use more water. Balance efficiency and thoroughness based on the level of soiling. If the surface is particularly stubborn, a slower, more deliberate pass helps enhance cleaning efficacy.
Choose Appropriate Cleaning Solutions for Stains
Selecting the right cleaning agents is crucial in tackling various blemishes on hard surfaces. Different stains require specific solutions to achieve the best results efficiently. Below are guidelines based on common types of stains:
Types of Stains and Recommended Solutions
| Stain Type | Recommended Solution |
|---|---|
| Oil and Grease | Use a degreaser specifically designed for heavy-duty applications. Look for biodegradable options for environmental safety. |
| Rust | Apply a rust remover that contains phosphoric acid. This will help break down the rust and restore the surface. |
| Algae and Mold | Utilise a bleach-based solution or a commercial algaecide. Ensure to follow safety precautions while using strong chemicals. |
| Food and Beverage | A mixture of warm water and dish soap is effective. For stubborn stains, consider an enzymatic cleaner that targets organic matter. |
| Paint | Employ a paint thinner or solvent specifically formulated for the type of paint. Always test in a small area first to ensure compatibility. |
Always conduct a patch test with any solution in an inconspicuous area before application. This ensures compatibility with the surface and avoids potential damage. For best results, allow the chosen solution to sit for a specified period as indicated on the product label before using the washing equipment.
Mix each cleaning agent according to the manufacturer’s recommendations to ensure optimal performance and safety. Always wear protective gear such as gloves and goggles to shield against harmful chemicals.
Apply Cleaning Solution Evenly Across the Patio

To achieve optimal results, I recommend applying the cleaning solution in a uniform manner across the entire surface. This ensures that all areas receive adequate treatment for effective stain removal and dirt dislodging.
Steps for Application
- Using a sprayer or garden pump, apply the solution from one end to the other, maintaining a consistent pressure.
- Work in sections, starting from the farthest point and moving towards the exit to avoid standing on the wet area.
- Overlap passes slightly to ensure complete coverage, particularly on stubborn spots.
- Let the solution dwell for the recommended time according to the product label, allowing the active ingredients to break down grime.
Additional Tips
- Keep the sprayer nozzle at a consistent distance from the ground for an even application.
- Use a brush or broom to agitate the solution in areas with heavy soiling before the final rinse.
- Monitor the weather to avoid application during rain or extreme sunlight, which can affect the solution’s effectiveness.
By meticulously applying the cleaning solution, you pave the way for a thorough rinse and rejuvenated surface, ensuring long-lasting results.
Technique for Using Pressure Washer on Cement

For optimal results, maintain a consistent distance of 12 to 18 inches between the nozzle and surface. This helps avoid damage while ensuring thorough cleansing. Start from one corner and move systematically in overlapping strokes to cover the entire area. This ensures uniformity and prevents streaks.
Adjusting the Nozzle
Utilise a nozzle with a 25-degree angle for broader coverage, switching to a 15-degree nozzle for stubborn spots. The latter concentrates the stream, providing more power to tackle entrenched grime and algae. Always test the pressure on a small, inconspicuous area before committing to the entire surface.
Utilising the Right Technique

Begin washing with the nozzle angled at approximately 45 degrees. This angle helps to lift dirt away rather than driving it deeper into the material. Move in a steady, sweeping motion, ensuring you do not linger on any spot for too long to prevent etching. Implement a back-and-forth technique for larger areas to enhance efficiency.
Rinse the Patio Thoroughly After Cleaning
After applying a cleaning solution and using your high-pressure device, it’s crucial to rinse the area thoroughly. Aim to remove all traces of detergent and loosened dirt. This ensures no residue remains, which could negatively impact the surface over time.
Begin by adjusting your equipment to a wide spray pattern, typically around 25 to 40 degrees, to cover more ground. Start from one corner and work your way to the opposite side, ensuring you overlap each pass slightly to prevent spotting.
Maintain a safe distance of about 12 to 18 inches from the surface. This prevents any potential damage from high-pressure water jets while ensuring effective removal. Always direct the nozzle away from edges and joints to minimise the risk of lifting or loosening materials.
Rinse in sections if the expanse is large, allowing for thorough coverage without overwhelming yourself. This method also provides a chance to inspect the surface as you progress, ensuring no spots are missed.
Finally, ensure adequate drainage so that the water does not pool in any areas. This will promote quicker drying and help maintain the integrity of the surface over time.
Maintain Your Patio Post-Cleaning for Longevity
Regular sealing of the surface after cleansing is fundamental to preserve its integrity. I recommend applying a high-quality sealer suitable for the type of surface. This not only prevents moisture infiltration but also hinders the growth of mould and mildew. Ensure the area is completely dry before application, ideally waiting 24 to 48 hours after washing.
Implement a routine inspection schedule for cracks or gaps that may develop over time. Small fissures can escalate if not addressed, leading to larger issues like weed growth or water damage. Use a concrete repair caulk to fill any observed cracks promptly.
Keep the surface free of debris. Regularly removing dirt, leaves, and other organic matter will prevent staining and growth of unwanted plants. A simple broom or leaf blower can save you a lot of trouble in the long run.
After heavy rainfall or inclement weather, briefly inspect for any standing water, as puddling can promote deterioration. Ensure that drainage systems are clear, allowing water to flow freely away from the area.
During winter months, consider using appropriate de-icing products instead of regular salt, which can cause pitting and scaling. Clear snow promptly to prevent significant build-up, which can be more challenging to manage later.
Lastly, remember to maintain nearby landscaping. Trim any overhanging branches that may drop leaves or debris, and consider installing edging to keep soil in place and prevent erosion near the edges of the surface.


