


Begin by preparing a solution of warm water and a suitable detergent, ensuring it’s gentle yet powerful enough to tackle stubborn stains. Use a stiff-bristled broom to apply this mixture generously across the area. The goal is to saturate the surface effectively, allowing the cleaner to penetrate and work on the grime.
After applying the solution, let it sit for approximately 15 to 20 minutes. This soaking time is crucial; it allows the detergent to break down dirt and stains effectively. If you notice any particularly tough spots, consider scrubbing them with a brush to give them a little extra attention.
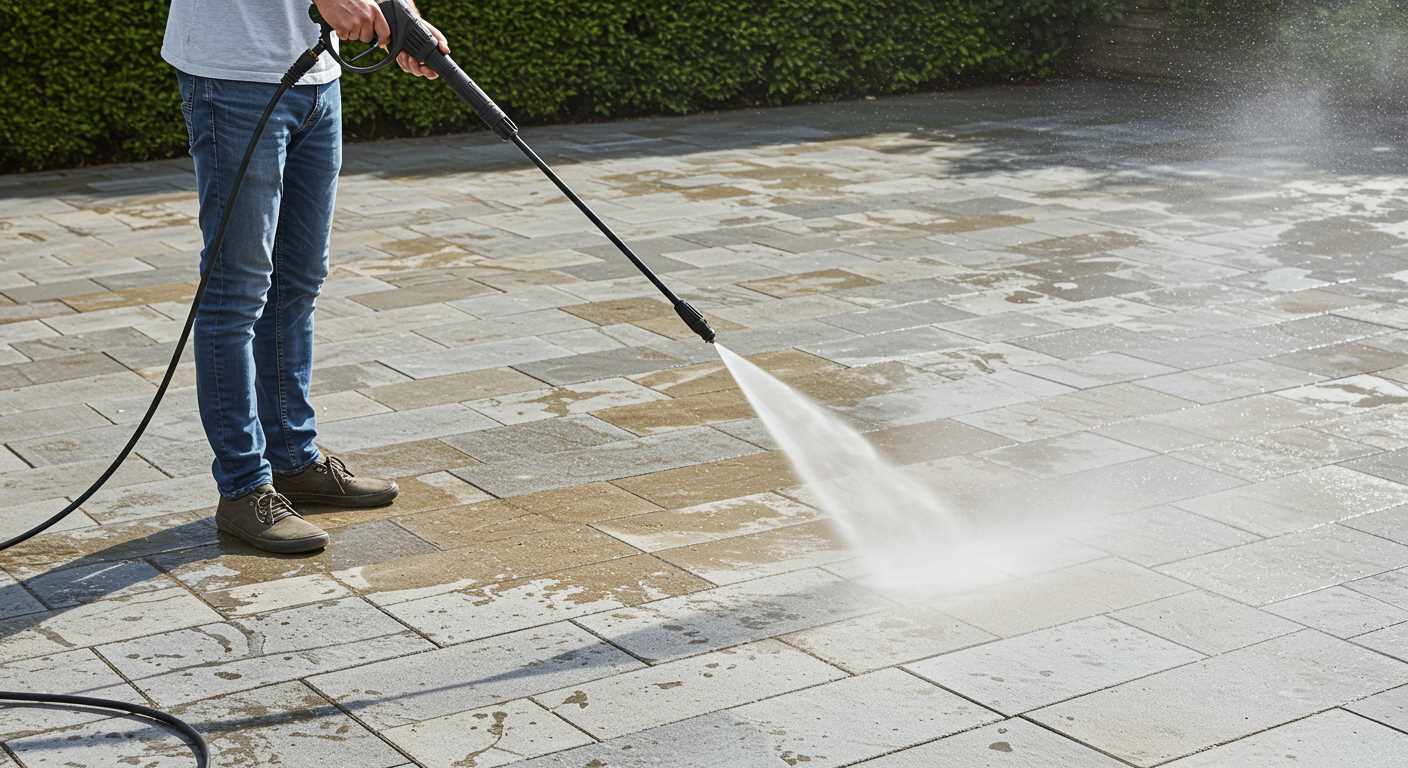
Once the solution has had time to act, grab a hose equipped with a spray nozzle. Set the nozzle to a moderate setting to rinse away the mixture. This method ensures that your outdoor area gets a thorough rinse without causing any damage or excessive force that a pressure device might apply. Aim to remove all residue, as leftover detergent can lead to slippery conditions.
For persistent stains that remain after rinsing, a mixture of baking soda and vinegar can work miracles. Sprinkle baking soda over the stain, then spray vinegar on top. Once it begins to fizz, scrub the area gently with a brush. Follow up with water to rinse it clean.
Effective Techniques for Maintenance of Your Outdoor Surface
Mix a solution of warm water and mild detergent. Use a hard-bristle broom or a stiff brush to apply the mixture. Scrub the surface thoroughly, investing extra time in areas with stubborn grime or moss.
For Stains
Utilise a combination of baking soda and vinegar. Sprinkle the baking soda directly onto the stained area, then apply vinegar. Allow the mixture to bubble and foam for about 10-15 minutes. Scrub gently, then rinse with clean water.
Preventing Future Build-Up
- Regular sweeping will help eliminate debris before it settles.
- Consider using a sealant every couple of years. This provides a protective layer resistant to stains and moisture.
- Plant maintenance around the area can minimise falling leaves and debris, which contribute to dirt accumulation.
Test any solution on a small, inconspicuous area to ensure it does not cause discolouration before applying it to the entire space.
Gather Necessary Cleaning Supplies
To effectively refresh your outdoor surface, assemble these items:
- Broom or Brush: A stiff-bristled broom or a large brush helps to remove loose debris and dirt.
- Bucket: A sturdy bucket for mixing cleaning solutions and rinsing.
- Cleaning Solution: A mix of warm water with mild detergent or a specially formulated cleaner for tough stains.
- Stiff Scrub Brush: Ideal for tackling tough spots and ingrained dirt.
- Garden Hose: Preferably with a spray nozzle for controlled water flow to rinse off the solution.
- Sponges or Cloths: Useful for applying cleaners and wiping surfaces.
- Protective Gear: Gloves and safety glasses to shield against chemicals and debris.
- Degreaser: This is beneficial for oil stains or greasy patches.
- Vinegar or Baking Soda: Both are effective eco-friendly alternatives for some cleaning tasks.
Ensure these supplies are within reach to facilitate a smooth cleaning session. Having everything prepared will save time and enhance the overall outcome.
Select the Right Cleaning Solution for Stains
Choose a solution based on the type of stain present. For oil marks, a degreaser specifically formulated for heavy-duty tasks works best. Apply it liberally to the affected area and allow it to penetrate for around 15 minutes before scrubbing.
For rust stains, look for a product containing phosphoric acid. This can effectively break down rust without damaging the surface. Make sure to follow the manufacturer’s instructions for application and dilution.
When addressing mildew or mould, a mix of white vinegar and water (in equal parts) serves as a natural alternative. Spray the mixture generously on the affected areas and let it sit for at least 30 minutes before scrubbing with a stiff brush.
For stubborn dirt or discolouration, an oxygen bleach solution can yield impressive results. Mix one part oxygen bleach with four parts water. This is both safe for the environment and effective in lifting stains.
| Stain Type | Recommended Solution | Application Tips |
|---|---|---|
| Oil | Heavy-duty degreaser | Let penetrate for 15 minutes, then scrub |
| Rust | Phosphoric acid solution | Follow manufacturer’s instructions for use |
| Mildew/Mould | Vinegar and water mix | Apply, let sit for 30 minutes, scrub |
| Dirt/Discolouration | Oxygen bleach solution | Mix 1 part bleach to 4 parts water |
Always test any solution on a small, inconspicuous area before full application to ensure compatibility with the surface. This step will help prevent any unwanted reactions or damage. Proper ventilation is crucial, especially with chemical solutions, so work in an open area or ensure airflow is adequate.
Prepare the Concrete Surface for Cleaning
Begin by removing any large debris such as leaves, twigs, and dirt. A broom works wonders for this task. Following that, inspect for any loose or damaged sections of the surface. Repairing these areas beforehand prevents further deterioration and ensures a more thorough cleaning process.
After clearing the area, wet the surface lightly with water. This helps to loosen dirt and makes subsequent cleaning more effective. Avoid soaking the area excessively, as it can lead to the formation of muddy spots.
Consider using a stiff-bristled brush to scrub around edges, corners, and any textured spots where grime tends to accumulate. This preparatory step can significantly enhance the impact of your chosen cleaning solution.
Finally, ensure that any furniture or obstructions are moved away from the surface. This not only provides a clear area to work on but also prevents any accidental damage to your belongings.
Apply Cleaning Solution Evenly on the Deck
Ensuring uniform application of the cleaning mixture is critical for achieving optimal results. I recommend using a garden sprayer or a mop to distribute the solution evenly across the entire surface. Start from one side and move systematically to avoid missing any areas. This technique prevents streaking and allows the solution to penetrate the stains effectively.
Tips for Even Distribution
Employ long, sweeping motions rather than applying the mixture in patches. This method not only enhances coverage but also helps in identifying spots that require more attention. Pay extra attention to the corners and edges, as these areas often accumulate grime but are frequently overlooked.
Let It Soak In

After application, allow the solution sufficient time to act. Usually, a soak time of 10 to 15 minutes works well, but this may vary depending on the severity of the stains. You can gauge the effectiveness by observing how the mixture begins to break down the dirt. Avoid letting it dry completely before rinsing; a damp surface will yield better results.
Scrub Stains Using a Bristle Brush
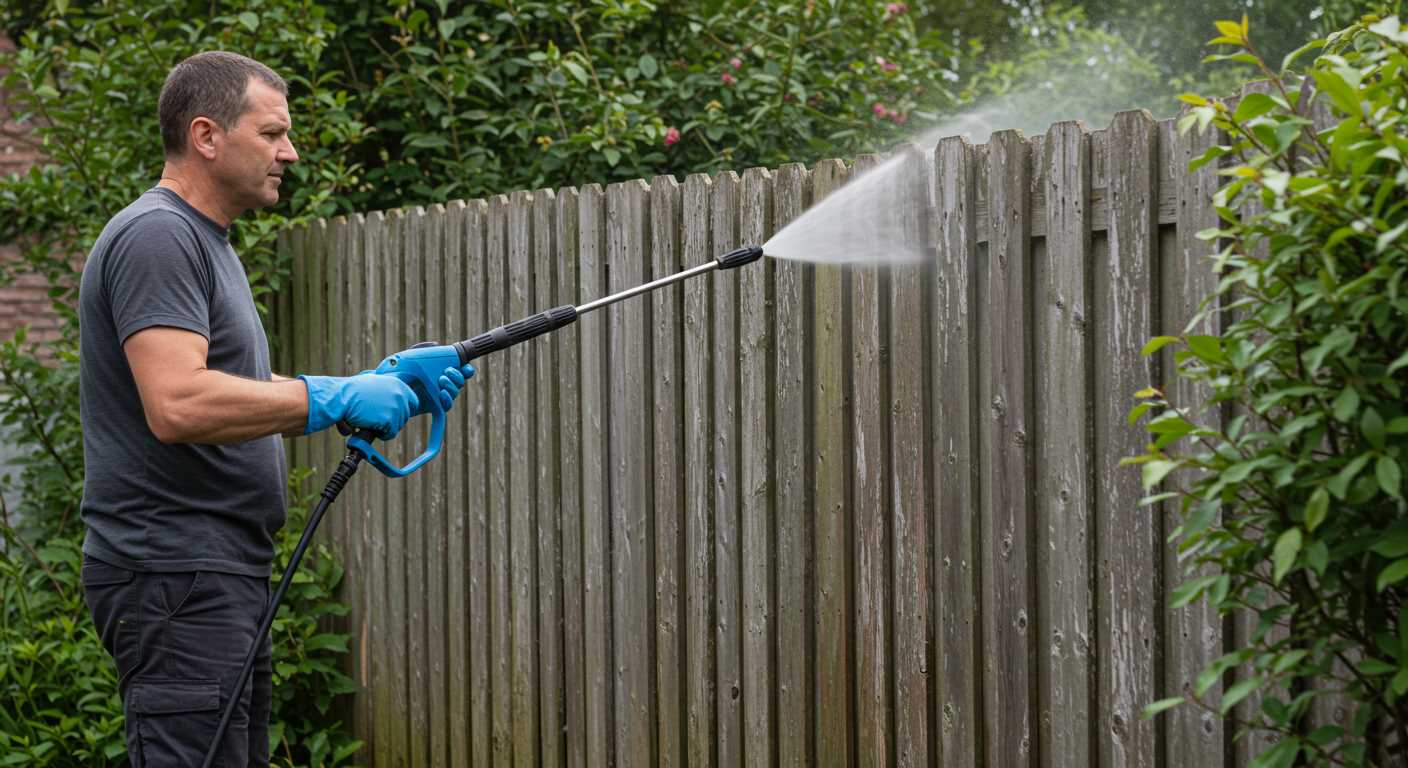
Choose a stiff-bristled brush for optimal scrubbing. The bristles should be durable enough to tackle tough spots yet gentle enough not to damage the surface. My preference is a medium-sized brush that fits comfortably in the hand, making it easy to apply pressure where needed.
Begin scrubbing immediately after applying your chosen cleaning solution. Use a circular motion, working the solution into the affected areas. For stubborn stains, increase pressure gradually while ensuring you don’t over-scrub and cause wear to the underlying material.
For best results, focus on one specific stain at a time, spending about 5-10 minutes on each area. This targeted approach prevents the cleaner from drying out before achieving maximum effectiveness.
Rinse the brush regularly to remove residue and dirt. This keeps the bristles effective and prevents spreading grime to cleaner areas. If necessary, repeat the scrubbing process until stains lift completely.
After tackling all stains, consider a final rinse with clean water to remove any cleaning solution remnants. This step ensures the surface is left clear of any potentially slippery residues.
Rinse the Surface with Water Thoroughly
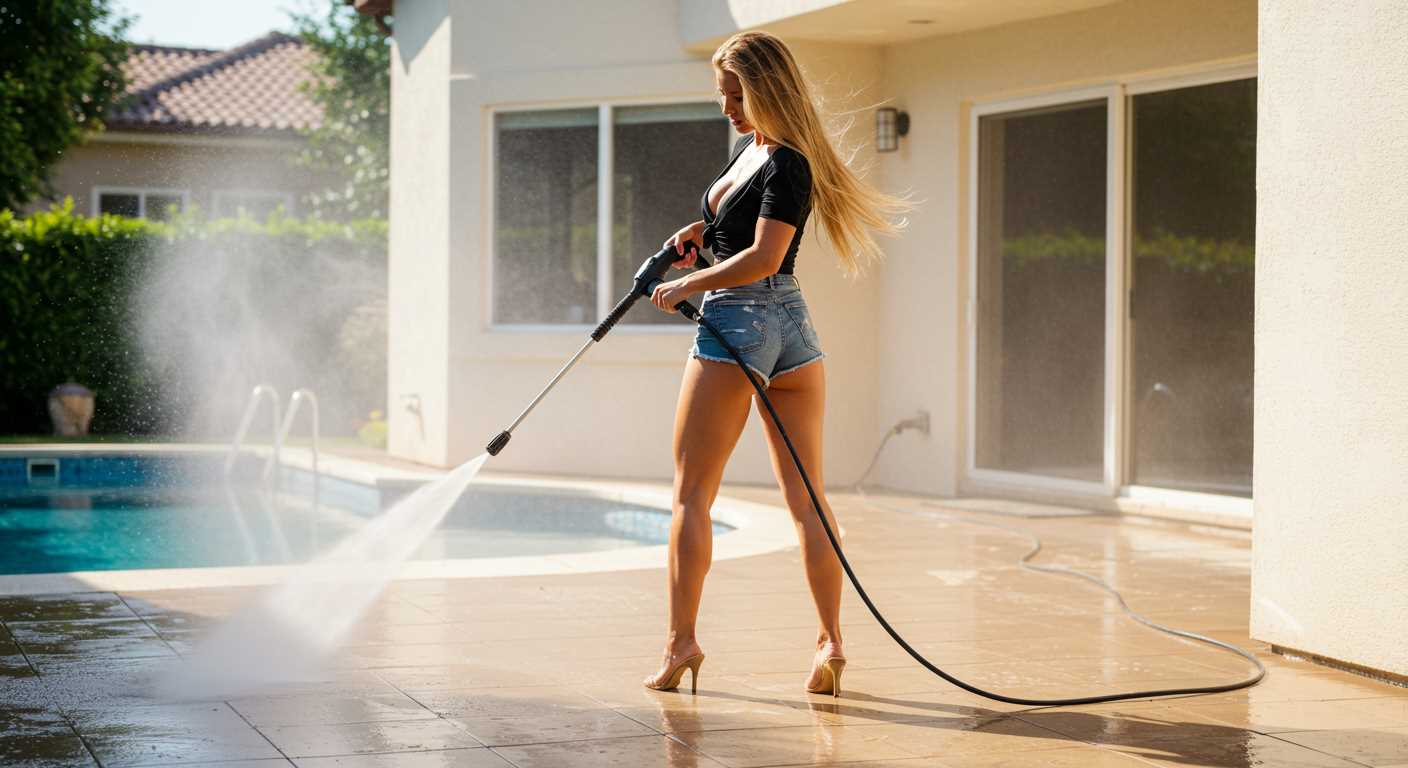
Begin by using a garden hose equipped with a spray nozzle for a more efficient distribution of water. Ensure the nozzle is set to the highest flow setting to achieve a strong stream. Start at the farthest corner and work your way towards the exit, preventing the water from pooling in one area.
Focus on rinsing any areas where you’ve applied a cleaning solution, ensuring all residues are removed. Take your time to thoroughly wet the entire area, as this will aid in flushing out any remaining dirt and cleaning agents. If possible, use a broom or squeegee to assist in directing the water away from the surface, promoting even drainage and preventing stains from reappearing.
Optimise Rinsing Techniques
If stubborn spots remain after the first rinse, repeat the process. Consider using warm water, if available, to enhance the removal of oils or grease. Maintain a consistent rinse pattern, giving special attention to corners and edges where dirt tends to accumulate. Finally, allow the area to dry completely to avoid slips and to assess the cleanliness achieved.
Dry the Concrete Surface After Cleaning
To ensure optimal results following the washing process, it’s crucial to dry the area properly. Begin by using a squeegee to push excess water toward the nearest drainage point. This step prevents water pooling, which can lead to unsightly marks and slow down the drying process.
If the weather permits, allow natural sunlight to assist with drying. On sunny days, the surface will dry more quickly. Make use of towels or absorbent rags to blot any remaining moisture, especially in shaded areas where evaporation may be slower.
Utilising Fans and Natural Airflow
If available, use a fan to circulate air across the surface. This method can significantly speed up drying time, especially in humid conditions. Position the fan at an angle that promotes airflow across the surface. Be cautious of debris that could blow onto the wet surface while utilising this method.
Post-Cleaning Inspection
Once the area appears dry, inspect for any residual cleaning solution or damp spots. Address these immediately with a damp mop or cloth to ensure a consistent finish. Waiting too long to inspect may result in stains reappearing as the moisture dissipates.
| Drying Method | Description |
|---|---|
| Squeegee | Pushes excess water towards drainage. |
| Towels/Rags | Blots remaining moisture for faster drying. |
| Fans | Circulates air to promote evaporation. |
| Natural Sunlight | Speeds up drying on sunny days. |
Following these methods guarantees a dry surface, preparing it for safe use and enhancing its longevity. A thorough drying process is just as important as initial cleaning efforts.
Maintain Your Clean Concrete Deck Regularly
Regular upkeep is key to preserving the appearance and durability of your surface. After thorough washing, implement a routine maintenance plan. Aim to sweep off debris at least once a week. This simple step prevents dirt buildup and reduces stains caused by leaves or dust.
For deeper cleaning, schedule a more intensive treatment every season. This allows you to tackle any stains and maintain the original finish. Use a mild solution tailored for your specific material, applying it in accordance with conditions. Remember, weather can play a significant role–avoid cleaning on extremely hot days to prevent quick drying and streaks.
Inspect your area frequently for any emerging issues, such as cracks or imperfections. Address these problems promptly to minimize damage and maintain the overall integrity of the surface. A little vigilance goes a long way in ensuring your space remains aesthetically pleasing.
Finally, consider applying a protective sealant every few years. This adds an extra layer of defence against stains and makes future upkeep easier. Choose a product designed for your type of surface to extend its lifespan and appearance.
FAQ:
What household items can I use to clean my concrete deck without a pressure washer?
You can use several common household items to clean your concrete deck. Baking soda mixed with water creates a gentle abrasive cleaner that can help lift stains. Vinegar is another effective option; its acidity can break down dirt and grime. A mixture of dish soap and warm water is also useful for everyday cleaning, as it helps to remove light stains and debris. For tougher stains, you might consider using a mixture of hydrogen peroxide and baking soda, which can tackle more stubborn marks.
How do I prepare my concrete deck for cleaning?
Before cleaning, it’s advisable to clear any furniture, plants, or other items from the deck to ensure you have a clear working area. Sweep the surface thoroughly to remove loose dirt and debris. If there are any large stains or spots, you may want to pre-treat these areas with your chosen cleaning solution and let it sit for a while before scrubbing. This preparation step helps ensure that the cleaning solution can effectively penetrate and lift the dirt.
Can I use bleach to clean my concrete deck? Is it safe?
Using bleach can be effective for removing mould and mildew from a concrete deck. However, it should be used with caution. Make sure to dilute it properly, typically mixing one part bleach with ten parts water. It’s essential to wear gloves and protective eyewear while using bleach. Also, ensure that the area is well-ventilated, as bleach fumes can be harmful. After cleaning, rinse the area thoroughly with water to neutralise any remaining bleach and avoid potential damage to the concrete or surrounding plants.
What techniques are best for scrubbing the concrete deck?
When scrubbing your concrete deck, using a stiff-bristled broom or scrub brush is ideal. For tougher stains, a deck brush or a scrubber with a long handle can provide better leverage. Applying your cleaning solution and allowing it to soak for a few minutes can help loosen embedded dirt. Once ready, use firm, circular motions to scrub the surface, ensuring you pay extra attention to areas with stains or discolouration. After scrubbing, rinse the deck with water to remove the cleaning solution and dirt.
How often should I clean my concrete deck? Is it seasonal?
The frequency of cleaning your concrete deck depends on its use and exposure to the elements. Generally, it is recommended to clean it at least once or twice a year, with spring and autumn being good seasons for a thorough clean. If your deck is heavily used or is in a location that collects debris, you may want to do light cleaning more frequently, such as monthly sweeping or spot cleaning stains as they appear. Regular maintenance helps prolong the life of the concrete and keeps it looking its best.


