


Begin this task with the right equipment; a machine offering at least 3000 PSI paired with a 4 GPM rating. This combination ensures powerful water flow capable of eliminating stubborn grime and debris. Prior to activation, inspect the surface for cracks or damage, as high pressure can exacerbate existing issues.
Prepare the area by removing loose items, such as stones or leaves, and consider applying a suitable degreaser for particularly stubborn stains. A pre-treatment saves time during the main cleaning phase. Adjust the nozzle to a fan spray pattern, maintaining a distance of around 12–18 inches from the surface to prevent chipping or discolouration.
As you commence, work in sections, ensuring even coverage. Overlap strokes for uniform results and approach tough spots at a slight angle. For optimal outcomes, rinse any remaining residue thoroughly to avoid unsightly streaks drying on the surface. A well-maintained path enhances curb appeal and longevity, providing a welcoming entrance to your home.
Cleaning Stone Surfaces Using a Power Sprayer
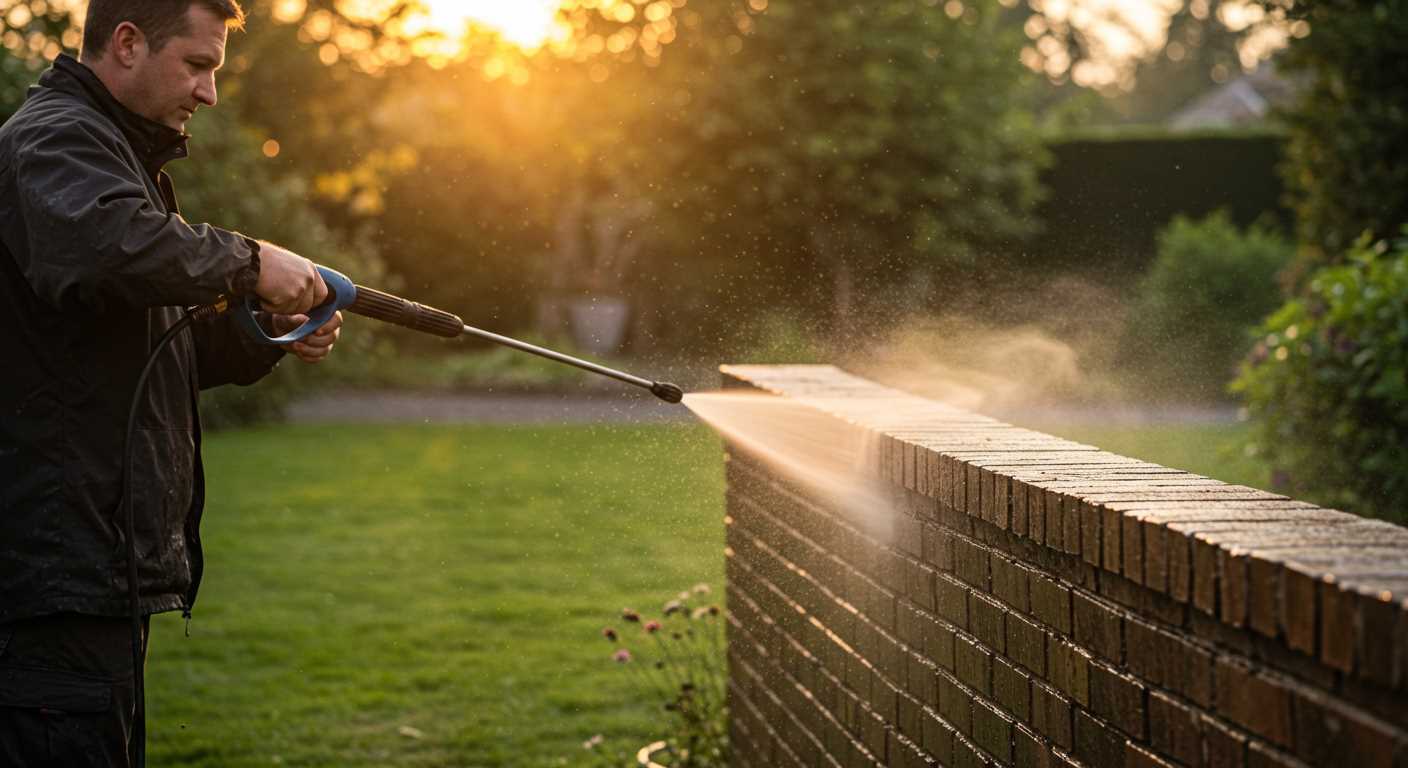
Select an appropriate nozzle based on the condition of the surface. A 15° nozzle is effective for tough stains, while a 25° nozzle is versatile for general cleaning.
Before beginning, ensure the area is free from furniture and debris to prevent damage or obstruction.
- Soak the surface with water to loosen any embedded dirt.
- Apply a suitable detergent specifically formulated for outdoor stone surfaces.
- Allow the detergent to sit for approximately 10-15 minutes to break down grime.
Maintain a consistent distance of about 30 cm from the surface when spraying to avoid pitting or causing damage.
Use a steady sweeping motion while applying the water sprayer to ensure even coverage. Overlap your strokes slightly to prevent streaking.
- Begin at one end and move towards the exit to avoid standing on freshly washed areas.
- For stubborn spots, consider using a scrub brush in combination with the sprayer.
After washing, rinse away any residual detergent thoroughly to prevent slips and ensure a clean finish.
Inspect the area for remaining marks and repeat the process as necessary, adjusting nozzle settings based on the results achieved.
Choosing the Right Pressure Washer for Concrete Cleaning
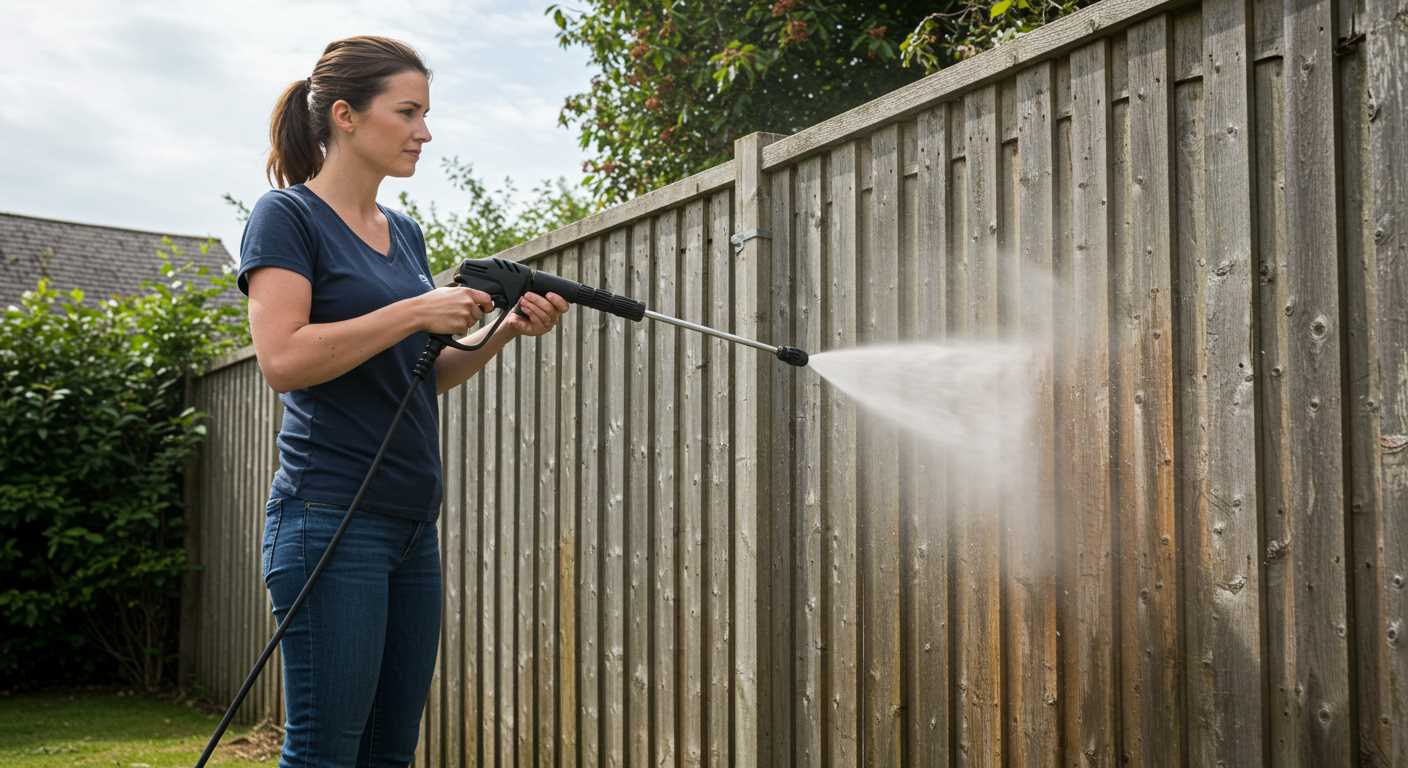
Select a unit with a minimum of 3000 PSI for optimal results. This pressure level effectively removes tough stains and grime accumulated on surfaces. Ensure the machine has a flow rate of at least 2.5 GPM to maximise water delivery, promoting better cleaning efficiency.
Types of Pressure Washers
Consider the electric versus gas model. Electric units are quieter and suitable for smaller tasks, while gas models deliver higher pressure and flow rates, making them ideal for extensive areas. Choose based on the volume of work and power needs.
| Type | PSI Range | Flow Rate (GPM) | Best For |
|---|---|---|---|
| Electric | 1300 – 2000 | 1.2 – 2.0 | Light tasks |
| Gas | 2000 – 4000 | 2.5 – 4.0 | Heavy-duty tasks |
Nozzle Selection
Utilise adjustable nozzles or turbo tips to vary spray patterns. A narrow, focused spray is necessary for stubborn dirt, whereas a wider spray covers more area efficiently. Make sure to select the right nozzle based on the task at hand.
Weight and portability matter. Choose a model that balances performance and ease of movement. Large wheels and a practical frame facilitate hassle-free transport, especially for large cleaning areas.
Check for accessories like surface cleaners and detergent tanks. These tools enhance versatility, allowing for a more thorough clean by targeting various debris types and providing additional cleaning power.
Preparing Your Driveway for Pressure Washing
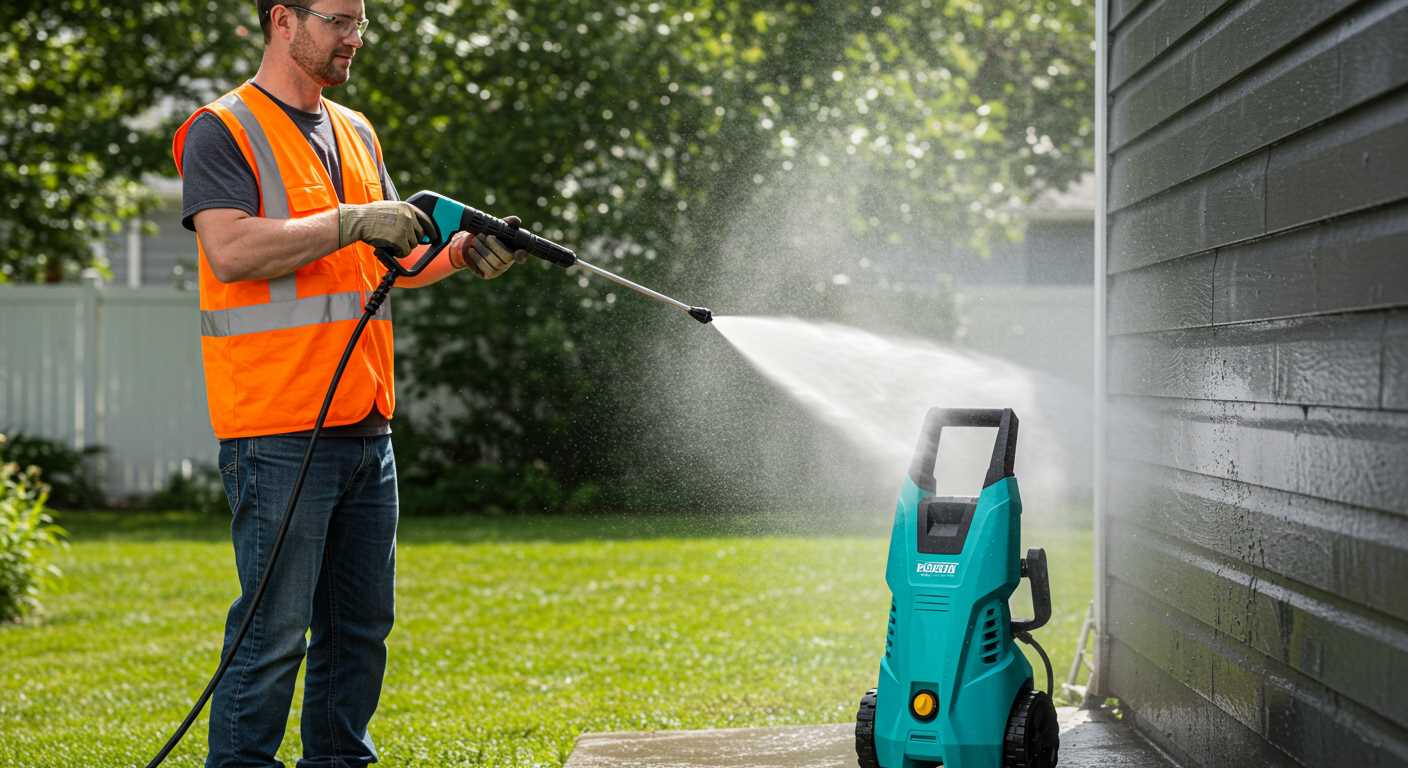
Clear the area of any vehicles, furniture or obstacles to ensure unobstructed access. This step is crucial for effective results.
Next, inspect for any loose debris such as dirt, leaves, or gravel. A simple broom or leaf blower can quickly eliminate these. Pay attention to corners and edges, as buildup often occurs there.
Examine the surface for stains or spots that may need pre-treatment. Use a suitable cleaning solution specifically designed for tough marks, applying it as per manufacturer’s instructions. Let it sit for the recommended duration to achieve optimal results.
Check for and address any cracks or damage. Filling these gaps will not only improve appearance but also prevent further deterioration during the washing process.
Finally, ensure you have the necessary safety gear, including goggles and gloves, to protect yourself throughout the process.
Selecting the Appropriate Cleaning Solution
For optimal results during your surface rejuvenation project, I recommend using a solution specifically designed for tough surfaces. Look for products that are formulated to break down oils, grease, and stains effectively.
Types of Solutions
- Alkaline Cleaners: These are excellent for removing organic matter, such as dirt and stains caused by vegetation.
- Acidic Cleaners: Ideal for tackling mineral deposits and rust stains. Always proceed with caution; test on a small area first.
- Biodegradable Options: For environmentally conscious users, select solutions that break down naturally without leaving harmful residues.
Application Tips
Always follow the manufacturer’s instructions regarding dilution rates and application methods. Use a pump sprayer for even distribution, and allow the solution to sit for the recommended time before rinsing. This contact time is crucial for effective soil and stain removal.
Keep in mind the surface’s texture; rough surfaces may require more aggressive products, while smoother finishes typically respond well to milder cleaners. Lastly, wear protective gear as certain chemicals can be harsh on skin and eyes.
Pressure Washing Techniques for Concrete Surface
The optimal angle for the nozzle is 45 degrees to maximise cleaning while minimising surface damage. Maintain a distance of 12 to 18 inches from the surface for effective results without causing etching.
Begin at one end and progress in straight lines, overlapping each pass by approximately 6 inches. This method ensures uniform results and avoids streaking.
Incorporate a fan-tip nozzle, typically a 25-degree or 40-degree option, to disperse water evenly. For tough stains, switch to a more concentrated nozzle temporarily, but revert to a wider spray to avoid etching.
Utilise sweeping motions rather than stationary bursts. This method helps to dislodge ingrained dirt and debris more effectively.
Adjust the pressure settings to match the task; lower settings for delicate surfaces and higher for stubborn stains. For varied textures, test a small area first before proceeding.
Incorporate a side-to-side sweeping motion combined with a slight forward movement to avoid dirt accumulation. This will also help in covering the surface thoroughly.
When dealing with particularly stained areas, pause briefly to allow the cleaning agent and water to penetrate effectively before rinsing.
After completing the washing, ensure to rinse the surface thoroughly to remove any residual cleaning solution, which may cause slippery conditions if left behind.
Post-Cleaning Care and Maintenance for Concrete Surfaces
After completing the cleaning process, it’s vital to apply sealant to protect the surface. Wait at least 24 to 48 hours to ensure the area is completely dry before applying a quality sealer suitable for the substrate. This will shield it from moisture, stains, and UV damage, extending its lifespan significantly.
Inspect the surface for cracks or damage that may require repair. Fill these gaps with a concrete patching compound, ensuring a smooth finish to prevent further deterioration.
Regular Monitoring
Schedule periodic assessments to identify growths like moss or algae, especially in shaded areas. Should you notice any emerging issues, address them promptly with suitable treatment solutions to maintain an uncluttered appearance.
Routine Washing
Engage in routine washing to remove dirt, oil, and debris. This could involve light scrubbing with a broom or a low-pressure rinse to avoid compromising the sealant. Establish a cleaning schedule–every 3 to 6 months is usually adequate, depending on environmental factors.
Lastly, limit heavy traffic immediately after treatment to allow the surface to set properly. By taking these precautions, you ensure a well-maintained area that remains aesthetically pleasing and functional for years to come.
Common Mistakes to Avoid When Using a Pressure Washer
Avoid using the highest pressure setting unnecessarily. High pressure can damage surfaces and lead to costly repairs. Instead, start with a lower setting and gradually increase it if needed.
Don’t neglect to wear proper safety gear. Eye protection and non-slip footwear are crucial to prevent injuries from flying debris or slipping on wet surfaces.
Skipping surface preparation can lead to suboptimal results. Always clear away loose dirt, leaves, and debris before starting to ensure the best cleaning effectiveness.
Many users overlook the importance of maintaining distance. Holding the nozzle too close can cause etching or gouging of the surface. Keep it at least 12 to 18 inches away for optimal results.
Using incorrect cleaning agents is a frequent mistake. Ensure that the detergent is suitable for your specific task and compatible with your equipment to avoid damaging components.
Don’t forget to maintain a consistent sweeping motion. Moving the nozzle back and forth too quickly can lead to streaking. A steady, overlapping pattern ensures thorough coverage.
Failing to test a small area first can result in unexpected outcomes. Always test on a small, inconspicuous spot to gauge effects before proceeding with the entire area.
Neglecting to check seals and connections can lead to leaks, affecting performance and safety. Before every use, inspect the equipment for damage or wear.
Ignoring post-cleaning maintenance can decrease the longevity of your equipment. Rinse the machine and store it properly after each use to prevent wear and tear.


