

Mix warm water with a few drops of dish soap in a bucket to create an effective cleaning solution. Use a stiff-bristled broom or brush to apply this mixture, scrubbing thoroughly in circular motions to lift away dirt and grime.
For stubborn stains, consider a paste made from baking soda and water. Apply it to the affected areas, let it sit for 15-20 minutes, then scrub with your brush. This simple method can significantly improve the surface’s appearance.
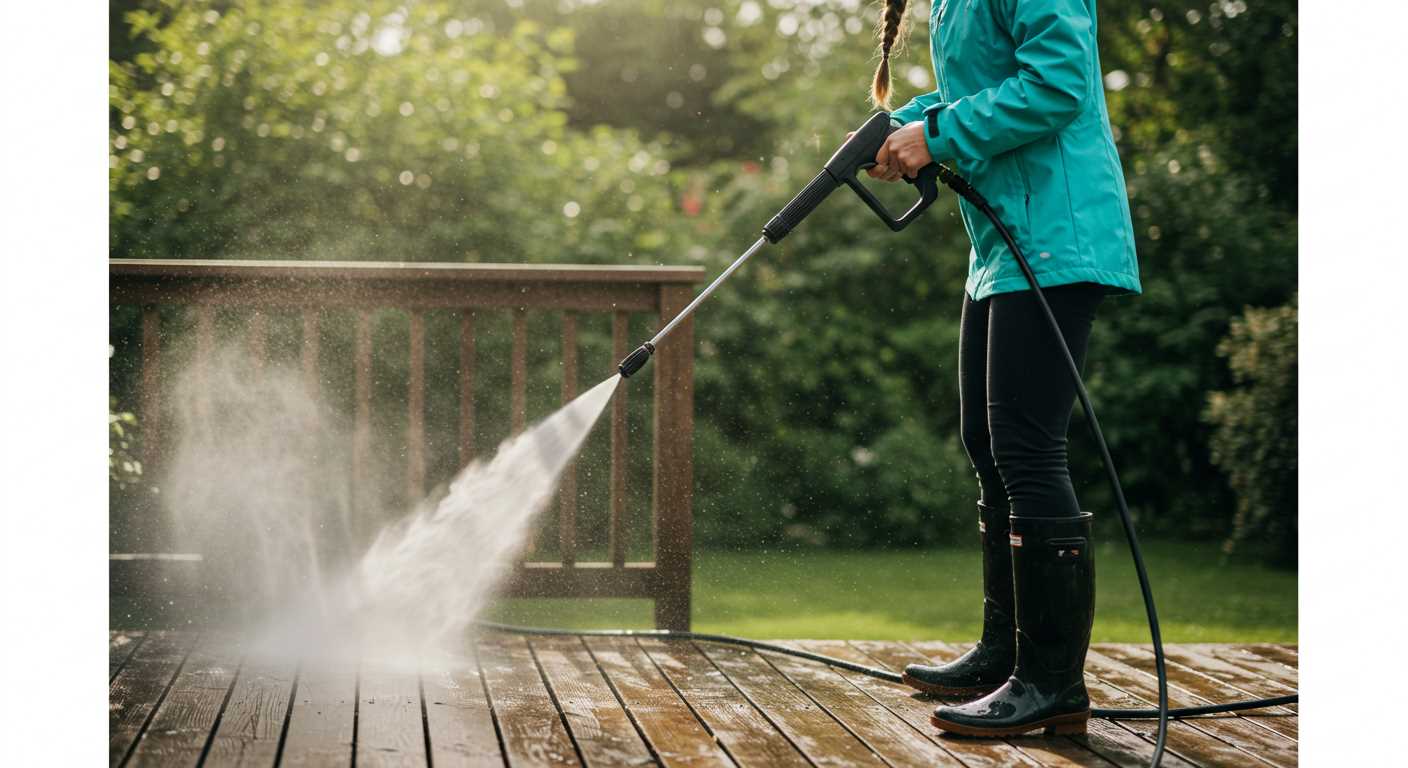
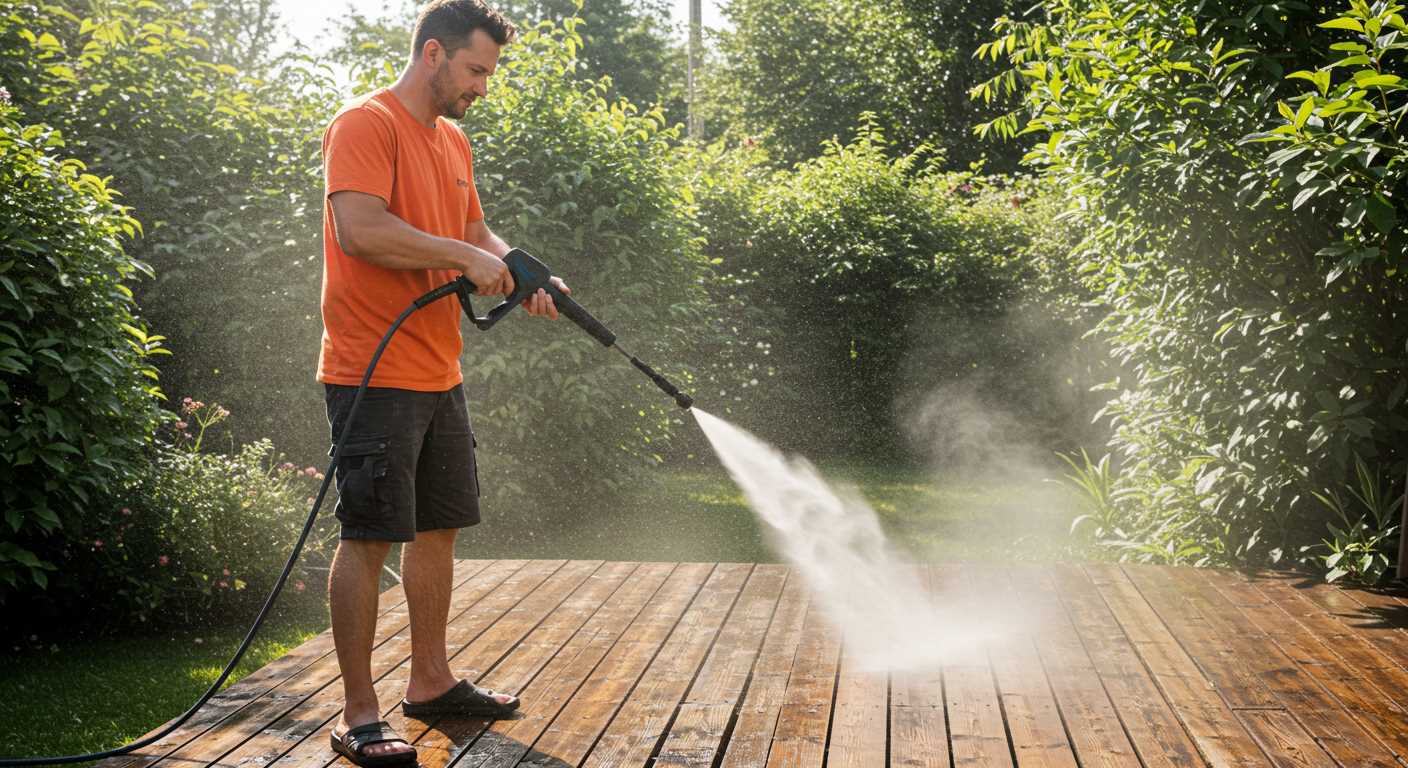
After scrubbing, rinse the area with a hose, ensuring that all residues are washed away. If possible, use a nozzle attachment to direct the water flow efficiently, giving special attention to corners and crevices where dirt tends to accumulate.
Periodically, to maintain that freshly cleaned look, consider a regular upkeep schedule. This proactive approach can help reduce the effort needed for deeper cleans in the future.
Effective Techniques for Refreshing Your Outdoor Surface
.jpg)
Mix a solution of warm water and a few drops of dish detergent in a bucket. Use a scrub brush or stiff broom to apply it generously to the area, focusing on stained spots. Allow it to sit for about 10-15 minutes to loosen dirt and grime.
Utilising Natural Remedies
Baking soda is a powerful ally. Combine it with water to create a paste, applying it directly to stubborn stains. Let it sit for 30 minutes before scrubbing with a brush and rinsing with clean water.
Rinsing and Finishing Touches
After scrubbing, rinse the surface thoroughly with a hose. If persistent stains remain, repeat the process or consider using a diluted vinegar solution to enhance the removal. Finish up by sweeping away any debris for a polished look.
Assessing Your Concrete Surface Condition
Examine the surface for visible stains and blemishes, which can indicate the severity of dirt buildup. Look for oil spots, rust, or mould, as these require specific treatments. Check for cracks or chips that may need repair before any maintenance. If you encounter a particularly stubborn stain, conducting a small patch test with a suitable cleaner can help determine its removal effectiveness.
The texture plays a role in applying cleaning solutions. A smooth finish may retain grime differently compared to a textured surface, which often holds debris more firmly. Consider the age of the material too; older slabs may have absorbed more substances over time, necessitating a different cleaning approach.
Perform a water test to gauge porosity. Splash some water on the surface; if it soaks in quickly, your surface is highly porous and likely requires more aggressive care. Conversely, if the water beads up, a gentler method will suffice. Documenting these observations provides a clearer strategy tailored to your specific needs.
Gathering Necessary Cleaning Supplies

For an effective refresh of your outdoor surface, gather the following items: a broom or stiff-bristle brush, a bucket, scrub brushes or sponges, and rags. These tools are straightforward yet powerful in tackling stubborn grime.
Cleaning Agents
I recommend choosing a pH-neutral detergent or a homemade solution of vinegar and water for a safe yet potent cleaner. For mould or mildew, hydrogen peroxide can be particularly effective, requiring a simple mixture of equal parts with water. Always conduct a small test patch to ensure compatibility with your flooring.
Protective Equipment
Don gloves to shield your hands and wear safety goggles to protect your eyes from splashes, especially when working with potent solutions. Adequate footwear is crucial; non-slip shoes provide safety to avoid slips while tackling the task. These considerations will enhance the overall experience while maintaining safety standards.
Preparing the Area for a Thorough Cleanup
Clear the surface of all furniture, planters, and decorations. This ensures unobstructed access to every corner, enabling a more complete job. Consider placing covers on nearby plants to protect them from any drips or spills from cleaning solutions.
Next, sweep away dirt, leaves, and debris. A stiff broom is ideal for dislodging stubborn particulates. Pay special attention to corners and edges where dust tends to accumulate. Use a dustpan to gather the debris for easy disposal.
Check for any loose items or features such as tiles or steps. Secure or remove them if necessary to avoid potential damage during the process. Addressing these before starting can save time and prevent unexpected interruptions.
Assessing Hazards

Inspect for any slippery spots, cracks, or damaged areas. Identify places that may require special attention, like stains that need extra treatment or sections with algae or mildew growth. Mark these areas so they’re not overlooked during the cleaning process.
Optimising Ventilation
To enhance air flow, open nearby windows or doors. Good ventilation will help any cleaning agents dry quicker and reduce lingering fumes. Consider working on a day with mild weather; this will also aid in the effectiveness of the solutions applied.
Choosing the Right Cleaning Solution
Select a solution based on the type of stains and the condition of the surface. Here are some popular options:
- Vinegar and Water: Mix equal parts of white vinegar and water for a natural approach to tackle light marks and dirt.
- Baking Soda Paste: Combine baking soda with water to form a paste for stubborn stains. Apply it directly and let it rest before scrubbing.
- Dish Soap Mixture: Blend a few drops of dish soap in warm water for general maintenance. It’s effective for light grime.
- Commercial Cleaners: Look for cleaners specifically designed for outdoor surfaces. Always check the label for compatibility with your material.
Consider using oxygen bleach instead of chlorine bleach, as it’s safer for plants and pets. Always perform a patch test with the chosen product in an inconspicuous area to check for adverse reactions. This approach helps avoid potential damage to your surface.
For oily or greasy spots, a degreaser would be advantageous. Apply directly to affected areas and follow the directions provided on the label.
Be prepared to mix solutions in appropriate ratios; refer to the instructions of each product closely. This ensures optimum results while also safeguarding your surfaces.
Applying Cleaners and Scrubbing Techniques
Select a suitable cleaner based on the type of stains and the surface condition. For general dirt and grime, a mild detergent mixed with water works effectively. Use a bucket to prepare a solution, mixing one part detergent to three parts water.
Application Method
- Dampen the surface slightly with water to help the solution adhere better.
- Using a mop or large sponge, apply the cleaning mixture generously over the area. Ensure full coverage for optimal results.
Scrubbing Techniques
Utilise a stiff-bristled brush or a broom for scrubbing. Work in small sections and apply firm pressure to remove embedded dirt. Follow these steps:
- Scrub in a circular motion to agitate the dirt and loosen stubborn stains.
- For tough spots, let the solution sit for 10-15 minutes before scrubbing.
- Rinse the area with clean water using a bucket or hose, ensuring all residues are removed.
For heavy stains such as oil or rust, consider a specialised cleaner designed for those specific materials. Always follow the manufacturer’s instructions for application and safety precautions.
Regular maintenance through gentle cleaning and scrubbing prevents the accumulation of grime, keeping the surface appealing and safe underfoot.
Finishing Touches and Maintenance Tips
After scrubbing the surface, rinse it thoroughly with clean water to remove any residues from the cleaning agents. I recommend using a bucket to pour fresh water over the area, ensuring that all cleaning solution is washed away.
Address any stains or discolouration that remains after the initial efforts. Stubborn marks may require a targeted treatment; a mixture of baking soda and water can work wonders on grease spots. Apply the paste directly to the stain, let it sit for approximately 15 minutes, then scrub gently and rinse.
To enhance durability, consider applying a concrete sealer once the surface is entirely dry. This provides a protective layer against future stains and wear. Choose a high-quality, breathable sealer suitable for your specific material.
Regular upkeep extends the lifespan significantly. Sweep or use a stiff bristle brush weekly to prevent dirt accumulation. Seasonal deep cleaning should be part of your routine; aim for at least twice a year.
For long-term protection, inspect joints and cracks regularly. Fill in any gaps with a suitable filler to prevent moisture infiltration, which can lead to further damage over time. Also, avoid using harsh chemical cleaners that could harm the surface; natural alternatives often yield excellent results without compromising integrity.
| Maintenance Task | Frequency |
|---|---|
| Sweeping | Weekly |
| Deep Cleaning | Twice a year |
| Sealing | Every 2-3 years |
| Inspecting for Damage | Monthly |
Implementing these strategies consistently will not only preserve the appearance but also maintain the structural integrity of your outdoor area. A proactive approach yields the best results, ensuring your space remains welcoming and safe for years to come.


