
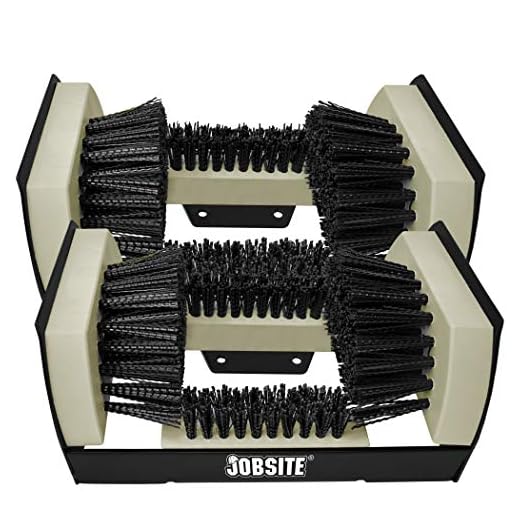
Soak a stiff-bristled brush in a mixture of warm water and dish soap, then scrub the surface to lift grime. You’ll need to exert some elbow grease, but results will be visible almost immediately.
For stubborn stains, create a paste using baking soda and water. Apply this directly onto the affected area and let it sit for 15 to 20 minutes before scrubbing. Rinsing with a garden hose will help wash away residue.
Citrus-based cleaners can also provide remarkable results. Spray the cleaner generously on problem spots, wait for a few minutes, and scrub with a brush. This not only targets dirt but also leaves a fresh scent.
If you encounter moss or algae, a solution of vinegar and water is effective. Mix equal parts of both, spray on the area, and after letting it sit, take a brush to the surface. Repeat this process if necessary until the area is clear.
To avoid future build-up, consider sealing your pathway after cleaning. A quality sealant will protect the surface and make subsequent maintenance much easier.
Cleaning Techniques for Your Pathway
Use a mixture of baking soda and white vinegar to tackle stubborn stains. Combine 1 cup of baking soda with 2 cups of vinegar, pour it over the stained areas, and let it react for about 15 minutes. Follow with scrubbing using a stiff-bristled brush to lift the dirt effectively.
Simple Tools for a Spotless Surface
A sturdy scrub brush or broom works well for general debris. For tougher grime, consider using a solution of dish soap mixed with warm water. Scrub the area with a brush, making sure to work it into the grooves and any textured parts for a thorough clean.
Additional Natural Solutions
Your outdoor slabs can benefit from a mixture of hydrogen peroxide and baking soda, particularly for mildew. Apply a paste of ½ cup baking soda mixed with ½ cup hydrogen peroxide to affected areas, allowing it to sit for at least 30 minutes before scrubbing and rinsing.
Gather Necessary Cleaning Supplies
Start by collecting a broom with stiff bristles to remove loose dirt and debris. This tool is essential for preparing the surface prior to any treatments.
Next, acquire a bucket for mixing cleaning solutions. An effective ratio of water to cleaner is crucial for optimal results.
Recommended Cleaners
Choose between a commercial-grade degreaser or a homemade mixture of vinegar and baking soda. If opting for the latter, mix one part vinegar with two parts baking soda for a potent formula. Ensure you have gloves to protect your skin while handling these substances.
Additional Equipment
Gather a scrub brush or a stiff-bristled broom, which will aid in applying the cleaning solution. For stubborn stains, consider a plastic putty knife to gently scrape the affected area. Also, keep a hose nearby for rinsing off residues once the task is complete.
Lastly, ensure you have a good pair of rubber gloves and safety goggles to protect yourself during the process. Wearing old clothes is advisable, as cleaning agents may cause stains.
Remove Loose Debris and Dirt
Begin by clearing the surface of any larger particles such as leaves, twigs, or stones. A sturdy broom or a stiff-bristled brush can effectively dislodge these items. Ensure that you reach into corners and crevices, where debris can accumulate.
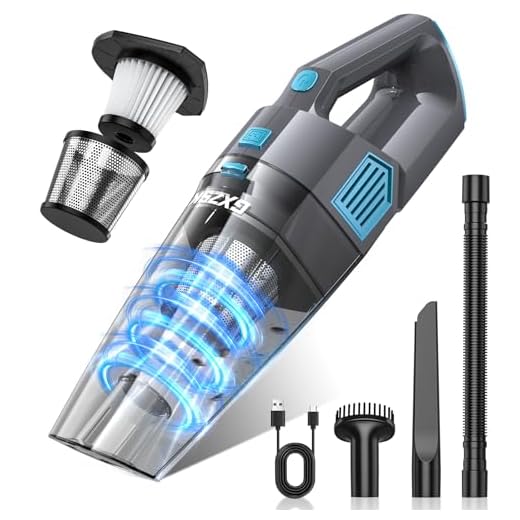
For more stubborn dirt, a handheld vacuum can be useful to suck up smaller materials. This step prevents scratching the surface during the later stages of cleaning and makes your task more manageable.
After sweeping and vacuuming, consider using a dustpan to gather the debris. Dispose of it in a bin to maintain a tidy environment as you work.
| Tool | Purpose |
|---|---|
| Broom | For sweeping away larger debris |
| Stiff-bristled Brush | For loosening stuck-on dirt |
| Handheld Vacuum | For removing finer particles |
| Dustpan | For collecting swept debris |
Completing this preliminary step creates a clean slate, allowing the subsequent cleaning process to be more effective. Skipping this part may lead to reduced results later on.
Prepare a Cleaning Solution
For optimal results, I recommend mixing one cup of baking soda with a gallon of warm water. This combination acts as a gentle abrasive that can effectively remove stains and debris. Alternatively, combining equal parts of white vinegar and water can create a potent solution that targets tough grime and mildew. If stronger action is needed, a few drops of dish soap can be added to either mixture to enhance its grease-cutting ability.
For specialised cleaning, consider adding a quarter cup of hydrogen peroxide to the vinegar solution. This will aid in eliminating stubborn organic stains while disinfecting the surface. After preparing your solution, ensure to test it on a small, inconspicuous area to confirm no adverse reactions occur.
Using a bucket, soak a stiff-bristled broom or scrub brush in your chosen solution, allowing the bristles to fully absorb the mixture. This ensures that when applying the cleaner to the surface, the solution effectively adheres and penetrates any embedded dirt and stains.
Apply the Cleaning Solution Evenly
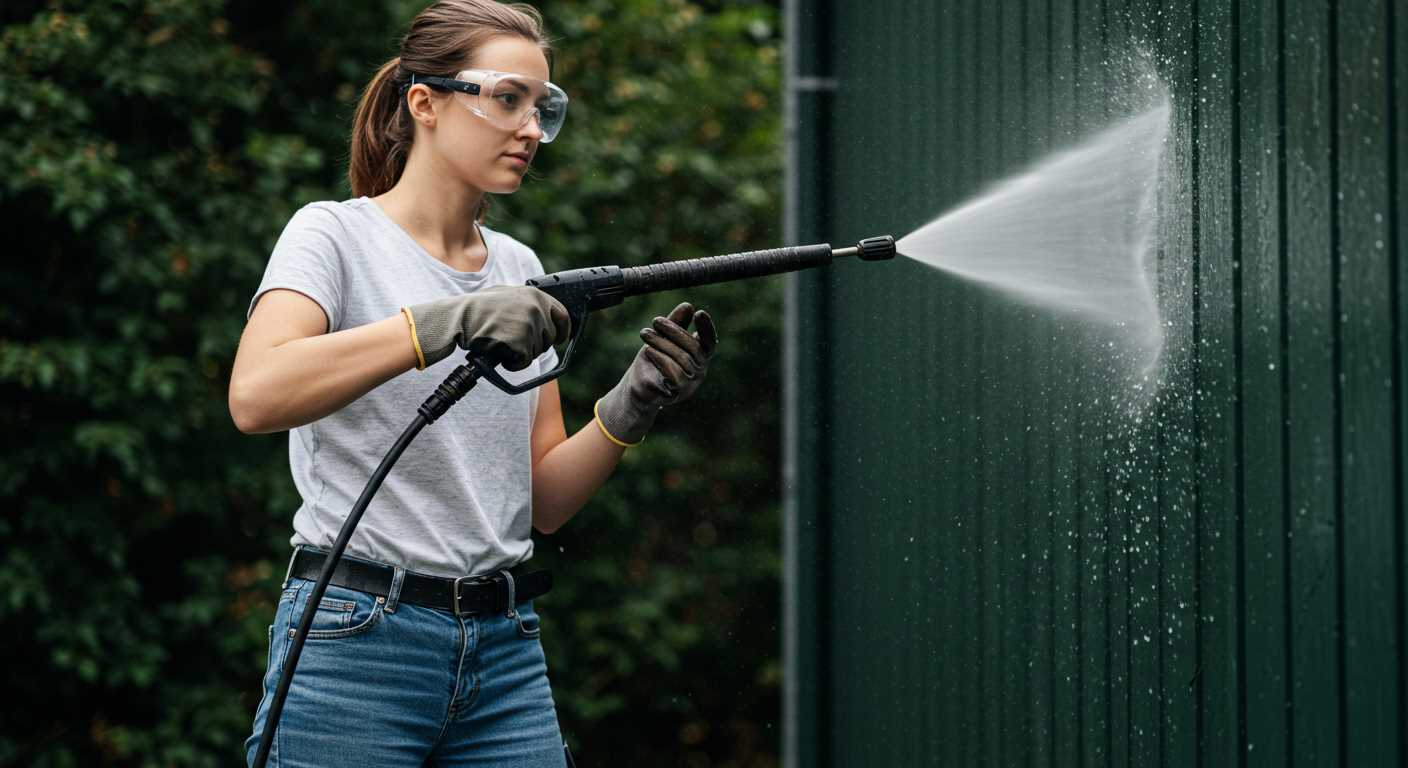
To achieve the best results, it’s crucial to distribute the cleaning agent uniformly across the surface. Use a sturdy mop or a large scrub brush to apply the mixture, allowing for a thorough coverage without leaving patches. Begin at one corner and work your way systematically to the opposite end to ensure that no area is missed.
Techniques for Even Application
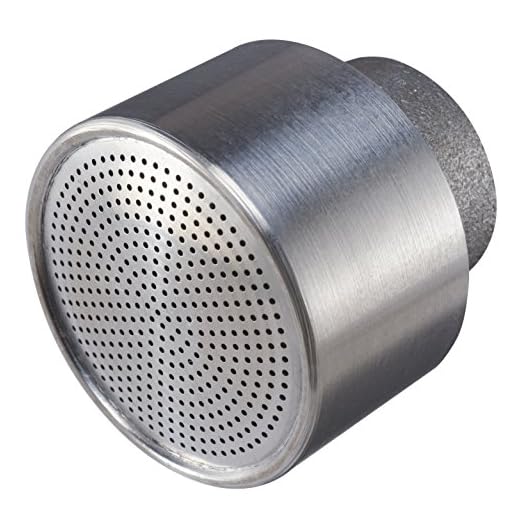
Consider using a spray bottle or garden sprayer for larger areas. This method not only saves time but also helps in achieving a fine mist, evenly saturating the surface. Apply the solution in sections, slightly overlapping the edges to prevent streaks or uneven spots. For stubborn areas, allow the mixture to sit for several minutes but avoid letting it dry completely, as it can lead to difficult-to-remove stains.
Monitor the Process
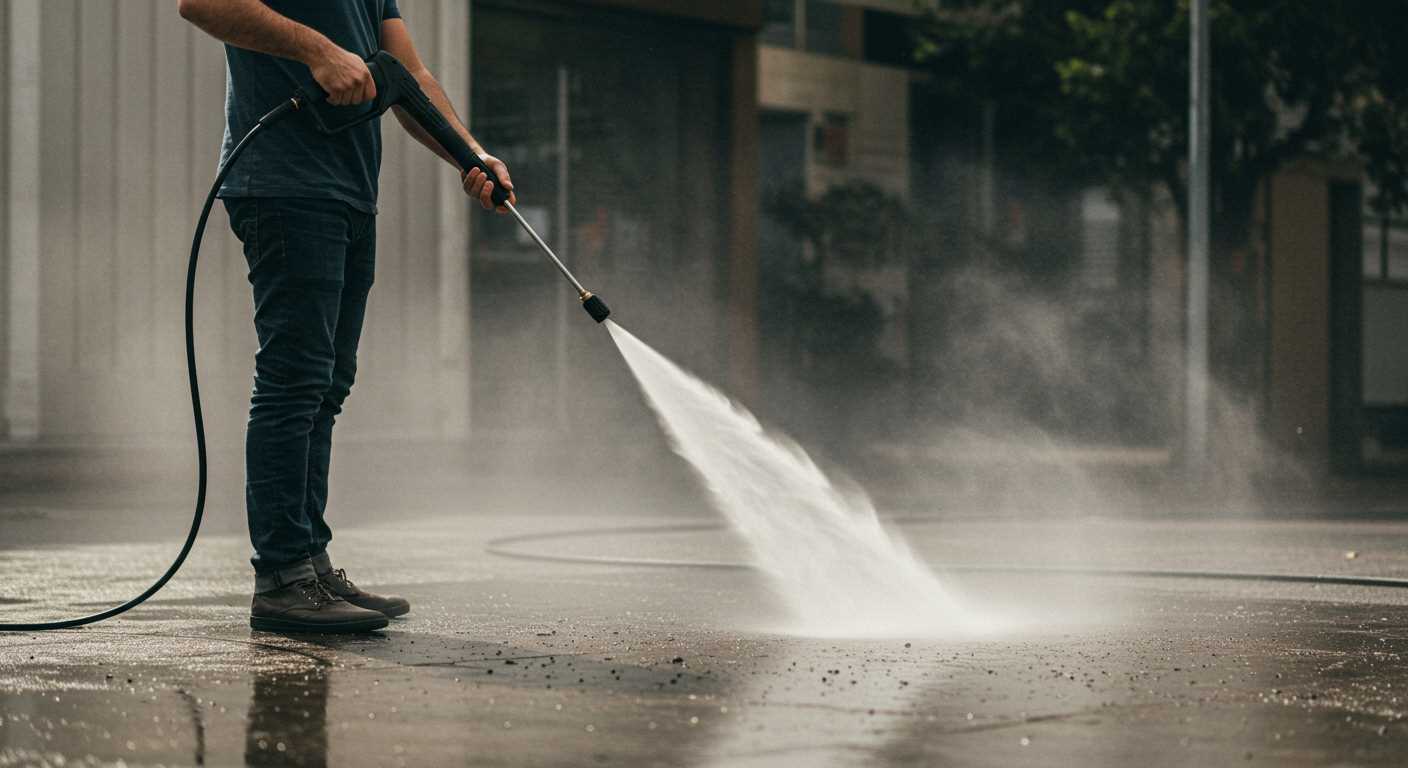
While applying the solution, keep an eye on the reaction with any stains or discolouration. If some areas don’t react as expected, you may need to reapply or adjust the concentration of your mixture. Ensuring consistent application throughout is key to restoring the surface effectively.
Scrub Stains with Appropriate Tools
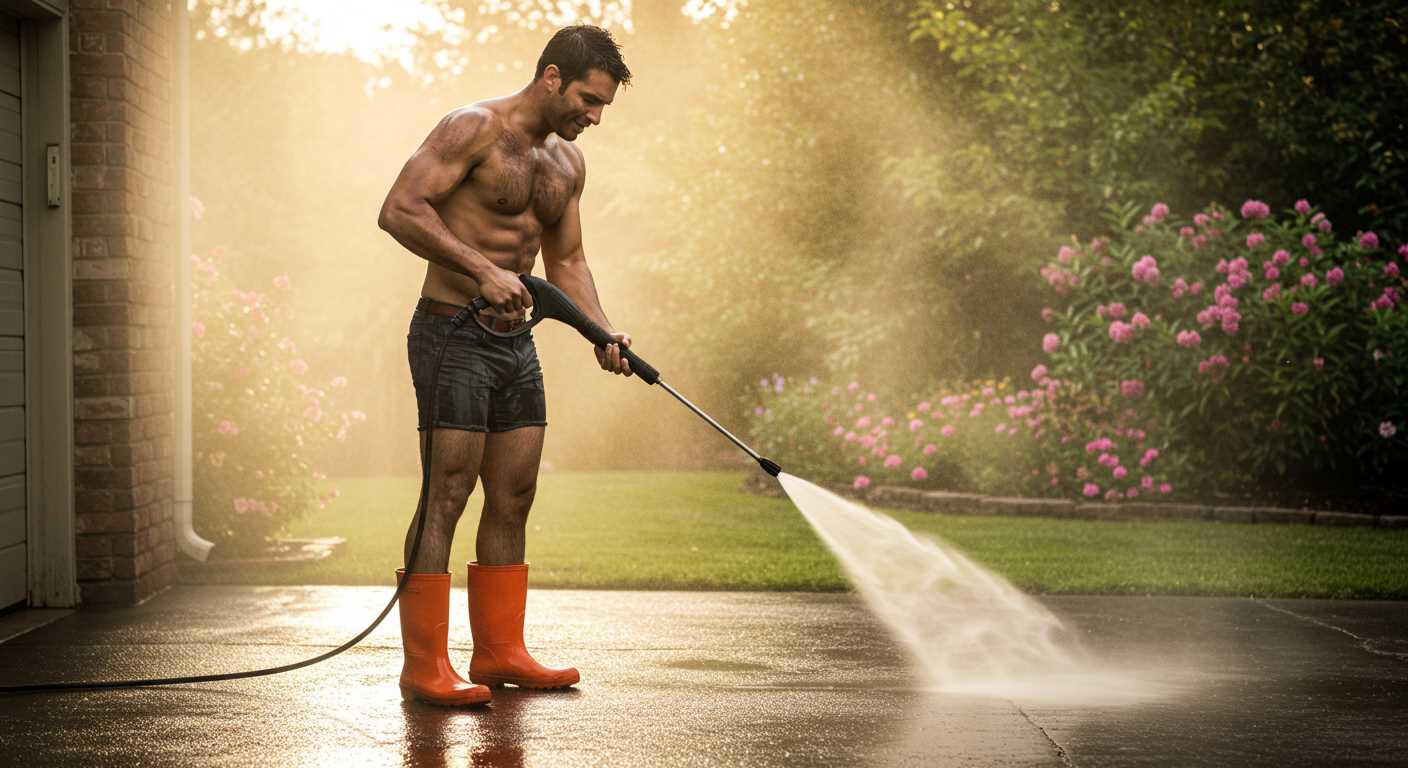
For effective stain removal, I’ve found that using the right tools is key. Here’s a breakdown of the equipment that delivers the best results:
- Bristle Brush: Opt for a stiff-bristled scrub brush. This allows for rigorous scrubbing without damaging the surface. Choose a brush with a long handle to ease the strain on your back.
- Deck Brush: A wide deck brush is ideal for tackling larger areas. It covers more ground, making the scrubbing process faster and more efficient.
- Broom: A sturdy broom helps to sweep up debris before the scrubbing process begins, ensuring that dirt doesn’t interfere with stain removal.
- Sponge: For targeted cleaning on smaller stains, use a durable sponge. It can penetrate into the crevices where brushes may not reach.
To ensure a thorough clean, I recommend using different brushes for various types of stains:
- Oil Stains: Use a brush with stiff bristles to lift the residue.
- Rust Stains: A dedicated rust remover along with a traditional brush typically works best.
- Mildew: A sponge with a heavy-duty cleaner can effectively tackle this issue.
Brushing techniques are equally important:
- Scrub in a circular motion to lift stains effectively.
- Apply consistent pressure while minimising the risk of scratching the surface.
- Rinse the area periodically to identify areas needing additional attention.
Experimenting with tools and techniques will lead to finding what works best for your unique surface and stains.
Rinse Off the Cleaning Solution Thoroughly
After applying the detergent mix, it is crucial to remove any remaining product from the surface. I recommend using a garden hose fitted with a spray nozzle to get a steady flow of water.
Follow these steps for a thorough rinse:
- Start at one end of the path, allowing the water to flow towards the opposite end.
- Use the nozzle on a wide spray setting to cover more area quickly, avoiding concentrated streams that may dislodge sealant.
- Keep the water moving continuously to ensure no areas are neglected.
Pay special attention to the corners and edges where the solution might accumulate. It’s advisable to rinse in sections to prevent any residue from drying on the surface.
As you proceed, check for spots where the liquid remains; if you find any, go back and rinse those areas specifically. This step is vital to avoid any streaks or discolouration.
Once rinsing is complete, inspect the entire surface to confirm thorough removal. If any stains persist, consider repeating spot treatments as necessary before the final rinse.
Dry and Maintain the Cleaned Surface
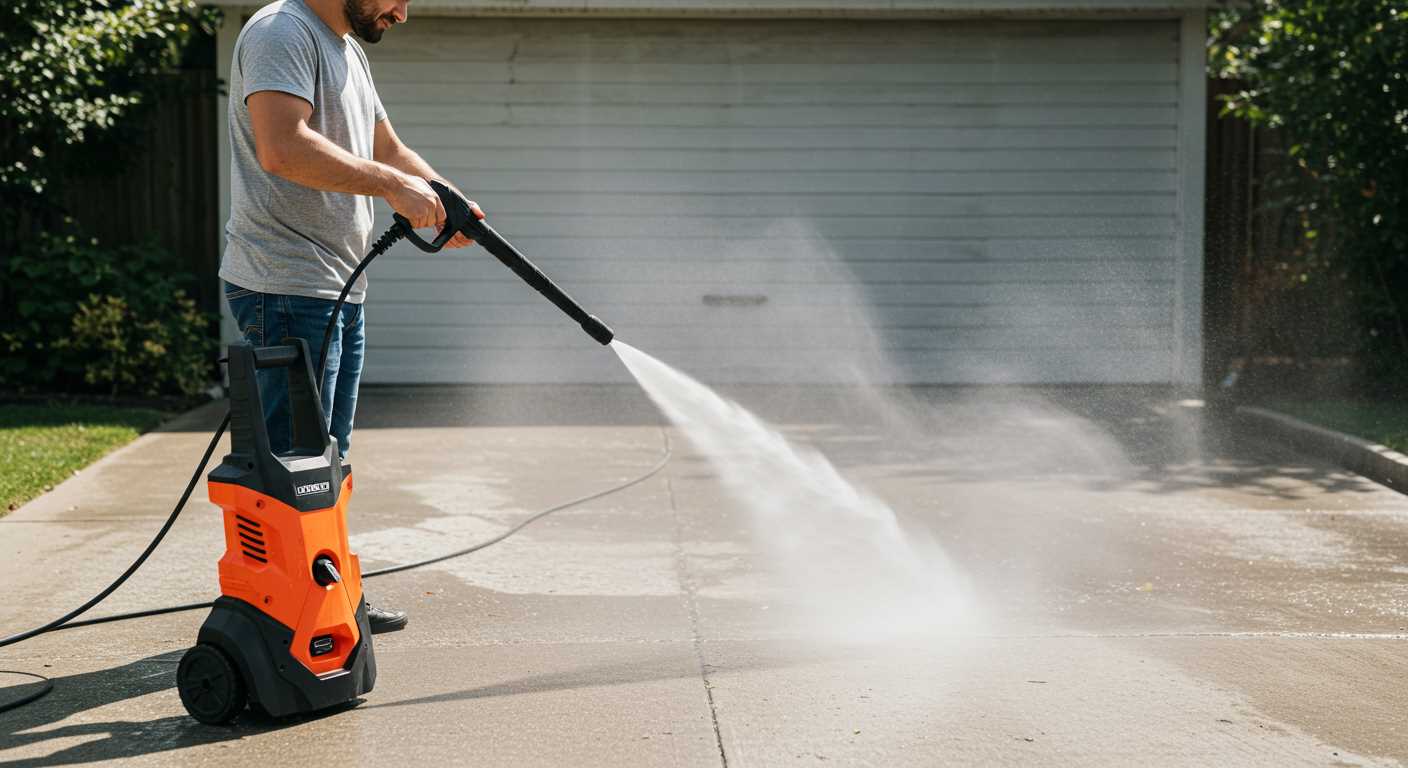
Once the area has been treated, it’s essential to let it dry completely. Use a broom or a dry mop to assist the drying process and to avoid any residual moisture that could lead to future staining. Allow at least 24 hours before walking on the area to ensure full evaporation.
For prevention, consider applying a sealant after the surface is dry. This protective layer will guard against dirt and stains, making future upkeep easier and maintaining the appearance for a longer duration.
Regular maintenance is pivotal. Sweep regularly to prevent the accumulation of dirt and debris. In addition, periodic applications of a gentle cleaning solution can help keep the surface fresh and extend the time between deeper cleanings.
Inspect the area periodically for any signs of mould or mildew, especially in shaded regions. Address any spots promptly with a suitable cleaner to prevent any widespread issues.
Finally, keep the surrounding environment clean as well. Ensure that any nearby foliage does not deposit excessive leaves, dirt, or moisture onto the pathway, as this will contribute to ongoing maintenance challenges.


