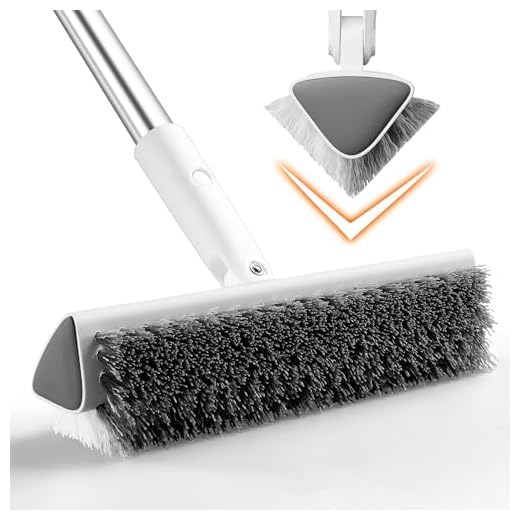


If you’re dealing with stubborn dirt or mould on surfaces outside your property, a simple solution exists. Begin by gathering a mix of milder cleaning agents, such as white vinegar or baking soda, combined with water. These ingredients are not only effective but also eco-friendly alternatives that won’t harm your garden or nearby plants.
Next, create a paste using baking soda and a small amount of water for tougher marks. Apply it generously to the affected areas and let it sit for approximately 30 minutes. Afterward, scrub the area using a stiff-bristled brush. This technique significantly enhances removal efficiency without jeopardising the integrity of the surface.
For extensive stains, consider utilising a broom to remove loose debris prior to application. Rinse the area thoroughly with a hose afterwards to ensure that any residual cleaning agents are completely washed away. If deep-rooted grime persists, repeat the process or apply a diluted solution of bleach and water, ensuring proper ventilation and safety precautions are followed.
Steps to Refresh Outdoor Surfaces
Mix equal parts of water and white vinegar in a bucket. Use a stiff-bristled broom to apply this solution over the surface, allowing it to sit for about 15-20 minutes to help break down dirt and stains.
For tougher grime, sprinkle baking soda onto the surface after applying the vinegar solution. Gently scrub the area with the broom. The combination will create a foaming action that aids in dislodging deeply embedded debris.
Rinse the area thoroughly with a garden hose. Ensure you remove all residues of the cleaning solution. If any stubborn spots remain, repeat the application of the vinegar mixture and scrubbing process.
To prevent future build-up, consider applying a sealant once the area is sufficiently dry. This not only enhances appearance but also makes subsequent maintenance much easier.
Choosing the Right Cleaning Solution for Concrete
For best results, selecting a suitable solution is crucial. Based on my experience, I recommend using a solution specifically designed for masonry. These formulations effectively tackle stains, grime, and residue. Look for products containing trisodium phosphate (TSP) or muriatic acid, as they provide powerful cleaning action.
For light cleaning, a mixture of vinegar and water serves well. It’s affordable and environmentally friendly. Use a ratio of one part vinegar to three parts water, applying it generously to the surface. Allow it to sit for approximately 15 minutes before scrubbing.
If oil stains are present, absorbing agents like baking soda work wonders. Sprinkle it on the stain, moisten with water, and let it sit for a few hours to lift the oil. Afterward, scrub the area and rinse thoroughly.
For mildew or mould issues, a bleach solution is effective. Combine one part bleach with three parts water, apply generously, and scrub the affected areas. Always wear gloves and ensure the area is well-ventilated.
For larger and more stubborn stains, consider a commercial degreaser. These are available at home improvement stores and are designed specifically for tough stains. Follow the product instructions closely for optimal results.
Finally, test any cleaning solution on a small, inconspicuous area first to ensure it won’t damage the surface. This precaution protects your investment and ensures lasting results.
Tools You Need for Manual Concrete Cleaning
To effectively perform a thorough sanitation of tough surfaces, you’ll need a selection of specific tools. A sturdy broom serves as your initial equipment to remove loose debris and dirt. Ensure it has stiff bristles to reach into crevices and corners.
Scrubbing Brushes
Invest in a variety of scrubbing brushes. A long-handled stiff brush works wonders for large areas, while smaller, handheld versions help tackle stubborn stains. Different brush shapes are beneficial for various tasks, so consider options with angled or rounded bristles depending on your needs.
Cleaning Solutions and Containers
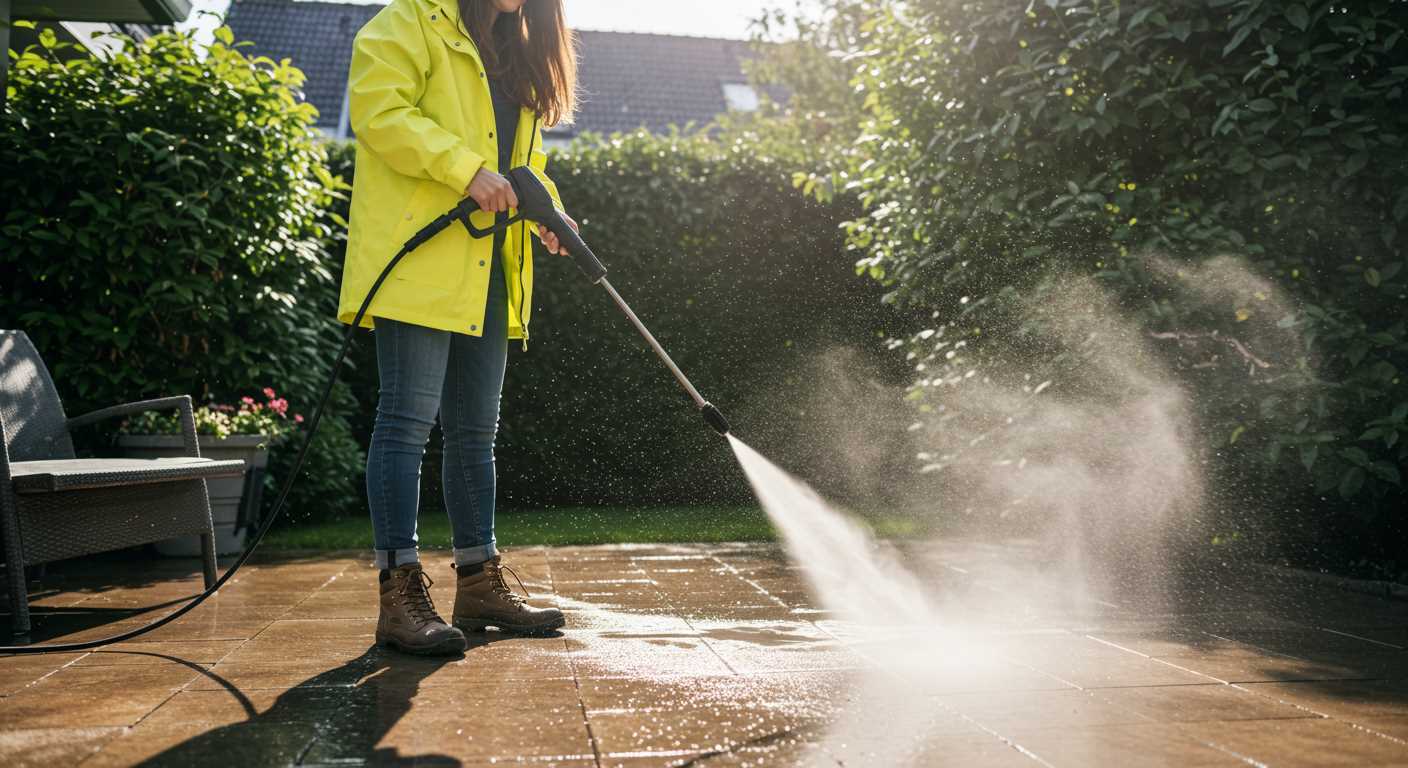
Prepare a well-suited cleaning solution for the material you’re servicing. Use a bucket to mix the solution, ensuring an ample supply for your tasks. If you’re dealing with stubborn stains, a spray bottle allows for focused application of your cleaning agent. Protect your hands with durable gloves, especially when using harsh chemicals.
Finally, a hose or a water source is vital to rinse away residues once you finish scrubbing. With these tools in hand, I guarantee you’ll be well-equipped to handle any challenging cleaning project with confidence and efficiency.
Preparing the Surface for an Effective Clean

Begin with the removal of debris. Sweep the area thoroughly to eliminate dirt, leaves, and any loose particles. This step ensures that the subsequent cleaning process is not hindered.
Inspect for stains or spills. Identify areas with oil, rust, or other contaminants. Pre-treat these with appropriate solutions before beginning the main cleaning process. This targeted approach yields better results.
Inspecting for Damage
Check for any cracks or surface damage. Repairing these issues prior to cleaning prevents further deterioration and ensures that your efforts yield satisfactory results.
Setting Up a Cleaning Area

- Establish a clear perimeter around the surface to be treated, protecting surrounding areas from overspray or splashes.
- Position necessary tools and materials within reach to streamline the process.
- Consider weather conditions. A dry day with mild temperatures is ideal for effective treatment.
Take time to gather any necessary protective gear, including gloves and eyewear, to safeguard against chemicals or debris during the process.
Step-by-Step Instructions for Scrubbing Concrete
Start by gathering your materials: a stiff-bristled broom, a bucket, a scrub brush, and a chosen cleaning agent. Ensure you wear gloves and eye protection during the process.
1. Remove Debris: Sweep the area thoroughly to eliminate loose dirt, leaves, and grime.
2. Prepare the Cleaning Solution: In your bucket, mix the chosen cleaner according to the manufacturer’s instructions. If you’re opting for a homemade solution, combining equal parts of white vinegar and water can be effective.
3. Apply the Solution: Generously pour the mixture onto the surface, ensuring even coverage. Allow it to sit for approximately 10-15 minutes to break down stains and build-up.
4. Scrub the Surface: Using your scrub brush, work the solution in circular motions. Focus on stained areas, applying extra pressure as needed. A long-handled brush may help reach corners and edges.
5. Rinse: Use a hose or a bucket of clean water to wash away the detergent and loosened dirt. If using a hose, ensure a gentle flow to avoid disruption of the newly cleaned area.
6. Dry the Area: Allow the surface to air dry completely. For quicker results, use a squeegee to remove excess water. This step will prevent any slippery remnants and help you assess the effectiveness of your effort.
7. Inspect and Repeat if Necessary: Check for any persistent stains or spots. If stains remain, reapply the solution and scrub the affected areas again.
By following these steps, the results will reveal a significantly improved look of your surfaces. Regular maintenance will keep them in good condition and easy to manage.
Using Household Ingredients for Stubborn Stains
For tough marks, I often turn to common items found around the house. Baking soda works wonders as a gentle abrasive. Mix it with water to form a paste, then apply it directly to the stain. Let it sit for at least 30 minutes before scrubbing. The reaction helps lift dirt without damaging the surface.
Vinegar and Baking Soda Reaction
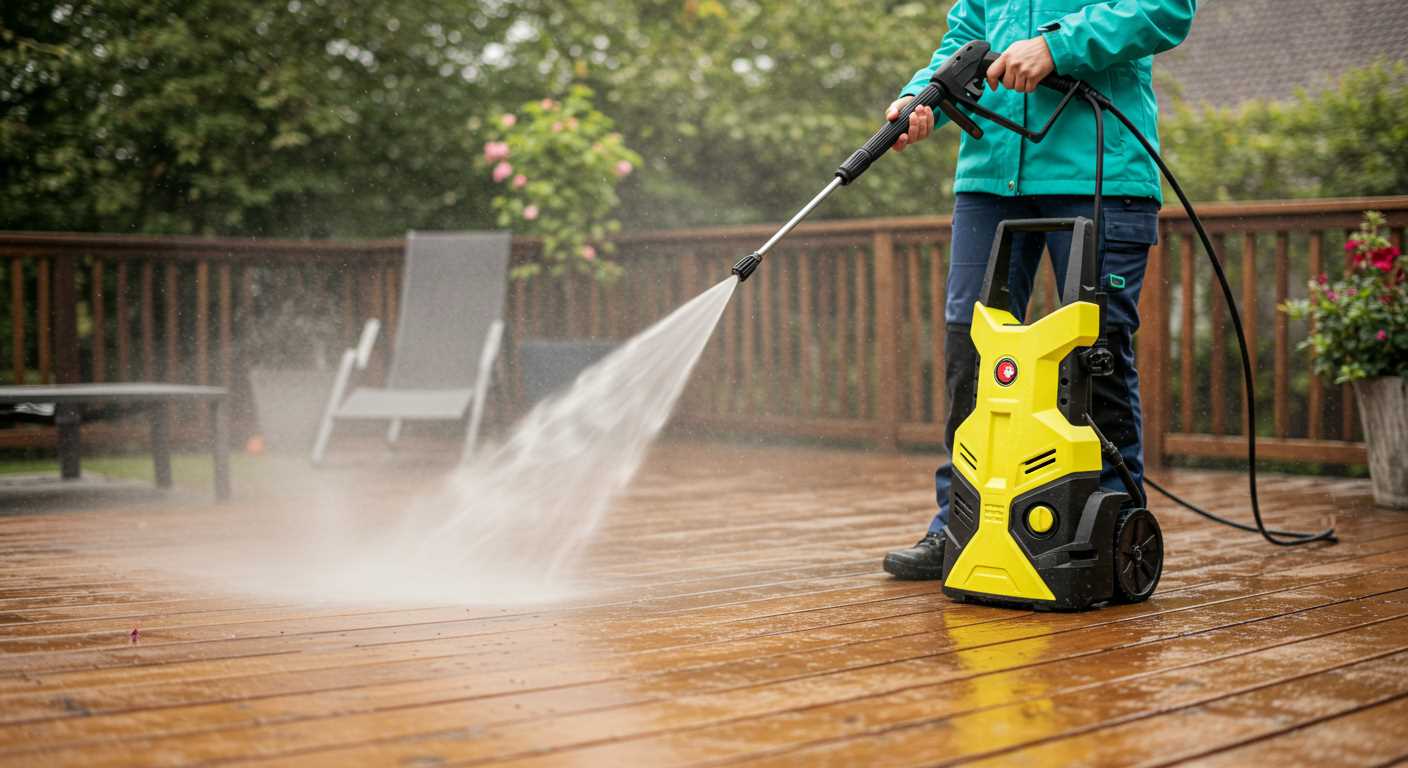
Combine equal parts vinegar and baking soda to create a foaming action. This combination is particularly effective against oily residues. Apply it to the affected area, allow it to fizz for a few minutes, and then scrub gently with a brush. Rinse thoroughly afterward.
Using Dish Soap and Hot Water
A mixture of dish soap and hot water can dissolve grease. Use two tablespoons of dish soap mixed with about a gallon of hot water. Apply it to the surface using a mop or cloth. Let it sit for 15 minutes before scrubbing with a stiff brush for optimal results.
| Ingredient | Purpose | Application Method |
|---|---|---|
| Baking Soda | Abrasive cleaner | Paste application, scrub after 30 mins |
| Vinegar | Stain removal | Mix with baking soda, apply, scrub after fizzing |
| Dish Soap | Grease cutting | Mix with hot water, soak area, scrub after 15 mins |
These solutions are economical and effective for dealing with persistent impurities. Experimenting with these household ingredients can lead to impressive results while avoiding expensive commercial products.
Drying and Sealing Concrete After Cleaning
Ensure the surface is thoroughly dried before proceeding with any sealing. Depending on the weather, this can take several hours to a full day. Use a fan or a dehumidifier to speed up the process if necessary. The ideal humidity level should be around 50% and temperatures should be stable to achieve optimum results when sealing.
Selecting a Sealant
Choose a high-quality sealant suitable for the type of finish and usage of the surface. Options include acrylics for a simple, glossy finish or urethanes for added durability and chemical resistance. Read the manufacturer’s instructions to ensure compatibility and application methods align with your surface’s needs.
Application of the Sealant
Use a roller or an applicator pad to distribute the sealant evenly, starting from one corner and moving methodically across the area. Apply a thin coat and allow it to penetrate the surface for the recommended time before adding a second layer if needed. Check for any lingering puddles and spread them out to avoid uneven layers. Allow full drying as per the instructions before allowing foot traffic or heavy items back on the surface.
Maintaining Clean Concrete Surfaces Over Time
To sustain the appearance of your surfaces, regular inspections for stains and wear are vital. I recommend scheduling these checks at least twice a year. Immediate action on spills can prevent unsightly marks from setting in. Use a soft cloth or sponge to blot spills as soon as they occur, avoiding scrubbing which can push the stain deeper.
Applying a sealant every few years creates an effective barrier against contaminants. Look for a water-repellent product tailored for your surface type. This will not only enhance the look but also extend the life of the material by preventing moisture from penetrating and causing damage.
Consider using a broom or a leaf blower to clear debris regularly. This small step reduces grime accumulation and prevents the growth of mould and mildew. Additionally, keep any surrounding plants trimmed back to minimise dirt, leaves, and other organic matter landing on your surfaces.
For seasonal maintenance, a gentle wash with a mix of soap and water keeps surfaces looking fresh. Ensure that you rinse thoroughly to remove any residue. In colder climates, be aware of ice melt products that can cause surface deterioration; opt for safer alternatives if necessary.
Lastly, while it may not seem necessary, using floor mats at entrances can significantly reduce dirt tracking inside, preserving the condition of materials both indoors and outdoors. Regular care will save time and effort in the long run, keeping your surfaces in pristine condition for years to come.
FAQ:
What are some effective methods to clean concrete slabs without using a pressure washer?
There are several methods to clean concrete slabs without a pressure washer. One option is to use a stiff-bristled broom to sweep away dirt and debris. For stains, a mixture of baking soda and water can be applied to the affected areas. Leave it for a while before scrubbing with a brush. Another effective method involves using white vinegar mixed with water to break down grease and grime. Apply the vinegar solution, let it sit for a few minutes, and then scrub the surface. Additionally, you can use a hose with a spray nozzle for rinsing, ensuring that all cleaning agents are thoroughly washed away.
Can I use household cleaners on my concrete slabs, and if so, which ones are advisable?
Yes, many household cleaners can be used effectively on concrete slabs. Common options include dish soap mixed with warm water, which can help lift general dirt and grime. For tougher stains, a mixture of bleach and water can be used cautiously; however, it’s important to protect surrounding areas and follow safety guidelines when handling bleach. Another option is to use a commercial concrete cleaner that is specifically formulated for tough stains and is safe for use on concrete. Always remember to conduct a patch test on a small area first to ensure it does not damage the surface.
How often should I clean my concrete slabs to maintain their condition?
The frequency of cleaning concrete slabs largely depends on their usage and exposure to elements. For residential driveways or patios, a thorough cleaning every six months is generally sufficient to keep them in good condition. However, if the slabs are heavily used or exposed to oil spills, food residues, or harsh weather conditions, more frequent cleaning may be necessary. For areas such as garage floors, a regular monthly cleaning can help prevent the build-up of grime and stains. Regular maintenance not only keeps the surface looking clean but also prolongs its lifespan.
Are there any DIY solutions for removing oil stains from concrete slabs?
Yes, there are several DIY solutions for effectively removing oil stains from concrete slabs. One popular method is to use cat litter or sawdust to absorb the oil – simply sprinkle a generous amount over the stain, let it sit for several hours or overnight, and then sweep it away. Another method involves using a baking soda paste made by mixing baking soda with water. Apply this paste to the stain, let it sit for a few hours, then scrub it off with a brush. Dish soap mixed with warm water can also be effective for wet stains; scrub the area vigorously before rinsing it off. For more stubborn stains, a mixture of vinegar and water or a commercial degreaser can provide additional cleaning power.


