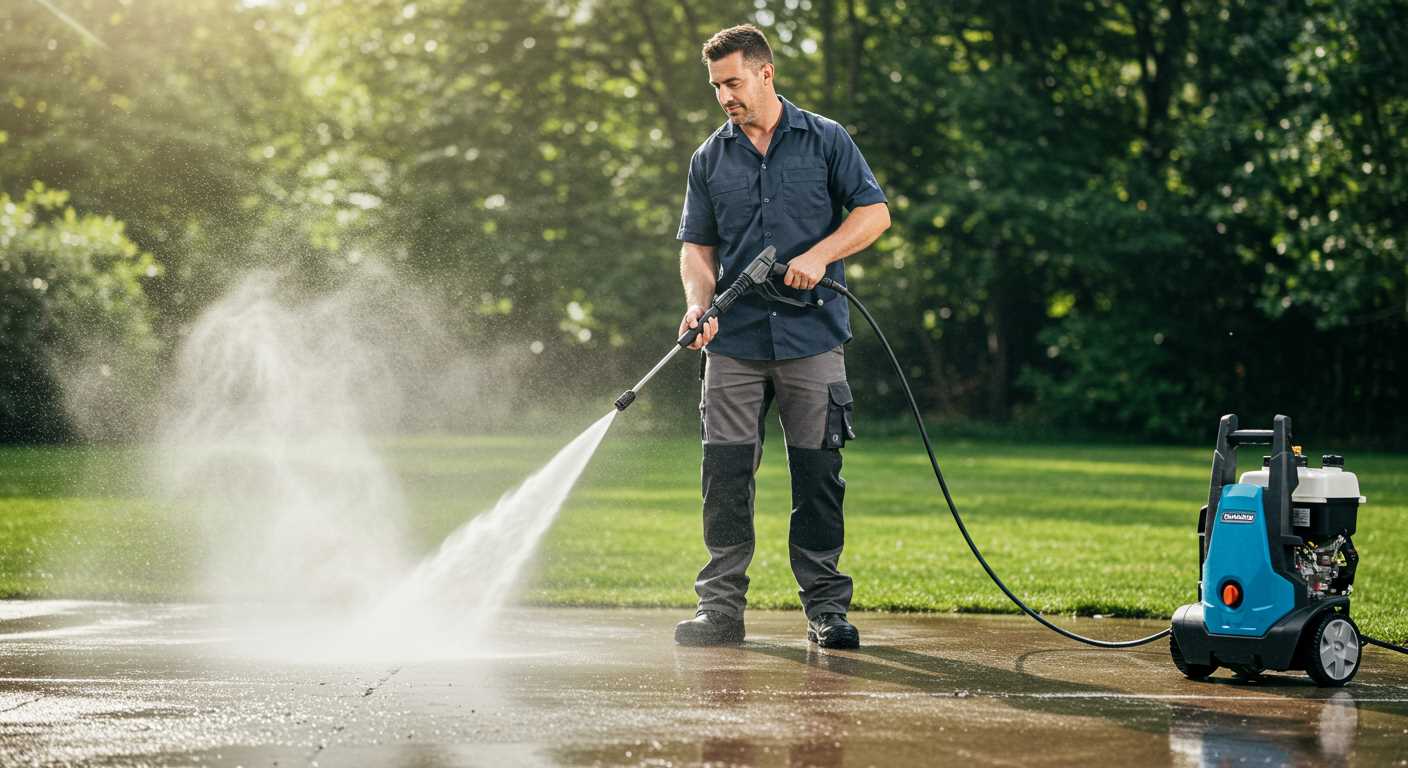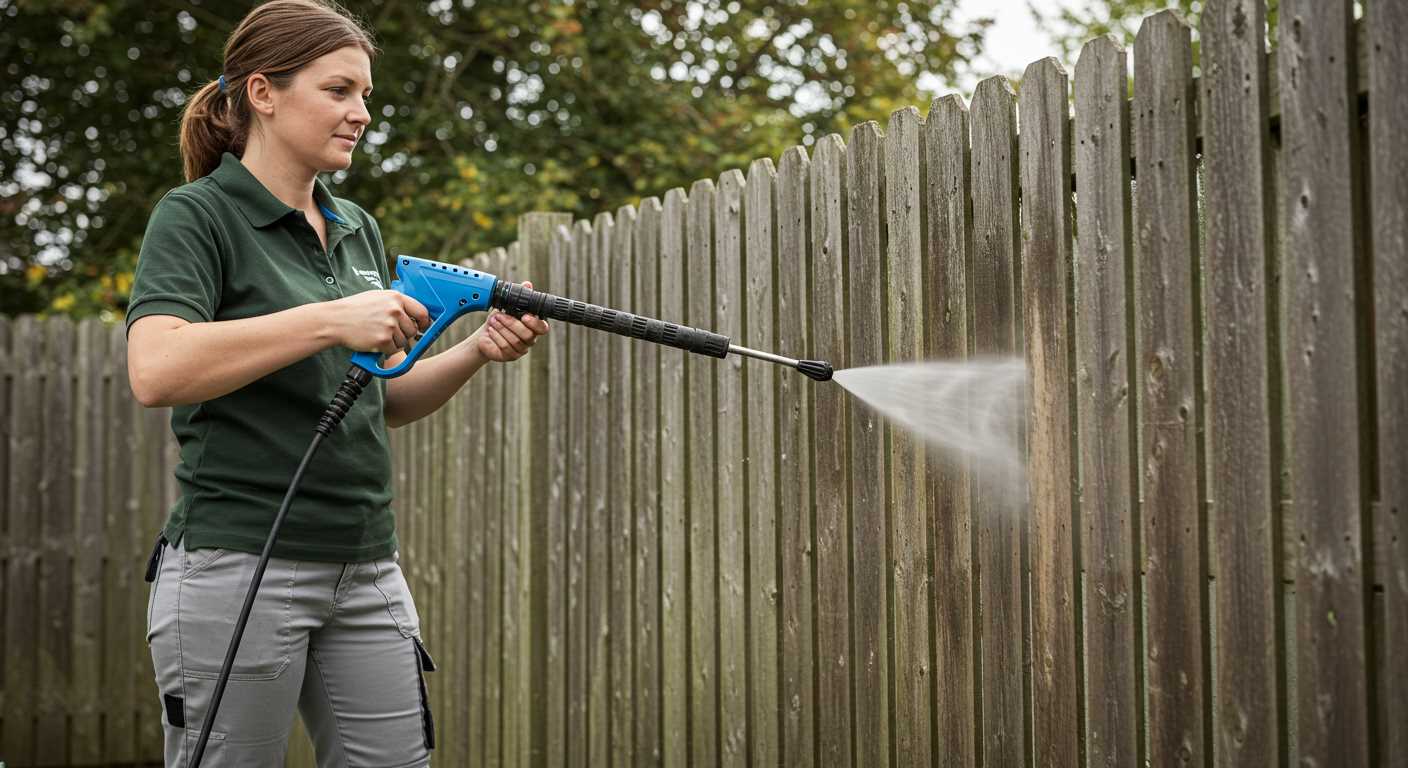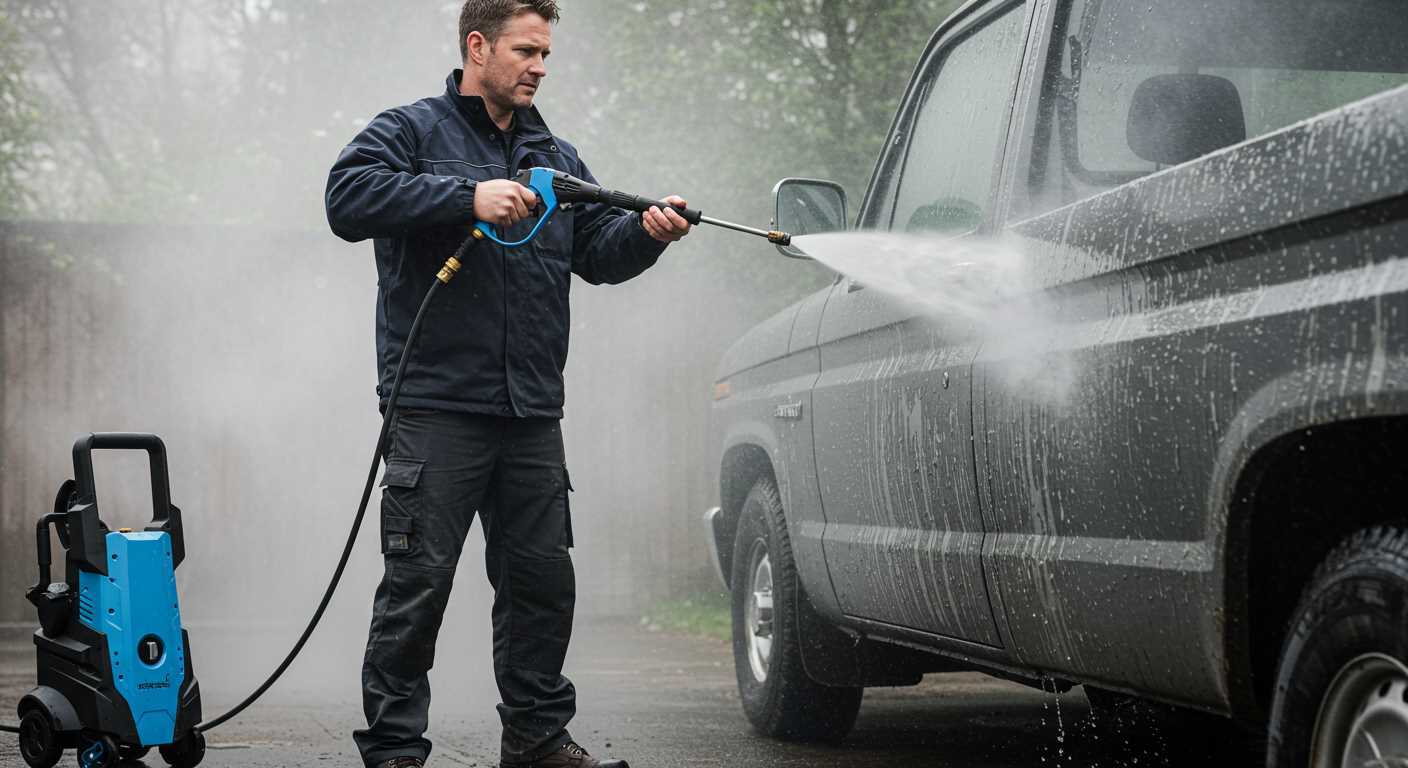


Begin by gathering your tools: a high-quality cleaning machine, a suitable nozzle (usually a 25-degree or 40-degree), and a safety gear, including goggles and gloves. Adjust the device to the appropriate pressure setting–around 1500 to 3000 PSI is ideal for most tough stains without harming the surface.
Next, prepare the area by removing debris, furniture, or any obstacles. Wetting the surface lightly will help loosen dirt and grime, making the process smoother. Apply a designated surface cleaner specifically designed for hard materials, allowing it to sit for about 10-15 minutes. This pre-treatment phase is essential for tackling stubborn marks and enhancing the overall outcome.
Once your special formula has had time to work, activate the machine. Start cleaning from the top to the bottom, moving in a consistent pattern. Keep a safe distance of about 12-24 inches from the surface to avoid causing any damage. Use sweeping motions, and pay special attention to areas with heavy staining or discoloration.
Finally, rinse thoroughly with plain water to wash away any remaining cleaner and debris. Allow the surface to dry completely before walking on it or placing items back in their original positions. Following these precise steps will ensure that your exterior looks revitalised and appealing.
Steps for Effective Surface Treatment

Before commencing, ensure you have the right gear: a machine with at least 3000 PSI and a wide-angle nozzle, typically rated at 25 degrees or higher.
Follow these steps for optimal results:
- Clear the area of any debris, such as leaves or loose dirt.
- Check for any cracks or damages on the surface. Repair if necessary to prevent further deterioration during cleaning.
- Apply a suitable detergent specifically designed for stone materials. Allow it to soak for about 10 minutes. This will help to break down stubborn stains.
- Begin washing from the top and work your way down to prevent water from trickling down onto already cleaned areas.
- Keep the nozzle approximately 12-18 inches away from the surface, adjusting pressure as needed to avoid damage.
- Use a sweeping motion rather than direct concentration on one spot to distribute the force evenly.
- Rinse thoroughly to remove all remnants of detergent and dirt, ensuring no residue is left behind.
- Inspect the surface post-treatment for any missed spots and re-treat if required.
Finally, allow ample time for the area to dry completely before using it again. This will help prevent slips and maintain the integrity of the surface.
Choosing the Right Pressure Washer for Concrete
Select a unit with a minimum of 3000 PSI for optimal results on tough surfaces. This pressure level effectively removes built-up grime and stains without risking damage to the material.
Look for a model that features a flow rate of at least 2.5 GPM. This ensures adequate water output, enhancing the cleaning process and allowing for quicker completion of tasks.
Consider electric versus gas-powered options. While electric models are quieter and easier to handle, gas units usually provide greater power and are ideal for extensive jobs.
Pay close attention to the nozzle type. A rotating nozzle can deliver a concentrated jet of water, ideal for stubborn stains. A 15 or 25-degree nozzle is typically sufficient for most cleaning tasks.
Evaluate the weight and portability of the washer. Heavier models may be more durable but can be cumbersome to manoeuvre. Opt for a design with wheels for easier transport.
Lastly, review the warranty details. A longer warranty reflects manufacturer confidence and provides peace of mind, especially for more expensive models.
Preparing the Area: Safety and Protection
Before beginning any work, ensure the surrounding space is secure. Clear the area of any obstacles such as furniture, potted plants, or decorative items that may impede your progress or get damaged. If feasible, use a protective covering, like a tarp, to shield nearby surfaces from overspray and debris.
Personal Safety Gear
Equipping yourself with appropriate safety gear is critical. I recommend wearing safety goggles to protect your eyes from flying particles and potential splashes. A mask rated for particulate protection will help filter out harmful chemicals or dust. Don sturdy, water-resistant footwear to maintain grip on potentially slippery surfaces.
Assessing Surrounding Features

Examine nearby structures, including walls and windows, which might be affected by high-pressure output. If your apparatus has adjustable pressure settings, it’s wise to start with a lower setting and gradually increase it as needed. This allows for a careful approach that minimises damage to any adjacent surfaces.
Selecting the Appropriate Cleaning Solution
For optimal results, I recommend using a strong alkaline-based detergent specifically formulated for hard surfaces. These solutions effectively break down grime and stains without damaging the substrate.
Key Ingredients to Look For
When selecting a formula, check for ingredients like sodium hydroxide and surfactants, as these help emulsify oil and grease. Products containing bleach can remove mildew and stains, but one must be cautious to avoid damaging adjacent vegetation.
Dilution Ratios

Always adhere to the manufacturer’s instructions regarding dilution. For most concentrated solutions, a 3:1 ratio of water to detergent is typically effective. In cases of extreme staining, I might recommend a stronger mix.
Applying the solution should be done with a low-pressure nozzle or using a sprayer attachment on the unit to ensure an even coat. Allow sufficient dwell time–approximately 10 to 15 minutes–before rinsing, allowing the formulation to penetrate and lift contaminants.
Post-application, ensure to thoroughly rinse the surface to remove any leftover residue which could become slippery when wet. By selecting the right product, the cleaning process becomes significantly more effective, leading to a rejuvenated appearance for your surfaces.
Proper Technique for Cleaning Concrete Steps
Begin by angling the nozzle at approximately 45 degrees to the surface. This positioning optimally directs the stream of water, enhancing cleaning power while reducing the risk of causing damage. Maintain a distance of about 10 to 12 inches from the surface to ensure that the force does not create unintended wear or etching.
Work methodically from the top to the bottom of the surface. This approach allows dirt and detergent to wash downwards, preventing residues from re-adhering to already cleaned areas. Maintain steady, overlapping strokes to ensure complete coverage without leaving streaks.
Utilise a sweeping motion rather than a concentrated blast in one spot. This technique not only optimises the efficiency of the task but also decreases the likelihood of creating grooves or indentations in the surface.
Adjust the pressure setting according to the condition of the surface. For heavily soiled or stained areas, a higher setting may be required, whereas routine maintenance benefits from a lower pressure to preserve the integrity of the material.
Incorporate a dual-action method by combining the washing cycle with an appropriate cleaning solution. Applying the solution while using a fan nozzle for gentler scrubbing proves effective in removing stubborn stains. Allow the cleaning solution to sit for several minutes before rinsing, as it helps in breaking down grime.
Finish by rinsing thoroughly, ensuring no residue from the cleaning agents remains. This step is key to preventing slippery surfaces once drying occurs, maintaining safety for all users. Always check for missed spots and address them promptly.
Post-Cleaning Care and Maintenance Tips
After removing dirt and grime, allow the surface to dry completely. This prevents moisture retention, which can lead to staining or deterioration of the surface over time.
Sealing the Surface
Consider applying a sealant to protect the area. A quality sealant creates a barrier against future stains and wear. Wait at least 24 hours post-cleaning before applying, ensuring the surface is free of moisture.
Regular Upkeep

Incorporate routine inspections and quick washdowns to maintain appearance. Use a broom or blower to remove debris weekly. Schedule deep cleaning every six months or as necessary, depending on exposure to elements. This proactive approach will extend the life of the structure, keeping it looking sharp.
Common Mistakes to Avoid When Pressure Washing
Avoid using incorrect nozzle types. Each nozzle has a specific spray pattern and pressure level. Using a high-pressure nozzle on delicate surfaces can cause damage, while a low-pressure one may fail to remove grime effectively.
Neglecting Surface Assessment
Always inspect the area prior to commencing. Assess for cracks, loose materials, or previous coatings. Ignoring these can result in water infiltration or peeling paint post-cleaning.
Improper Angle and Distance
Maintain an appropriate distance of 2 to 3 feet from the surface. Applying water too closely can embed dirt deeper instead of removing it. Additionally, focus on a 45-degree angle to avoid directing water towards gaps or joints.
| Mistake | Consequence |
|---|---|
| Using wrong nozzle | Damage to surface or ineffective cleaning |
| Skipping surface inspection | Potential for water damage or coating issues |
| Incorrect distance | Inadequate cleaning or surface damage |
| Overlooking safety gear | Risk of injury from debris or high pressure |
Inadequate safety precautions are another pitfall. Always wear goggles, gloves, and sturdy footwear. This protects against flying debris and potential injury from high-pressure water.


