The fastest way to rejuvenate the appearance of your outdoor floor surfaces is a blend of gentle scrubbing and effective solutions. Start by mixing a solution of warm water and pH-neutral soap, which will effectively lift dirt and grime without causing damage. This method will give you the benefit of control over the intensity of the cleaning process, especially around delicate areas.
Using a stiff-bristled broom or a brush with sturdy bristles, apply your soapy mixture liberally to the surface. Focus on one section at a time, allowing the solution to penetrate deeply into stubborn stains. Scrubbing in the direction of the grain not only helps to protect the material but also enhances the effectiveness of your efforts. Rinse thoroughly with fresh water, ensuring that no soap residue remains.
For persistent stains, consider using a mixture of vinegar and water. This natural solution can break down harder-to-remove marks and restore the floor’s appearance. Apply it directly to the stained area and let it sit for a short period before scrubbing again. Always follow up with a rinse to prevent any leftover residue from affecting the surface.
Regular maintenance is key. A quick sweep and wash every few weeks can keep dirt and debris from embedding themselves into the surface. By following these simple yet effective techniques, you can maintain the beauty of your outdoor areas for years to come.
Cleaning Techniques for Timber Surfaces
If a machine isn’t an option, consider using a simple solution of warm water and mild detergent. Mix these in a bucket, and employ a stiff-bristled broom or a brush to scrub the surface. Make sure the bristles are firm enough to remove grime but gentle enough to avoid damaging the wood.
Materials You Need
- Warm water
- Mild detergent
- Stiff-bristled broom/brush
- Bucket
- Garden hose
- Sponge or cloth
Step-by-Step Process
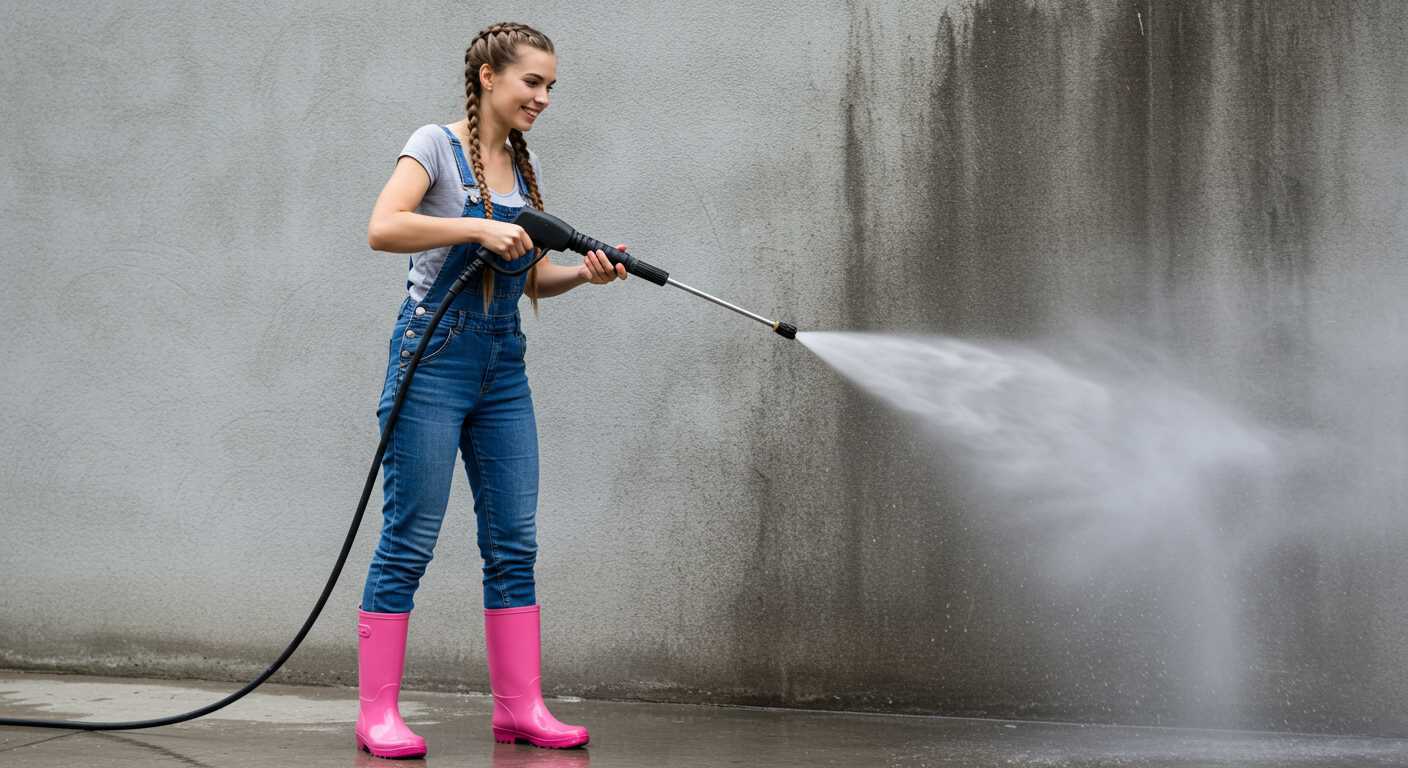
- Combine warm water and detergent in a bucket.
- Dip the broom or brush into the solution and begin scrubbing, focusing on heavily soiled areas.
- Rinse the surface with a garden hose, ensuring no soap residue remains.
- For stubborn stains, combine baking soda with water to create a paste and apply it directly to the affected spots. Let it sit for at least 15 minutes before scrubbing again.
- Wipe down with a sponge or cloth to remove any remaining dirt.
An alternative is using vinegar; it acts as a natural disinfectant. Combine equal parts of white vinegar and water for a different cleaning agent. Apply in the same manner as the detergent solution.
For deep-set stains or mildew, consider oxygen bleach. Mix according to the instructions, apply to the affected areas, and scrub after letting it sit for 15-20 minutes.
Gather the Necessary Cleaning Supplies
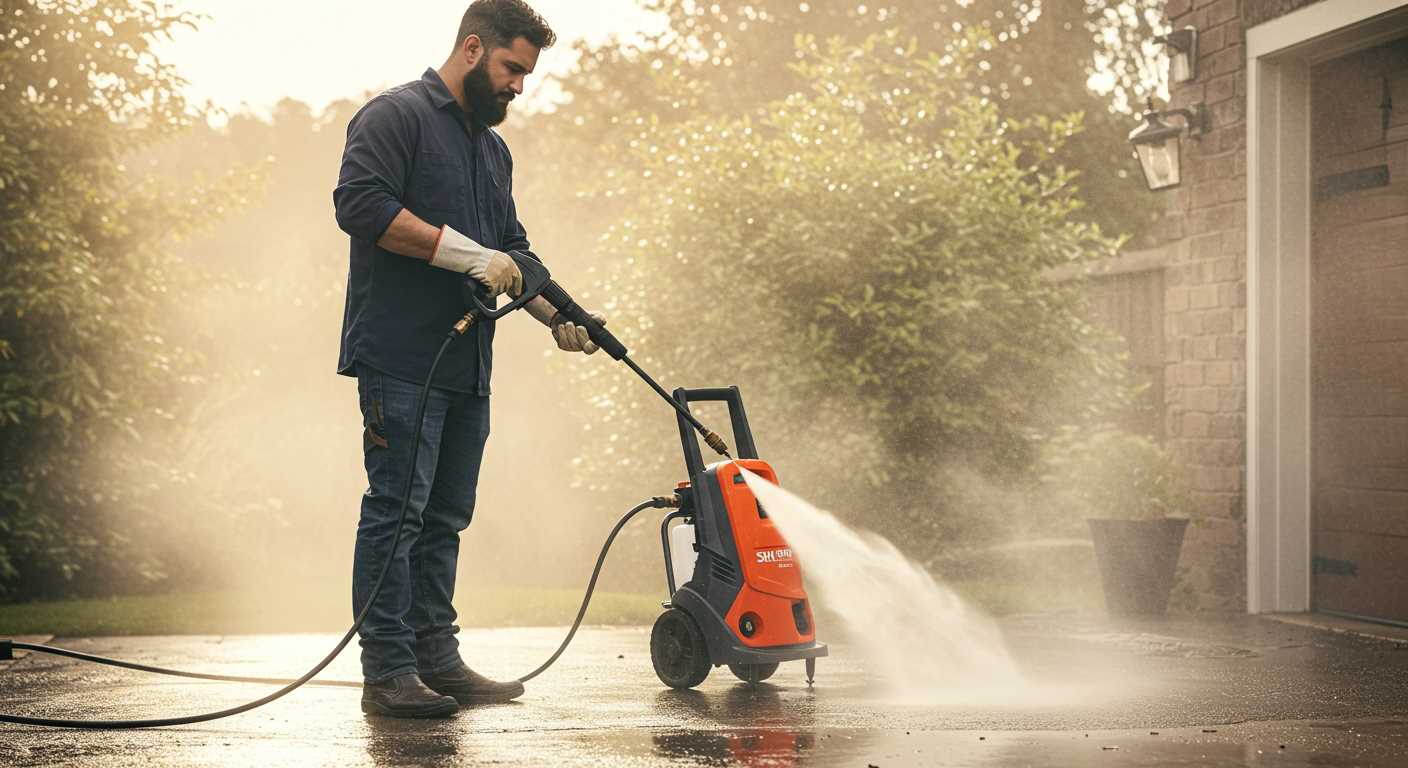
To initiate the task, acquire a sturdy broom or a stiff-bristle brush for initial debris removal. Opt for a pH-neutral cleanser, which is gentle yet robust enough to tackle grime without harming your outdoor surface. A bucket and a garden hose will be essential for rinsing and mixing cleaning solutions.
Rags or sponges are useful for applying the solution and scrubbing stubborn areas. Consider wearing gloves to protect your hands from cleaning agents. A scraper or putty knife may help in dislodging any stubborn residue or algae.
If you’re dealing with mould or mildew, invest in a dedicated mould and mildew remover for added effectiveness. It’s wise to keep a spray bottle handy; this can help in applying the cleaning mixture precisely where needed. Prepare a few old towels to mop up excess moisture if necessary.
Finally, gather a good-quality safety mask and eye protection when using strong chemicals. Having the right tools ready ensures a smooth and efficient cleaning process.
Choose the Right Cleaning Solution for Your Decking
Selecting an appropriate cleaning solution significantly impacts the outcome. When evaluating options, look for products specifically designed for outdoor surfaces; they typically include ingredients that target mildew, grease, and dirt effectively.
Types of Cleaning Solutions
Biodegradable cleaners are an excellent choice for environmentally conscious individuals. They break down naturally, ensuring minimal harm to your garden and local wildlife. Also, oxygen bleach cleaners are highly effective, providing a powerful yet safe option. They eliminate stains and sanitise, making them ideal for maintaining a fresh appearance.
Homemade Solutions
If you prefer a DIY approach, combine vinegar with water for a natural cleaning agent. The acidity of vinegar helps break down grime while being safe for various materials. Another option is baking soda mixed with water to form a paste; this method works well on tougher stains when applied directly.
Always conduct a patch test before applying any solution extensively. This will ensure compatibility with the surface material and prevent any unwanted damage. After application, allow the solution to sit for a while. This waiting period enables it to penetrate and lift the dirt more effectively.
Prepare the Surface for Cleaning
Begin by removing all furniture, pots, and decorative items from the area. This ensures unrestricted access to the entire surface, allowing for thorough maintenance. Pay attention to any obstacles that could impede the cleaning process, such as railings or planters.
Next, inspect the surface for dirt and debris. Sweep away loose particles, including leaves and twigs, as these can trap moisture and promote mould growth. A stiff broom works well for this task, ensuring the area is free from unwanted material.
Inspect for Damage
Check for any signs of damage, such as cracks or splinters. Addressing these issues prior to maintenance will prevent further complications. Consider sanding down any rough spots or applying a suitable wood filler for minor cracks to ensure a smooth surface for treatment.
Moisten the Area
Before applying any cleaning solution, lightly moisten the surface with water. This helps the cleaning solution to penetrate better and reduces the risk of damage from scrubbing. A garden sprayer or a bucket and cloth can be used for this purpose, ensuring that the area is adequately damp but not saturated.
Apply the Cleaning Solution Evenly
Even application of the cleaning mixture is key. I recommend working from one end to the other, ensuring a consistent layer across the entire surface. This prevents streaks and ensures thorough penetration into grime and stains.
Utilise a synthetic bristle brush or a mop with a long handle. This allows you to apply the solution with control and reach difficult areas. Avoid using too much pressure; a gentle scrubbing motion combined with the right amount of solution will yield better results.
Technique for Even Coverage
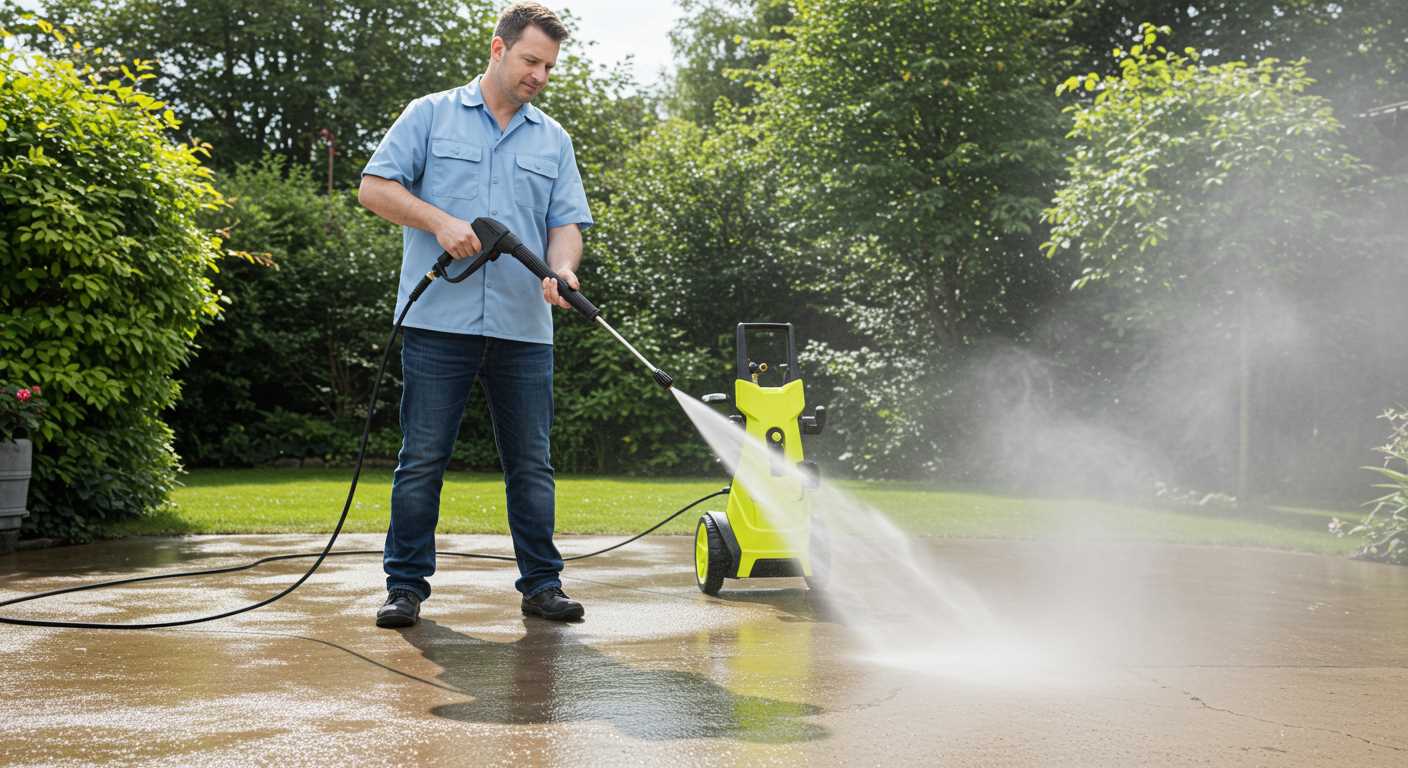
Start at a corner and move side to side in uniform strokes. Overlap your passes slightly to guarantee complete coverage. Pay particular attention to cracks and grooves where dirt often accumulates. If you notice extra stubborn spots, apply additional solution and let it sit for a few minutes before agitating with your brush.
| Tip | Description |
|---|---|
| Use a steady hand | Maintaining consistent pressure ensures that the solution spreads evenly. |
| Avoid puddles | Excess liquid can lead to uneven results and longer drying times. |
| Work in sections | This approach prevents the solution from drying too quickly and missing spots. |
After applying the mixture, allow it to dwell as recommended by the product instructions. This step is crucial for breaking down built-up dirt, ensuring the next steps are more effective.
Scrub the Decking Boards Thoroughly
Utilise a stiff-bristled brush for maximum effectiveness. Start at one end and work methodically to the other, applying firm pressure to dislodge dirt and grime.
Follow these steps:
- Wet the surface lightly to loosen debris.
- Apply your chosen cleaning mixture to a small area.
- Scrub in circular motions, ensuring you cover all corners.
- Concentrate on stained areas, applying extra effort and cleaner as needed.
- Rinse the scrubber frequently to avoid spreading dirt.
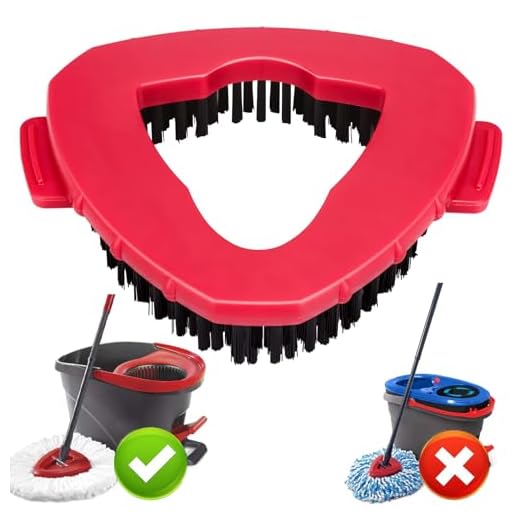
For tough stains, consider using a second scrubbing pad with a more abrasive texture. Ensure it is suitable for your surface to prevent damage.
After scrubbing, rinse the area thoroughly with clean water to remove residues and achieve a spotless finish. Use a bucket or a hose for this purpose and ensure all leftover cleaning solution is washed away.
Maintain a consistent rhythm while working to both save time and ensure thoroughness. A systematic approach allows for an even cleaning outcome that enhances the appearance of your outdoor space.
Rinse and Dry the Decking Properly
After thoroughly scrubbing the surface, ensure to rinse it adequately to remove any residual cleaning agent and dirt. Using a garden hose with a spray nozzle, start at one end and work your way to the other. This method helps ensure every inch gets a thorough wash. Make sure to spray at an angle to drive water into the gaps and seams, allowing for deeper cleaning.
Pay attention to any stubborn areas or spots that might need an extra rinse. It’s essential not to leave any solution behind, as it can lead to discolouration or other issues down the line.
Drying the Surface
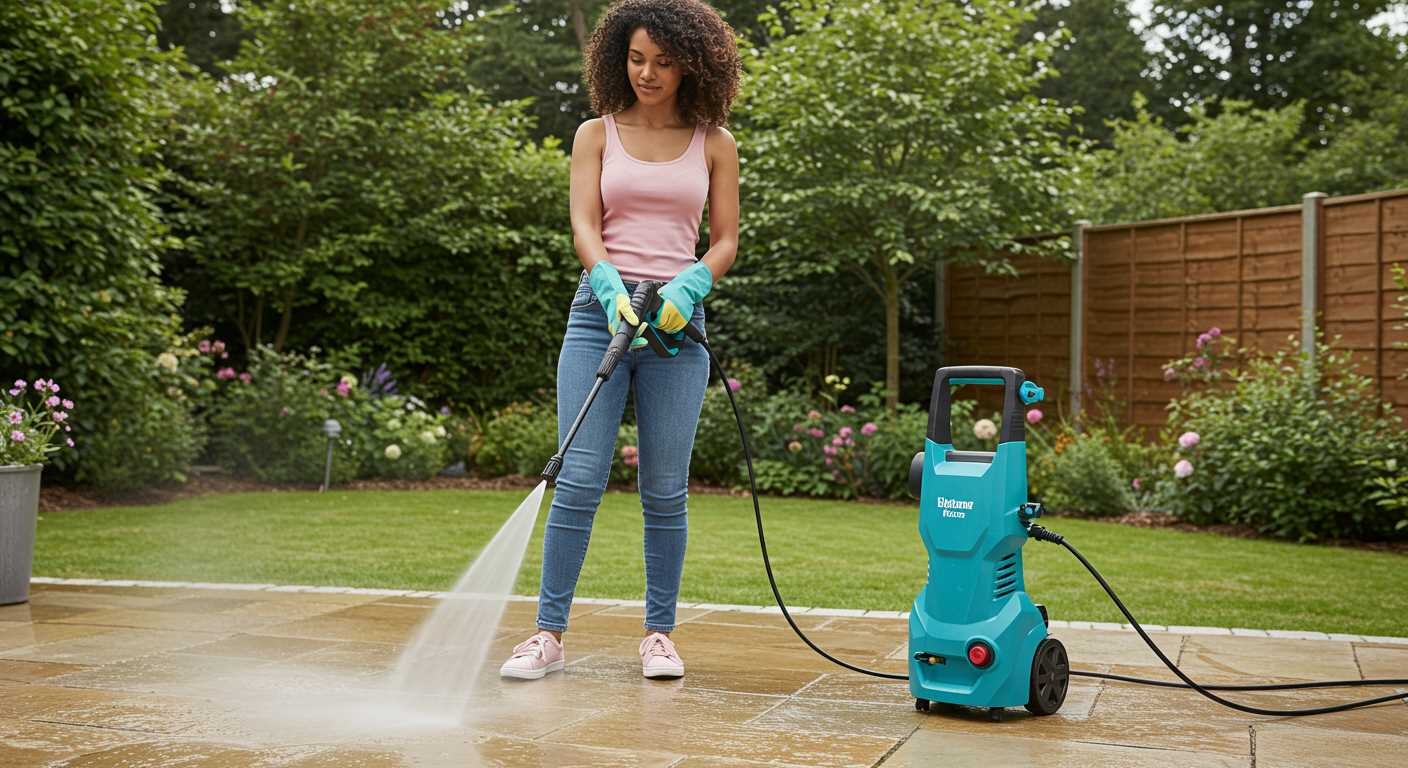
Once rinsed, let the surface dry completely. If the weather permits, utilise natural sunlight to accelerate the drying process. If conditions are humid or overcast, consider using towels or absorbent rags to blot wet areas. This step plays a crucial role in preventing mildew and ensuring a clean, safe surface for foot traffic.
Maintain airflow by avoiding covering the area while it dries. If possible, leave the space open for several hours. For best results, carrying out this rinsing and drying process on a clear, dry day can lead to optimal finishing results.


