

The most successful way to tackle muck and grime in vehicle compartments is through thorough preparation. Begin by disconnecting the battery to eliminate any risk of electrical shorts. Use tarp or plastic sheets to shield sensitive components from water damage during the washing process.
Employ a suitable spraying apparatus, set at moderate pressure, to avoid causing harm to delicate parts. Begin by applying a degreaser to stubborn areas, letting it sit for a few minutes to break down accumulated residue. After this, use the sprayer from a safe distance, starting from the top and moving downwards to ensure water flows away from critical applications.
To finish, inspect the area and wipe down surfaces with a cloth for a polished look. This attention to detail ensures all elements function properly post-cleaning, and you’ll find that maintaining a spotless compartment contributes significantly to the overall performance and longevity of your vehicle.
Detailed Steps for Bay Cleaning Using High-Pressure Equipment
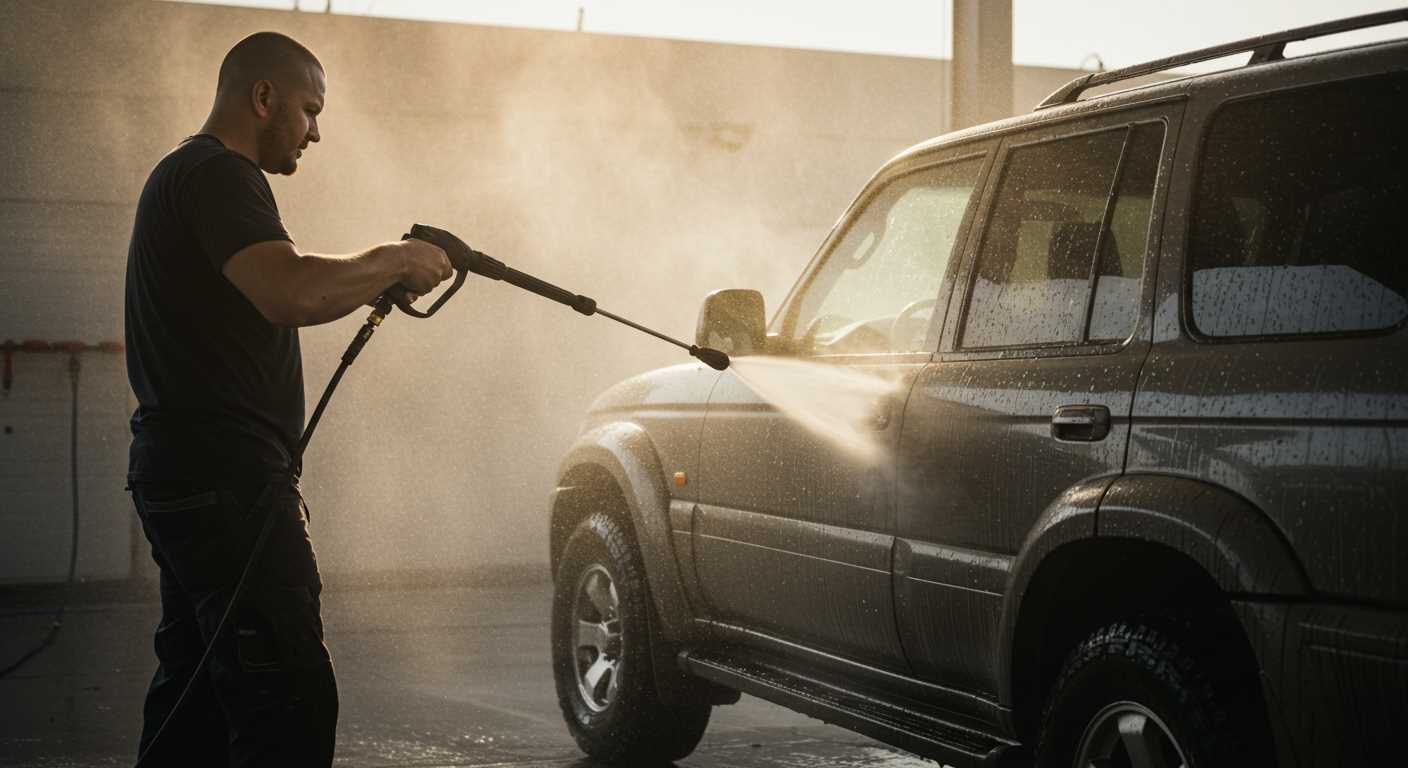
First, secure the vehicle, ensuring it’s parked on a flat surface and the engine is cool. Disconnect the battery cables to mitigate any risk of electrical damage. Cover sensitive components like the air intake, battery, and distributor cap with plastic bags to prevent water ingress.
Selecting the Right Nozzle
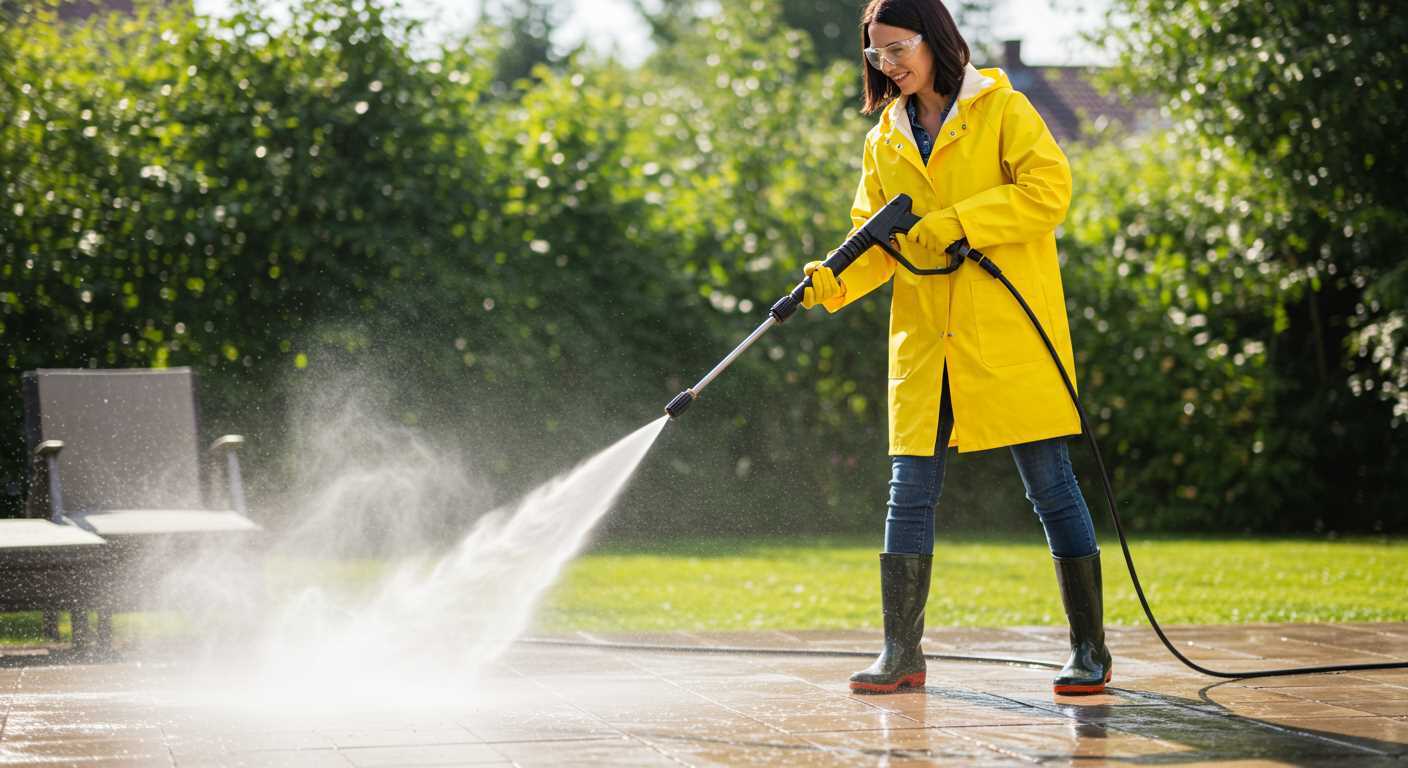
Choosing an appropriate nozzle is critical. A wide fan spray (25-degree or 40-degree) works best. This limits the risk of damaging components while providing adequate coverage.
Preparation for the Procedure
.jpg)
- Remove any debris from the surface area, such as leaves or dirt.
- Apply a degreaser on heavily soiled spots, allowing it to dwell for several minutes. This enhances the removal of stubborn grime.
- If necessary, use a soft brush for scrubbing intricate areas.
Once prepared, begin at the topmost part of the compartment, working your way downwards. Maintain a distance of 2-3 feet from surfaces to prevent any potential damage.
- Utilise a gentle sweeping motion, keeping the nozzle moving to avoid focusing on a single spot too long.
- Rinse away the foam thoroughly, ensuring all remover residues are eliminated.
After rinsing, remove the protective covers from sensitive areas and reconnect the battery. Start the vehicle and let it idle for a few minutes to allow moisture to evaporate, preventing rust and corrosion.
Check connections and ensure everything is seated properly before concluding the task. Regular upkeep not only enhances aesthetics but can also prolong the lifespan of various components.
Gather Necessary Supplies for Engine Cleaning
For optimal results, gathering the right tools before tackling the task is crucial. My first recommendation is a high-quality, non-corrosive degreaser designed for automotive applications. This will help break down grease and grime effectively without damaging sensitive components.
Additional Tools to Consider
In addition to a degreaser, I suggest a range of brushes with varying bristle stiffness. A soft brush works well for delicate areas, while a stiffer bristle brush can tackle stubborn dirt. Microfiber cloths should also be included for wiping down surfaces post-cleaning; they trap dust and leave no lint behind.
Don’t forget safety gear. Protective eyewear and gloves are necessary to shield yourself from harmful chemicals and debris. A durable tarpaulin can protect any surrounding areas from runoff during the washing process.
Equipment and Accessories
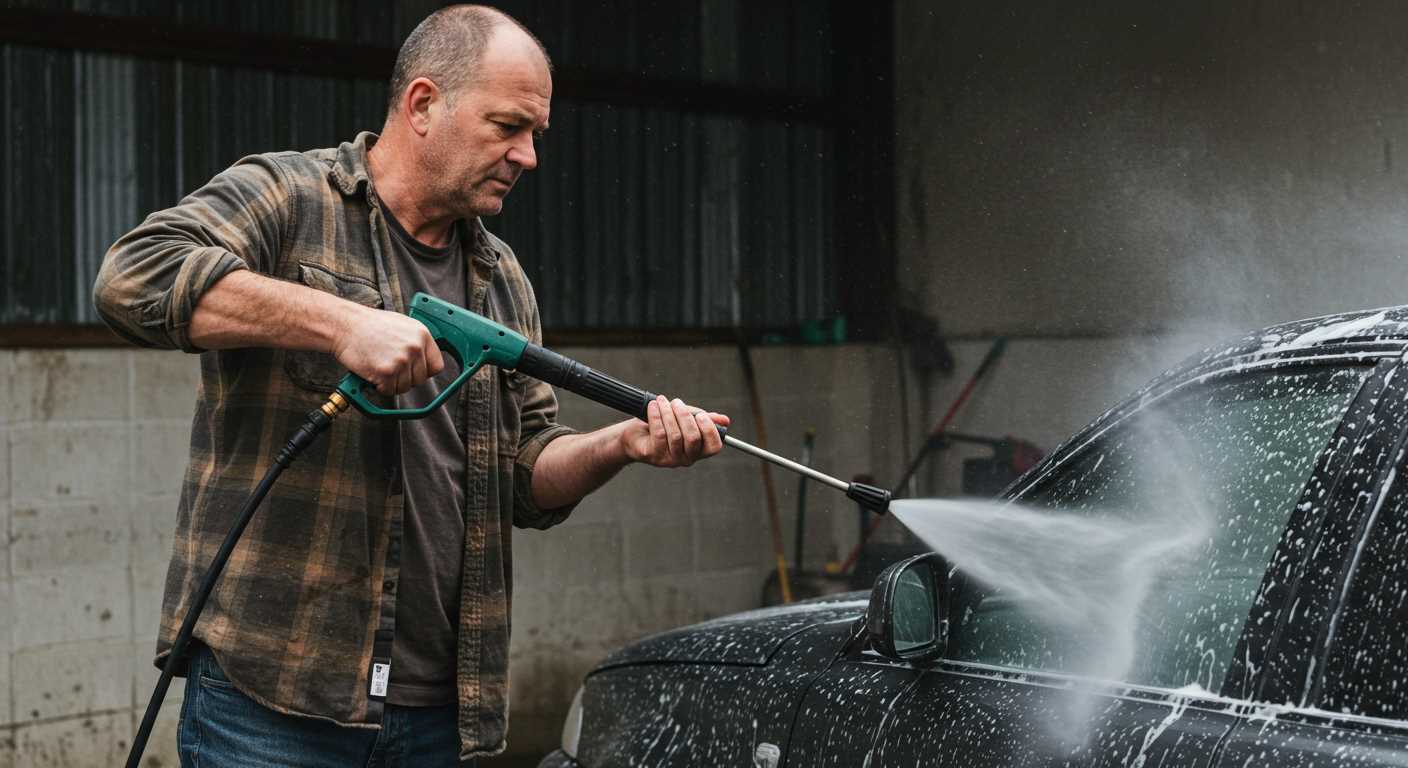
For the washing stage, ensure you have access to a quality water source and a high-pressure sprayer. A nozzle that allows for adjustable spray patterns is ideal for reaching intricate areas. Lastly, use a plastic bag or wrap to cover any sensitive electrical parts and components to prevent water damage.
By assembling these items beforehand, the task will be smoother and more efficient, leading to a satisfactory finish for your vehicle’s maintenance routine.
Prepare Your Vehicle for Pressure Washing
Disconnect the battery to prevent any electrical mishaps during the process. It’s always wise to remove the negative terminal first, ensuring safety throughout the task.
Cover sensitive areas such as the alternator, air intake, and any exposed wiring using plastic bags or cling film. This step protects these components from water exposure that could lead to damage or short circuits.
Inspect hoses and connections for wear and tear. If you notice any frayed or damaged parts, consider replacing them before proceeding to avoid complications.
Remove any loose debris or dirt surrounding the compartment manually. For example, a soft brush or cloth can help reach tight spots and ensure a thorough preparation before the high-pressure treatment.
If applicable, drain any excess fluids like oil or fuel that may leak during the washing process. This precaution helps in maintaining a clean working area and avoids slips.
Finally, ensure the vehicle is parked in a well-ventilated area. This sets the stage for both safety and efficiency while tackling the task ahead.
Choose the Right Pressure Washer Settings
Adjust the pressure output to a safe level, ideally between 1200 to 1900 PSI for automotive tasks. This range effectively removes grime without causing damage to sensitive components.
| Setting Type | Recommended Settings | Effects |
|---|---|---|
| Pressure Level | 1200 – 1900 PSI | Safe for most parts, prevents damage. |
| Water Temperature | Warm (not exceeding 60°C) | Enhances emulsification of oils. |
| Flow Rate | 1.4 – 2.0 GPM | Good balance for rinsing dirt. |
| Nozzle Type | 15° or 25° spray nozzle | Effective coverage, reduces risk of damage. |
Utilise the right nozzle to achieve optimal results. A 15° nozzle concentrates the water stream for stubborn areas, while a 25° nozzle disperses the flow, ideal for broad surfaces.
For removing tough residues, consider using a detergent attachment, ensuring compatibility with the equipment. Always test the selected settings on an inconspicuous area first to ensure there’s no adverse effect.
Consistency is key. Maintain an even distance of around 2 feet from the surface while applying the spray, adjusting as necessary based on the response of the materials involved.
Apply Engine Degreaser Properly
Evenly apply degreaser across surfaces by using a spray bottle or a dedicated applicator. Ensure the product is suitable for your vehicle’s materials to avoid damage.
Follow these steps for optimum results:
- Make sure the engine is cool before application to prevent the degreaser from evaporating too quickly.
- Saturate oily areas generously, allowing the solution to penetrate grime effectively.
- For tough stains, agitate the degreaser with a soft brush, focusing on hard-to-reach spots.
Allow the degreaser to sit for the recommended time indicated by the manufacturer, typically around 10 to 15 minutes, to break down contaminants efficiently.
As you rinse, use a gentle steady flow of water to avoid dislodging any sensitive components. Remember to follow the recommended techniques for rinsing outlined in previous sections.
Inspect all areas after washing to ensure all residues are eliminated, and reapply degreaser if necessary for stubborn spots.
Safely Rinse the Engine Bay
Begin by positioning the nozzle at a distance of at least 2 feet from the components. This helps avoid excessive force that can dislodge fragile parts. Aim to use a wide spray pattern to distribute water evenly.
Water Temperature and Type
Utilise lukewarm water for rinsing. Hot water can inadvertently damage plastic components or sensors. Additionally, ensure that only clean water is applied; contaminants can lead to further issues down the line.
Direction and Technique
Direct the spray towards the upper sections of the compartment first, allowing debris and residue to flow downward. Avoid spraying directly into electrical connections or exposed components. Instead, angle the nozzle slightly to the side to channel water away from sensitive areas.
Always keep a close eye on any components as you rinse. If you see areas that are retaining water or hindered by debris, pause and check for blockages or opportunities to safely clear them before continuing.
After rinsing, take a moment to inspect the area for any lingering cleaning solution, ensuring thorough removal. Following this process will aid in maintaining the longevity and functionality of your machinery’s components.
Drying Techniques to Prevent Damage
Wiping down surfaces with a soft microfiber towel immediately after rinsing is a straightforward method to remove excess moisture. This prevents corrosion and electrical issues.
Using a leaf blower can expedite the drying process significantly. The force of the air displaces water from hard-to-reach areas, particularly around connectors and crevices. Make sure to use it at a safe distance to avoid damage.
Heat Application
Utilising a heat gun at a safe distance can help evaporate leftover moisture. Keep the device in motion to avoid overheating any specific area, which could cause warping or damage to sensitive components.
Parking Position
Parking the automobile in sunlight can naturally enhance evaporation. Ensure the vehicle is on a level surface to allow water to drain adequately from all components.
A combination of the above methods enhances results, safeguarding against potential damage caused by moisture. Proper attention to drying post-treatment can significantly prolong the lifespan of critical components.
Reconnect Battery and Check Components
Reconnect the battery terminals, ensuring both connections are tight. Start the vehicle and listen for any unusual sounds. Check for warning lights on the dashboard indicating issues.
Inspect hoses and connectors to verify that they remained seated during washing. Pay attention to electrical connections; moisture accumulation can lead to faults. If water pools in any area, remove it cautiously using a clean rag or a low-pressure air blower.
Examine fluid levels in reservoirs, especially coolant and brake fluid. Top up as necessary, and look for any leaks or cracks that may have been exposed during the cleaning process. Replace any damaged components before proceeding further.
Conduct a thorough visual inspection of belts and the alternator. Signs of wear might require replacement to prevent future breakdowns. Ensure the air filter is dry and free from debris.
Finally, run the vehicle for a few minutes, monitoring how it behaves. Check for any error codes with a diagnostic tool if available, addressing any discrepancies immediately to maintain reliability.
Maintain Cleanliness Post-Cleaning
Execute regular inspections of the compartment to prevent build-up of dirt and grime. I recommend a quick visual check every few weeks to identify any leaks or accumulated debris.
Apply a protective wax or dressing specifically designed for automotive surfaces to shield against corrosion and dirt. This maintains a polished look and provides a barrier against environmental factors.
Utilise a soft cloth or microfibre towel to wipe down surfaces after each use of the vehicle. This simple action helps prevent the attachment of dust and prevents more extensive cleaning sessions later.
Consider using a specialised automotive detailing spray, which can also contribute to maintaining the appearance and cleanliness of various components. A light mist followed by a gentle buff can work wonders.
Store the vehicle in a clean and dry environment whenever possible. Exposure to excessive moisture and dirt from unsealed areas can accelerate the deterioration of surfaces.
Lastly, educate yourself about potential contaminants specific to your driving conditions. Adapting maintenance routines based on your environment prolongs the lifespan of all components within the compartment.


