


Begin by selecting the appropriate nozzle for your high-pressure unit, typically a 25-degree or 40-degree tip works best for removing grime and stains. Adjust the pressure setting according to the type of substrate you will be treating; for concrete surfaces, a higher setting may be suitable, while delicate materials require a gentler approach.
Prior to commencing, clear the area of any obstacles and debris. This step not only ensures safety but also helps to achieve optimal results. Next, it’s advisable to pre-soak the surface with water, especially if you’re dealing with stubborn residues. This will help to lift dirt and make the subsequent process more efficient.
As you start washing, maintain a consistent distance of about 12 to 18 inches between the nozzle and the surface. Move in a sweeping motion to avoid streaks, overlapping slightly with each pass to ensure full coverage. Pay special attention to heavy stains; you may need to apply a degreaser beforehand, allowing it to dwell for a few minutes before rinsing with your machine.
Finally, assess your work. If you notice areas that require further attention, adjust the angle of the nozzle or pressure setting accordingly. After the task is complete, allow sufficient time for the area to dry before moving any items back into place. Following these steps will leave your surfaces looking refreshed and significantly enhance your space.
Choosing the right device for optimal results
Opt for an electric model for light to moderate tasks, offering convenience and ease of use. For stubborn grime or oil stains, consider a gas-powered variant, which typically delivers higher PSI and GPM, ensuring thorough removal.
Pay attention to PSI (pounds per square inch); 1500-2000 PSI is adequate for most domestic applications. Higher pressure is beneficial for tougher, ingrained dirt but can damage delicate surfaces–balance is key.
GPM (gallons per minute) is equally significant. Aim for at least 1.5 GPM to efficiently rinse away debris. A dual axiom exists: pressure achieves force, while flow ensures effective cleaning.
Look for additional features like adjustable nozzles, which allow versatility in spray pattern–narrow jet for tough spots and a wider fan for broader areas. Turbo nozzles can significantly enhance performance on stubborn stains.
Evaluate the weight and portability. A lightweight machine enhances manoeuvrability, especially in constrained environments. Consider integrated wheels or a handle for ease during operation.
Lastly, select a model with a decent warranty. A robust guarantee signifies manufacturer confidence in durability, subsequent protecting your investment.
Preparing the surface before washing
Before engaging in any washing activity, ensuring the space is ready is key. Start by removing any movable items, including boxes, tools, and other equipment. This creates an unobstructed area to work efficiently.
Check for damage
Inspect the area for cracks or chips. These imperfections can trap dirt and debris, making subsequent cleaning difficult. Repair any significant damage with a suitable filler to create a smoother surface.
Debris clearance
- Use a broom or vacuum to sweep away dust and loose debris.
- Pay special attention to corners and edges, where dirt often accumulates.
- If there are oil stains or heavy grease, apply a detergent and let it sit to break down the substances before you proceed.
After clearing the area, consider the following steps:
- Ensure proper drainage by checking the position of the flooring; it should be slightly sloped towards any drains.
- Confirm the presence of ventilation to allow moisture to escape during and after the cleaning process.
Following these steps ensures the cleaning job runs smoothly and the results are optimal.
Selecting Suitable Cleaning Solutions for Concrete Surfaces
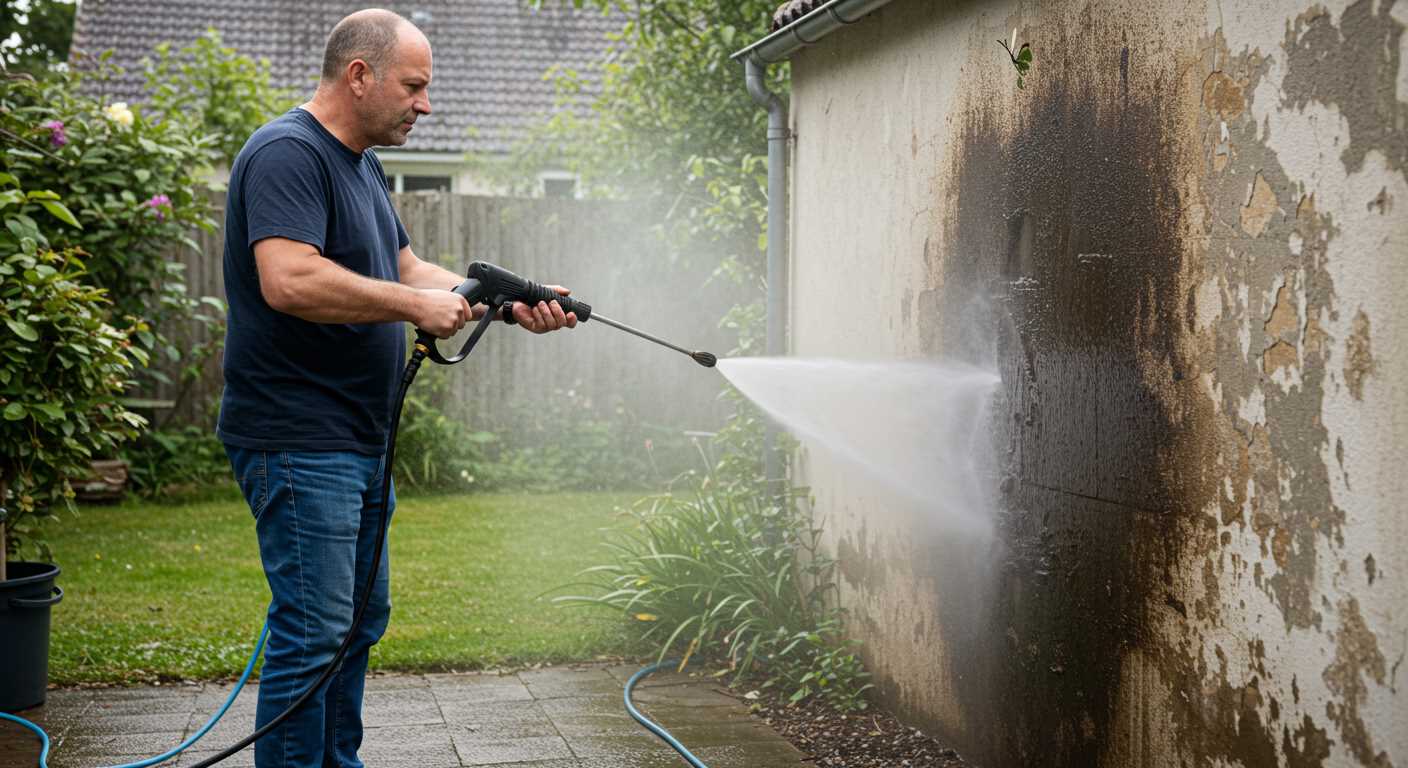
Utilising appropriate cleaning agents is vital for optimising results on concrete surfaces. Before you begin, assess the type of stains and grime present. For systematic removal, I recommend the following solutions:
- Detergent: A neutral or alkaline-based detergent works excellently on grease and oil. Look for products specifically formulated for concrete.
- Degreasers: Stubborn grease requires a strong degreaser. Ensure compatibility with your surface to avoid damage.
- Acids: For mineral deposits or rust stains, a mild acid cleaner can be effective. Always dilute according to manufacturer instructions and test on a small area first.
- Bio-based Solutions: For an eco-friendly choice, opt for biodegradable cleaners that are tough on stains yet gentle on the environment.
Safety Precautions
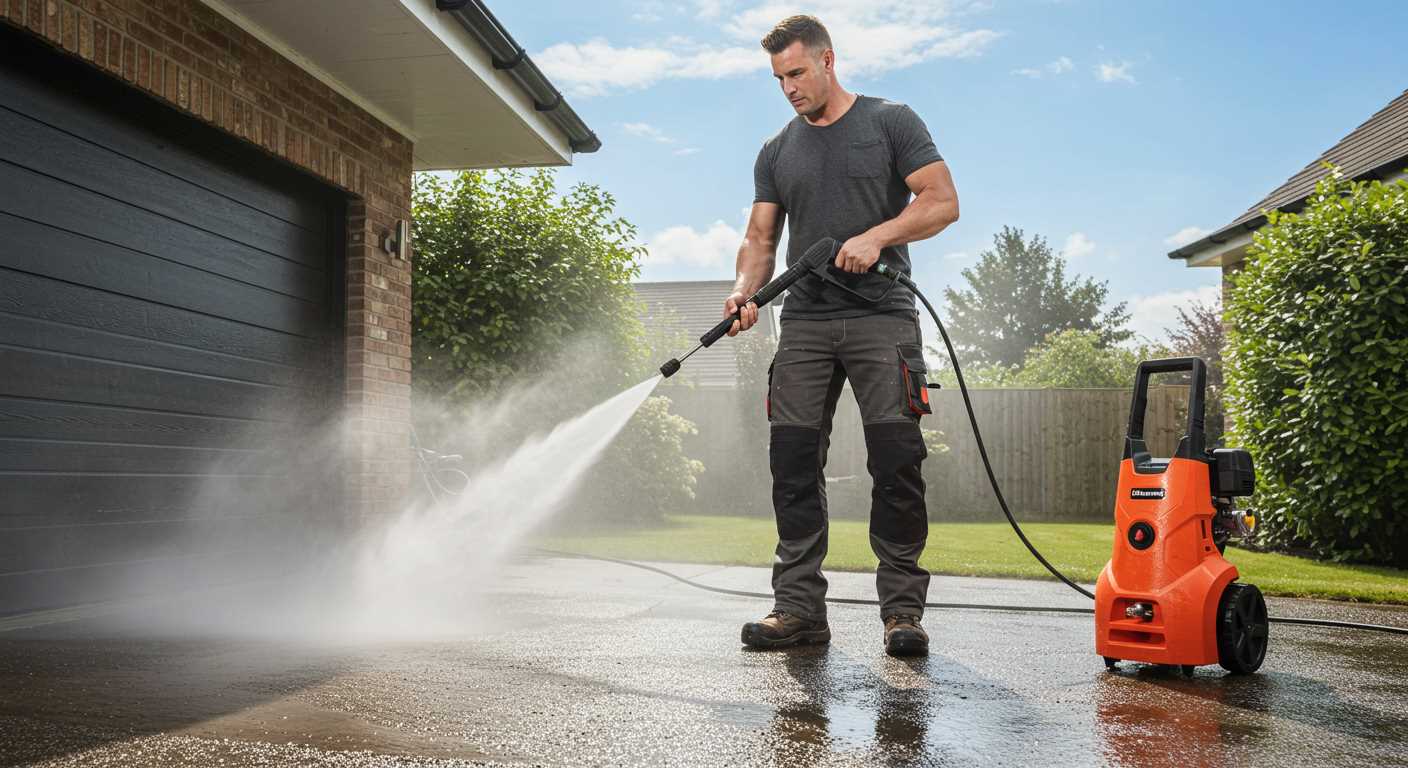
When using chemical solutions, ensure proper ventilation. Wear protective gear such as gloves and goggles to prevent skin or eye irritation. Patch test any new cleaners on an inconspicuous area to confirm compatibility.
Application Techniques
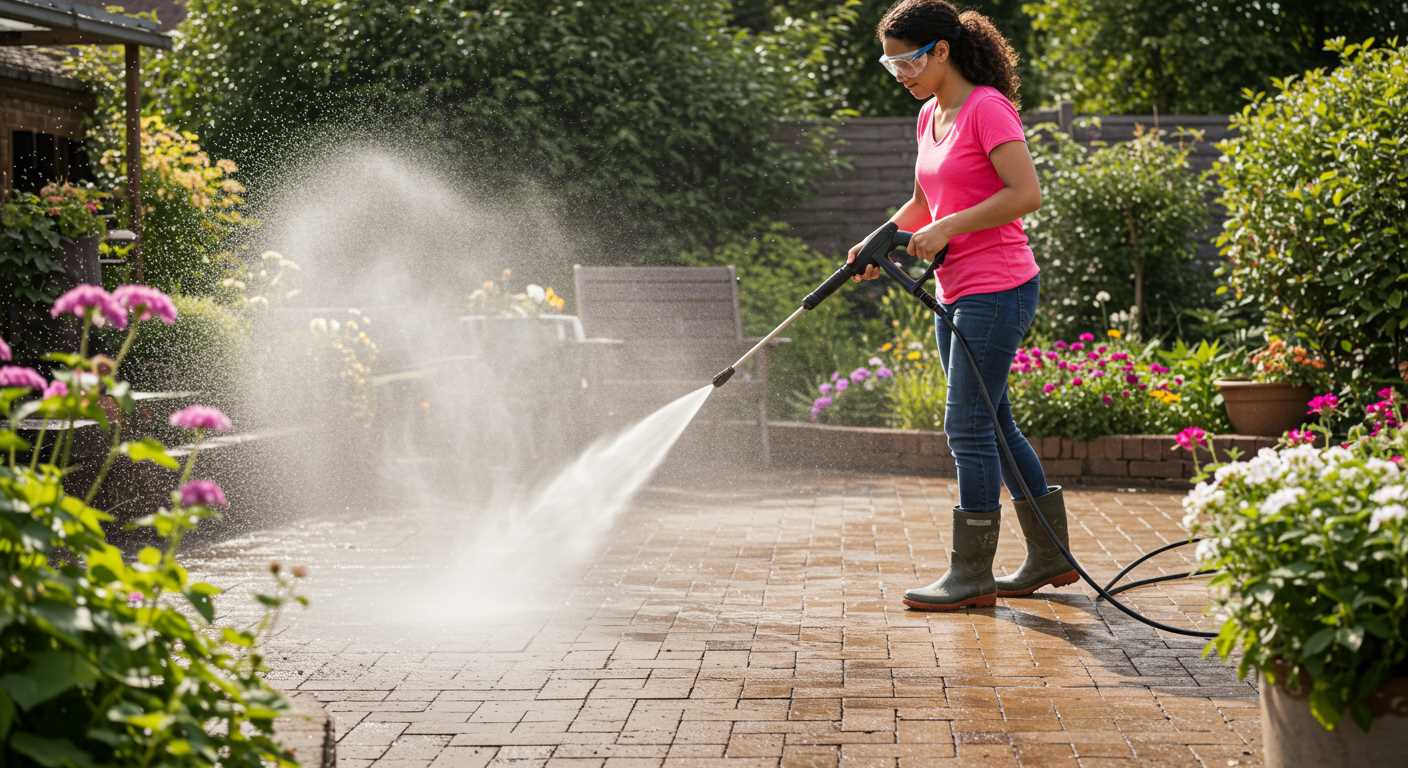
Apply cleaning solutions evenly over the surface, allowing adequate dwell time for optimal penetration and effectiveness. Use a stiff-bristled brush to agitate the solution before rinsing away with high-pressure water. This method aids in dislodging dirt trapped deep within the porous structure of concrete.
Techniques for Using a Pressure Washer on Garage Floors
Begin by keeping the nozzle at least 12 inches above the surface, adjusting as needed for stubborn stains. A consistent motion, such as sweeping from left to right, ensures an even application and avoids stripping the concrete. When tackling specific areas, like oil spots, a direct approach will yield better results. Use a narrow spray pattern for precision, especially in corners and edges.
Pressure and Technique
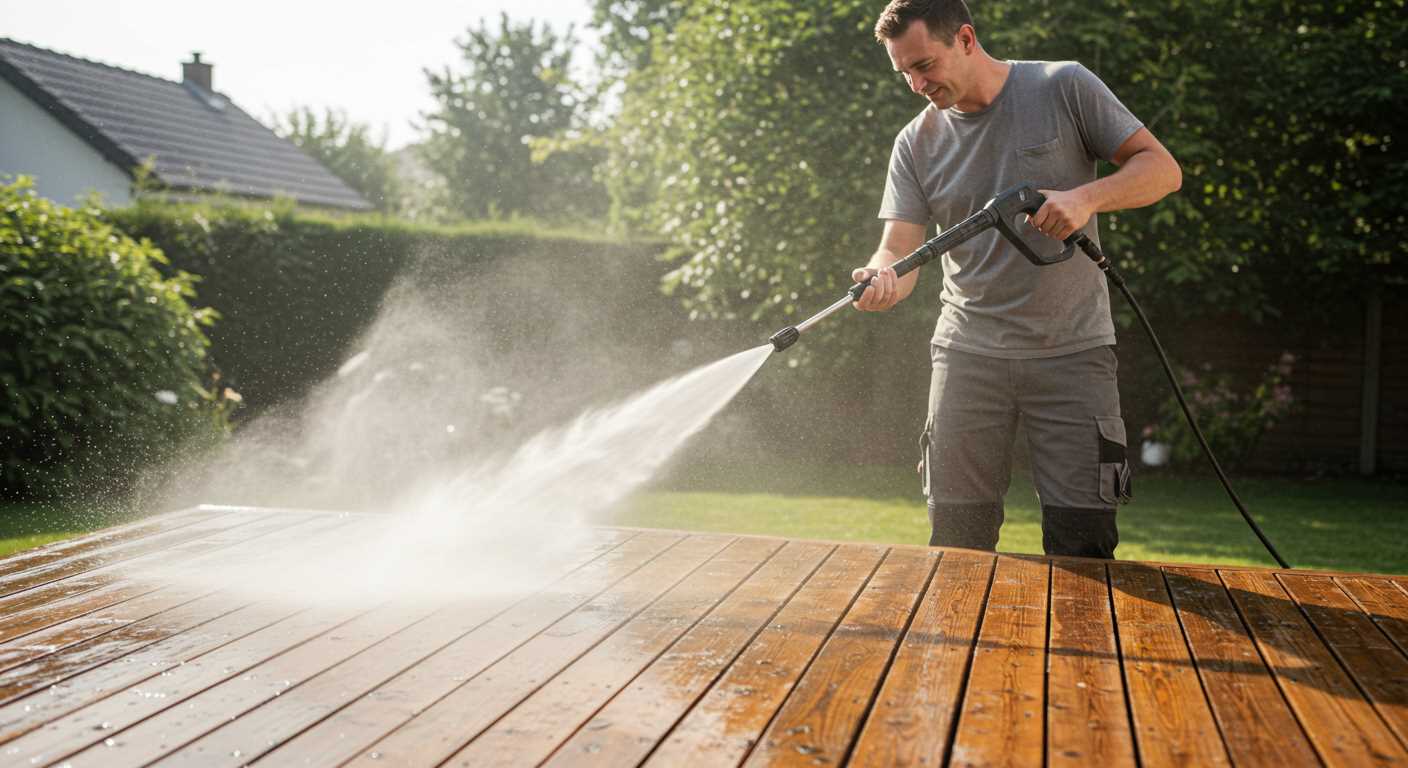
Utilise a medium pressure setting, typically around 2000-3000 PSI, depending on the severity of dirt. Starting with a wider spray angle will aid in rinsing, while switching to a narrower angle can concentrate forces on tougher spots. Maintain a steady pace–too slow could lead to surface damage, while too fast might leave residue.
Working with Detergents
Pre-apply suitable cleaning agents to enhance results. Allow them to dwell for 5-10 minutes to break down grime before rinsing. Coordinating the use of the pressure appliance and detergent optimises efficacy. Rinse thoroughly to ensure no cleaning residue remains, which could cause slippery conditions post-cleaning.
| Technique | Description |
|---|---|
| Nozzle Position | Begin at 12 inches, adjust for stains |
| Consistent Motion | Sweep left to right for even application |
| Medium Pressure | 2000-3000 PSI for best results |
| Rinsing Technique | Use wide angle to rinse, narrow for stains |
| Detergent Application | Pre-apply and dwell for 5-10 minutes |
| Thorough Rinsing | Ensure no residue remains post-cleaning |
What to do after cleaning: drying and finishing touches
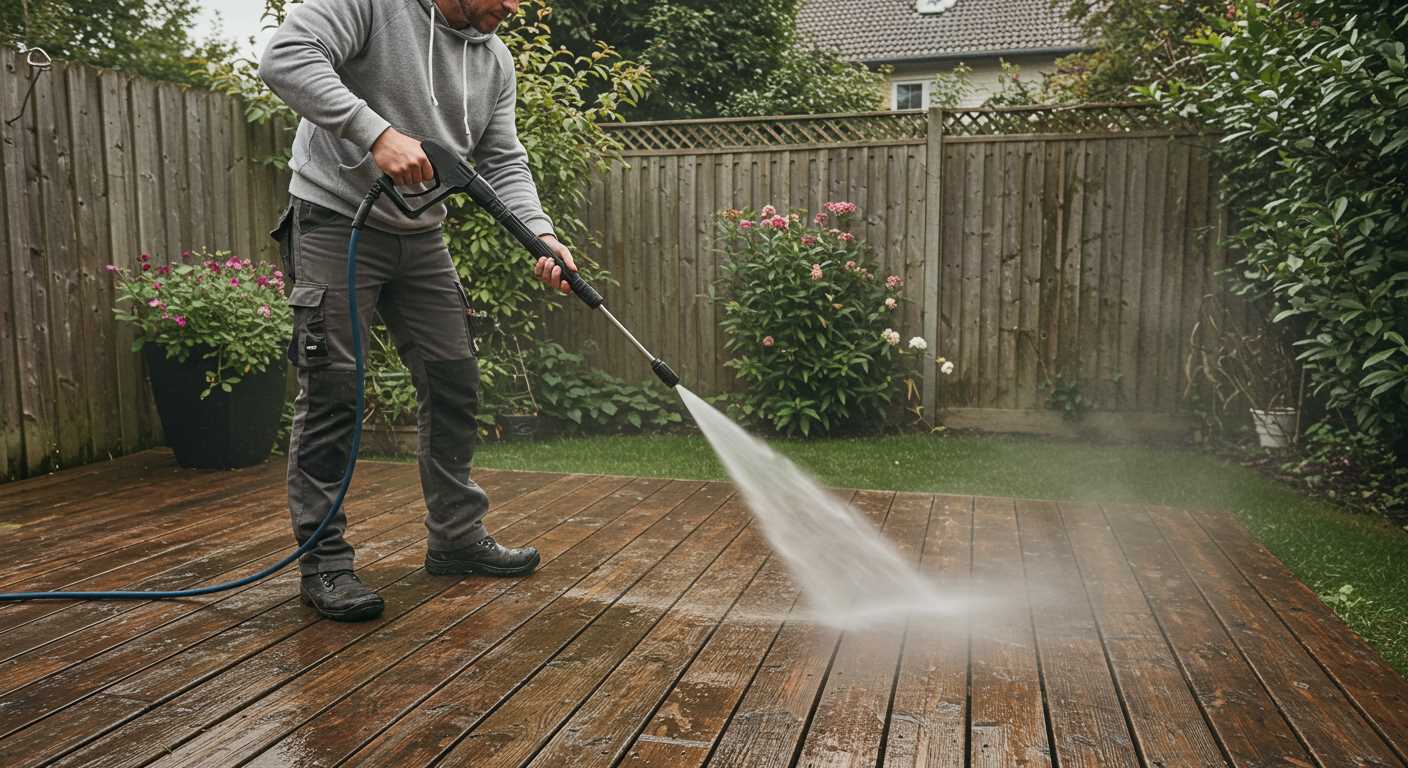
Immediately after the washing process, it’s crucial to facilitate rapid evaporation of moisture. I recommend using a high-powered blower or industrial fan directed towards the surface. This method not only reduces drying time but also helps prevent potential slip hazards.
Ensure that all corners and crevices are completely free from water pooling. A squeegee can be handy for directing extra moisture out of these areas, leading to a consistent finish across the area.
Once the surface feels just damp, inspect for any missed spots or residues. If additional treatment is necessary, consider applying a suitable concrete sealer. This will protect the surface and provide a uniform sheen, enhancing its longevity.
For added texture or grip, consider using a non-slip additive in the sealer. This is particularly beneficial if the area experiences high foot traffic or if vehicles traverse it regularly. Apply according to the manufacturer’s instructions for optimal results.
Finally, arrange items back onto the surface strategically. Use this opportunity to declutter and organise, ensuring that similar items are grouped together. This not only maintains aesthetics but also improves accessibility for future use.
Maintaining a clean garage floor after pressure washing
After taking care of the surface, implement a regular maintenance routine to keep it in top shape. Begin by sweeping or vacuuming away dirt and debris weekly to prevent build-up. A simple solution of warm water and a mild detergent can be used for spot cleaning any stains that appear between thorough washes.
Consider applying a concrete sealer once the surface has fully dried. This will create a barrier against stains and make future cleanings easier. Remember to choose a product suitable for your specific type of concrete and follow the manufacturer’s instructions for best results.
Additionally, set up a system for organization in your space. Store tools and items off the ground with shelving units or hanging solutions. This not only keeps the area tidy but also reduces the amount of grime that collects on the surface over time.
When seasonal changes bring in dirt or moisture, revisiting the washing process more frequently is advisable. Keeping an eye on the condition of the coating can help spot any needed repairs early and preserve the longevity of the surface.
Lastly, ensure the area remains well-ventilated to avoid dampness, which can lead to mould or mildew growth. Installing a fan or ensuring windows are opened when possible adds to the upkeep and health of the environment.


