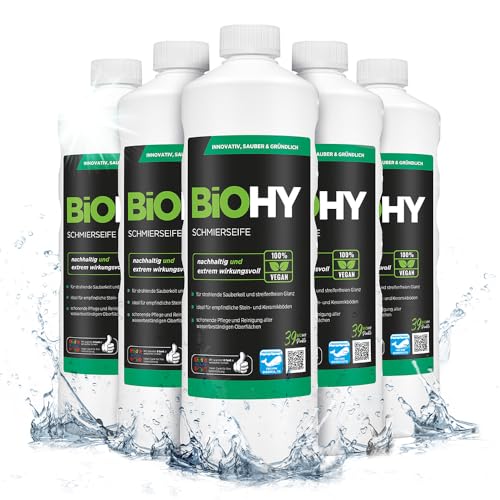


The best approach involves a solution of white vinegar and water, which acts as a natural disinfectant. Combine equal parts of both in a spray bottle for easy application. This mixture effectively breaks down grime and algae, offering a safe alternative to harsh chemicals. Spray it generously over the stained areas and allow it to sit for at least 30 minutes before scrubbing.
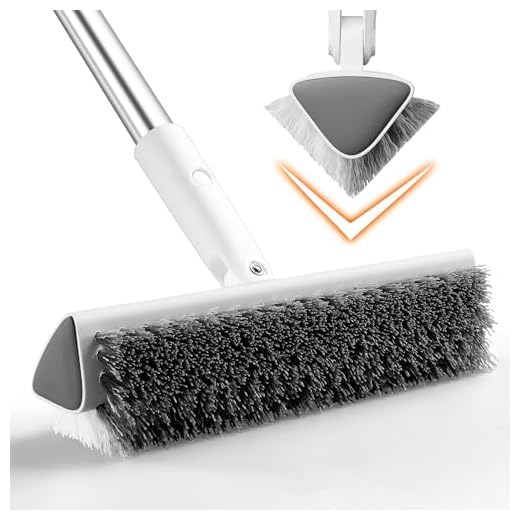
A stiff-bristled brush is your ally in this task. Select one with durable bristles that can withstand tough scrubbing. Work in a circular motion, applying moderate pressure to lift dirt without damaging the texture of the surface. Rinse the area thoroughly with a garden hose to wash away any residues after scrubbing.
An additional method involves baking soda, which serves as a gentle abrasive. Mix it with water to form a paste and apply it to stubborn stains. Let it sit for a while; the baking soda will penetrate the substances, making them easier to remove. Follow up with scrubbing and rinsing as mentioned earlier.
For persistent mould or mildew, bleach diluted in water is a powerful option. Use a ratio of one part bleach to ten parts water. Apply it carefully, avoiding over-saturation to prevent damage to surrounding plants. After treatment, ensure proper ventilation and rinse everything well to avoid harmful residues.
Techniques to Refresh Exterior Surfaces

An effective strategy involves using a mixture of vinegar and water. Combine equal parts of each in a spray bottle. Apply it generously to the surfaces and allow it to sit for about 30 minutes. The acidity of vinegar helps in dissolving dirt, algae, and mildew.
Ingredients for a DIY Cleaner
For a more robust solution, consider the following ingredients:
- Baking soda
- Dish soap
- Hydrogen peroxide
Mix half a cup of baking soda, a few drops of dish soap, and one cup of hydrogen peroxide. This blend creates a paste that targets stubborn stains effectively.
Cleaning Process
- Apply the vinegar solution or the baking soda paste to the surface.
- Use a stiff-bristled brush to scrub the area. Focus on stains and embedded dirt.
- Rinse with clean water using a bucket or hose.
- Repeat if necessary for stubborn spots.
For maintenance, consider brushing the surfaces regularly to prevent the build-up of grime. This simple routine will keep your exterior areas looking their best between thorough cleanings.
Choosing the Right Cleaning Solution for Your Slabs
Opt for a biodegradable, non-toxic detergent to avoid harming the environment while achieving effective results. Citrus-based cleaners are excellent for eliminating grime and stains due to their natural solvent properties. Aim for solutions containing oxygen bleach for a deeper clean, as they work by lifting stubborn marks without damaging the surface.
If mould and algae are prevalent, consider a vinegar solution. Mix equal parts of white vinegar and water in a spray bottle. This blend not only addresses mildew effectively but also acts as a natural disinfectant, ensuring a fresh finish. A solution that includes baking soda can enhance cleaning, providing an abrasive property that assists with scrubbing.
When tackling oil stains, mineral spirits can be useful. Apply directly to the stain, let it sit for a short period, and then scrub with a brush. Make sure to rinse thoroughly afterwards to prevent any residue from remaining on the surface.
For a completely green approach, create a paste from baking soda and water, apply it to the areas of concern, and let it sit before scrubbing. This method is particularly advantageous for those wishing to maintain an eco-friendly cleaning regimen.
Always perform a patch test, regardless of the solution chosen, to ensure compatibility with the surface material. Adhering to this precaution helps prevent permanent damage and ensures effective results.
Preparing the Area Before Cleaning Your Slabs
Remove any furniture, pots, or decorations from the surface to avoid obstructions during the process. This allows for easier access and prevents potential damage to your belongings.
Inspect the area for loose debris, such as leaves and dirt. Sweep the surface thoroughly with a broom to ensure no particulates interfere with your efforts.
Check for overhanging branches or plants that could block sunlight or create more mess while you work. Trimming back foliage not only helps visibility but also reduces the chances of debris accumulating.
Consider placing a tarp or large plastic sheeting around the perimeter to catch any runoff or debris created during the task. This simplifies cleanup afterward and protects adjoining areas.
If there are any moss or algae patches, address them before commencing. Applying a targeted solution to these areas may yield better results and prevent regrowth during the cleaning exercise.
Lastly, ensure the weather is suitable. Working in mild conditions prevents solutions from drying too quickly and allows for more effective application. Avoid windy days, as they may cause overspray or drift of cleaning agents onto other surfaces.
Using Broom and Water Technique to Remove Dirt
.jpg)
Begin with a sturdy broom; choose one with stiff bristles to effectively dislodge grime and debris. Wet the desired area lightly with water from a hose or a watering can to prevent dust from rising during sweeping.
Pursue a systematic approach. Start at one corner and work your way across in sections. Sweep towards the edge or a designated area for collected dirt. For stubborn spots, apply extra pressure while using a side-to-side motion to agitate the surface.
Consider using a bucket with soapy water to enhance results. Mix a gentle detergent suitable for outdoor use. Dip the broom into the solution, then sweep over the surface again. The soapy mixture will help lift the dirt more efficiently.
To finalise the process, rinse the swept area with clean water. This removes any soap residue and additional loose debris. After rinsing, allow the area to dry naturally to avoid slipping hazards.
Keep in mind that regular maintenance, including occasional sweeping and rinsing, will prolong the cleanliness of the surface and reduce heavy build-up over time.
Applying Natural Cleaners for Stubborn Stains

For tough blemishes, a mixture of white vinegar and baking soda proves potent. Combine equal parts vinegar and water, spray it generously on the affected area, and let it sit for 15-20 minutes. Afterward, sprinkle baking soda on top, creating a fizzing reaction that lifts dirt. Scrub gently with a stiff brush, then rinse off thoroughly.
For organic marks like algae or moss, a solution of hydrogen peroxide and water works wonders. Mix one part hydrogen peroxide with two parts water and apply it directly to the stain. Allow it to settle for approximately half an hour before scrubbing and rinsing. This not only targets the stain but also disinfects the surface.
Lemon juice is another natural option. It contains citric acid, which can break down tough oxidised substances. Apply undiluted lemon juice on the stains, let it sit for 30 minutes, then scrub and rinse. This method leaves a pleasant aroma and can brighten up the surface.
Lastly, utilise dish soap for grease stains. Mix a few drops with warm water and use a sponge to apply it to the area. Agitate with a brush, then rinse well. This simple method can effectively lift oily residues.
Scrubbing Methods for Different Types of Slabs
For textured stone surfaces, use a stiff-bristled brush to penetrate the grooves effectively. Combine warm water with a mild detergent to loosen dirt. Scrub in circular motions, ensuring to cover all areas, then rinse with clean water.
Smooth concrete or porcelain demands a different approach. A soft brush will suffice, paired with a mixture of vinegar and water to tackle grease stains. Apply the solution, allow it to sit for 10-15 minutes, then scrub gently and rinse.
Tile Variants
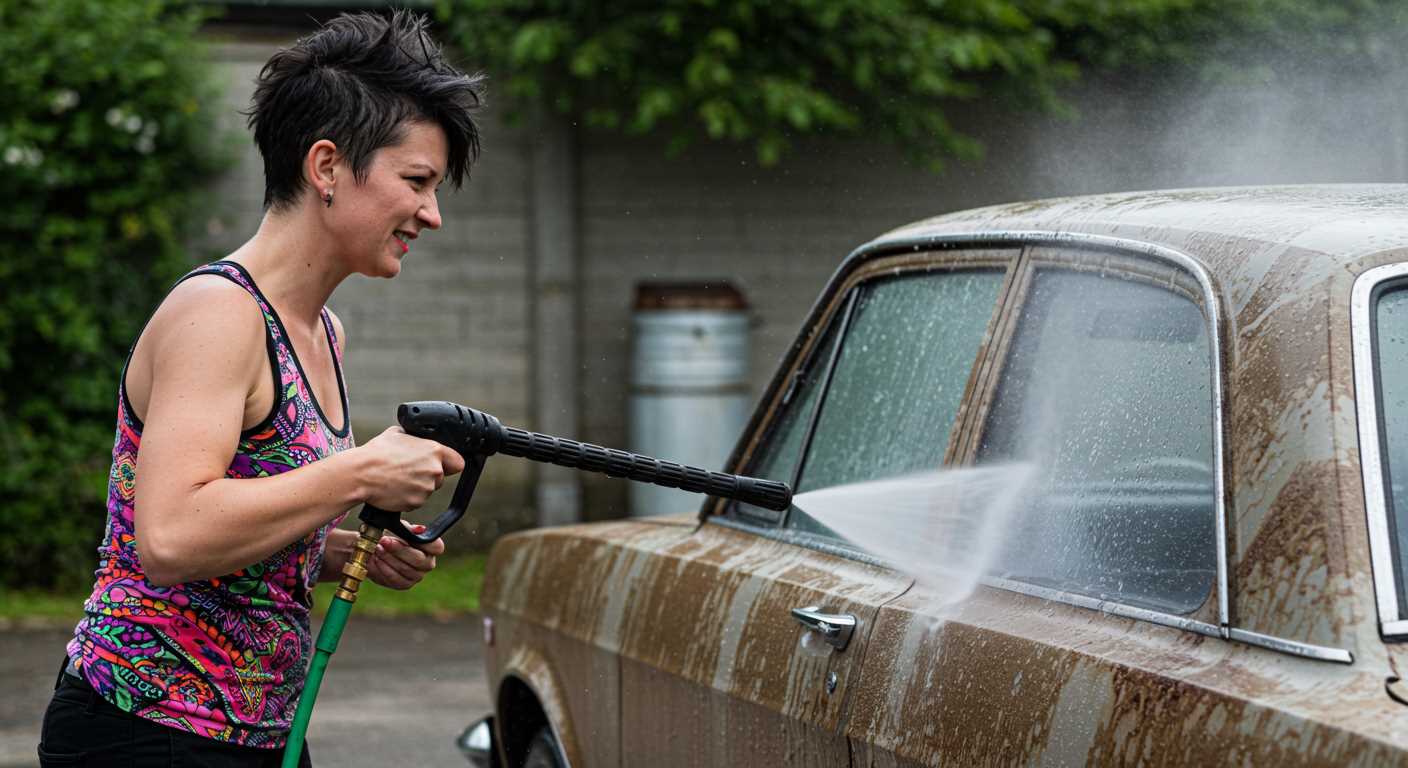
When dealing with natural stone tiles, it’s advisable to employ a pH-neutral cleaner to avoid damaging the surface. Mix the cleaner with warm water, apply generously, and scrub with a nylon brush, preserving the tile integrity. Thoroughly rinse afterwards.
Paver Stones
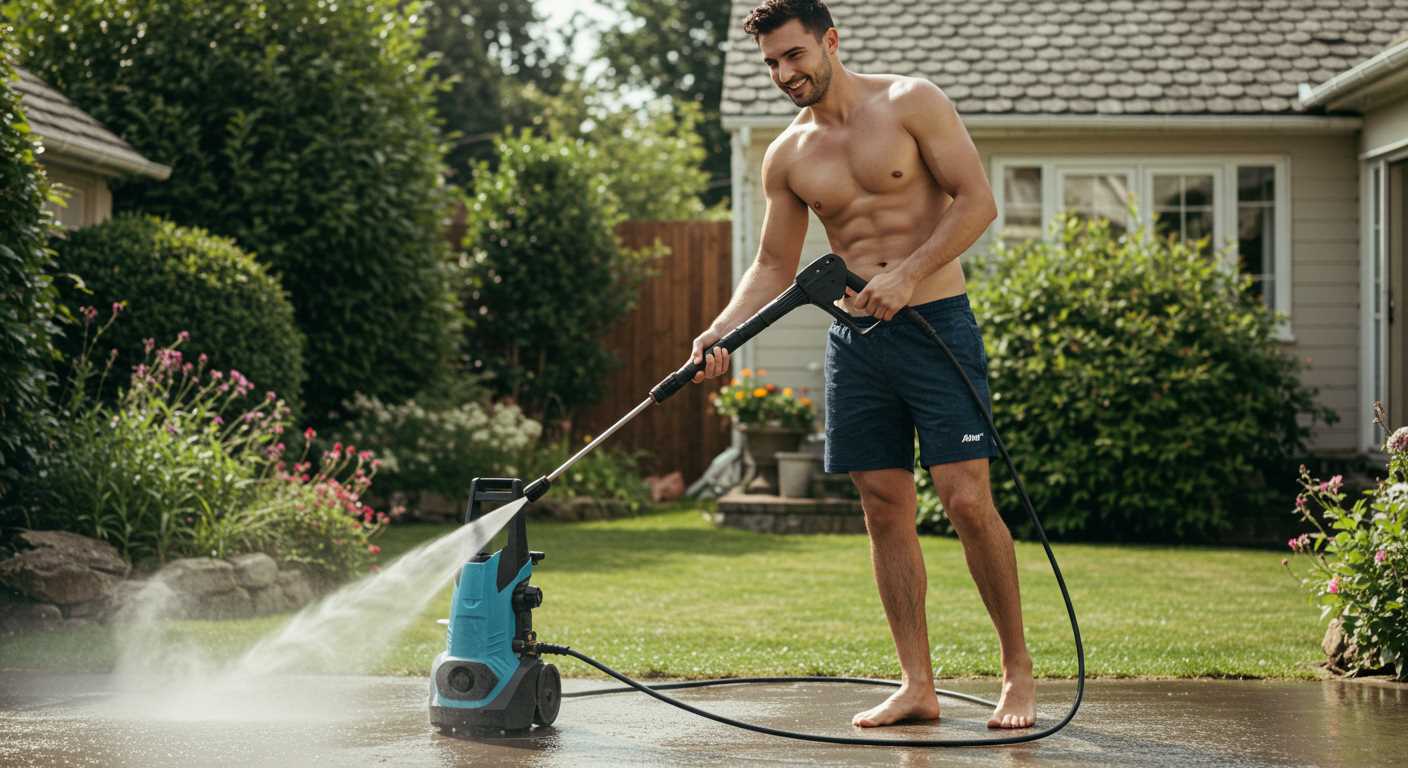
Paver stones can trap weeds and moss, necessitating a more robust cleaning solution. Create a paste with baking soda and water; apply it directly onto stains or gritty areas. Let it sit before using a heavy-duty brush to scrub away residues.
Regular maintenance prevents stubborn build-up, so adhere to a routine cleaning schedule tailored to the specific materials of your surfaces. This enhances their appearance and longevity significantly.
Finishing Touches and Preventive Maintenance Tips
Once the surface is clear, a thorough rinse with clean water enhances the appearance and ensures no residues remain from cleaning agents. I recommend using a hose or a watering can for even distribution, helping to prevent water pooling.
Sealing for Long-Lasting Protection
Applying a sealant can significantly prolong the lifespan of your surfaces. Choose a product suitable for your material, and apply it according to the manufacturer’s instructions. This creates a barrier against dirt, stains, and the elements, making future upkeep easier.
Routine Inspection and Upkeep
Regularly inspect for cracks or wear. Addressing these issues early prevents more significant damage later. For ongoing maintenance, sweep away debris weekly and spot clean any stains promptly to keep surfaces in optimal condition.

