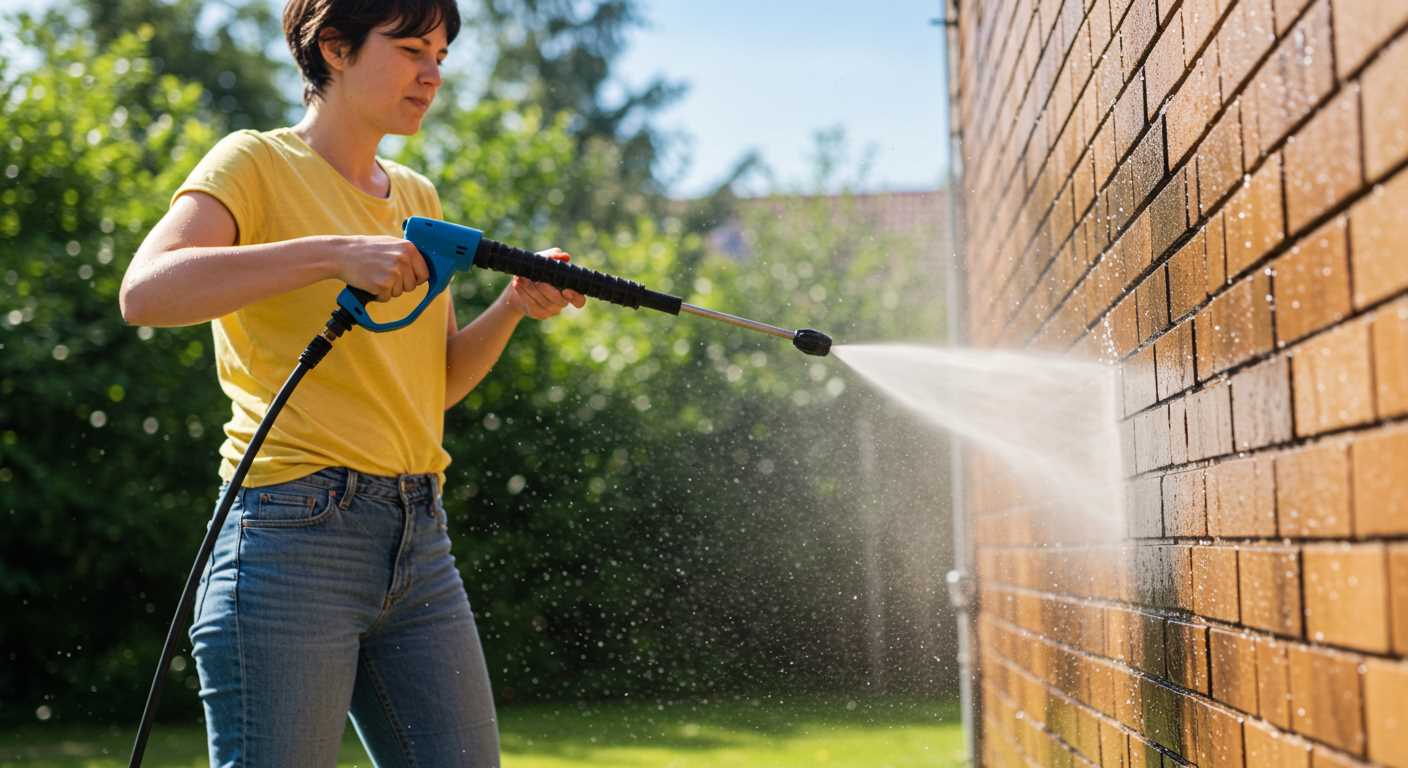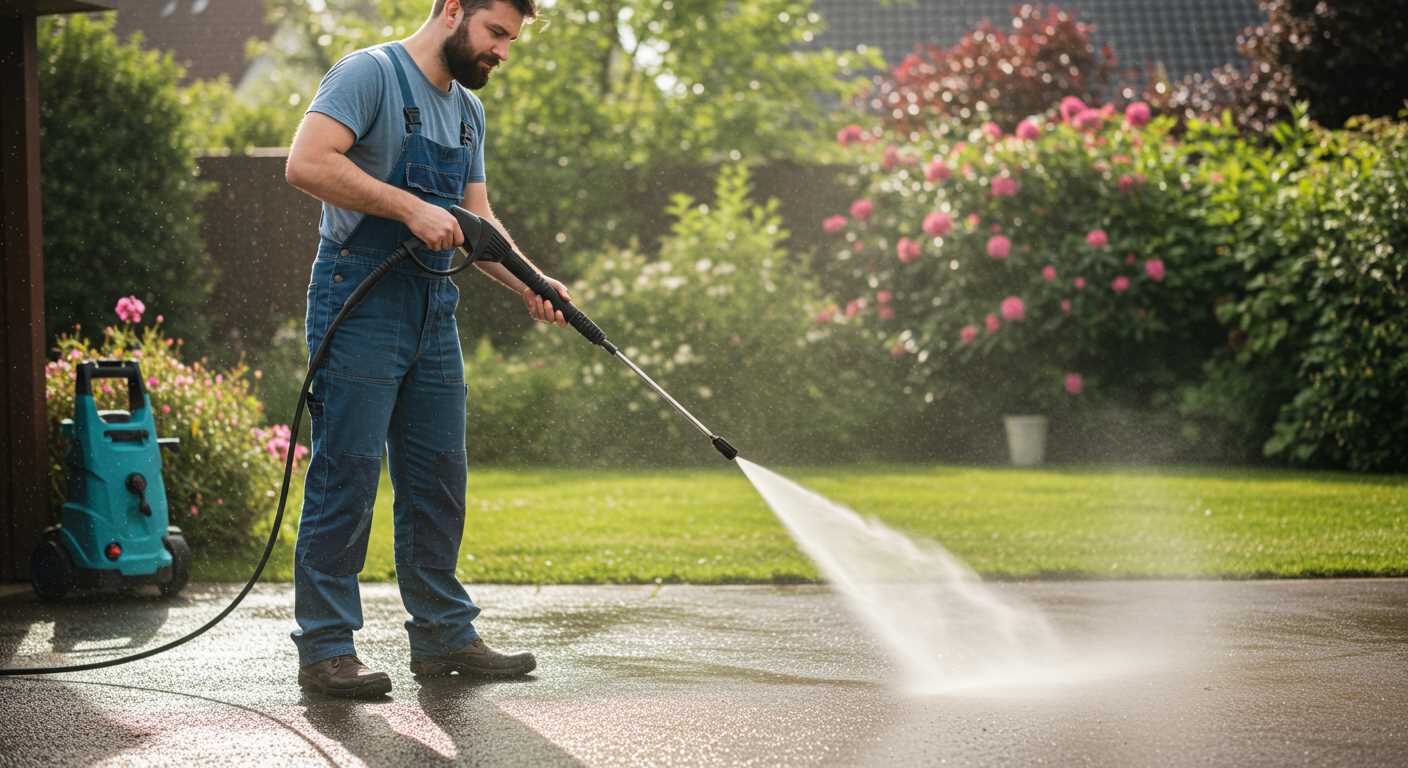


For an effective approach to restoring surfaces, begin with a solution of warm soapy water mixed with a few drops of vinegar. This combination works remarkably well on grime and mildew. Using a soft-bristled brush, gently scrub the area to avoid damaging any delicate materials. Rinse thoroughly with clear water to remove any residue.
If you’re tackling stubborn stains, consider a baking soda paste–mixing it with water until it forms a thick consistency. Apply it directly to the affected spots and allow it to sit for at least 15 minutes. Scrubbing lightly should lift even the most persistent dirt. Rinse with a hose to refresh the surface.
For larger areas like walls or driveways, a garden sprayer can be invaluable. Fill it with water and your chosen cleaning solution, then spray the surface evenly. Allow it to penetrate for a few minutes before scrubbing. Rinsing with a hose will leave everything looking fresh and renewed.
Additional tools like microfiber cloths or sponges can significantly enhance the cleaning process. They’re gentle yet effective for polished surfaces or windows. Regular maintenance prevents buildup, making future cleanings even easier.
Techniques for Refreshing Your Property’s Surface

Mix a solution of one part vinegar to three parts water in a bucket to tackle stubborn grime. Apply this mixture using a sponge or soft-bristled brush. Start from the top and work your way down to prevent streaking. Rinse thoroughly with clean water after scrubbing.
Degreasing with Baking Soda
Create a paste by combining baking soda with water. This is particularly effective for removing oil stains and residues. Apply the paste directly onto the stained area and let it sit for 15–20 minutes. Scrub lightly with a brush and rinse with water. Repeat as needed for tough stains.
Utilising Natural Detergents
An eco-friendly option involves using liquid castile soap. Mix a few drops with warm water and apply using a sponge. This soap is biodegradable and safe for plants. After scrubbing, ensure to rinse with water to eliminate soap residue.
Gather Necessary Cleaning Supplies
For an effective exterior rejuvenation, first and foremost, collect the following items:
- Bucket: A sturdy bucket is vital for mixing solutions and carrying water.
- Brushes: Long-handled scrub brushes with stiff bristles work best for tougher stains. Consider a softer brush for delicate surfaces.
- Sponges: A few quality sponges provide versatility for different textures and materials.
- Microfibre Cloths: These are essential for drying and polishing surfaces without leaving streaks.
- Garden Hose: A standard hose is necessary for rinsing and providing water as needed.
- Cleaning Solutions: Select plant-friendly detergents or specialised cleaners appropriate for the surface you’re working on, like wood or vinyl. Avoid harsh chemicals.
- Safety Gear: Protective gloves and eyewear are critical to prevent irritation or injury from cleaning agents.
- Step Ladder: For hard-to-reach areas, a stable step ladder ensures safety while providing access to higher sections.
Having these tools ready helps optimise the process, leading to a more satisfying result while preserving the integrity of your surfaces.
Choose the Right Cleaning Solutions for Different Surfaces
For wooden surfaces, I recommend using a mixture of warm water and mild dish soap. This combination effectively removes dirt and grime without damaging the wood. Always apply with a soft-bristled brush to prevent scratches.
- For stubborn stains, try a solution of one part white vinegar to three parts water. Test on a small area first.
- After washing, rinse with clear water to remove any soap residue.
When dealing with vinyl siding, an effective cleaner is a blend of 70% water and 30% vinegar. This solution tackles mildew and algae:
- Apply with a sponge or cloth and scrub gently.
- Rinse thoroughly with clean water to avoid any streaks.
For brick and concrete surfaces, I suggest using a mixture of oxygen bleach and water. This works well for removing stains and discolouration:
- Mix according to package instructions and apply it directly to the stained areas.
- Allow it to sit for about 15 minutes, then scrub with a broom before rinsing.
For painted surfaces, it’s best to use a mild detergent solution to avoid damaging the paint:
- Mix warm water with a few drops of dish soap.
- Use a soft sponge and rinse immediately to prevent streaks.
Always remember to check the manufacturer’s recommendations when selecting cleaning solutions, especially for unique materials like stone or composite siding.
Preparation: Remove Furniture and Obstacles
Clear the surrounding area by relocating all patio furniture, planters, and decorations. This step prevents damage during the process and allows easy access to surfaces requiring attention. Take a few moments to gather loose items that may hinder your work and store them safely indoors.
Assessing the Space
Evaluate the vicinity for any potential hindrances such as ladders, garden hoses, or equipment that could obstruct movement. It’s wise to note where these obstacles are, ensuring you can navigate effortlessly while performing your tasks. Remove any items that might not be secured or could get wet.
Safe Workspace
Prepare your area for a safe operation by ensuring the ground is stable and free of hazards. If applicable, consider using drop cloths to protect nearby landscaping from cleaning solutions. Ensuring an organised and clutter-free environment allows for an efficient and smooth process, promoting safety and effectiveness.
Scrubbing Techniques for Walls and Sidings

Use a stiff-bristled brush with a long handle for hard-to-reach areas; it helps prevent back strain. Choose a smaller brush for detailed spots and corners, ensuring comprehensive coverage.
For vertical surfaces, work from the top down. This prevents dirty water from running onto previously cleaned areas, maintaining a consistent result. Apply your chosen cleaning solution liberally, allowing it to penetrate grime for better results.
In case of heavy stains, consider segmenting the surface into manageable sections. Focus on one area at a time, applying the cleaning agent and letting it sit for several minutes before scrubbing.
| Surface Type | Recommended Technique | Ideal Brush Type |
|---|---|---|
| Wood Siding | Gently scrub to prevent damage | Soft-bristle brush |
| Vinyl Siding | Use a circular motion for even coverage | Medium-bristle brush |
| Brick | Scrub with more pressure and focus on crevices | Stiff-bristle brush |
| Stucco | Apply solution, let sit, and scrub lightly | Soft-bristle or sponge brush |
| Concrete | Use strong scrubbing techniques for stains | Stiff-bristle brush |
After scrubbing, rinse thoroughly with clean water to remove any residue from the cleaning agent. Use a garden hose with a spray nozzle to direct water effectively, ensuring a complete rinse.
Finish by inspecting each section for stubborn spots that may require additional scrubbing. Repeat as necessary for a spotless finish.
Cleaning Windows Without Leaving Streaks
For streak-free panes, the right tools and techniques are paramount. Begin with a high-quality microfiber cloth or a squeegee. Microfibre is excellent for absorbing moisture and dirt without scratching surfaces.
Utilise a solution of equal parts vinegar and water for an effective yet gentle cleaning mixture. For particularly grimy windows, adding a few drops of dish soap enhances the cleaning power. Apply the solution using a spray bottle for even distribution.
When wiping, always work from the top down. This method avoids drips on cleaned areas. If using a squeegee, pull it from top to bottom in a straight line, wiping the blade after each pass for optimal results.
Consider the time of day as well; early morning or late afternoon is ideal. Midday sun can cause cleaning solutions to dry too quickly, leading to unsightly streaks.
Regular maintenance is key. A quick wash on mildly soiled panes saves effort in the long run. Instead of waiting for heavy build-up, routine cleaning aids in achieving a consistently clear view.
Maintaining Outdoor Surfaces: Decks and Patios
Regular maintenance of decks and patios is crucial for their longevity and appearance. Start with a thorough sweeping to remove leaves, dirt, and debris. This simple step prevents grime accumulation and allows for better treatment of the surface.
Suitable Cleaning Methods
For wooden decks, mix warm water with a mild soap or a specialised wood cleaner. Use a stiff-bristled broom or scrub brush to work the solution into the surface. Rinse with a garden hose to remove soap residue.
Composite materials can benefit from a solution of water and dish soap. Apply with a soft brush to avoid scratching. A wide nozzle on your hose helps wash away grime effectively.
Preventing Future Build-Up
- Apply a protective sealant annually on wooden surfaces to guard against moisture and UV damage.
- Regularly inspect for mould or mildew growth, especially in shady areas, and treat promptly with a suitable mould remover.
- Consider adding a rug or mat in high-traffic zones to minimise dirt entry.
Consistent upkeep not only enhances the aesthetic of outdoor spaces but also extends their durability, providing a comfortable area for relaxation and gatherings.
Final Touches: Cleaning Up After the Job

After finishing the task, it’s essential to tidy up the surroundings and ensure everything is left in order. Start by gathering all used supplies. Empty buckets and used cloths should be rinsed and stored properly to prevent unwanted residue build-up.
I recommend rinsing any brushes or sponges in a separate area to avoid contaminating other cleaning items. This practice prolongs the life of your tools and prevents cross-contamination of cleaning agents.
Next, inspect the surfaces worked on. Sometimes, spots may remain unnoticed during the cleaning process. If you encounter any stubborn stains, take a smaller brush and use a suitable solution for a targeted touch-up.
Consider checking any surrounding plants and grass; it’s beneficial to spray them lightly with water to counteract any chemicals that may have splashed during the work.
Once all equipment is stowed away, ensure the area is free from debris such as fallen leaves or twigs. A finished look not only enhances the aesthetics but also preserves the surfaces just tended to. Finally, step back and admire the transformation; it’s rewarding to witness the results of your efforts.


