


Begin by detaching the spray head from the wand. This allows for easier access to the inner components. Use a pair of pliers if necessary to loosen any stubborn attachments. Ensure the device is completely powered off and disconnected from any water source to avoid accidents.
Next, inspect the orifice for any visible debris or build-up. Often, mineral deposits from hard water can accumulate in the opening, obstructing the flow. Gently poke the opening with a thin object, such as a toothpick or a needle, to break apart any clogs without damaging the integrity of the part.
After dislodging any debris, soak the spray head in a mixture of warm water and vinegar for approximately thirty minutes. This solution effectively dissolves stubborn residue. Rinse thoroughly under running water to ensure all cleaning agents are removed.
Reattach the spray head securely to the wand and perform a test run. If the flow remains inconsistent, repeat the previous steps to guarantee that the unit operates at optimal performance. Regular maintenance of these components ensures longevity and reliability during cleaning tasks.
Ways to Remove Blockages from Your Cleaning Attachment

To dislodge debris, first ensure the device is powered down. Then, remove the attachment carefully, avoiding any pressure residue. Inspect the tip for visible clogs, using a needle or thin wire to gently probe and extract any accumulated material. Use a soft brush for stubborn particles or a toothpick for precision around narrow openings.
Preventive Maintenance for Optimal Performance
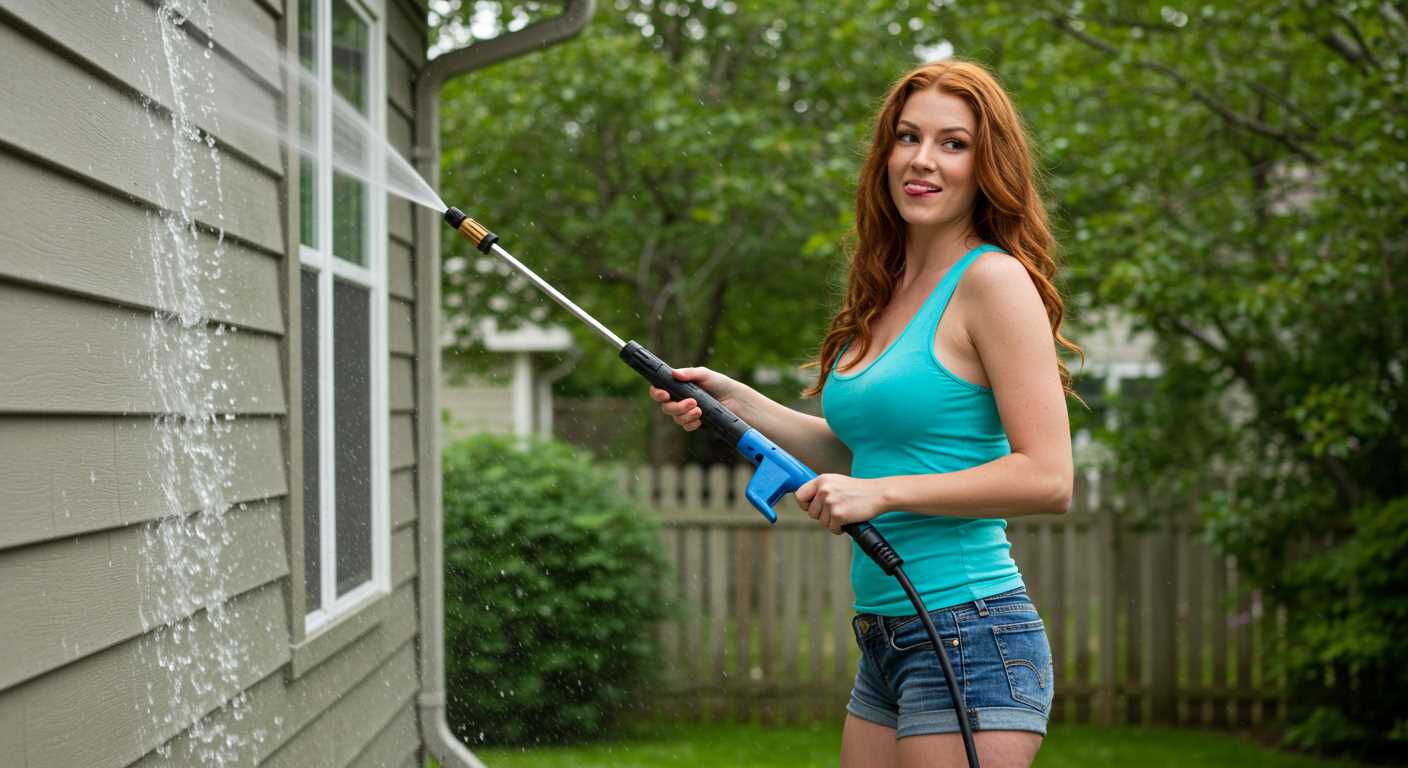
To prevent clogs, consider using filtered water when operating the machine. Regularly check and clean the attachment every few uses to ensure no build-up occurs. Store the equipment in dry conditions and keep the nozzle covered to avoid dust accumulation.
Testing After Cleaning
Once you’ve cleared the blockage, reattach the component and conduct a brief test. If the water flow isn’t improved, inspect the hose for any other possible blockages. Maintain the cleaning tools in good condition to enhance performance and extend their lifespan.
Gathering Necessary Tools and Materials
.jpg)
Begin with a safety kit, including goggles and gloves to protect against debris and chemicals. A sturdy work surface is vital; a table or bench will facilitate the process.
Acquire a small brush, preferably with nylon bristles, as it’s effective for removing stubborn particles. A needle or thin wire is crucial for dislodging any blockages in tight spaces. Water can help during the cleaning, so have a container or hose on hand.
A bucket is useful for soaking parts if necessary. Ensure you have a compatible cleaning solution, specifically designed for your equipment to avoid damage. Finally, have a towel ready for drying components after sanitisation.
Identifying Common Clogs in Nozzles
Inspect the end of your gun attachment for blockages. The most frequent issue arises from debris accumulation, particularly dirt, sand or vegetation fragments. Visibly inspect the opening for any visible obstruction.
Types of Blockages
- Debris: Small particles can lodge themselves in the tip, significantly impeding flow.
- Corrosion: Mineral buildup, especially when using hard water, can create a crust that narrows the opening.
- Fibre Materia: Threads or fibres from cloths or mops may enter the inlet, reducing performance.
- Insect Nests: Check for any small nests or blockages from insects that might get trapped inside.
Use a flashlight to closely examine the internal components. This can uncover hidden issues that may not be immediately apparent. Pay attention to any irregular shapes or discolourations around the edges that indicate wear or damage.
Testing Water Flow
- With the unit turned off, detach the gun and trigger assembly.
- Run water through the hose to check if the flow is consistent.
- If the stream is weak or interrupted, the blockage is likely in your attachment rather than the hose.
Addressing these common types of blockages not only prolongs the lifespan of the attachments but also ensures optimal cleaning results. Regular checks and timely maintenance can prevent more complex issues down the line.
Disassembling the Pressure Washer Spray Tip
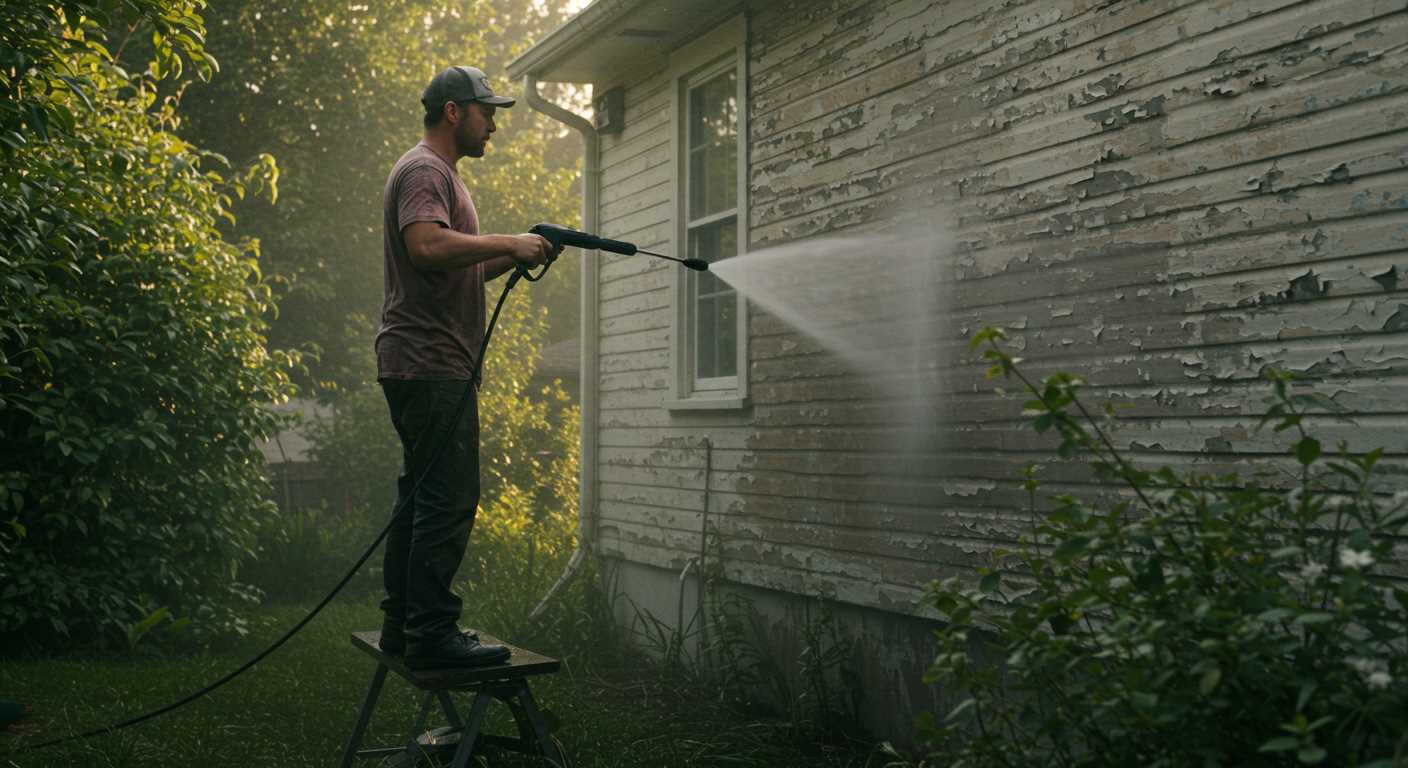
Start by ensuring the equipment is unplugged and the water supply is turned off. Next, remove the spray tip from the wand by twisting it counterclockwise. Some models may require a release button to detach; refer to your manual for specific instructions.
Once detached, inspect the spray tip for any visible obstructions. For deeper cleaning, use a small flathead screwdriver or a similar tool to gently pry open the tip’s casing, if applicable. Take care not to damage any internal components.
Step-by-step Breakdown
Here’s a simple table summarizing the steps:
| Step | Action |
|---|---|
| 1 | Disconnect the unit from the power source and water supply. |
| 2 | Twist the spray tip counterclockwise to remove it. |
| 3 | Inspect for obstructions before attempting to disassemble further. |
| 4 | If needed, gently pry open the tip casing using a flathead screwdriver. |
Reassembly
Once thoroughly cleaned, align the components properly during reassembly. Firmly twist the spray tip back onto the wand until secured. Ensure that the connection is tight to prevent leaks.
Cleaning Techniques for Different Types of Clogs
Addressing particular blockages in your cleaning unit requires tailored methods. I’ve encountered various types of obstructions, and here’s a breakdown of effective strategies I’ve found useful:
- Mineral Deposits: Use a solution of vinegar and water. Soak the affected parts for about 30 minutes. This natural approach dissolves hard minerals and makes removal easier.
- Grease and Oil Build-up: Apply a degreaser specifically designed for outdoor equipment. Work the solution into the blockage using a soft brush, then rinse with warm water. This emulsifies the grease and helps dislodge it.
- Debris and Dirt: For stubborn debris, a thin wire or needle can be useful for removing large particles lodged in small openings. Be gentle to avoid damage. Once loosened, flush with water to clear out the remnants.
- Paint or Stains: Use a paint thinner or solvent if the obstruction is due to dried paint. Apply it directly to the area and allow it to work for a few minutes. Wipe away with a cloth and rinse thoroughly.
- Organic Matter: If plant material is clogging the passage, a mixture of warm, soapy water can be used to break it down. Saturate the area and let it sit for a few minutes before scrubbing and rinsing.
Always remember to wear protective gear such as gloves and safety glasses when utilising chemicals or working with sharp tools. Assess the type of obstruction and choose the technique that best fits the situation for optimal results.
Reassembling the Nozzle Properly
Ensure that each component is precisely aligned and fitted back together. Start with the body of the spray device, inserting any internal parts securely. Take care to position the O-ring in its designated groove to prevent leaks. If it appears worn or damaged, replace it before proceeding.
Check for Proper Fit
Once the parts are together, gently screw the front cover back on, making sure not to overtighten. This may lead to cracks or misalignment. Holding the assembly at eye level can help confirm that everything appears straight and correctly seated.
Final Inspection and Testing
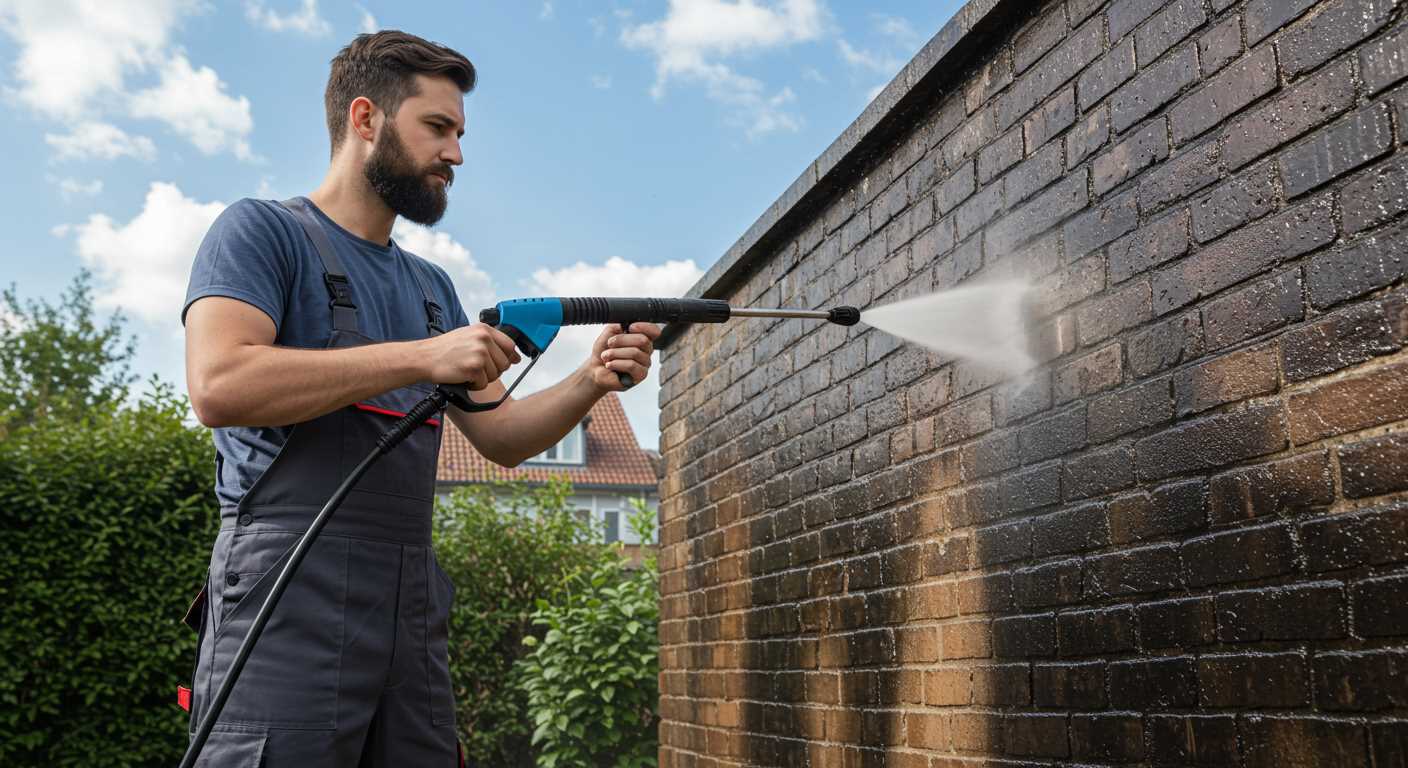
After completing the reassembly, run a brief test before returning it to use. Connect to the hose and observe for leaks or irregular spray patterns. If any issues arise, disassemble and verify each part is correctly positioned. Remember, proper assembly is crucial for optimal functionality and longevity.
Testing the Nozzle Post-Cleaning
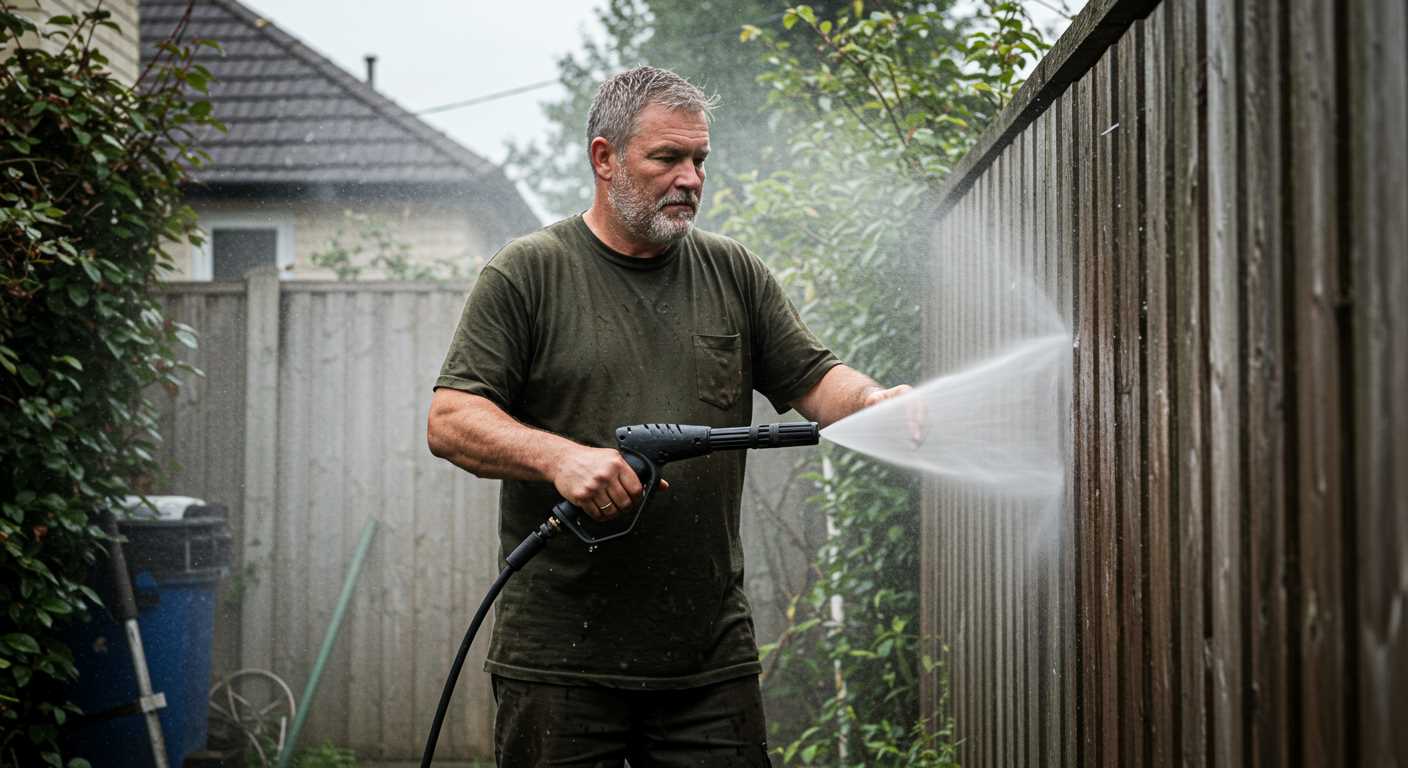
After the thorough maintenance of the spray head, verifying its performance is critical. Attach the cleaned component to the machine and ensure a secure fit. Turn on the unit and conduct a brief test run, directing the jet towards a suitable surface away from people and delicate items.
Performance Assessment
Observe the water stream closely. An effective sprayer will produce a strong, consistent jet without uneven bursts or dribbles. If the output seems weak or erratic, revisit the cleaning process to ensure all obstructions have been eliminated. Pay particular attention to the orifice; any remaining debris can significantly hinder performance.
Angle Check
If using an adjustable nozzle, check the angle settings. Proper adjustment allows for tailored cleaning tasks, whether it’s a precise spot clean or a wider wash. Verify if the angle transitions smoothly and responds to adjustments accurately. This guarantees versatility for various surfaces.
If any issues persist after these checks, consider further investigation into the unit’s water flow or pressure levels, as these may impact the overall functionality of the attachment. Maintaining these tips in mind will ensure long-lasting reliability and efficiency in all your future cleaning projects.


