

Utilising a high-pressure cleaning device is one of the most efficient ways to restore the look of your outdoor surfaces. Begin by ensuring the area is free of large debris such as leaves and branches to avoid clogging your equipment. Once cleared, adjust the nozzle to a wide spray pattern to prevent any damage to the surface.
Fill the tank of your unit with clean water and make sure the machine is set to the appropriate pressure for your specific surface type. I recommend starting at a lower setting to assess the impact before gradually increasing the intensity. This helps to avoid any potential chipping or dislodging of materials.
Maintain a steady motion while cleaning, holding the nozzle approximately 12 to 18 inches away from the surface. Overlapping each pass slightly ensures an even finish. For stubborn stains, it may be beneficial to pre-treat those areas with a suitable cleaning solution designed for external surfaces. Allow this solution to dwell for a few minutes before following up with the pressure cleaner.
Finally, after you complete the washing, rinse the area with fresh water to remove any cleaning agents and dirt residues. Allow sufficient time for the surface to dry completely before walking on it. This method not only enhances appearance but significantly prolongs the lifespan of your outdoor paving.
Steps to Refresh Your Outdoor Surface Using a High-Pressure Cleaner
Utilise a pressure cleaner equipped with a nozzle that generates a fan spray pattern. Position the nozzle approximately 30 cm from the surface for optimal results.
Begin at one edge, working in small sections. Move the nozzle back and forth in a steady, overlapping motion to ensure even treatment. Adjust the pressure setting if debris remains after the first pass.
Incorporate a cleaning solution specifically designed for outdoor surfaces if stubborn stains persist. Apply the solution with a sprayer a few minutes before using the high-pressure device; this will enhance the removal process.
Post-Cleaning Care Tips
.jpg)
Once the area is refreshed, allow it to dry completely. This helps to highlight any areas that may need additional attention. Consider sealing the surface after it has dried to protect it from future staining and weathering.
Regular maintenance with a high-pressure device can prevent the build-up of grime and keep your outdoor areas looking pristine. Schedule this task at least once a year for the best results.
Safety Precautions
Wear protective eyewear and appropriate footwear to avoid injuries from any debris directed by the force of the water. Ensure all electrical components near the washing area are adequately protected from moisture.
By utilising these techniques, you can efficiently revitalise your outdoor areas, enhancing their appearance and longevity.
Choosing the Right Cleaning Device for Terracotta Surfaces
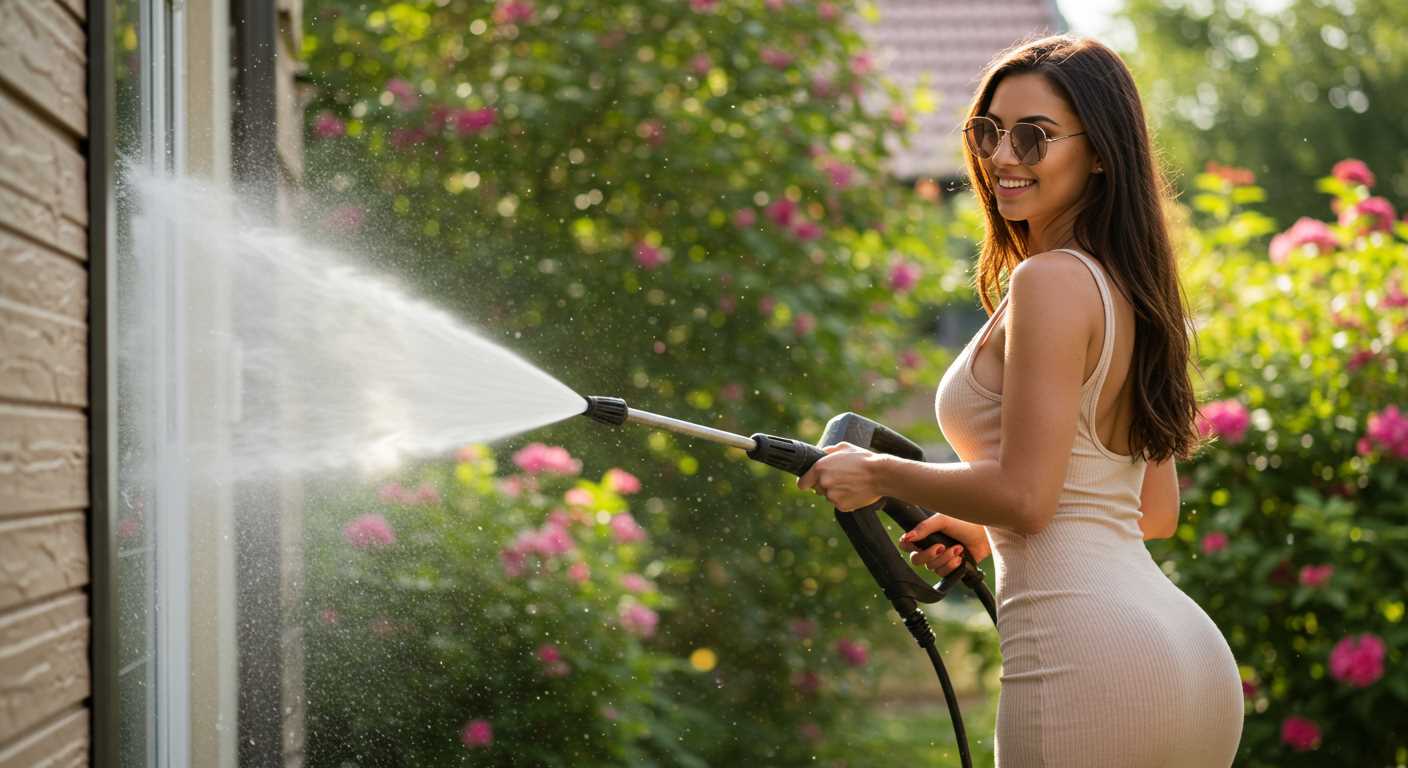
Select a model with adjustable pressure settings. Begin with lower settings to avoid damaging the surface. A device that offers a range of 1200 to 2000 PSI is typically suitable for most tasks.
Consider weight and portability. A lightweight unit simplifies manoeuvring, especially for extensive areas. Look for ergonomic designs or wheels for ease of movement.
Focus on the nozzle options available. A fan spray nozzle is preferable for broad coverage, while a narrow jet can target stubborn debris in tight spaces.
Electric devices are generally quieter and require less maintenance. If access to power is limited, opt for a petrol-powered alternative, but note that they can be heavier and noisier.
Pay attention to water flow rate, measured in litres per hour. Higher flow rates lead to faster cleaning without compromising on effectiveness.
Look for features such as self-priming functions, which allow the machine to draw water from alternative sources, enhancing convenience during usage.
Lastly, inspect the warranty and customer support offered. A reliable guarantee indicates confidence in the product, while supportive customer service can assist with any inquiries or issues post-purchase.
Preparing the Area Around Your Patio
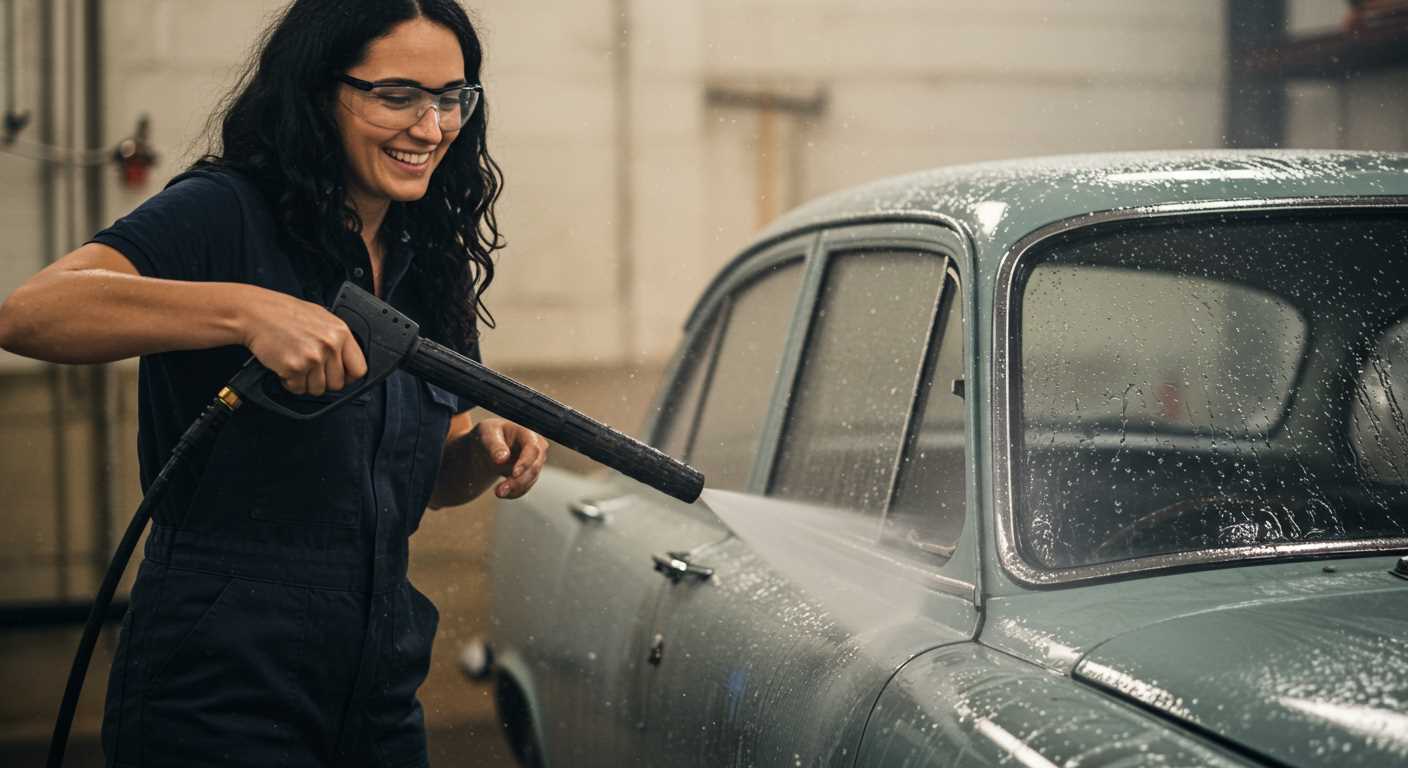
Remove all furniture, planters, and decorative items from the surface to create a clear working space. This prevents damages and ensures I can reach every inch of the area efficiently.
Check for nearby plants or flowers. If present, protect them by covering them with tarps or plastic sheeting. Ensure no debris accumulates on protective coverings to avoid harming your vegetation.
Inspect the surrounding surfaces. Move any loose items, such as yard tools or equipment, to avoid accidents during the cleaning process. It’s important to have a tidy environment for safety.
Prepare for potential water runoff. Ensure that drainage systems are unblocked to facilitate proper flow and prevent water pooling. Using absorbent mats could be beneficial if you anticipate excessive moisture.
Make sure to wear appropriate clothing and safety gear, such as goggles and gloves, to protect against debris and cleaning solutions. This step is crucial for maintaining safety while working.
Gather all necessary supplies and ensure the pressure cleaning unit is in good condition. Check hoses and nozzles for blockages or leaks. Having everything ready will streamline the task ahead.
Selecting the Appropriate Cleaning Solution
Opt for a pH-neutral detergent specifically designed for outdoor surfaces. These solutions effectively eliminate grime without damaging materials. I recommend choosing a product free from harsh chemicals and bleach to maintain the integrity of the surface.
Consider Biodegradable Options
Biodegradable formulas are environmentally friendly and less harmful to surrounding plants and wildlife. Look for labels that indicate eco-friendliness. Many manufacturers now offer options that provide strong cleaning capabilities while being kind to nature.
Before Application
Perform a patch test with your chosen solution on a small, inconspicuous area. This ensures compatibility and prevents potential discolouration. Mixing the cleaning agent according to package instructions is critical–exceeding recommended concentrations can lead to residue or surface damage.
Understand the specific requirements of your surfaces. For instance, sealed or unsealed materials may react differently to various agents. Focus on those tailored to the specific type of outdoor flooring you have. An informed selection will lead to better outcomes and prolong the lifespan of your surfaces.
Setting the Pressure Washer to the Right Settings
Choosing the correct settings is pivotal for achieving optimal results. I recommend selecting a pressure level between 1500 to 2500 PSI for most surfaces. A lower setting is often suitable for delicate materials, while a higher rating works wonders on tougher grime.
Gauge the Nozzle Type
- Use a 25° or 40° nozzle for wider spray patterns, effective in removing light dirt.
- A 15° nozzle concentrates the stream for stubborn stains, requiring more power.
- Be cautious when opting for a 0° nozzle, as the concentrated high-pressure jet can damage softer surfaces.
Adjust Water Flow
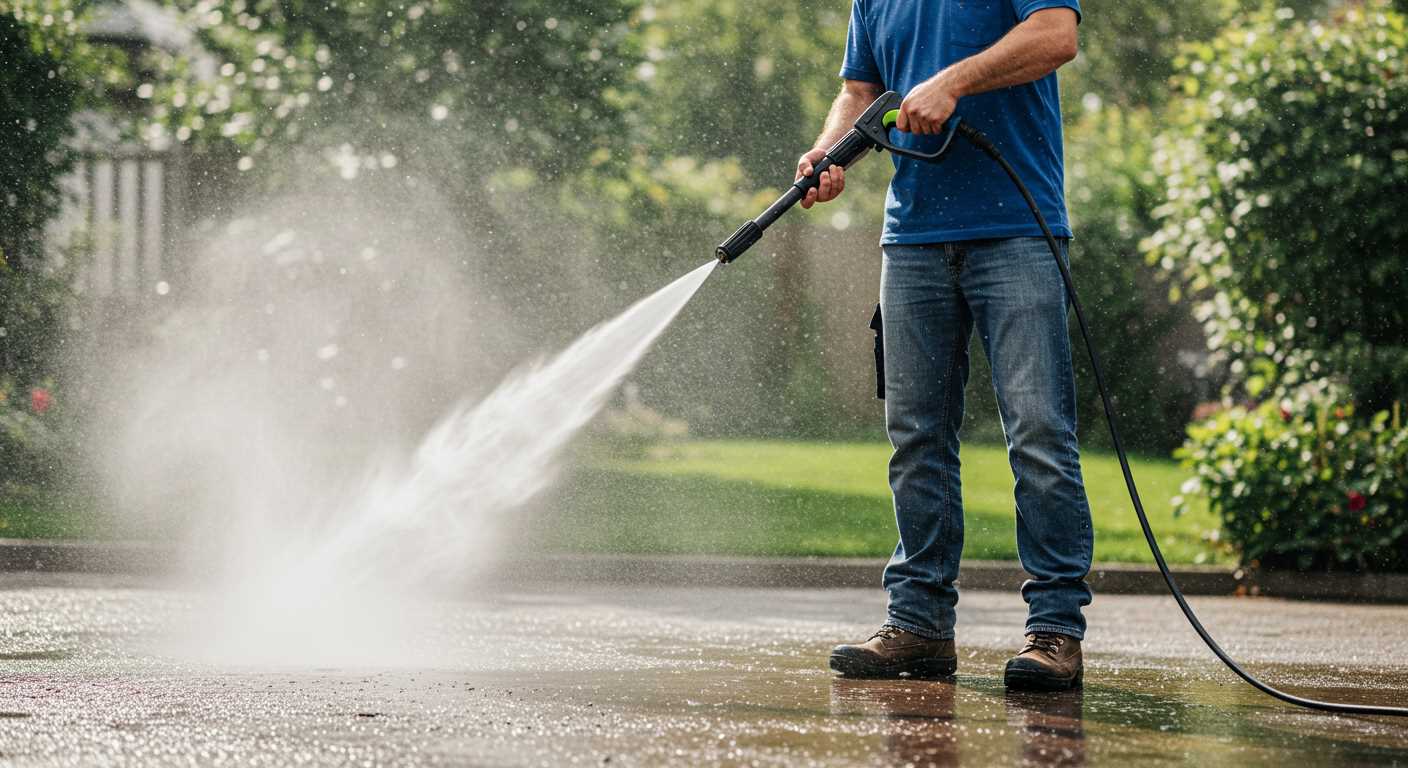
Controlling water flow is equally crucial. Aim for a moderate flow rate, ensuring effective rinsing without excessive water use. This aids not just in maintaining pressure, but also in protecting surrounding areas from oversaturation.
Ensure that the equipment is warmed up slightly before use; this will enhance the efficiency of the cleaning solution you might be using. Experiment with pressure settings and nozzle types in a less visible area to determine the optimal combination before beginning the full task.
Regular maintenance and checks on the unit will keep it functioning effectively, ensuring longevity and performance during each project.
Techniques for Cleaning Different Types of Patio Stones
For concrete pavers, a fan nozzle works best. Set the machine at medium pressure and keep the nozzle around 12 inches from the surface. Move the wand in straight lines, overlapping each pass by 25%. After addressing dirt, switch to a rotary nozzle for stubborn stains, working in sections.
For natural stone, like flagstone or slate, use a low-pressure setting, ideally around 1500 PSI. A 25-degree nozzle offers a gentle spray that effectively removes grime without damaging the surface. Keep the nozzle 18 inches away and maintain a consistent motion.
Brick and Clay Tiles
For brick or clay tiles, employing a 15-degree nozzle is advisable. This provides a concentrated stream for deeper cleaning. Adjust the pressure to about 2000 PSI, ensuring to keep the nozzle moving to prevent etching. Consider using a specialised masonry cleaner to enhance results.
Composite or Synthetic Materials
With synthetic options, a wide-angle nozzle at low pressure suffices. Set the machine to around 1300 PSI, ensuring you maintain a distance of at least 12 inches. This minimizes the risk of damage while effectively lifting debris. A biodegradable cleaner can assist in brightening these surfaces further.
Always test on a small, inconspicuous area first before applying any technique more widely. This ensures compatibility and addresses potential issues without risking broader damage.
Finishing Touches After Pressure Washing
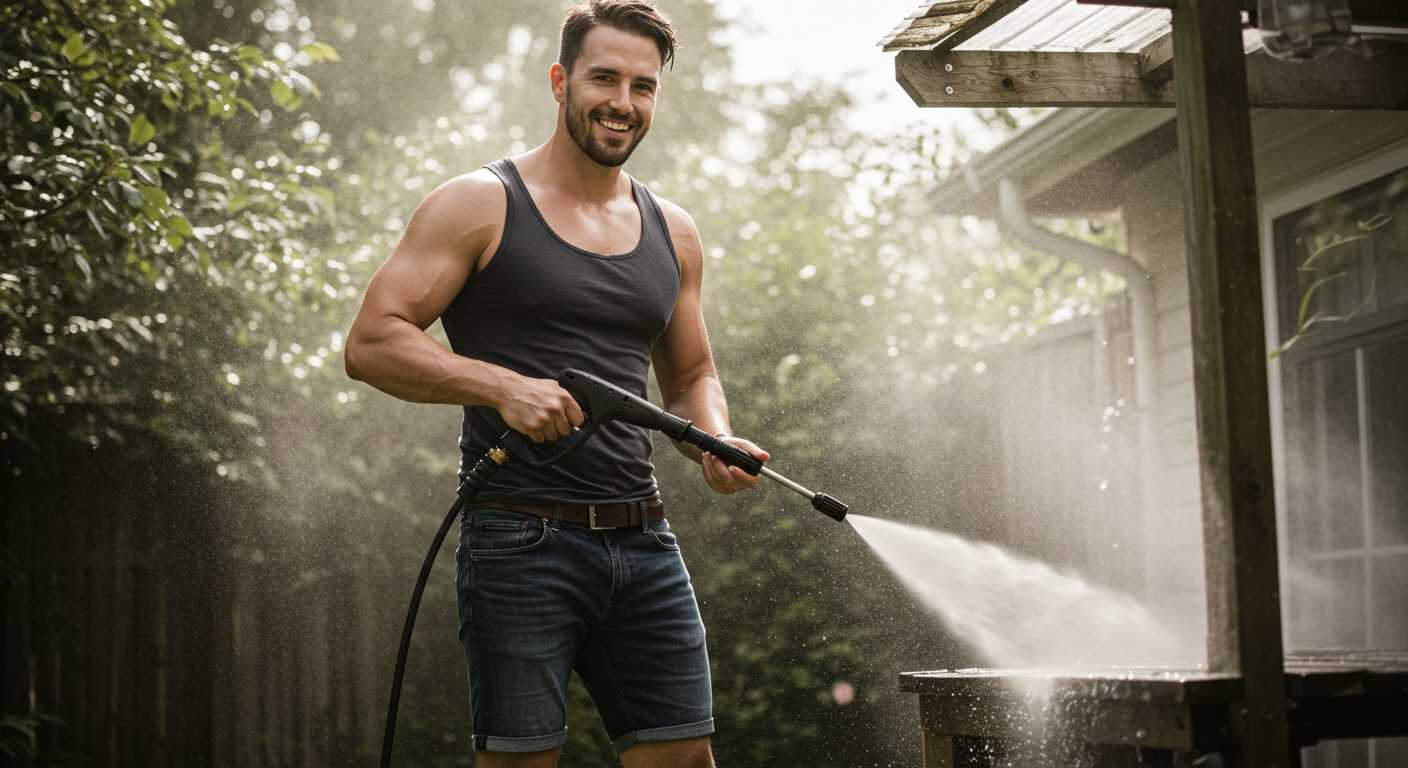
Once the surface has been refreshed, it’s time to focus on final details. Here are the steps I recommend to enhance the results:
- Inspect the Area: Thoroughly check for any spots that might have been missed during the initial cleanse. Pay attention to corners and edges.
- Apply a Sealant: Consider using a protective sealant. This will help preserve the cleanliness and prevent future staining. Make sure the surface is completely dry before application.
- Use a Broom or Leaf Blower: Sweep or blow away any debris or loose dirt that may have accumulated during washing. This prevents any obstruction on the surface.
- Address Weeds and Moss: Take the time to pull out any remaining weeds or moss. This keeps the area tidy and looks more appealing.
- Regular Maintenance: Establish a regular upkeep routine. A light rinse every few months can help maintain the pristine state of the area.
- Consider Decorative Elements: Add outdoor furniture or planters to enhance the overall aesthetic. This not only beautifies the space but also showcases the results of your efforts.
By following these steps, I ensure that the surface remains inviting and looks great for an extended period. These final touches truly make a difference in the overall presentation.
Maintaining Your Outdoor Surface Post-Cleaning
After washing your outdoor flooring, it’s crucial to take specific steps to ensure longevity and maintain its appearance. Start by inspecting the area for any residues or damages that might require attention. Use a broom or blower to remove any leftover debris that might have settled after washing.
Sealing and Protection
Consider applying a sealant appropriate for the material type. This helps in preventing stains and protects against weather-induced wear. Choose a sealant that matches the finish of your surface, as some may enhance the colour while others provide a natural look. Typically, sealing is recommended annually, but local weather conditions may necessitate more frequent applications.
Routine Maintenance Schedule
Establish a cleaning schedule depending on your climate and usage. For areas exposed to heavy foot traffic or environmental elements, bi-monthly maintenance is advisable. In contrast, less-utilised spaces may require attention every few months. Maintain a checklist including:
| Task | Frequency |
|---|---|
| Debris removal | Weekly |
| Sealing application | Annually |
| Stain treatment | As needed |
Lastly, monitor for growth of algae or moss, particularly in shaded areas, and treat these promptly using appropriate solutions to prevent further complications.


