
Start with a simple blend of warm water and dish soap. Mix a few drops of your favourite detergent with about a gallon of water in a bucket. This solution will tackle surface dirt and grime effectively. Use a stiff-bristled broom to apply the mixture, moving in circular motions. Rinse with clean water using a hose to remove any soap residue.
For stubborn stains, consider using baking soda or white vinegar. Sprinkle baking soda over the affected area, then spray vinegar on top, creating a fizzing reaction that helps lift tough marks. After letting it sit for a short while, scrub the area with the broom to take care of the residue, and then rinse thoroughly with a hose.
Another option involves using a scrub brush alongside a diluted bleach solution. Mix one part bleach with ten parts water in a spray bottle. Apply the solution directly to any discolourations or mould and let it sit for about 15 minutes. After that, scrub with a brush and rinse off with water to reveal refreshed surfaces.
For an eco-friendly approach, a mix of hot water, vinegar, and essential oils can be quite effective. Use equal parts of vinegar and hot water with a few drops of essential oil, such as tea tree or lavender, known for their antibacterial properties. As with other methods, scrub and rinse to keep your outdoor space looking pristine.
Effective Approaches for Outdoor Surface Maintenance
For this task, I recommend creating a mixture of vinegar and water in equal parts. Apply it directly to the stained areas, allowing it to soak for approximately 10 to 15 minutes. The acidity in the vinegar works wonders on persistent grime and mildew.
Scrubbing Technique
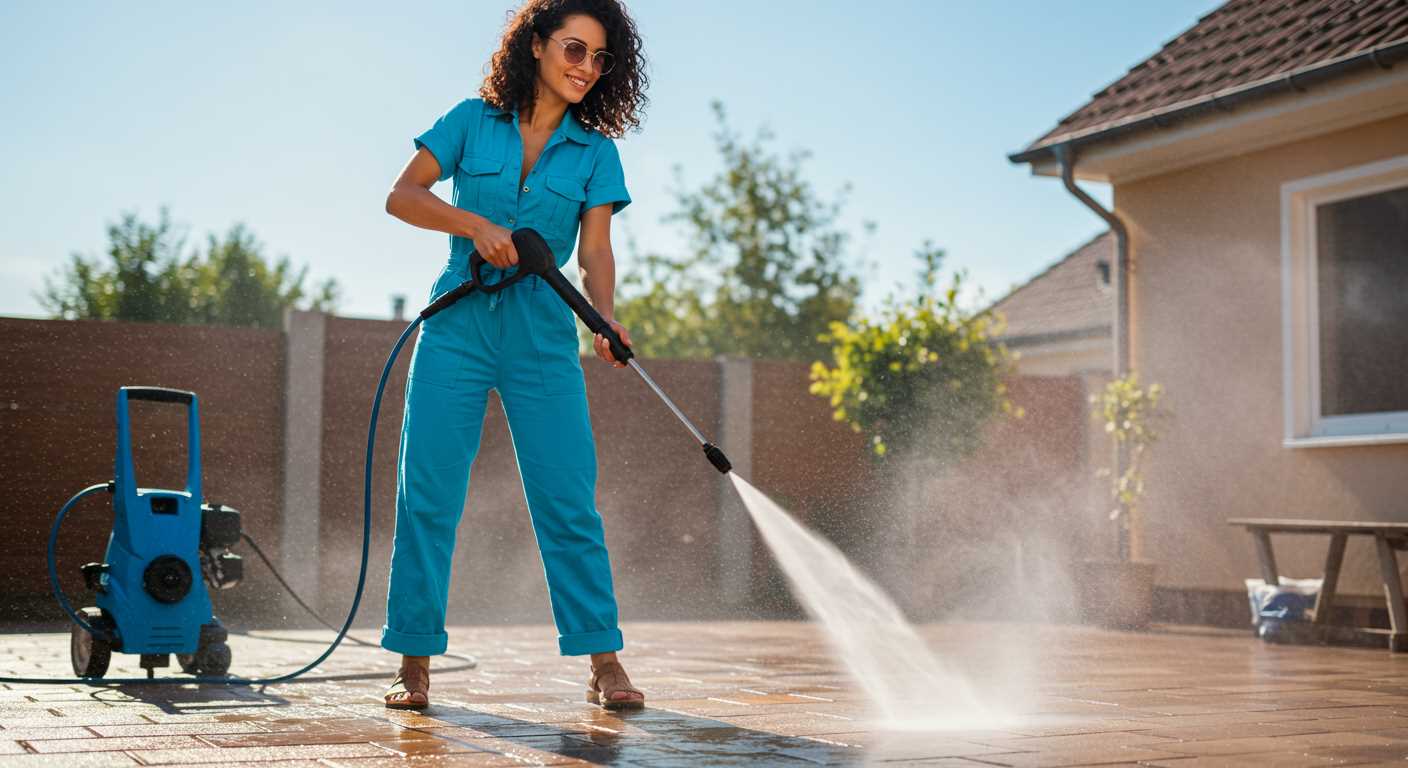
Utilise a stiff-bristled brush for a thorough scrubbing. Make sure to focus on corners and grout lines, as dirt tends to gather there. Use circular motions to lift away debris effectively.
Rinsing and Drying
Following scrubbing, a thorough rinse with a bucket of clean water is necessary. This removes any residual cleaning solution. Once rinsed, allow the surface to air dry completely. For quick results, you can use a squeegee to remove excess water, ensuring a spotless finish.
Gather Necessary Cleaning Supplies
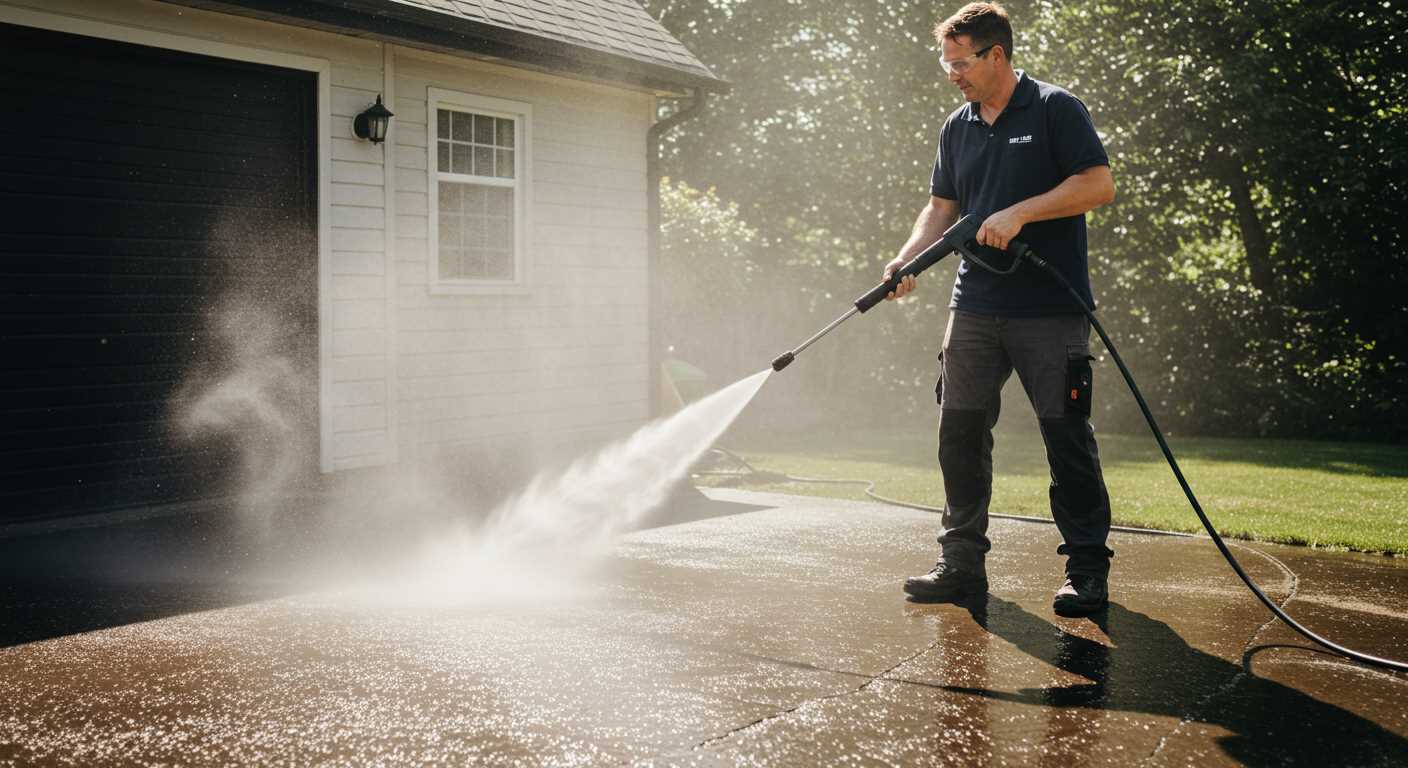
For optimal results, assemble the following items:
- Broom or brush: A sturdy broom or brush with stiff bristles will help dislodge dirt and debris.
- Bucket: A large bucket to mix cleaning solutions and hold water for rinsing.
- Water: Use warm water for better effectiveness in loosening grime.
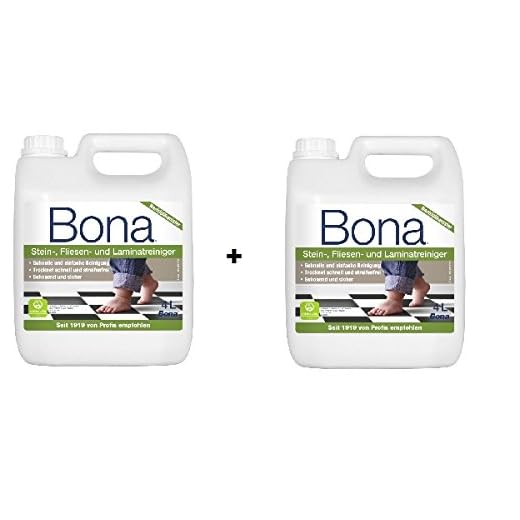
- Cleaning solution: Choose a pH-neutral stone cleaner or a mixture of vinegar and water for a natural alternative.
- Sponge or mop: A soft sponge or mop is perfect for applying your chosen solution evenly.
- Scrub brush: A scrub brush with a handle is essential for tackling tough spots and stubborn stains.
- Rags or towels: Have clean, microfibre cloths or towels to wipe away excess moisture.
- Protective gloves: Wear gloves to shield your hands from chemicals or harsh scrubbing.
With these supplies ready, tackling those surfaces becomes significantly easier and more efficient.
Choose the Right Cleaning Solution

Select a suitable cleaning agent tailored to your surfaces and the type of dirt present. For general grime, a mixture of warm water and mild dish soap works effectively. Aim for a solution that won’t harm the finish of your surfaces.
If tackling stubborn stains or mildew, consider using a diluted vinegar solution (one part vinegar to three parts water). For heavy-duty tasks, select a commercial cleaner formulated for your specific materials, always checking the label for compatibility.
For oil or grease stains, create a paste using baking soda and water. Apply it directly onto the affected areas and let it sit for a while before scrubbing. This leverage can yield excellent results without the need for high-pressure cleaning equipment.
Finally, always conduct a patch test in a discreet area to ensure that the chosen product doesn’t cause discolouration or damage before applying it to larger, noticeable sections.
Prepare the Area for Cleaning
First, remove all furniture and accessories from the surface. This includes tables, chairs, pots, and any decorative items. Storing these items in a secure location prevents damage and allows for unobstructed access.
Next, inspect the surface for debris such as leaves, twigs, or dirt. Use a broom or a stiff brush to sweep away any loose particles. Pay attention to the corners and edges where dirt tends to accumulate.
Check for Damage
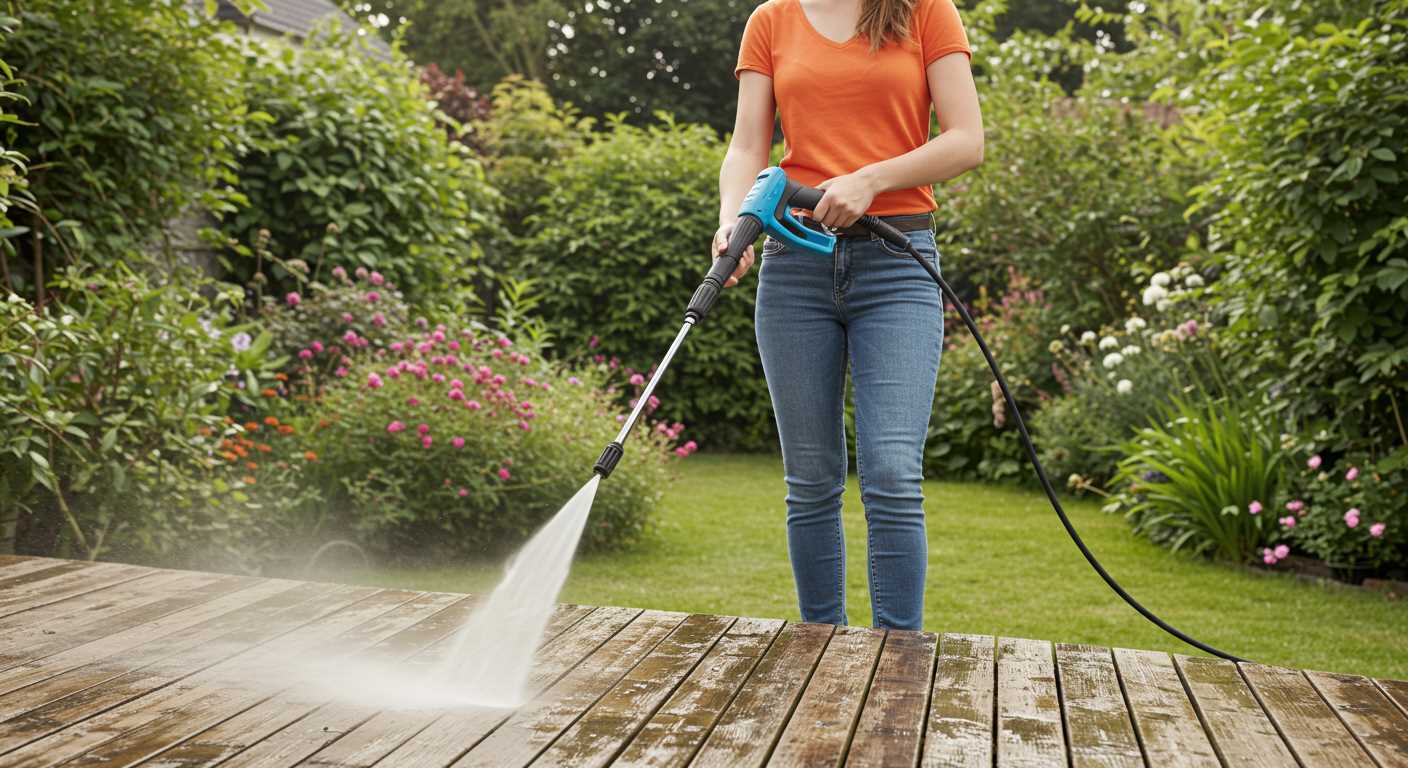
Before proceeding, examine the surface for cracks or loose pieces. Addressing any structural issues will prevent further damage during the cleaning process. Consider filling cracks with an appropriate filler if necessary.
Protect Surrounding Areas
Use tarps or plastic sheets to cover nearby plants or areas that may get affected by cleaning agents. Securing these regions ensures that they remain untouched and safe from any runoff.
| Task | Materials Needed |
|---|---|
| Remove Furniture | None |
| Sweep Debris | Broom, Stiff Brush |
| Check for Damage | Repair Filler (if needed) |
| Cover Surrounding Areas | Tarps, Plastic Sheets |
Completing these steps will create a clear and safe environment, allowing you to proceed with the next phase confidently.
Remove Loose Debris and Dirt
Begin with the use of a broom or a stiff-bristled brush to sweep away loose particles, including leaves, twigs, and dirt. Focus on corners and edges, as debris often accumulates in these areas. Ensure to work in a systematic manner, sweeping in one direction to tag all particles effectively.
Gathering Debris
After sweeping, collect the debris into a dustpan or directly into a yard waste bag. This step prevents the loose material from mixing with the cleaning solution during the next phases of the task. It’s advisable to wear gloves to protect your hands from any sharp objects hidden in the debris.
Using a Vacuum for Fine Particles
If your outdoor space is exposed to fine dust or small stones, consider employing a shop vacuum. This tool effectively removes smaller particles that brushing might overlook. When using a vacuum, ensure it is suitable for outdoor use and has the capacity to handle wet or dry debris if necessary.
Once the area is cleared, you create an optimal environment for applying the chosen cleaning solution, enabling it to work efficiently on the surface material.
Apply Cleaning Solution to Tiles
I recommend preparing a cleaning mixture tailored to the specific type of grime on the surface. Common ingredients include vinegar, baking soda, or specialised eco-friendly cleaners. Aim for a diluted blend to prevent any potential damage to your surfaces.
Steps to Apply the Solution:
- Using a spray bottle, evenly distribute the mixture across the surface.
- Alternatively, a mop or sponge works effectively for larger areas. Make sure to thoroughly saturate the affected spots.
- For stubborn stains, focus on a small section by applying extra solution and letting it sit for several minutes. This allows the solution to penetrate and break down built-up substances.
Tips for Application:
- Test the mixture on a small, inconspicuous area first to confirm no adverse reactions occur.
- Work in sections to manage the application more effectively, ensuring consistent coverage.
- Keep the area well-ventilated if you are using strong commercial cleaners.
Once the solution has been appropriately applied, the next step is to agitate the surface using a broom, brush, or cloth, depending on the texture of the material. This method will help lift any remaining dirt or stains. Remember to rinse afterwards to eliminate residue from the cleaning agent.
Scrub the Surface Properly
Utilise a stiff-bristled brush for optimal results. This tool effectively dislodges stubborn grime and moss. Choose one with a handle long enough to avoid excessive bending.
Divide and Conquer
Section off the area into manageable parts. Scrubbing a small section keeps your focus sharp and ensures thoroughness. Move methodically from one section to the next, applying consistent pressure for even coverage.
Rinse and Repeat
After scrubbing, rinse each section with clean water to remove residue. This also allows you to assess your progress. If any patches remain dirty, reapply the cleaning mixture and scrub again for complete removal.
Rinse and Dry the Outdoor Surface
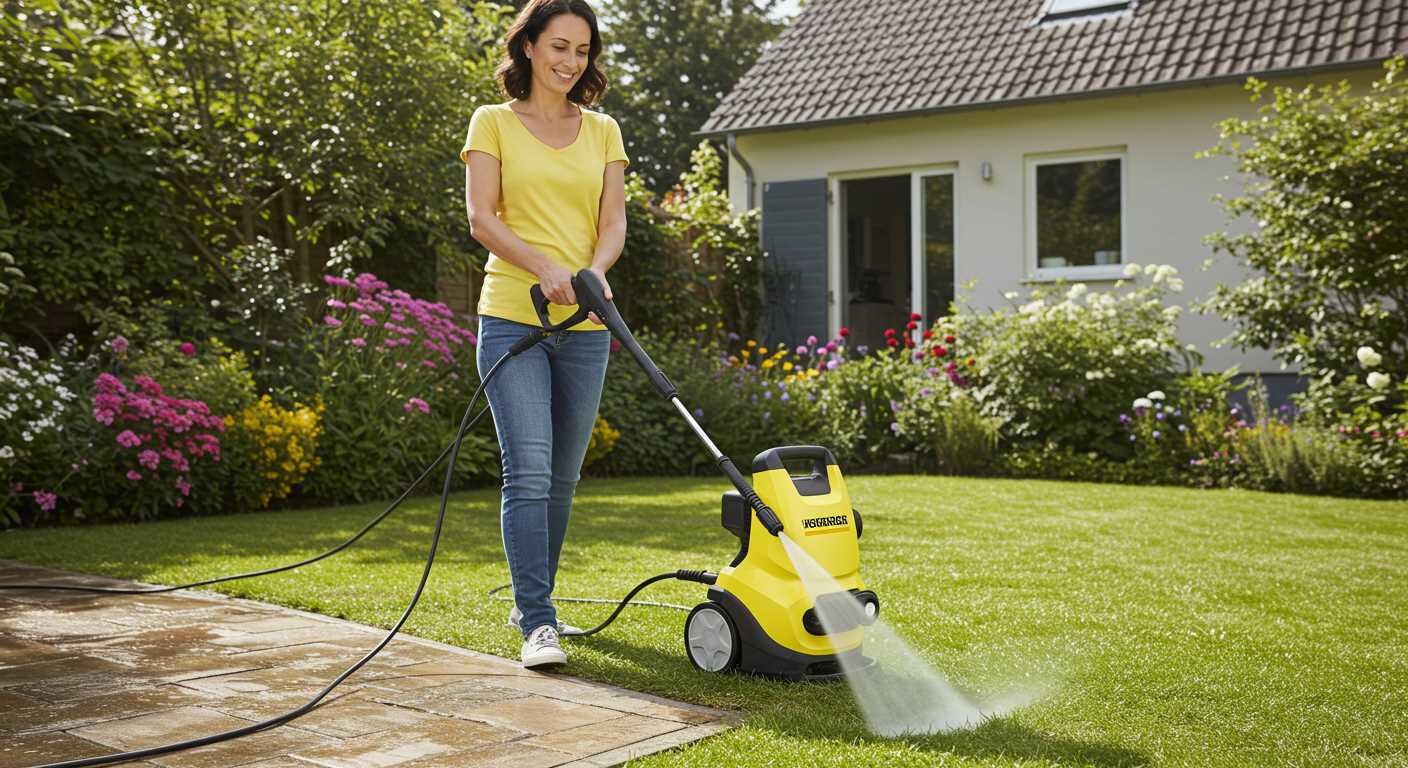
After completing the scrubbing process, it’s crucial to thoroughly rinse the surface. Utilise a hose fitted with a spray nozzle to direct a strong jet of water across the area, ensuring that all residues of the cleaning solution are removed. Focus on corners and edges where dirt tends to accumulate. If possible, wash away tough stains using warm water for better results.
Once rinsing is done, employ a squeegee or a large mop to assist in removing excess water. This step aids in preventing new dirt from settling as the floor dries. For areas prone to remaining wet, consider employing towels to soak up water. In situations where natural drying isn’t feasible, a leaf blower provides an effective way to expedite the drying process.
After the majority of moisture is eliminated, let the area air dry completely. This will not only enhance the appearance but also extend the life of the surface. Check for any remaining stains or dirty patches after drying; if necessary, repeat the cleaning procedure on those specific spots.


