
Utilise a mixture of vinegar and water for a natural approach. Combine equal parts of white vinegar and warm water in a spray bottle. Apply liberally to the surface, allowing it to sit for 10-15 minutes, then scrub with a stiff brush to dislodge dirt and grime.
An alternative is to opt for baking soda, which acts as a gentle abrasive. Sprinkle it liberally over affected areas, then dampen the surface lightly before scrubbing with a brush. This method is particularly effective for removing stubborn stains and algae.
For a more intensive method, consider using dish soap. Mix a few drops in a bucket of warm water, and employ a scrub brush to work through the layers of buildup. Rinse thoroughly with a garden hose to ensure all soap residue is removed.
Lastly, don’t overlook the importance of regular maintenance. Sweeping the area weekly can prevent dirt accumulation and keep your outdoor surface looking fresh. Incorporate these techniques, and you’ll extend the life and appearance of your exterior surfaces significantly.
Cleaning Methods for Outdoor Surfaces
Begin with a solution of warm water and a mild detergent. Use a stiff brush to scrub the surface vigorously, ensuring that dirt and grime are dislodged. Pay attention to the joints; they can accumulate debris over time.
For more stubborn stains, consider a mixture of baking soda and vinegar. Apply this paste directly to the affected area and allow it to sit for approximately 30 minutes before scrubbing. This combination works effectively on organic stains and discolouration.
Use a broom to remove loose dirt and leaves regularly to maintain a tidy appearance. A plastic or rubber broom can be particularly effective, as it is less likely to scratch the surface while still offering good cleaning power.
If moss or algae is present, a commercial cleaning solution specifically formulated for outdoor surfaces can be beneficial. Follow the instructions precisely for optimal results. After application, use a scrub brush to assist in removal.
Once the surface is cleaned, ensure to rinse thoroughly with clean water, using a bucket or hose to remove any remaining cleaning agents. This prevents slippery residues from developing and keeps the area safe for foot traffic.
For ongoing maintenance, consider sealing the surface with a suitable sealant. This not only enhances appearance but also provides a protective layer against future stains and makes subsequent upkeep easier.
Choosing the Right Cleaning Solution for Your Paving Stones
For optimal results, selecting the most suitable cleaning agent is paramount. I recommend starting with a solution that combines warm water and a mild detergent. This mixture effectively tackles light soiling and grime without damaging your surfaces.
Types of Cleaning Solutions
Opt for a few different types based on the level of dirtiness:
- Biodegradable Detergents: These are excellent for regular maintenance. They break down naturally and are safe for plants and wildlife.
- Oxygen Bleach: If you face stubborn stains or algae, using oxygen bleach can be effective. It’s powerful yet safe and won’t harm your surroundings.
- White Vinegar: For a natural approach, vinegar mixed with water can help eliminate minor stains and freshen up surfaces.
Application Techniques
Regardless of the solution you choose, proper application is key. Use a scrub brush or a stiff broom to work the cleaner into the surface. Allow the mixture to sit for a few minutes to penetrate and loosen dirt.
| Cleaner | Type | Use Case |
|---|---|---|
| Biodegradable Detergent | Commercial | Regular Maintenance |
| Oxygen Bleach | Eco-Friendly | Stubborn Stains |
| White Vinegar | Natural | Light Stains, Freshening |
Always test any solution on a small, inconspicuous area before proceeding with wider application, ensuring no adverse reactions occur. This step is crucial for maintaining the integrity of the surface while achieving excellent results.
Tools You Need for Manual Paving Stone Cleaning
Begin with a stiff-bristled brush. Its robust bristles are perfect for dislodging dirt and grime from crevices. Opt for one that’s comfortable to hold to reduce strain on your hands.
A bucket serves multiple purposes: it can hold your chosen cleaning solution and water, and lets you soak your brush efficiently. Choose a bucket with a handle for easy transport.
Certainly, having a high-quality broom is beneficial for sweeping away loose debris before tackling stubborn stains. A broom with both soft and stiff bristles offers flexibility depending on the condition of the surface.
Don’t underestimate the importance of gloves. Protect your hands from harsh chemicals and dirt while ensuring a better grip on tools.
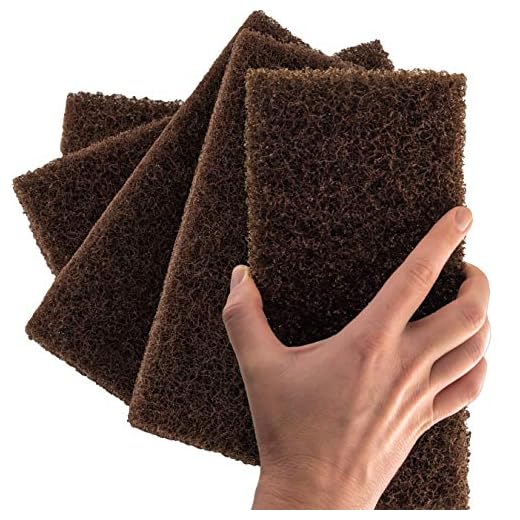
A scrubbing pad or sponge with a rough texture can assist in tackling particularly stubborn marks. Ensure that it’s safe for the surface to avoid any potential scratching.
Lastly, consider having a garden hose on hand. Use it to rinse your surfaces thoroughly and remove any detergent residue. A spray nozzle can help regulate the water flow for better control.
With these tools in your arsenal, you’ll be well-equipped to restore the appearance of your outdoor surfaces efficiently.
Step-by-Step Guide to Sweeping and Scrubbing
Begin with clearing the area of loose debris and dirt. Use a stiff-bristled broom to sweep away leaves, dust, and small particles. I recommend sweeping in multiple directions to ensure you capture all debris settled in the grooves.
Preparing the Surface
After sweeping, inspect the surface for stains or accumulated grime. For stubborn spots, use a scraper or a putty knife to gently lift off any built-up material. Take care not to damage the surface while doing this.
Applying the Cleaning Solution
Mix a solution of warm water and a suitable cleaning agent in a bucket. Ensure to choose a product designed for outdoor hard surfaces. Use a sponge or a soft cloth to apply the mixture onto the affected areas. Allow it to sit for 10-15 minutes to break down grime.
Following the wait time, use a stiff-bristled brush to scrub the surface. Make circular motions and apply more pressure on stubborn spots. Rinse the area with clean water, ensuring all soap residue is removed. Repeat this process for heavily soiled sections until the desired cleanliness is achieved.
To finalise, thoroughly sweep the area again to remove any remaining loosened debris. This process will leave your surfaces looking refreshed and well-maintained.
Removing Stains from Paving Stones Using Household Items
Apply a mixture of baking soda and water for oil and grease marks. Combine three parts baking soda with one part water to form a paste. Spread it over the stain, let it sit for about 15-20 minutes, then scrub with a stiff brush and rinse thoroughly.
Vinegar Solution for Organic Stains
For organic blemishes such as leaves or food spills, use white vinegar. Dilute vinegar with an equal part of water in a spray bottle, apply directly to the stain, and allow it to sit for around 30 minutes. Afterward, scrub with a brush and rinse with clean water.
Hydrogen Peroxide for Tough Discolouration

For stubborn, dark spots, hydrogen peroxide can be effective. Pour 3% hydrogen peroxide directly onto the discolouration. Allow it to sit for at least 30 minutes and scrub well. Rinse thoroughly after scrubbing. This is particularly useful for mildew and moss growth.
Another option is mixing dish soap with warm water. Use a few drops of soap and fill a bucket with warm water. Dip a brush into the soapy mixture, scrub away the stains, and rinse with plain water when finished.
Each method requires some elbow grease, but these household items can work wonders in restoring the original look of your outdoor surfaces.
Dealing with Weeds and Moss Between Paving Stones
Vinegar is your ally against unwelcome greenery. Use a 50/50 mixture of white vinegar and water, applying it directly onto the affected areas. After a day, pull out the dead weeds. You can repeat if necessary.
For a robust method, consider salt. Dissolve salt in boiling water at a ratio of one cup of salt per two cups of water. Apply this solution directly on the weeds and moss. Be cautious, as salt can affect surrounding soil.
Physical Removal Techniques
Manual extraction works effectively for stubborn plants. Use a weeding tool or hand trowel to uproot unwanted growth. Ensure you remove the roots to prevent regrowth. Regularly inspecting and removing newcomers is crucial.
- Moisten the area first to make removal easier.
- Wear gloves to protect your hands.
- Dispose of the pulled weeds and moss properly to avoid regression.
Prevention Strategies
Applying a layer of polymeric sand in the joints can inhibit future growth. This sand hardens when wet, discouraging new seed germination. Alternatively, consider regular maintenance of the area by reapplying the sand annually.
Avoid excessive watering in the gaps, as this encourages growth. Keep foliage trimmed back to reduce seeds and spores landing between surfaces.
Rinsing and Drying Techniques for Paving Stones
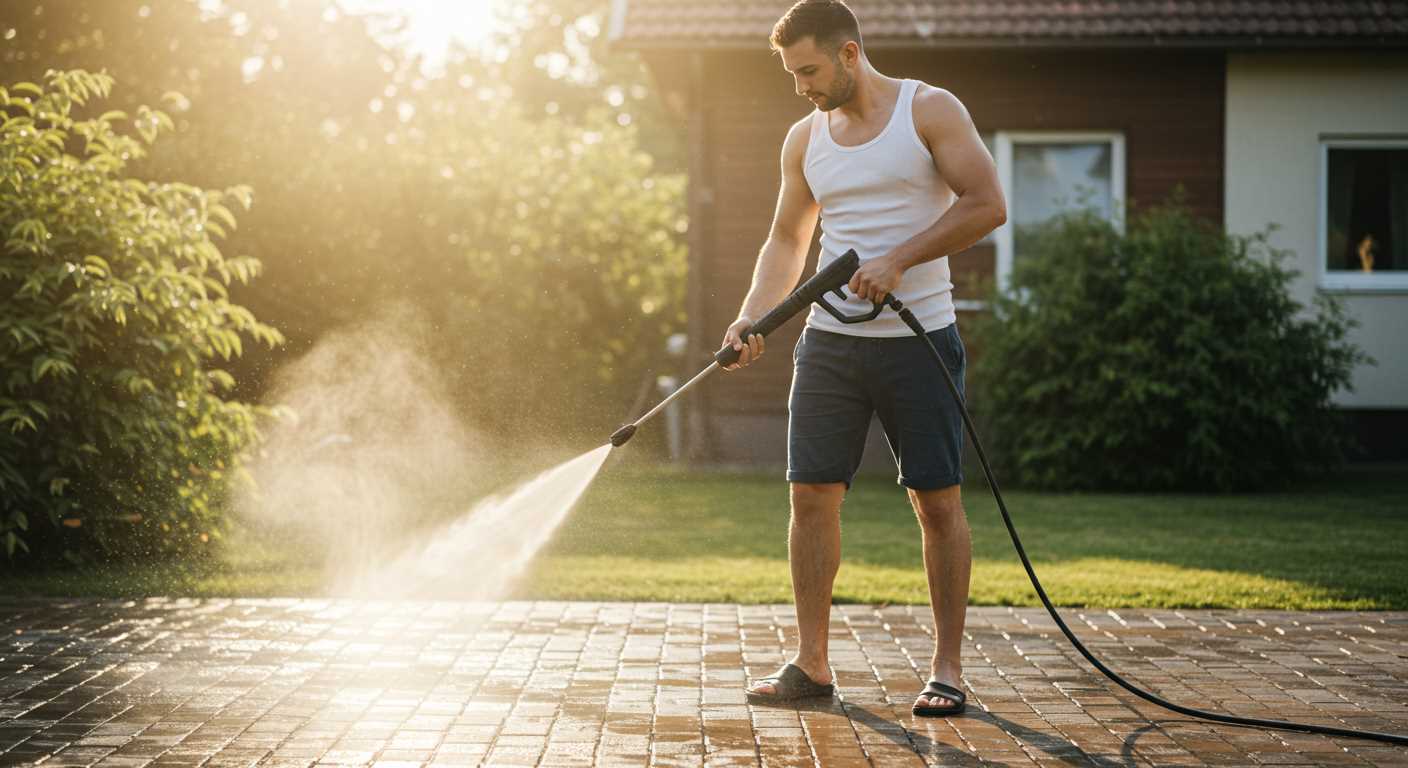
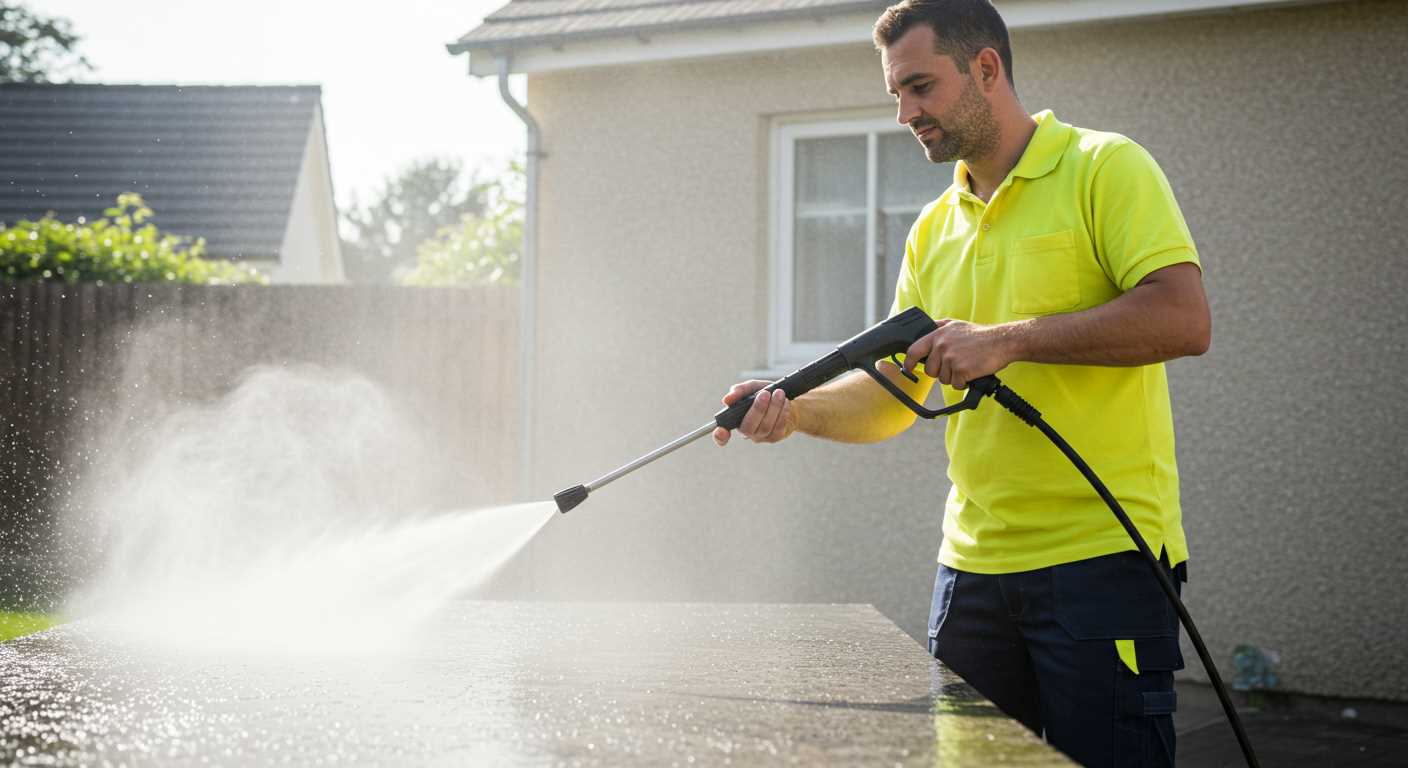
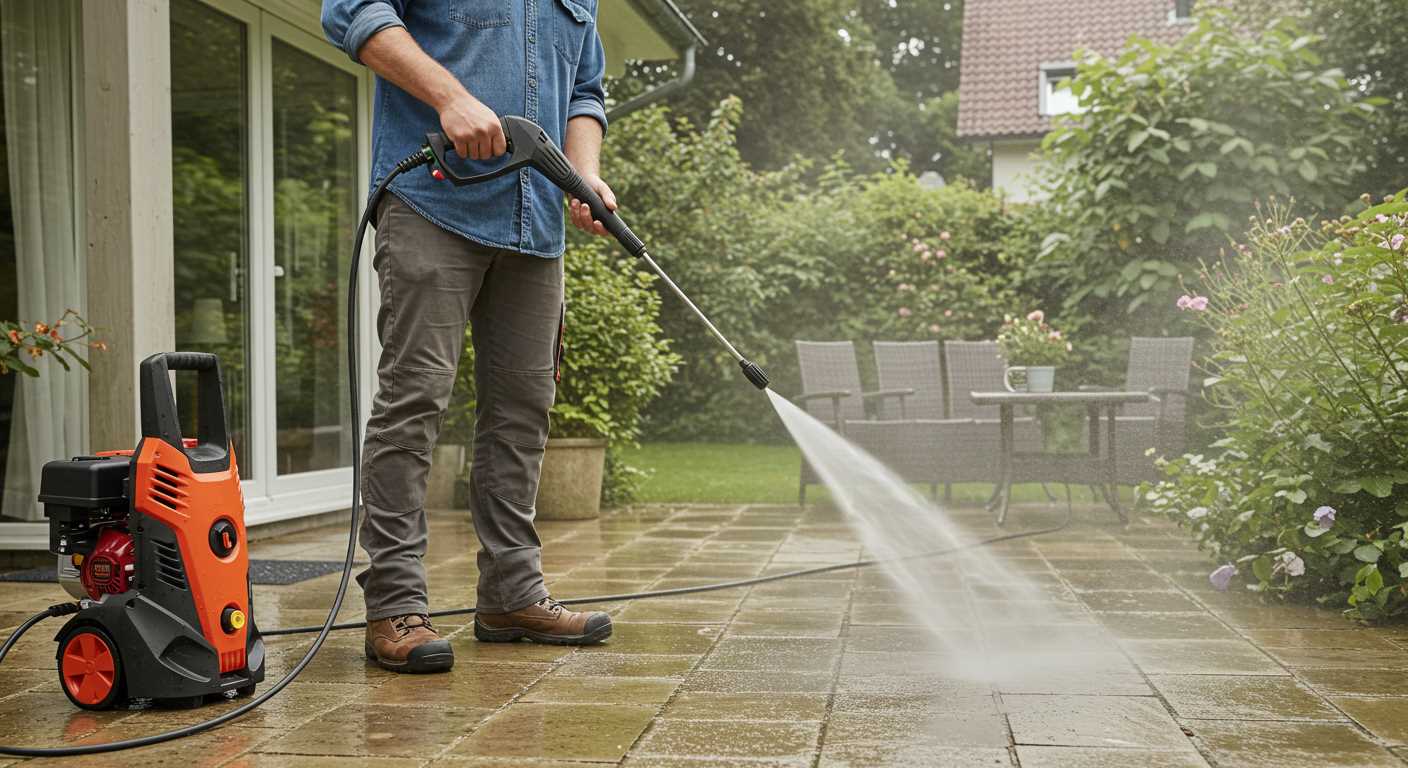
Start with a thorough rinse using a garden hose equipped with a spray nozzle. This setup allows for better control over water pressure and direction, ensuring a focused clean without the force of a power tool. Aim to direct the water towards the joints to dislodge any debris accumulated between the slabs.
Thorough Rinsing Steps

Begin by wetting the surface, allowing dirt and grime to loosen. Use a sweeping motion with the hose, washing from one end to the other to prevent water pooling. Adjust the nozzle to a fan spray to cover more area more effectively. Repeat the process until the surface is free from visible contamination.
Drying Techniques
For effective drying, use a squeegee for larger areas, directing the water towards drains. If you’re dealing with smaller sections, a clean, dry mop or towel can help absorb residual moisture. Where possible, let natural sunlight aid the drying process, reducing the risk of water marks or stains.
Consider the weather conditions; if moisture levels are high in the air, use fans to enhance airflow. This will facilitate faster evaporation, keeping your surfaces looking pristine for longer.
Post-cleaning, ensure regular maintenance is scheduled. This will make future cleans more manageable and help avoid excessive build-up, saving you time and effort down the line.
Regular Maintenance Tips to Keep Paving Stones Clean
Regular sweeping is crucial. Aim to do this weekly to prevent debris from accumulating and attracting dirt. Use a stiff broom for effective removal.
Inspect joints and edges frequently. If you notice loose or missing sand, refill those gaps promptly to deter weed growth and erosion.
Occasionally, a diluted vinegar solution can be used as a mild disinfectant. This helps inhibit mould or mildew when applied to damp areas, especially in shady spots.
Consider applying a sealant every couple of years. Sealing reduces the absorption of stains and makes routine upkeep more manageable.
Try to avoid harsh chemicals that could damage the surface. Natural solutions, like baking soda for stubborn spots, keep your surfaces intact while providing a gentle clean.
Always ensure proper drainage around your path. This minimizes the risk of water pooling and prevents sediment build-up.
Establish a seasonal calendar. For instance, spring is ideal for a thorough clean-up, while autumn requires attention to fallen leaves that could lead to stains.
FAQ:
What are some effective methods to clean paving stones without using a pressure washer?
You can clean paving stones using several methods without resorting to a pressure washer. One common approach is to create a mixture of warm water and mild dish soap. Use a stiff brush to scrub the stones, focusing on any stained areas. For more stubborn dirt, a solution of vinegar and water can be applied. Let it sit for a few minutes before scrubbing again, and then rinse with clean water. Another method involves using baking soda mixed with water to form a paste, applying it to stains, and letting it sit before scrubbing. For extensive cleaning, you might consider using a broom to sweep away debris first and then following up with one of these cleaning solutions.
How do I deal with tough stains on paving stones?
Tough stains on paving stones can be particularly challenging to remove. For oil stains, try using a mixture of cornstarch or baking soda with water to form a paste. Apply this paste to the stain and leave it for several hours or overnight to absorb the oil. After that, scrub with a brush and rinse thoroughly. For rust stains, a solution of lemon juice and cream of tartar can be effective. Apply it directly to the stain, allow it to sit for a bit, and scrub before rinsing. Regular maintenance can prevent tough stains from forming in the first place, so it’s helpful to clean up spills as soon as they happen.
Can I use chemical cleaners on my paving stones?
Yes, chemical cleaners can be used on paving stones, but it’s crucial to choose the right product. Look for a cleaner specifically designed for stone surfaces, as some harsh chemicals might damage the stone or the jointing material. Always test the cleaner on a small, inconspicuous area first to ensure it won’t cause discolouration or damage. Follow the manufacturer’s instructions closely, and make sure to rinse the area thoroughly after cleaning to remove any residues. Additionally, consider wearing protective equipment like gloves and goggles when using these products.
How can I maintain my paving stones after cleaning?
Maintaining paving stones after cleaning is key to keeping them in good condition. Regular sweeping can help keep dirt and debris from accumulating. It’s also beneficial to periodically wash the stones with a gentle soap and water mixture. Avoid using harsh chemicals as they can degrade the stones over time. For preventing weed growth between stones, consider applying a jointing sand or a polymeric sand that inhibits weed growth. Additionally, sealing the paving stones after a thorough cleaning can protect them from stains and dirt, making future cleaning easier.


