


Begin with the removal of the sprayer head from the lance. This step can typically be accomplished by simply twisting it off clockwise. Inspect for visible debris or blockages that could restrict water flow.
Next, submerge the head in a solution of vinegar and water. This mixture helps dissolve mineral deposits and residue. Let it soak for approximately 30 minutes, then proceed to scrub the surface with a soft brush for further purification.
After soaking, rinse thoroughly under running water to ensure all cleaning agents and loosened grime are washed away. While rinsing, examine the orifice carefully; if any clogging remains, use a toothpick or a pin to gently dislodge material that may be obstructing the opening.
Finally, allow the component to dry completely before reattaching it to the lance. Regular maintenance after each use will greatly enhance the lifespan and functionality of your equipment, keeping it in prime condition for your next cleaning task.
Maintenance for Spray Tip
Begin with detaching the spray tip from the lance. Inspect it closely for any blockages. Use a straightened paperclip or a small wire to clear any debris in the orifice. Be thorough in this task, as even a tiny obstruction can affect the performance markedly.
Submerge the tip in a solution of warm, soapy water for around 15 minutes. This can help dissolve any residual grime. After soaking, rinse it thoroughly under running water to remove fragments loosened during the soaking process.
Checking and Testing
After cleaning, reattach the tip securely. Before starting a thorough cleaning session, test the spray on a non-sensitive surface. Observe the pattern and pressure to ensure that everything is functioning properly. If issues persist, a deeper inspection may be required, possibly involving a replacement if significant wear is detected.
Regular maintenance of the spray tip contributes to optimal performance, ensuring that cleaning tasks are executed efficiently without unnecessary blockage or pressure loss.
Gather Necessary Cleaning Supplies
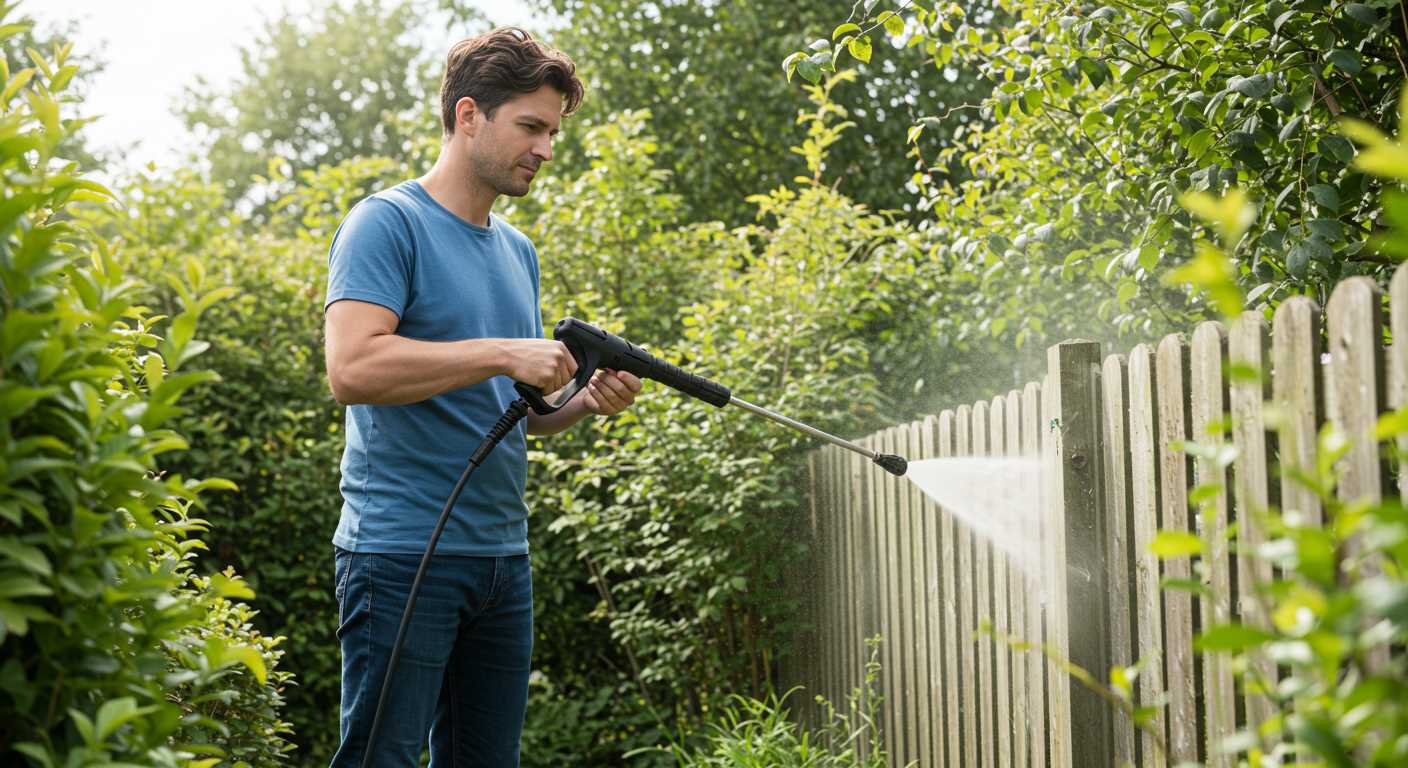
For optimal maintenance, ensure you have the following materials: a soft-bristle brush, a bucket, mild detergent, and a mixture of water and vinegar. These items work well together to restore functionality without damaging the equipment.
Tools and Cleaning Agents
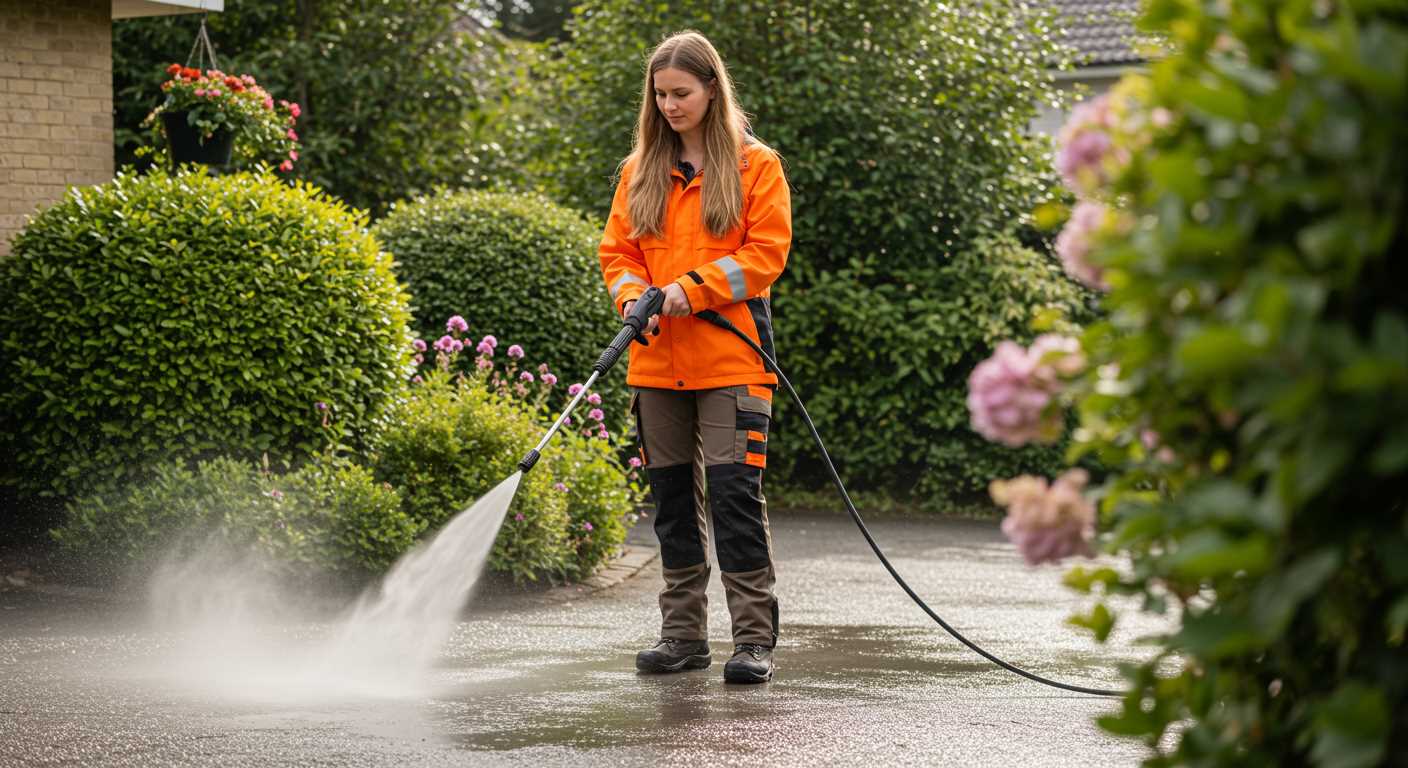
The soft-bristle brush is ideal for dislodging stubborn debris from the spray tip. Mild detergent helps to break down grease and grime without causing corrosion. Mixing water and vinegar creates a natural solution that effectively cuts through mineral deposits on the nozzle.
Safety Gear
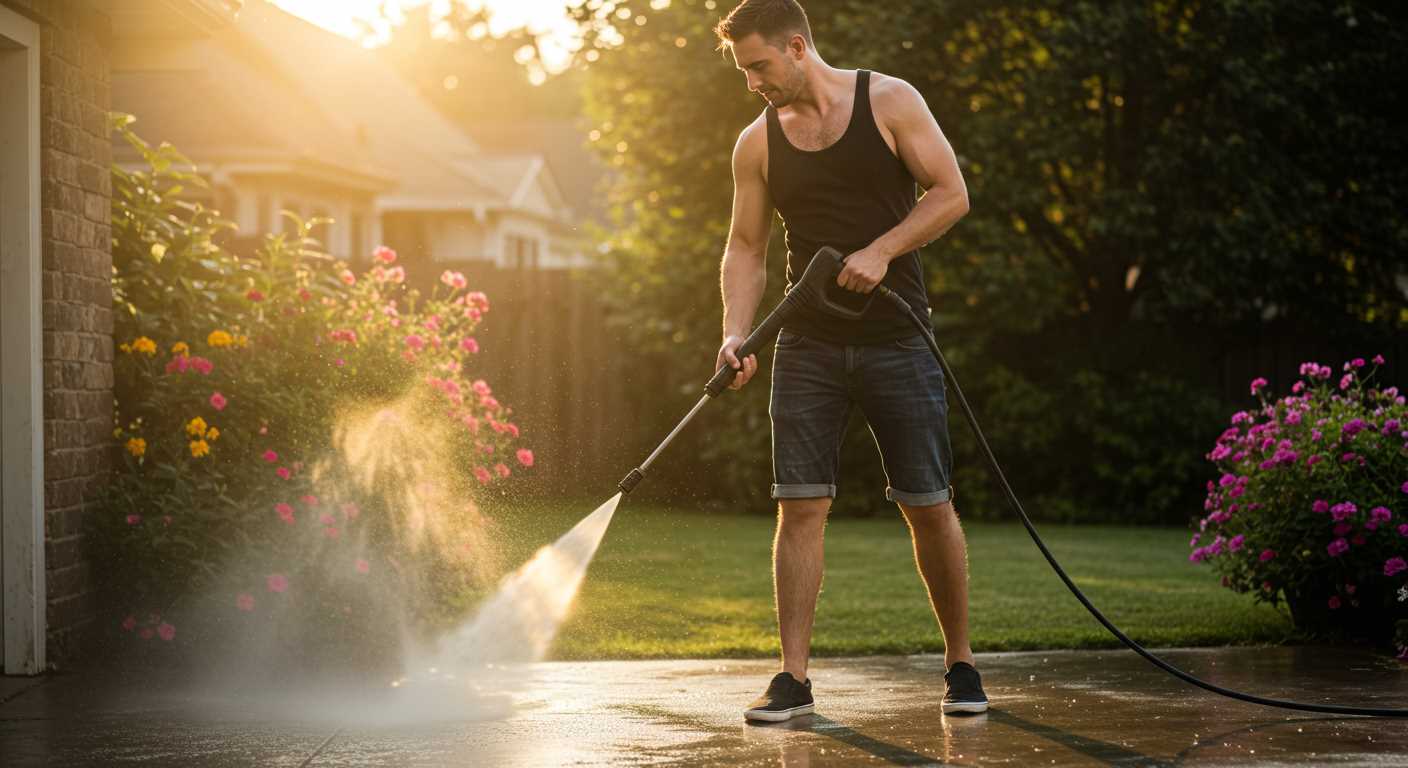
Wearing safety goggles and gloves is advisable to protect yourself from any splashes or irritants. Once you have gathered these supplies, proceed with the maintenance without delay.
Disconnect Nozzle from Pressure Washer
To detach the attachment from the equipment, ensure the machine is powered down and the water supply is turned off. Locate the quick-connect coupling at the end of the lance. Depress the coupling collar firmly. While holding it down, pull the lance away from the attachment to separate them. This process might require a bit of force, especially if the components have become sticky over time.
Inspecting the Connection
.jpg)
After removing the attachment, examine the coupling for any signs of damage or wear. A damaged coupling could lead to inadequate fitting during reattachment. If you notice any defects, replace the coupling before proceeding further.
Storing the Detached Piece
Once disconnected, store the removed part in a dry location, preferably in a container to prevent dirt accumulation. Keeping it clean will ensure optimal performance during future use and simplify the maintenance process.
Inspect Nozzle for Blockages
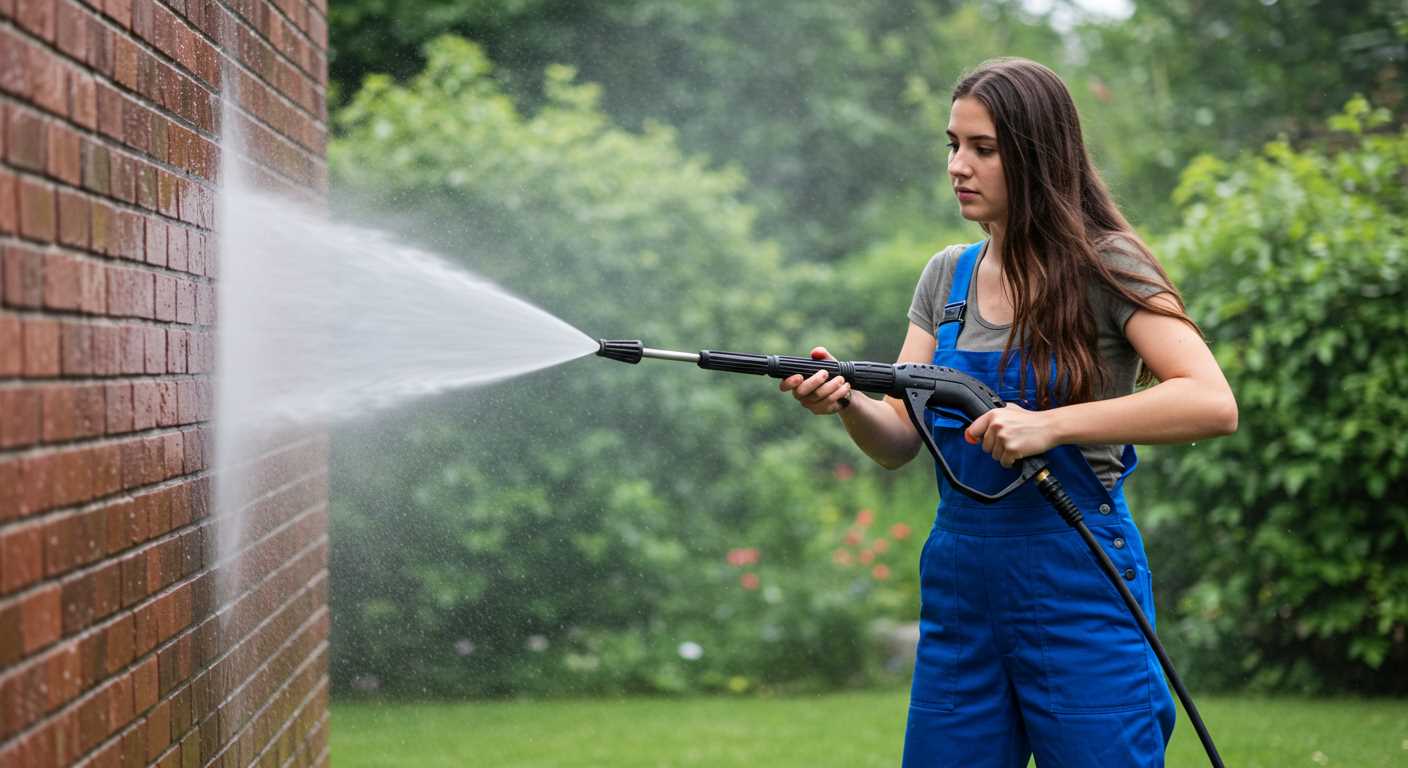
Check for any visible debris or obstructions within the outlet of the spray attachment. Small particles can cause improper function, so careful scrutiny is necessary.
Utilise a flashlight to illuminate the opening, as this will help identify any build-up of dirt or residue. If you spot clogs, proceed to the next step.
Using a Needle or Wire
A thin needle or a piece of fine wire can be used to gently poke at any clogs in the tip. Be cautious not to damage the interior surfaces while extracting debris.
Flushing the Opening
After clearing visible blockages, it’s effective to flush the opening with water. This will help dislodge any remaining particles. A steady stream should suffice; avoid high pressure, as it could cause damage.
After ensuring the opening is clear and free of obstacles, it’s advisable to check the overall condition of the attachment. Scrutinise for any cracks or wear that may affect its performance.
Use a Thin Wire to Remove Debris
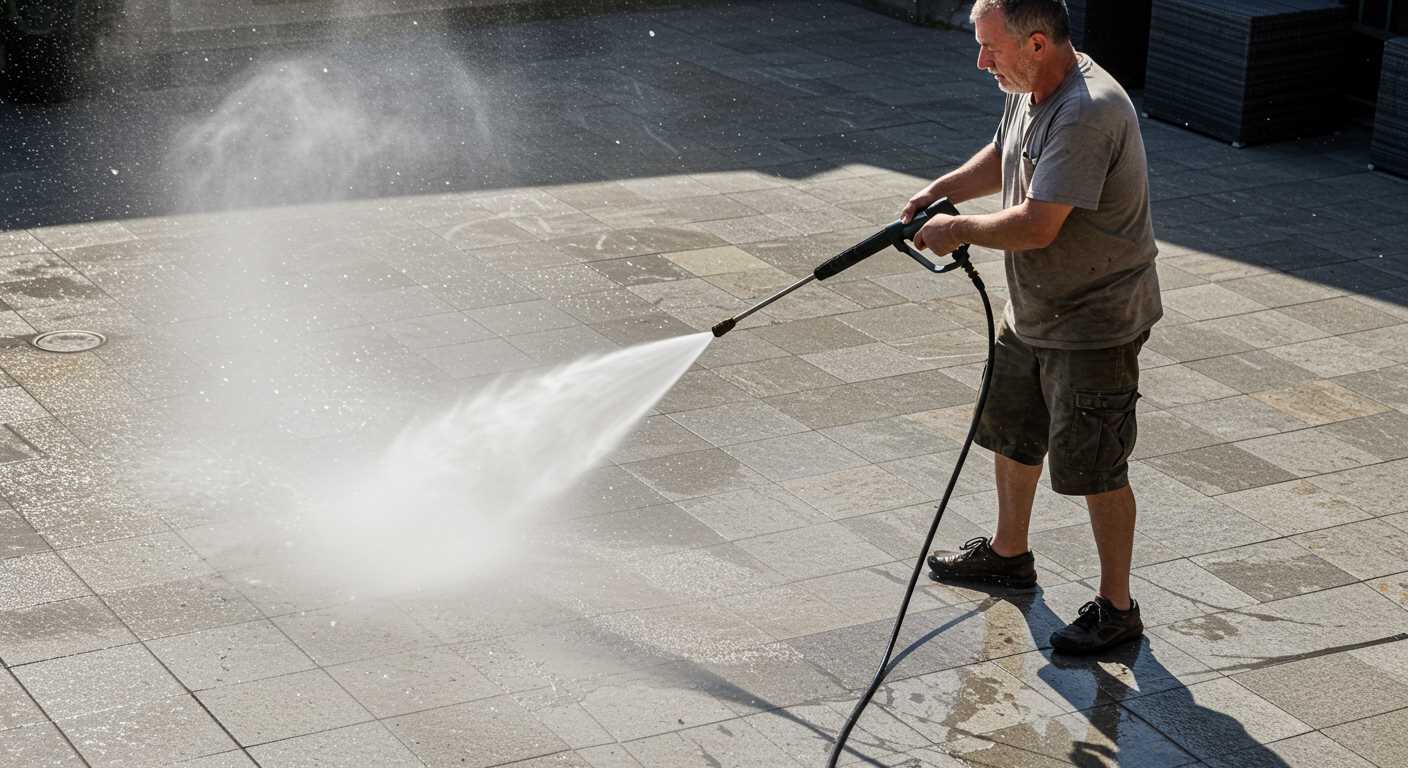
Insert a thin wire, such as a straightened paper clip or a specialized cleaning wire, into the opening of the attachment. This method effectively dislodges any stubborn blockages that may be obstructing water flow.
Follow these steps for optimal results:
- Be cautious and apply minimal pressure to avoid damaging the internal parts.
- Twist and turn the wire gently while pushing it in and pulling it out. This action encourages the removal of trapped particles.
- After clearing the debris, run water through the component to flush out any remaining fragments.
Regular maintenance using this technique can prolong the lifespan of your equipment and ensure it operates at peak performance.
Soak in Cleaning Solution
To effectively remove stubborn contaminants from the head of your device’s spray attachment, immerse it in a suitable cleaning solution. Prepare a mixture of water and a dependable detergent, ensuring the concentration is enough for effective breakdown of grime.
For best results, submerge the attachment and allow it to soak for at least 30 minutes. This process loosens the accumulated dirt and debris, making it easier to cleanse during the next steps.
After soaking, take a soft brush, like an old toothbrush, to gently scrub the surface of the attachment. This additional step will ensure thorough removal of residual contaminants that may remain attached despite soaking.
Rinse the attachment thoroughly with water post-scrubbing to eliminate any detergent remnants. It’s crucial to ensure that no cleaning solution remains, as this can impact performance during future usage.
Once rinsed, dry the component thoroughly before reattaching it to your equipment. This practice helps prevent any water residue from hindering functionality.
| Cleaning Solution Ingredients | Purpose |
|---|---|
| Water | Solvent base |
| Detergent | Dissolves dirt and grease |
By incorporating this soaking method into your maintenance routine, you will significantly enhance the longevity and performance of your equipment’s spray attachment.
Rinse and Dry the Nozzle Properly
After removing any debris and soaking the attachment, rinsing and drying it correctly is crucial for optimal performance. Begin by flushing the part with water to eliminate any remaining solution and loosened dirt.
- Use a gentle stream of water to wash away residues. Avoid using high pressure directly on the opening, as this may lead to further blockage.
- Ensure that all internal passages are clear and that no cleaning solution lingers. Inspect while rinsing to identify any potential clogs.
Once rinsed, the drying process matters significantly. A thorough drying helps prevent rust and corrosion.
- Shake the component gently to remove excess water.
- Leave it in an airy location, ideally in sunlight, to facilitate natural evaporation. Avoid placing it in a damp area, which can contribute to mould or mildew growth.
For faster drying, use a clean, lint-free cloth to wipe the exterior. Ensure that no cloth fibers remain stuck in the crevices of the part.
By taking these steps, I find that the longevity and effectiveness of the equipment are significantly enhanced, ensuring it works reliably for future tasks.
Reattach Nozzle and Test Functionality
Securely affix the cleaned attachment to the spray lance, ensuring a proper fit. Rotate until it clicks or locks into place, confirming it is firmly attached to prevent any leaks or disconnections during use.
Before proceeding, check that all connections, including hoses and the spray wand, are tightened to avoid accidents. Turn on the equipment, allowing it to build pressure. Once operational, test the output by activating the trigger, aiming at a suitable surface to observe the pressure and spray pattern.
If any issues arise, such as irregular spray or a loss of pressure, disconnect the piece again and re-evaluate for any remaining obstructions or misalignments in the connection. Once confident in its functionality, the tool is ready for your next cleaning task.
FAQ:
What materials do I need to clean the Ryobi pressure washer nozzle?
To clean the Ryobi pressure washer nozzle, you’ll need a few basic materials. First, gather a soft brush, such as a toothbrush, which will help remove dirt and debris without scratching the nozzle. You may also use a clean cloth or some paper towels to wipe down the exterior. Additionally, a mixture of warm water and mild detergent is useful for more stubborn grime. If there are any calcium deposits or mineral build-up, a vinegar solution may be effective in breaking those down. Ensure you also have safety goggles and gloves to protect yourself during the cleaning process.
How often should I clean the nozzle of my Ryobi pressure washer?
Cleaning the nozzle of your Ryobi pressure washer should be done regularly, particularly before and after each use. After each cleaning task, inspect the nozzle for any clogs or debris buildup. If you notice a decrease in pressure or an uneven spray pattern, it is a sign that the nozzle needs immediate attention. In general, a thorough cleaning every few uses will help maintain optimal performance and prolong the life of the nozzle, ensuring that your pressure washer operates effectively whenever you need it.


