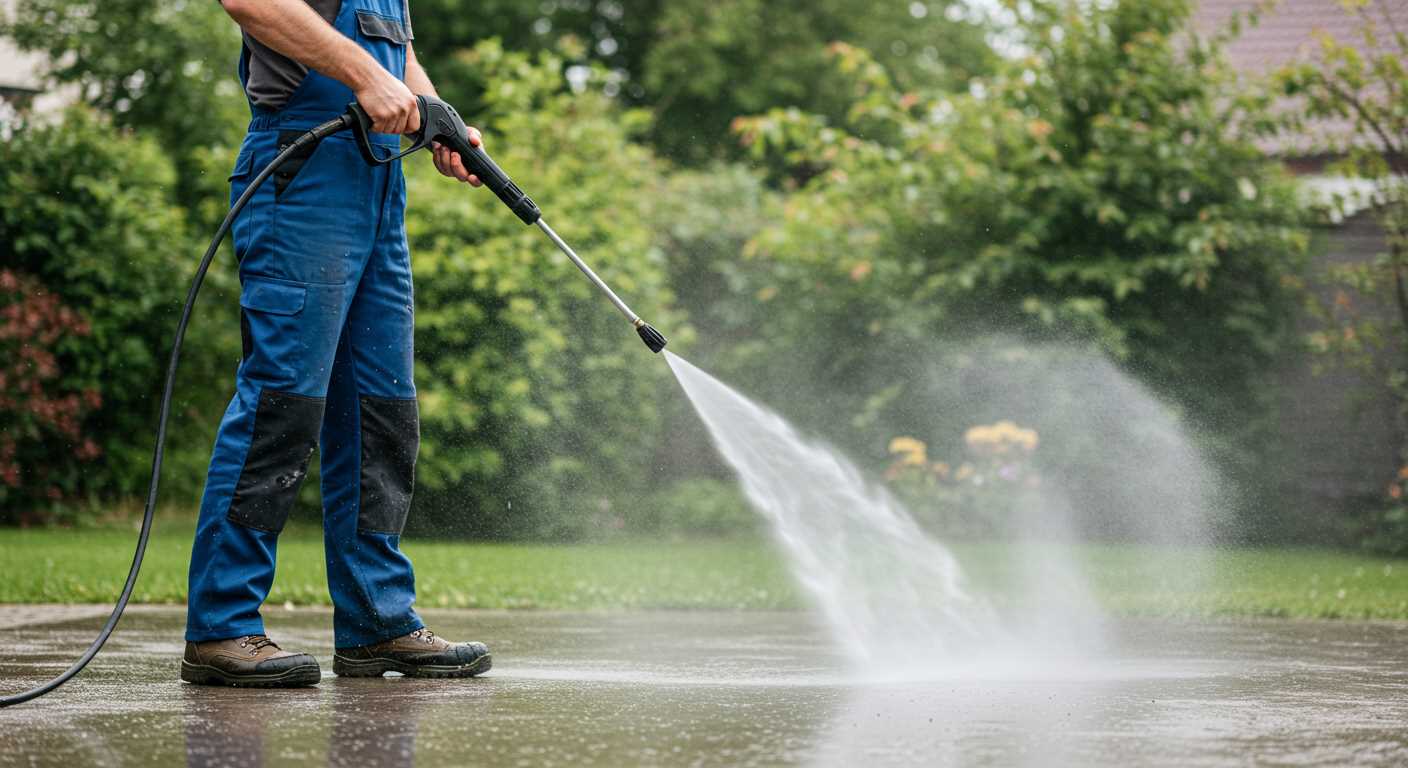


Begin by choosing a device with at least 3000 PSI for optimal results. This level of power ensures that even the most stubborn stains and grime are effectively removed. The nozzle selection is equally important; I recommend using a 15-degree nozzle for tackling tough dirt and a 40-degree nozzle for rinsing and finishing touches.
Before starting, it’s crucial to prepare the area. Remove any debris, such as leaves or branches, to prevent them from being blown around. A sweep will also help to identify cracks or loose stones that might need attention before the washing process begins. This step protects both the material and your equipment.
Maintain a distance of about 12-18 inches from the surface for the best outcomes. Moving the spray in a consistent motion will ensure even coverage. I’ve found that working in small sections helps prevent oversaturation and allows for a more thorough cleaning experience. Once finished, rinse the area well to remove any detergent residues, ensuring a pristine finish.
Lastly, consider applying a sealant on the cleaned surface to prolong the results. This can safeguard against future staining and damage, making regular maintenance much easier. With these steps, your pathway will not only look refreshing but will also be well-protected against the elements.
Choosing the Right Pressure Washer for Concrete Cleaning
Opt for a machine delivering at least 2500 PSI (pounds per square inch) for maximum efficiency. This pressure ensures that tough stains, grime, and dirt are effectively removed from surfaces. A flow rate of 2.5 GPM (gallons per minute) or higher complements the PSI, permitting quicker cleaning tasks.
Prioritise a cleaner featuring adjustable nozzles. A 0° nozzle is perfect for concentrated cleaning, while a 25° or 40° nozzle works better for sweeping larger areas. Various nozzle options provide versatility for different types of surfaces.
Consider engine type: electric models are quieter and easier to maintain, while gas-powered units offer greater power and mobility. For extensive outdoor areas, a gas unit may be preferred due to its portability and longevity.
Always check the weight and manoeuvrability of the unit. A lightweight option with wheels eases transportation and usability, particularly on larger pavements.
Examine additional features:
- Detergent Injection: Look for models that support detergent for deeper cleaning.
- Safety Features: A trigger lock and automatic shut-off enhance safety during operation.
- Hoses and Cables: A longer hose allows for extended reach, eliminating the need to reposition the washer frequently.
Investing time in selecting the right unit tailored to specific cleaning tasks can yield remarkable results, prolonging the lifespan of your outdoor areas. Trust your experience and preferences, and compare models diligently to find the optimal tool for your needs.
Preparing the Sidewalk for Pressure Washing
Clear the area of obstacles such as planters, furniture, or vehicles. This ensures easy access and avoids any damage during the cleaning process.
Inspect for large debris and remove it manually. Items like sticks, leaves, and stones can interfere with the efficiency of the equipment.
Address any stains or mildew by pre-treating the affected areas. A mixture of water and an appropriate cleaning solution or bleach can loosen stubborn dirt.
Ensure that no power lines or low-hanging branches obstruct your workspace. Safety is paramount to avoid accidents during operation.
If possible, sweep the surface thoroughly. Removing loose dirt and grit will improve the performance of the machine and lead to better results.
Check your drainage system to ensure it can handle the excess water runoff. A blocked drain can lead to flooding and other complications.
Wet the surrounding landscape to prevent plants from absorbing too much concentrated detergent or cleaning solution. This also helps mitigate water saturation in adjacent areas.
Gather personal protective equipment (PPE) such as gloves, goggles, and waterproof boots. Protecting yourself is as vital as safeguarding your surroundings.
Confirm that your equipment is in good working order. Inspect hoses, connectors, and nozzles for any signs of wear and tear before starting.
Decide on your preferred nozzle attachment. Each one serves a specific purpose; for initial cleaning of stubborn grime, a wider angle may be more suitable.
Selecting the Appropriate Cleaning Solution
Opt for a specialized solution that targets the specific contaminants on your surface. For oil stains, a degreaser works effectively, while for algae or mildew, an antimicrobial formula is ideal. Always check the manufacturer’s guidelines to ensure compatibility with your chosen equipment.
Concentration and Dilution

Follow dilution ratios specified on the label for optimal results. Over-concentration can lead to residue buildup, and under-dilution may not deliver the necessary power. Mixing the solution too strong or too weak will compromise the cleaning process.
Environmentally Friendly Options
Evaluate biodegradable and non-toxic formulas that minimise environmental impact. Some solutions contain plant-based ingredients that break down naturally, ensuring safety for surrounding flora and fauna while still providing strong cleaning capabilities.
Adjusting the pressure settings for optimal results

Begin by selecting the appropriate pressure level. For tough stains, a high setting between 2000 to 3000 PSI works wonders. For lighter grime and frequent maintenance, reduce it to 1500 to 2000 PSI. This prevents damage to the surface while ensuring effective results.
During the process, consider the nozzle type. A 0-degree nozzle provides focused power for stubborn stains, while a 25-degree nozzle is ideal for most cleaning applications, spreading the water evenly.
Adjust the distance to the surface according to the pressure. Keeping the nozzle 12 to 24 inches away allows for broader coverage without the risk of etching or gouging the material. Maintain a steady motion, overlapping each pass by around 6 inches to ensure uniform appearance.
Occasionally, test the settings for effectiveness. If stains persist, incrementally increase the pressure or switch to a more aggressive cleaning nozzle. Monitor the results closely, as different materials respond uniquely to varied pressures.
Lastly, consider the water temperature. A mix of hot water can enhance the impact of the cleaning agents, cutting through grime faster. Ensure your equipment supports hot water functionalities if you choose this option.
Techniques for maintaining even cleaning coverage
For consistent results across surfaces, maintain a steady distance of approximately 8 to 12 inches between the nozzle and the ground. This ensures uniform pressure application, preventing uneven patches. Adjust your stance to keep the nozzle at a perpendicular angle to the surface, which aids in achieving a more complete rinse.
Utilising a sweeping motion while moving the tool can greatly enhance coverage. Begin at one edge and systematically work your way across, overlapping each pass by about 30%. This overlap prevents missed spots and ensures a more thorough clean.
Consider the nozzle type; a wider spray pattern is generally more forgiving for larger areas and helps avoid surface damage. Switching to a narrower pattern where stubborn stains persist can provide the focused power needed to tackle tough marks without excessive effort.
Visual markers, such as lightly spraying a section before proceeding, provide a reference to assess progress and ensure consistency. Staying aware of shadows and lighting can also help track coverage, revealing areas needing further attention.
Finally, regular maintenance of the machine is paramount. Clogged filters or worn nozzles can lead to uneven pressure, ultimately affecting results. Periodically inspect equipment to ensure optimal performance, ensuring the job goes as smoothly as possible.
Safety Precautions to Follow During High-Pressure Cleaning
Always wear safety goggles to protect your eyes from debris and chemical splashes. Sturdy footwear is essential to prevent slips on wet surfaces. A long-sleeved shirt and trousers will shield your skin from potential injuries caused by the high-velocity water and harsh cleaning agents.
Maintain a safe distance from electrical outlets, cords, and other electrical equipment to avoid electrocution risks. Ensure that any tools used are rated for outdoor use and are in good condition, with no frayed wires or exposed components.
Secure the work area by clearing away any objects that could become projectiles, such as gravel or decorative stones. Inform passersby about your activities, and consider placing cones or barriers to establish a safe perimeter around your work zone.
Ensure good ventilation if using any cleaning solutions that emit fumes. Store chemicals in tightly sealed containers when not in use, and keep them out of reach of children and pets. Always read and follow the manufacturer’s instructions on products to avoid harm during the cleaning process.
Conduct a brief inspection of the area for any loose bricks or tiles that may be dislodged during the operation. Additionally, secure windows and outdoor furniture to minimise the risk of damage from flying debris.
| Precaution | Notes |
|---|---|
| Safety Goggles | Protects eyes from debris and chemicals. |
| Proper Footwear | Reduces slip hazards. |
| Electrical Safety | Avoid water near electrical outlets and cords. |
| Clear Workspace | Remove objects that could become harmful projectiles. |
| Ventilation | Use cleaning solutions in well-aired spaces. |
| Area Inspection | Check for loose surfaces before beginning. |
Post-cleaning care and maintenance tips for sidewalks

After refreshing your walkway, consider these steps for ongoing care to maintain its appearance and integrity:
Regular Inspections
- Check for cracks or chips in the surface regularly to prevent water damage.
- Look for signs of mildew or algae, particularly in shaded areas.
Sealing
- Apply a sealant every 1-3 years, depending on the material, to protect against stains and deterioration.
- Choose a sealant appropriate for your surface type – acrylic, epoxy, or penetrating sealers.
Routine Maintenance
- Clean spills immediately to prevent staining; use a mild soap and water solution.
- Clear debris regularly to prevent moss or algae growth.
Weather Considerations
- Avoid harsh chemicals or abrasive tools that may damage the surface.
- During winter, use non-corrosive de-icers instead of salt to prevent erosion.
Implementing these practices will help prolong the lifespan of your pathway and keep it looking pristine. Regular attention is key to preventing costly repairs and maintaining a safe walking surface.


