

Set the pressure gauge between 2000 and 3000 PSI for optimal performance. This range effectively tackles accumulated grime without damaging surfaces. Equip yourself with a 25-degree nozzle, which strikes the right balance between water concentration and spray width, ensuring thorough coverage on vertical surfaces.
When addressing the façade of your home, begin from the top and work downwards. This method prevents dirty water from splashing onto already cleaned areas, allowing for a systematic approach. Maintain a distance of approximately 12 to 18 inches from the surface. This spacing is important to prevent surface etching while still delivering a powerful clean.
Use a dedicated cleaner compatible with your high-pressure device to tackle stubborn stains. Apply the solution before pressure washing to loosen dirt and mould. Allow it to sit for about 5 to 10 minutes–this dwell time is crucial for effective removal. After application, resume with the washing, ensuring all residues are thoroughly rinsed away to avoid long-term damage.
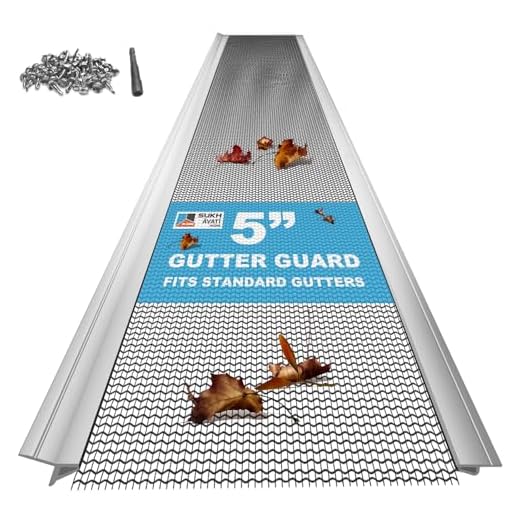
For drainage systems, clear debris first by hand or with a scoop. Once accessible, direct the high-pressure stream into the downspouts, starting at the bottom. This method effectively dislodges blockages and prevents future clogs. Regular maintenance every six months can greatly extend the life of these systems.
Finally, inspect all components for wear or damage post-cleaning. Look for loose fittings or cracks, addressing any issues immediately to maintain integrity. Routine upkeep not only enhances curb appeal but also safeguards your property against potential water damage.
Effective Techniques for Maintaining Your Home Exterior
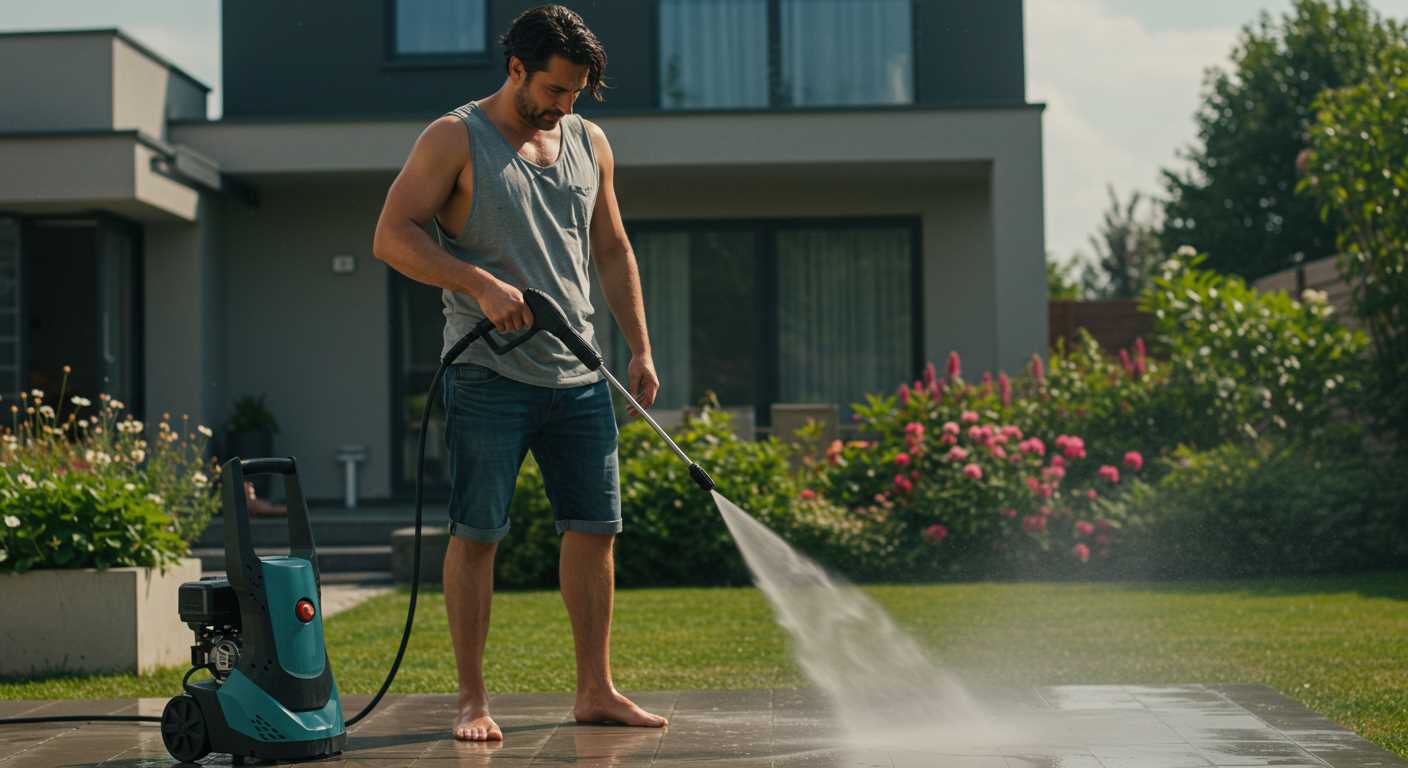
Begin by selecting a nozzle with a wide spray pattern. For vinyl or aluminium surfaces, a 25-degree tip effectively dislodges grime. Adjust your distance accordingly–keeping the nozzle at least 12 inches from the surface prevents potential damage.
Utilise a cleaning solution specifically formulated for outdoor surfaces if necessary. Apply it using an adjustable soap applicator to reach stubborn stains. Allow the solution to sit for several minutes before rinsing; this enhances its ability to lift dirt and contaminants.
Focus on Difficult Areas
For corners and edges, incorporate a scrub brush attachment. This ensures that even the hardest-to-reach spots receive attention. Direct the water flow towards these areas, maintaining the appropriate distance to avoid harming the surface finish.
Address vertical surfaces systematically, starting from the bottom and working upwards to prevent streaking. When rinsing, change the nozzle to a narrower tip if encountering thick build-up; this concentrated force helps remove entrenched debris.
Managing Rainwater Systems
Begin cleaning rainwater channels by removing large debris manually. Use a small tool to dislodge clogs that may be obstructing flow. Afterward, switch to a high-pressure nozzle to flush out residual dirt and leaves effectively.
Examine your waterways from below as well. Look for any remaining obstacles and ensure the outflow area remains clear. Performing this maintenance regularly prolongs the lifespan of your drainage system and prevents future issues.
Choosing the Right Pressure Washer for Your Needs
For tackling outdoor projects, selecting the appropriate machine is essential. Focus on the PSI (pounds per square inch) and GPM (gallons per minute) ratings. A unit with at least 2,500 PSI and 2.5 GPM is generally suitable for most tasks, providing the necessary force while ensuring thorough coverage.
Gas vs Electric
Decide between a gas-powered or electric model based on your specific requirements. Gas units deliver greater power and are ideal for extensive or heavy-duty work, operating independently of an electrical outlet. Conversely, electric models are quieter, lighter, and simpler to use, making them more suitable for moderate jobs around the home.
Accessories and Attachments
Assess the availability of add-ons such as different nozzles and brushes. Adjustable nozzles allow for versatility in adjusting the pressure, while specific brushes enhance effectiveness on delicate surfaces. Investing in a machine with a variety of compatible accessories broadens its functionality for diverse tasks.
Preparing the Area Before Cleaning
Clear the vicinity of debris, furniture, and any items susceptible to damage from water or moderate force. This includes ornamental plants and outdoor decor. Consider using a tarp or plastic sheeting to protect delicate areas, especially around windows and doors.
Ensure to check for low-hanging wires and branches overhead. These can pose hazards when using high-pressure equipment. If necessary, trim back vegetation or reroute hoses to avoid tangling.
Look for areas with potential issues, like cracked surfaces or peeling paint. Address these minor problems beforehand to prevent them from worsening during the washing process. Make sure to plug any leaks in the eaves or roof to mitigate water damage.
Evaluate nearby windows and doors. Ensure they are tightly closed to prevent water intrusion. Cover any air conditioning units or outdoor electrical sockets to protect them from moisture damage.
Finally, perform a safety check of the equipment. Familiarise yourself with the pressure settings to adapt them based on the surface material. Having a safe and organised area will streamline the task and enhance overall results.
Selecting the Correct Cleaning Solution for Siding
The choice of a proper cleaning agent is paramount for achieving optimal results. Here are key points to consider:
Types of Cleaning Solutions
- Alkaline Cleaners: Best suited for removing dirt and grease. They work well on vinyl and aluminium surfaces.
- Acidic Cleaners: Effective for removing rust stains and mineral deposits. Caution is necessary to avoid damage to sensitive materials.
- Biodegradable Cleaners: Environmentally friendly alternatives that minimise harm to vegetation and surrounding areas.
Concentration and Dilution
- Follow manufacturer recommendations for dilution ratios. A stronger mix may not always yield better results and can damage surfaces.
- Test a small area first to ensure compatibility and effectiveness.
Avoid household detergents with additives or fragrances, as they can leave residues that attract dirt or require additional rinsing. Choosing a solution specifically formulated for outdoor surfaces simplifies the process and enhances overall performance.
While selecting, consider the type of substances to be removed. Grease, mould, or algae each require distinct formulations. Opting for the appropriate option can significantly reduce cleaning time and increase the lifespan of the exterior materials.
Remember to wear protective gear during application to avoid skin irritation or inhalation of fumes. Keeping safety in mind leads to a better experience throughout the task.
Guidelines for Adjusting Pressure Settings
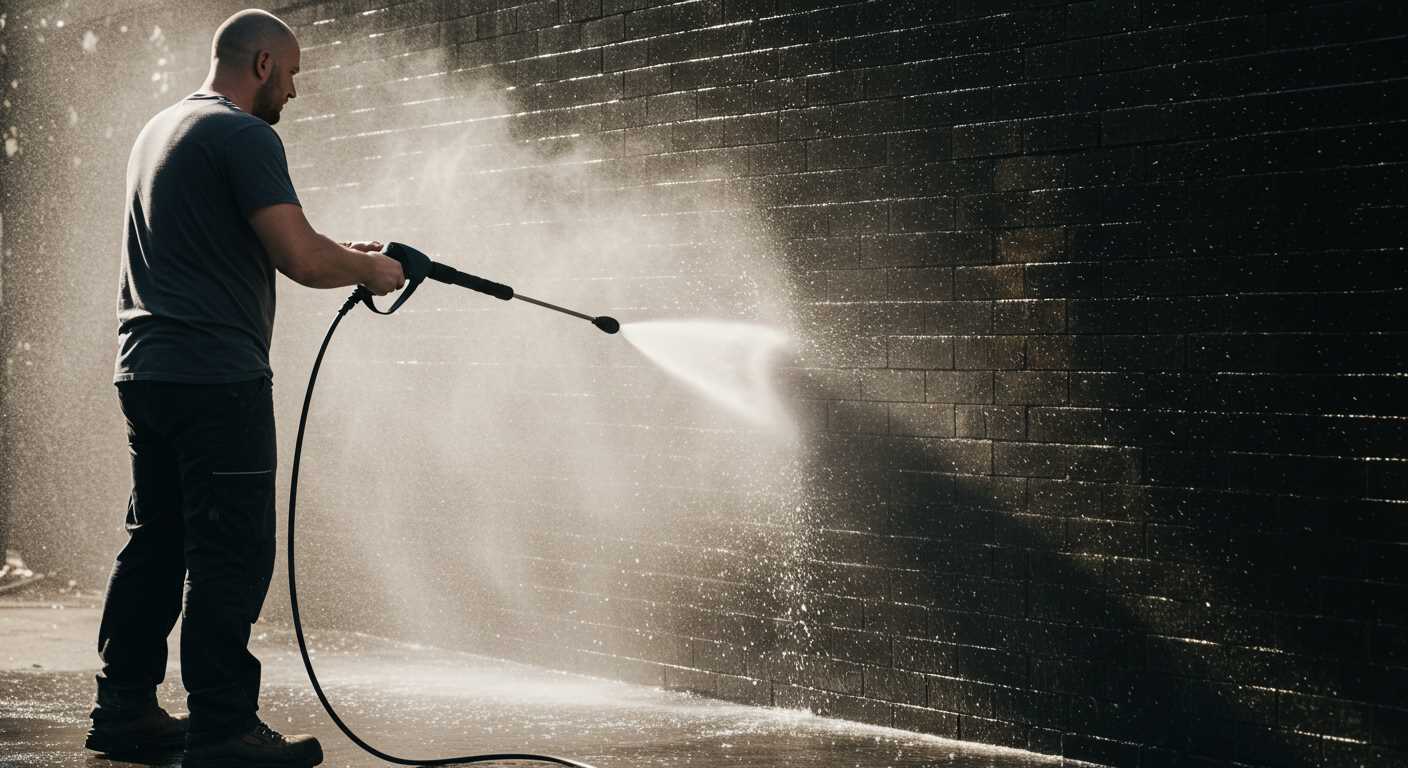
Begin by assessing the surface material. Use a lower pressure setting on delicate coatings such as vinyl or painted surfaces, typically around 1300-1600 PSI. For tougher materials like concrete or brick, consider increasing the pressure between 2500-3000 PSI.
Recommended Pressure Levels
- Vinyl: 1300-1600 PSI
- Wood: 1200-1900 PSI
- Brick: 2000-3000 PSI
- Concrete: 2500-3000 PSI
Check the manufacturer’s guidelines for your cleaning device, as different brands or models may have specific recommendations. Adjust the nozzle from a wide fan spray for gentle applications to a narrow spray for more challenging grime.
Fine-Tuning Techniques
- Start at the lowest pressure and gradually increase based on the results observed.
- Always test a small, inconspicuous area first to avoid damage.
- Monitor the flow of water to prevent pooling and maintain effectiveness.
Maintain a consistent distance of around 12-18 inches from the surface during operation. This helps distribute the force evenly, reducing the risk of damage. Regularly check for any changes in nozzle performance, replacing or cleaning as necessary.
Techniques for Cleaning Different Types of Siding
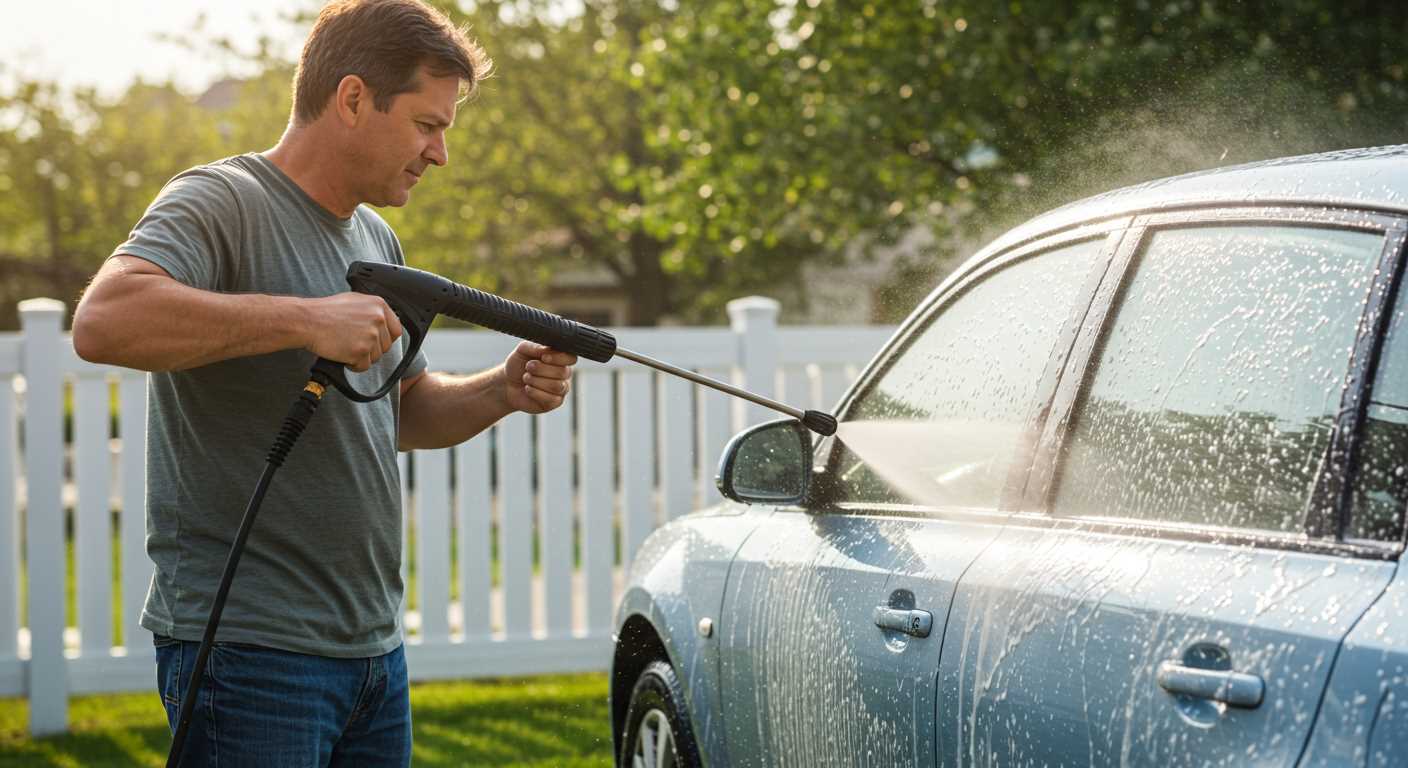
For vinyl surfaces, maintain a distance of 30 to 36 inches, employing a fan spray pattern. Start from the top and work your way down, keeping the nozzle at a slight angle to avoid pushing water behind the panels. This prevents damage and retains the integrity of the joints.
On wood cladding, use a lower setting to prevent stripping the surface. Rinse lightly initially, then apply a suitable detergent. Allow it to soak for a few minutes before rinsing thoroughly, ensuring to always follow the grain of the wood to maintain its texture.
For aluminium, avoid direct contact at high pressure. Instead, utilise a wide spray pattern with moderate pressure. Regular maintenance can significantly reduce the effort needed for deeper cleans, as dirt and grime build-up is considerably lower.
When addressing stucco, a low-pressure setting is vital. The rough texture can trap debris, but aggressive washing may lead to erosion. Opt for a chemical solution tailored for stucco, allowing it to dwell before rinsing to lift dirt effectively.
For brick or masonry exteriors, rinse first to remove loose debris. After, apply a targeted solution to help break down stains. The nozzle should be maintained at least 18 inches from the surface to minimise potential damage while still effectively cleaning crevices.
Each type of exterior material demands a distinct approach, manipulating both pressure and cleaning agents to ensure a thorough yet gentle treatment that prioritises longevity and appearance.
Best Practices for Cleaning Gutters with a Pressure Washer
Utilise a nozzle with a wide spray pattern to evenly distribute water and avoid damage. A minimum distance of 3 feet from the surface is ideal to prevent harming the materials. Aim the nozzle at a downward angle to promote effective drainage.
Safety Precautions
Always wear safety goggles and sturdy footwear to protect yourself from falling debris. If using a ladder, ensure it is stable and positioned correctly. Avoid operating on wet or windy days to reduce the risk of accidents.
Techniques for Maximum Efficiency
Begin from the highest point, moving towards the lower sections to encourage debris to flow downwards. Incorporate short bursts to loosen stubborn materials, allowing them to be washed away more easily.
| Tip | Description |
|---|---|
| Distance | Maintain a 3-foot distance from the surface to prevent damage. |
| Nozzle Type | Use a wide spray nozzle for an even distribution of water. |
| Angle of Spray | Keep the nozzle angled downwards to aid in debris removal. |
| Safety Gear | Wear goggles and sturdy footwear for protection. |
| Ladder Stability | Ensure ladders are stable and correctly positioned before use. |
For tougher clogs, consider using a cleaning solution appropriate for your materials. Allow the solution to sit for a short period to better dissolve debris before rinsing with water.
Safety Precautions while Using a Pressure Washer
Always wear protective eyewear to shield your eyes from high-velocity water and debris. A face shield offers additional safety. Appropriate footwear is vital; closed-toe shoes with non-slip soles provide stability on wet surfaces.
Personal Protective Equipment (PPE)
- Gloves: Use heavy-duty gloves to protect your hands.
- Protective Clothing: Avoid loose garments that can catch on equipment.
- Hearing Protection: Consider using earplugs if the noise level is high.
Equipment Handling
- Inspect your device before use; check for leaks or damage.
- Keep the unit stable; avoid placing it on uneven ground.
- Do not direct the nozzle at yourself, others, or animals.
Maintain a safe distance from electrical sources. Be cautious around overhead lines and ensure the area is free from obstacles. Always operate the unit without distractions; if you must take a break, turn it off first.
- Secure hoses and connections to prevent tripping hazards.
- Avoid using a unit on ladders or unstable surfaces; this can lead to falls.
Store cleaning solutions safely, keeping them out of reach of children and pets. Always read the label for any specific handling instructions, as some chemicals can be hazardous.
- Mix cleaning agents according to the manufacturer’s guidelines.
- Properly dispose of any leftover solutions according to local regulations.
By adhering to these specific guidelines, I ensure a safer experience while maintaining efficiency in the task at hand.
Maintaining Your Pressure Washer After Use
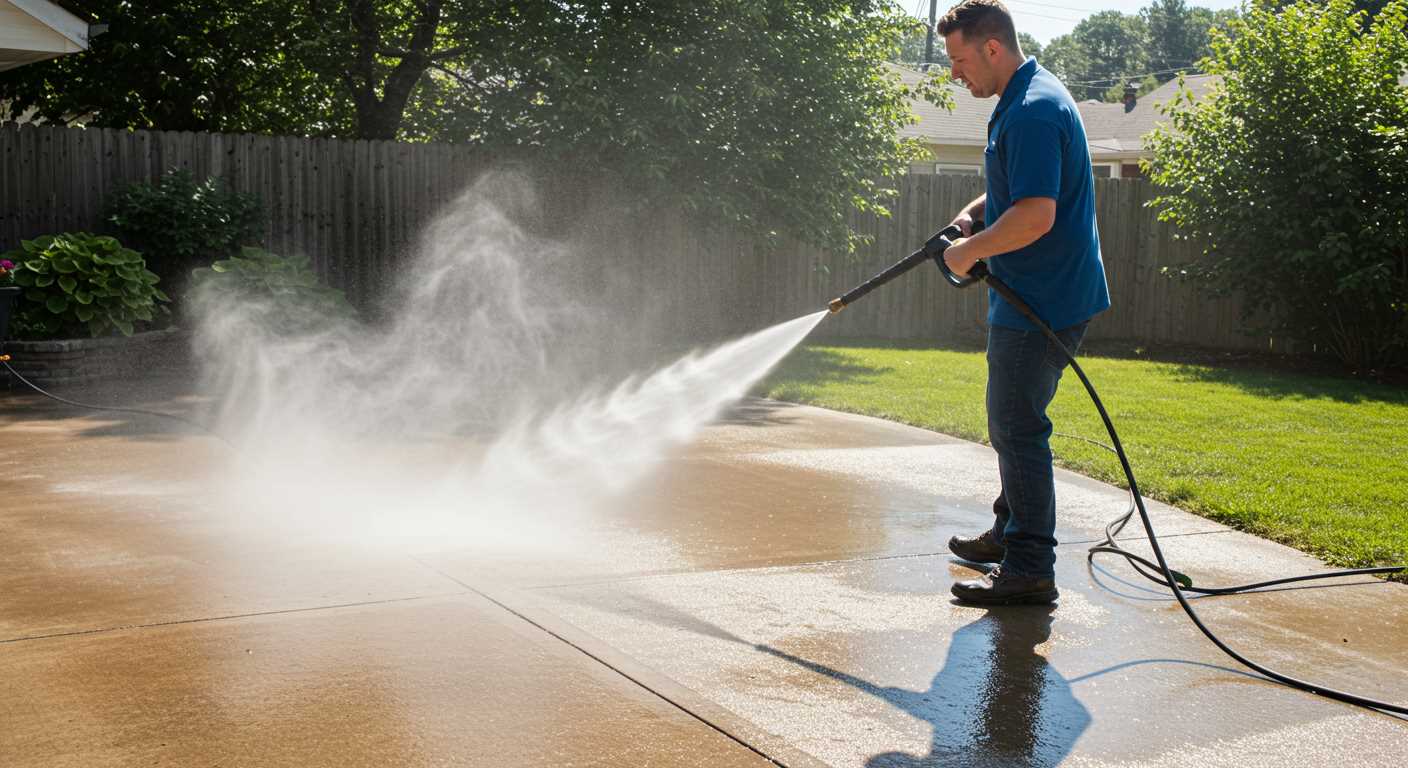
After finishing any project, I always take a moment to properly maintain my cleaning equipment. A few steps can significantly extend the lifespan of your appliance and ensure optimal performance for future tasks.
Steps for Maintenance
1. Flush the System: Use clean water to remove any leftover cleaning solution or debris. This prevents blockages and damage. Run fresh water through the machine for at least a few minutes.
2. Inspect the Hoses and Connections: Check for leaks, cracks, or signs of wear. A damaged hose can impact pressure and efficiency. Replace any defective parts immediately.
3. Clean the Filter: Many models have filters to prevent debris from entering the system. Remove, clean, and replace as needed to ensure unobstructed water flow.
4. Store Properly: Avoid leaving the machine exposed to harsh weather conditions. Keep it in a dry, temperature-controlled environment to prevent damage.
Regular Checks
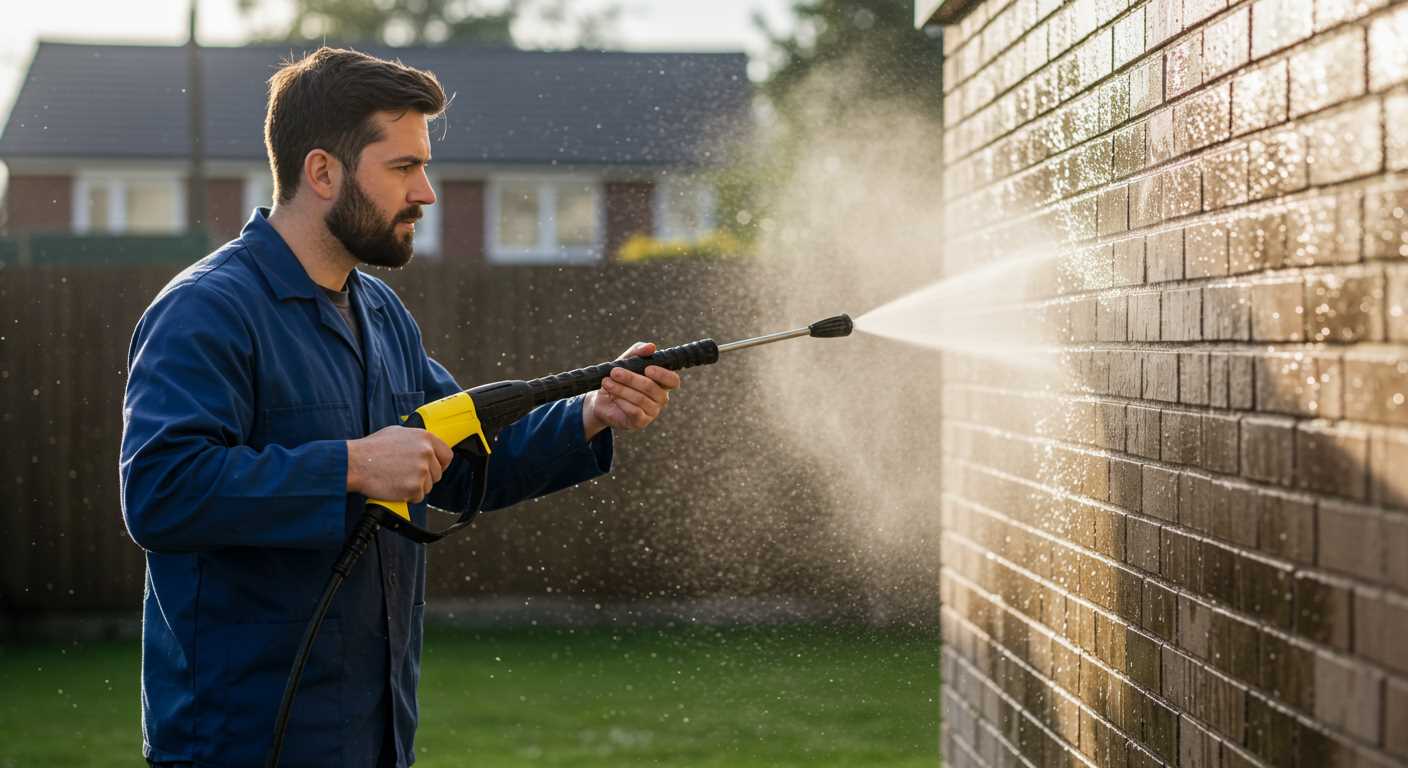
Schedule inspections every few months. Checking the oil levels, if applicable, and testing electrical connections can preempt issues before they arise. Regular maintenance is crucial for longevity.
| Maintenance Task | Frequency | Notes |
|---|---|---|
| Flush System | After each use | Prevents blockages |
| Inspect Hoses | Monthly | Replace if damaged |
| Clean Filter | Every 6 months | Ensures optimal flow |
| Oil Check | As per model guidelines | Keep levels within range |
By adhering to this maintenance routine, I can guarantee the performance and reliability of my cleaning equipment for years to come.


